
Continues from Part 1
Morezmore OOAK Doll #29
Scale: 1/6, Size: 11.5″ (29 cm)
Part 2: Head
Tools and materials:
– Living Doll polymer clay color Light
– Translucent Liquid Sculpey
– polymer oil


– convection oven Deni 10400
– oven thermometer


Tools:
At Morezmore we sell about 150 different polymer clay sculpting tools
– in wood, steel, silicone, rubber and bone.
These are my favorites (see the image below the list):
1. clay cutter
2. forceps
3. mini calipers
4. old “That’s the One” tool – original – in dark acacia wood
5. new “That’s the One” tool – light wood, smaller, less expensive, will not stain clay
6. fine point dental rubber tool
7. Kemper Johnston 3-in-1 tool
8. silicone color shapers, size 0, firm
9. X-Acto knife
10. needle tool
11. spoon tool #1 by Alex Mergold
12. pointed spatula by Alex Mergold
13. spoon tool #2 by Alex Mergold
14. tiny hook tool by Alex Mergold
15. round spatula by Alex Mergold
16. tiny claw tool by Alex Mergold
17. flat clay smoothing brush
18. fine point clay smoothing brush
19. flat clay smoothing brush (same as 17) – trimmed and worn out, broken and mended, still the favorite.
20. ball-point stylus tools in different sizes
21. wax spatula #7


the awesome wax spatula #7:


– green-grey glass eyes 4 mm
– fine abrasive sanding mesh 180 grit


Now to the sculpting:
014. Covered the armature in the first thin layer of clay and baked. 275 degrees F for 12 minutes.

015. Made the head. It was a fight, as usual. I was planning to make a step-by-step, but it was a very long confusing process. I will try to make a step-by-step photo report next time, on the next doll. For now, I am just happy that my doll has a head at all. Also I am planning to work at it a little more, even though it is baked – with a scalpel and abrasive mesh. Cutting and sanding will leave marks, but there is a way to fix it all. Once you are done with all cutting and sanding, cover the head carefully with a very thin layer of TLS (Translucent Liquid Sculpey) and rebake – a few minutes to set the TLS. The face will be smooth again.
So, here is what I have now (DON’T LAUGH):


016. I would also like to show you my new super clever body parts handles. I made 5 – for the head, hands and feet.
The head, hands and feet of the armature are on tubes, removable, can be sculped separately from the body. I find it a huge convenience to be able to sculpt and bake the head and the limbs separately and then assemble the doll and close the connections with clay at the end.
Here are the handles, they are made of same thick armature wire, wooden sticks, magic sculpt and they have magnets at the bottom:

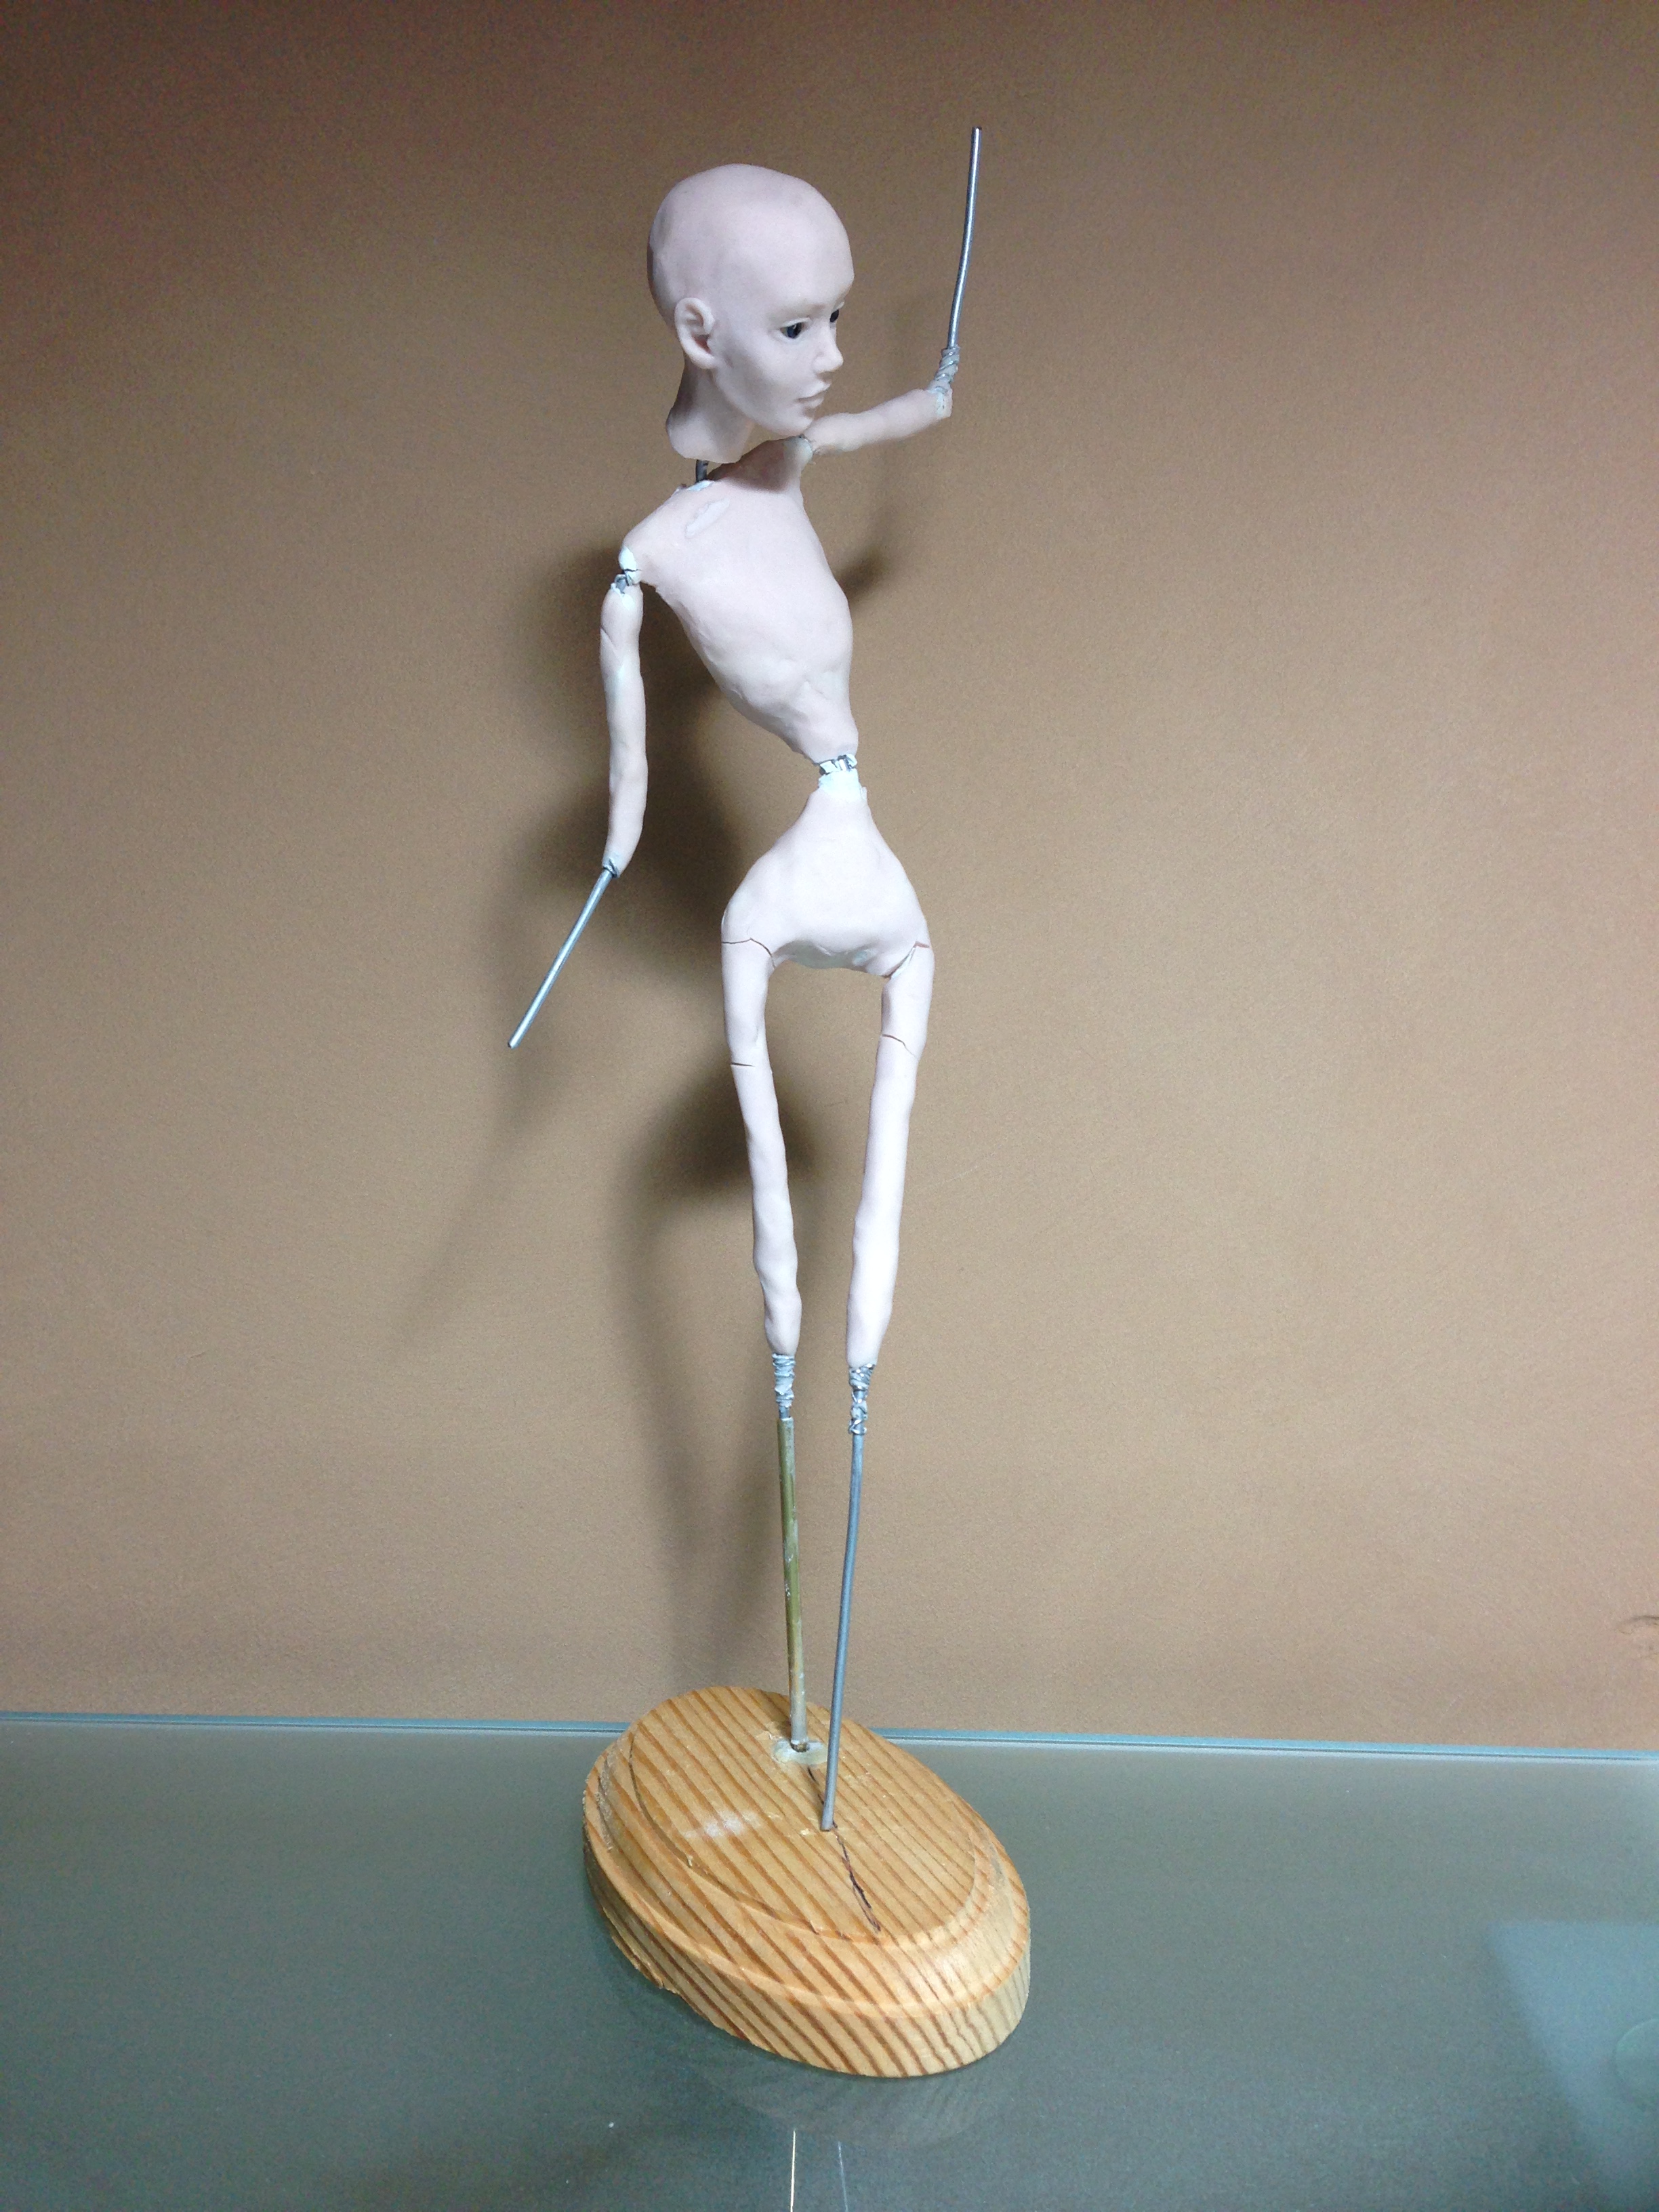
017. Well, on the second thought I decided I did not like the head and made another one.
Here it is:
I think it is an improvement. These images of head planes helped (freebies from internet – you are welcome to use them):


Here is what I have now:



Continues on Part 3
[…] Continues in Part 2. […]
I am going to guess “Norma Jean.”
🙂 thank you for trying! 🙂
Nymph?
Yes! Congratulations! Come to shop!
Wow…awesome! Tell you what, I will donate my shopping trip back to you for your awesome efforts to allow us to follow what you do.
I’m so thankful and I’m sure everyone else is too!
🙂 Sounds good! Thank you very much for watching – means a lot to me!
[…] Continues from Part 2 […]
[…] Part 3: Body Tools and materials: please see Part 2 […]