Morezmore OOAK Doll #30
Scale: 1/6, Size: 10.6″ (27 cm)
Continued from Part 2 – Head
Tools and Materials:
Must have:
– proportions image
– polymer clay (I am using Cernit)
– wooden plaque for base
Optional:
– mini calipers
– ruler
– ball-point stylus tools in different sizes
– mini palette knife
– flat clay smoothing brush
– forceps
– X-Acto knife
– scalpel
– Magic smooth epoxy gel
– miniature bottle with a cork
– dental rubber pick tip
**********************
Reference picture: Shoes that Alice wore in the movie Alice in Wonderland (2010)

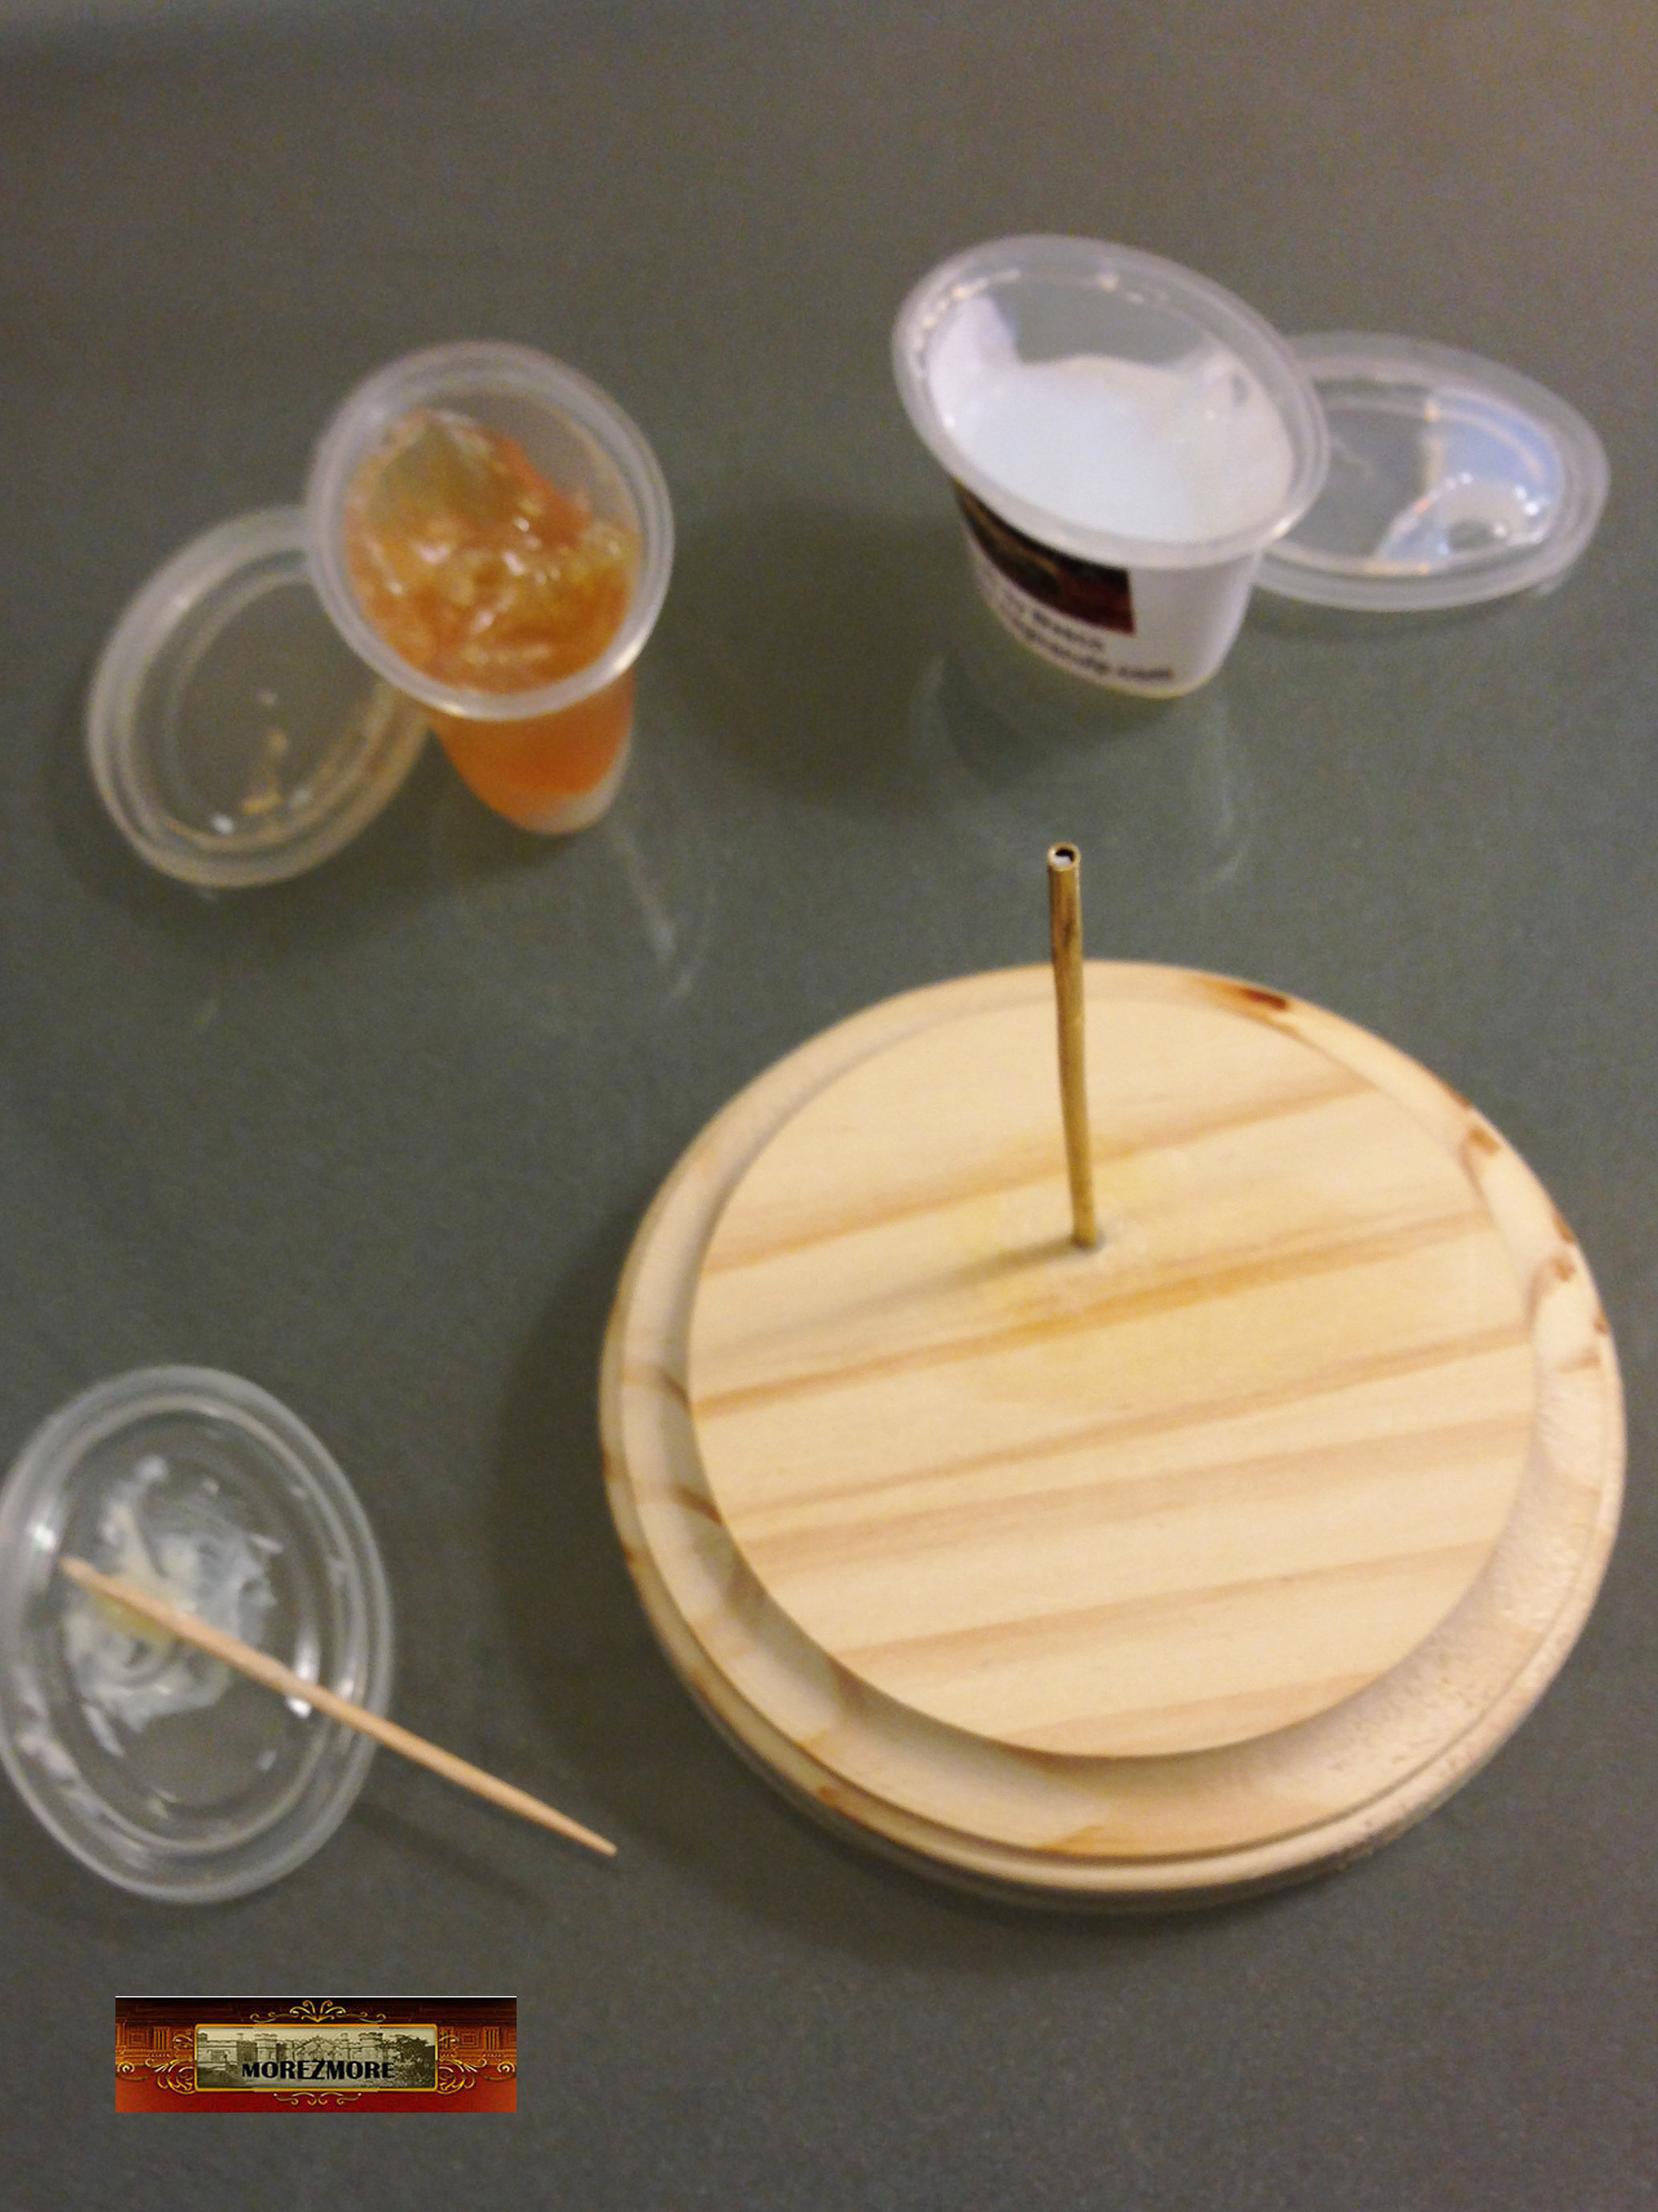
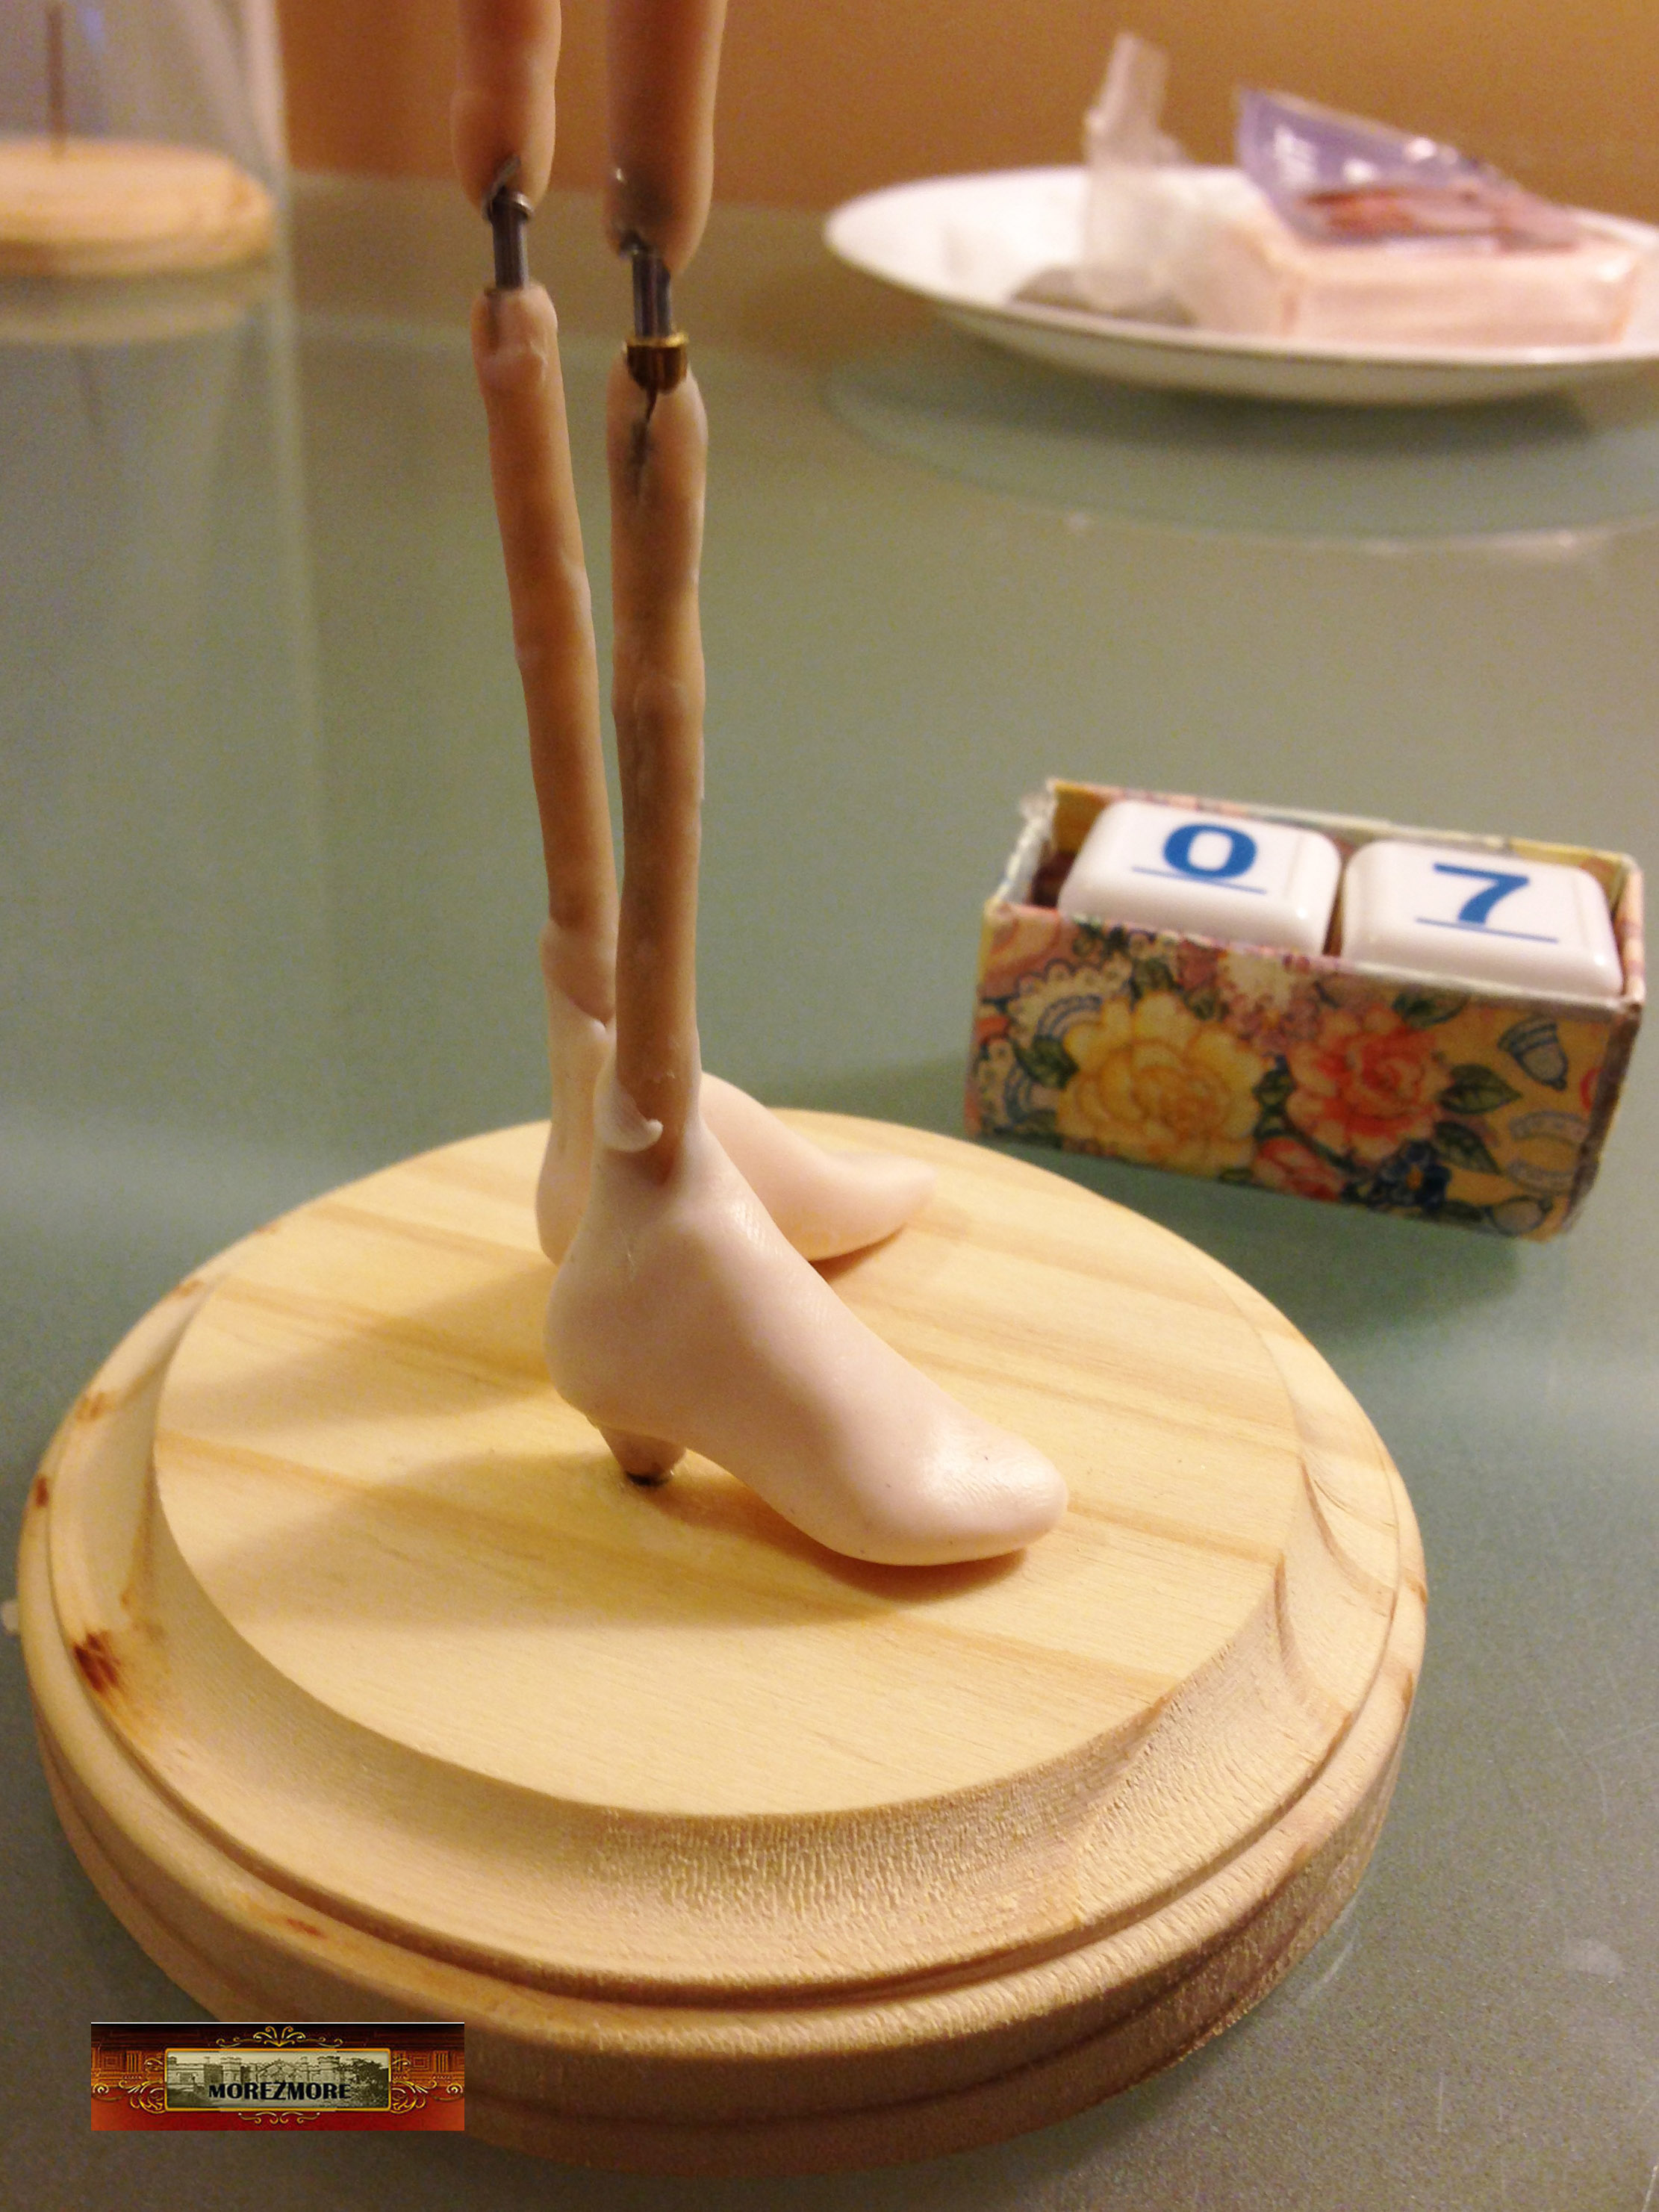
Securing the base tube to the base with Magic smooth epoxy gel
Making feet. The numbers are for me so that I don’t get confused uploading photos.


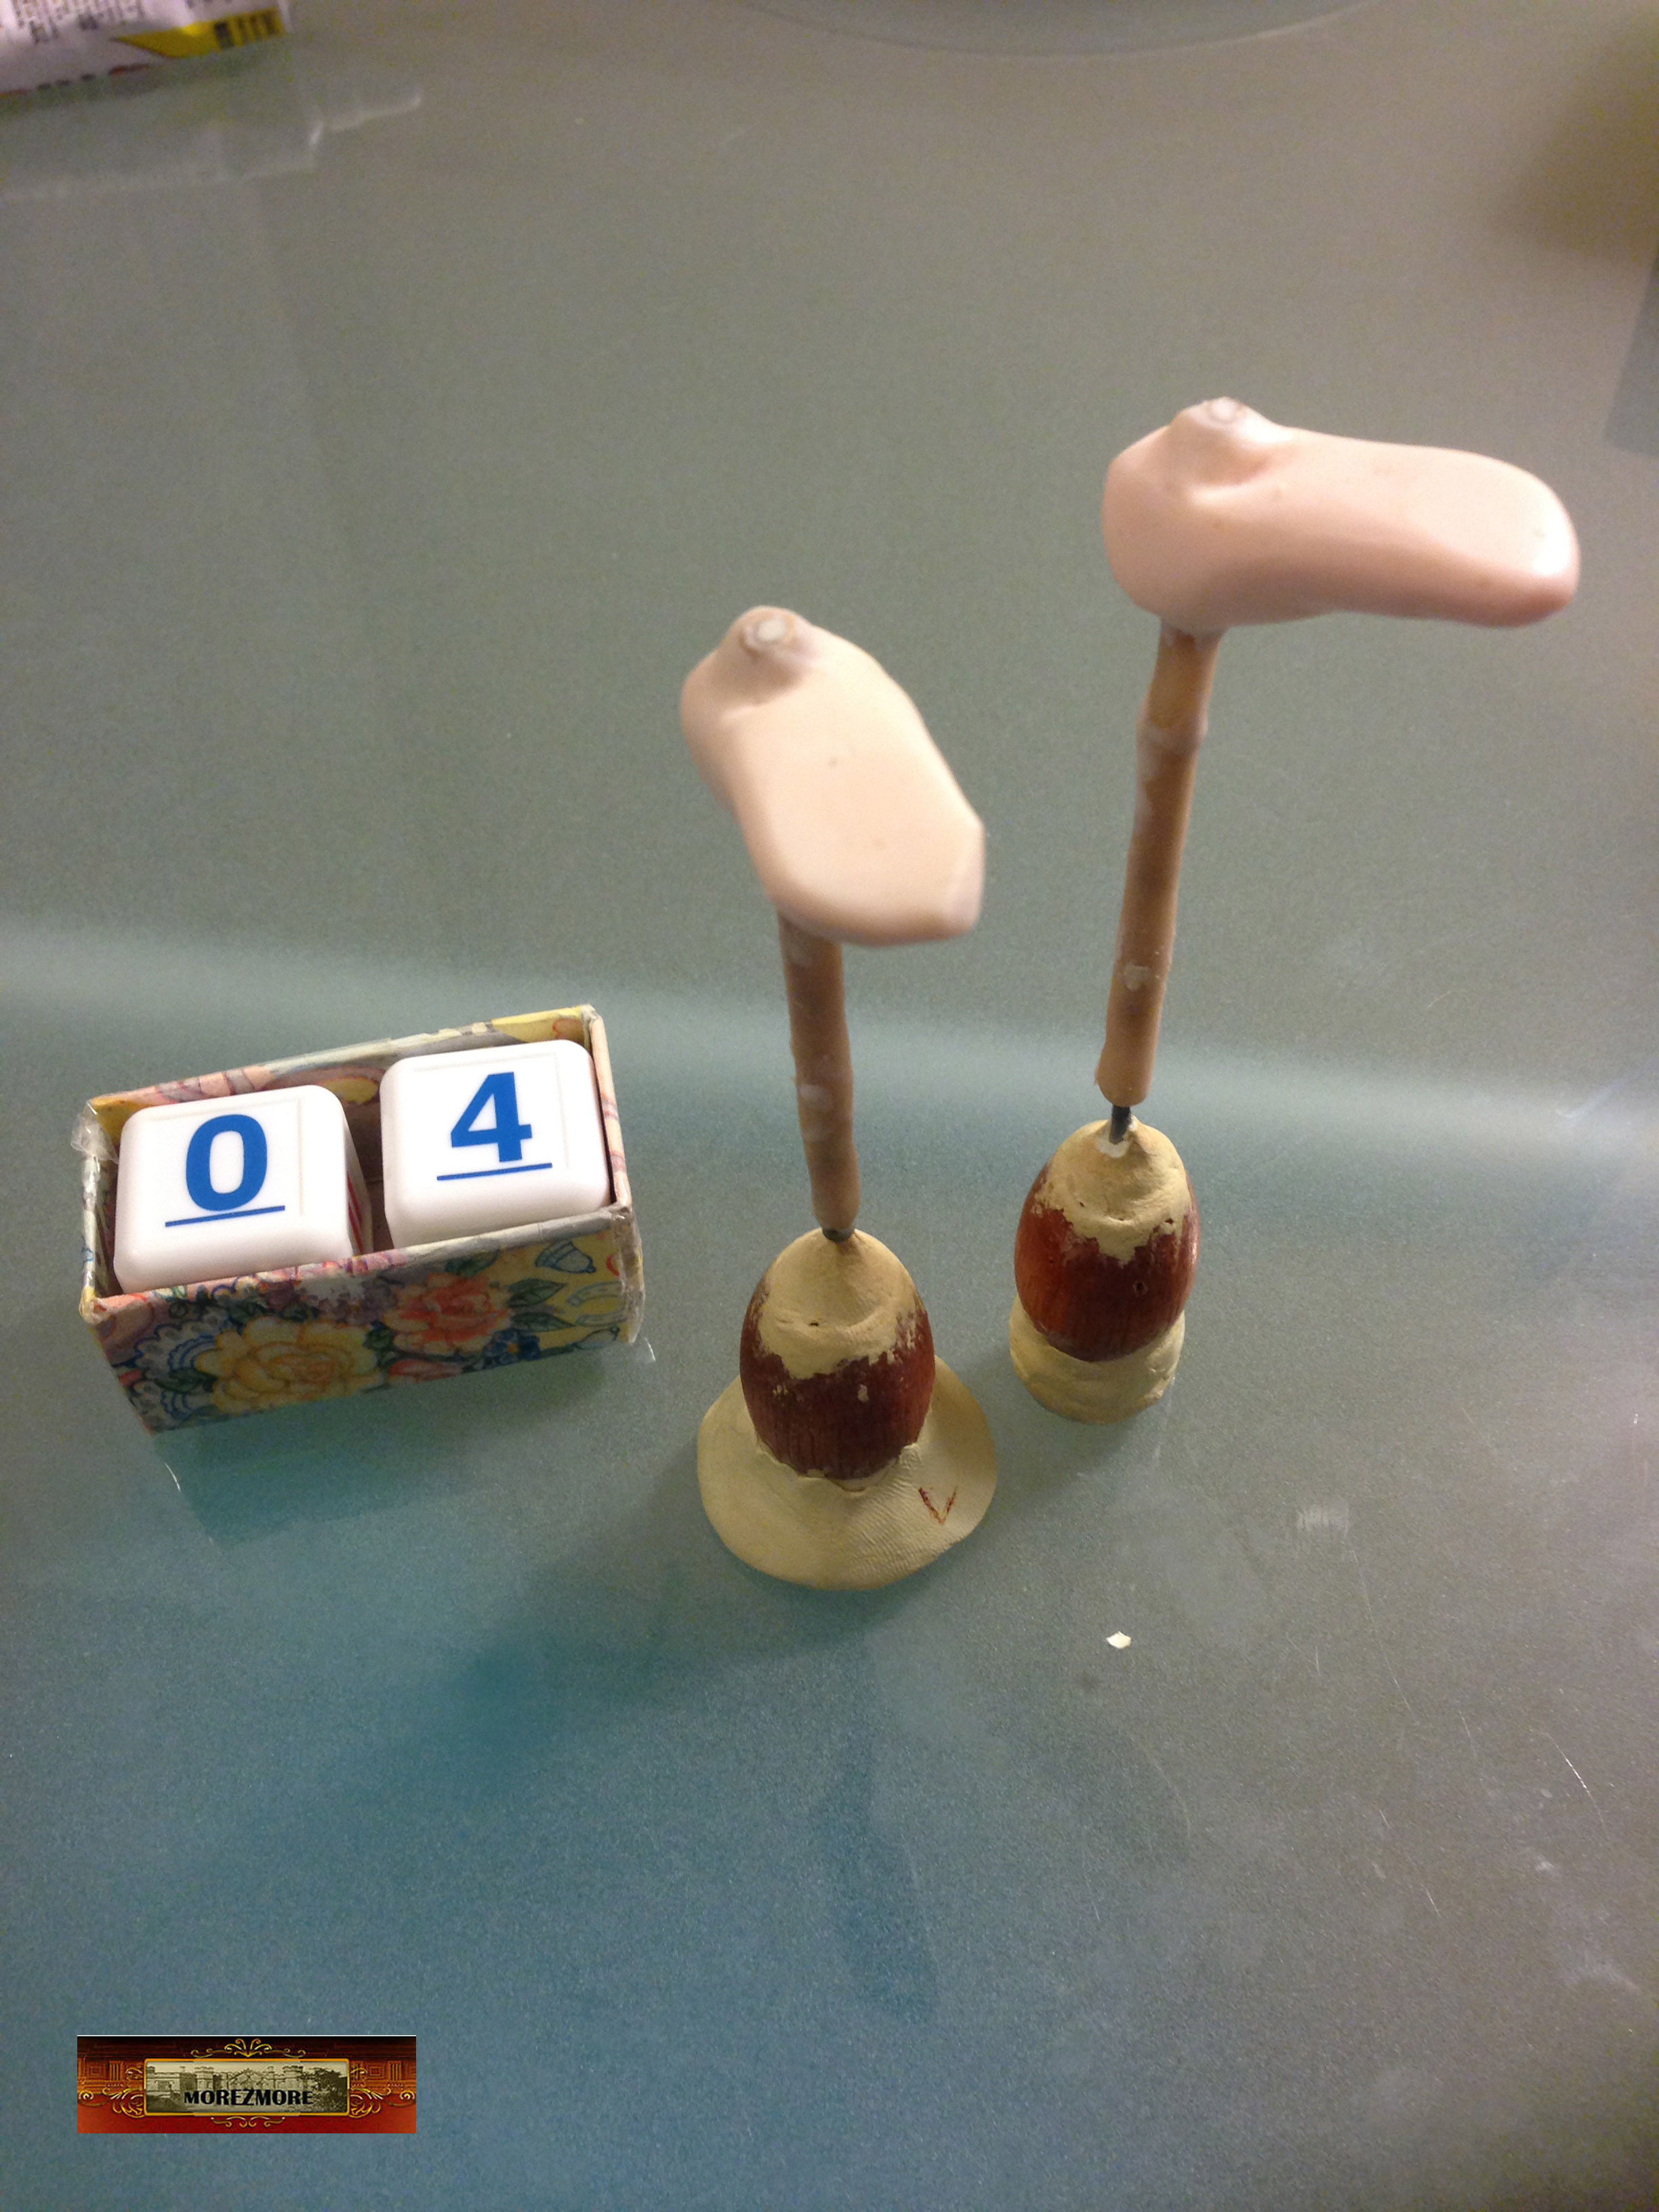
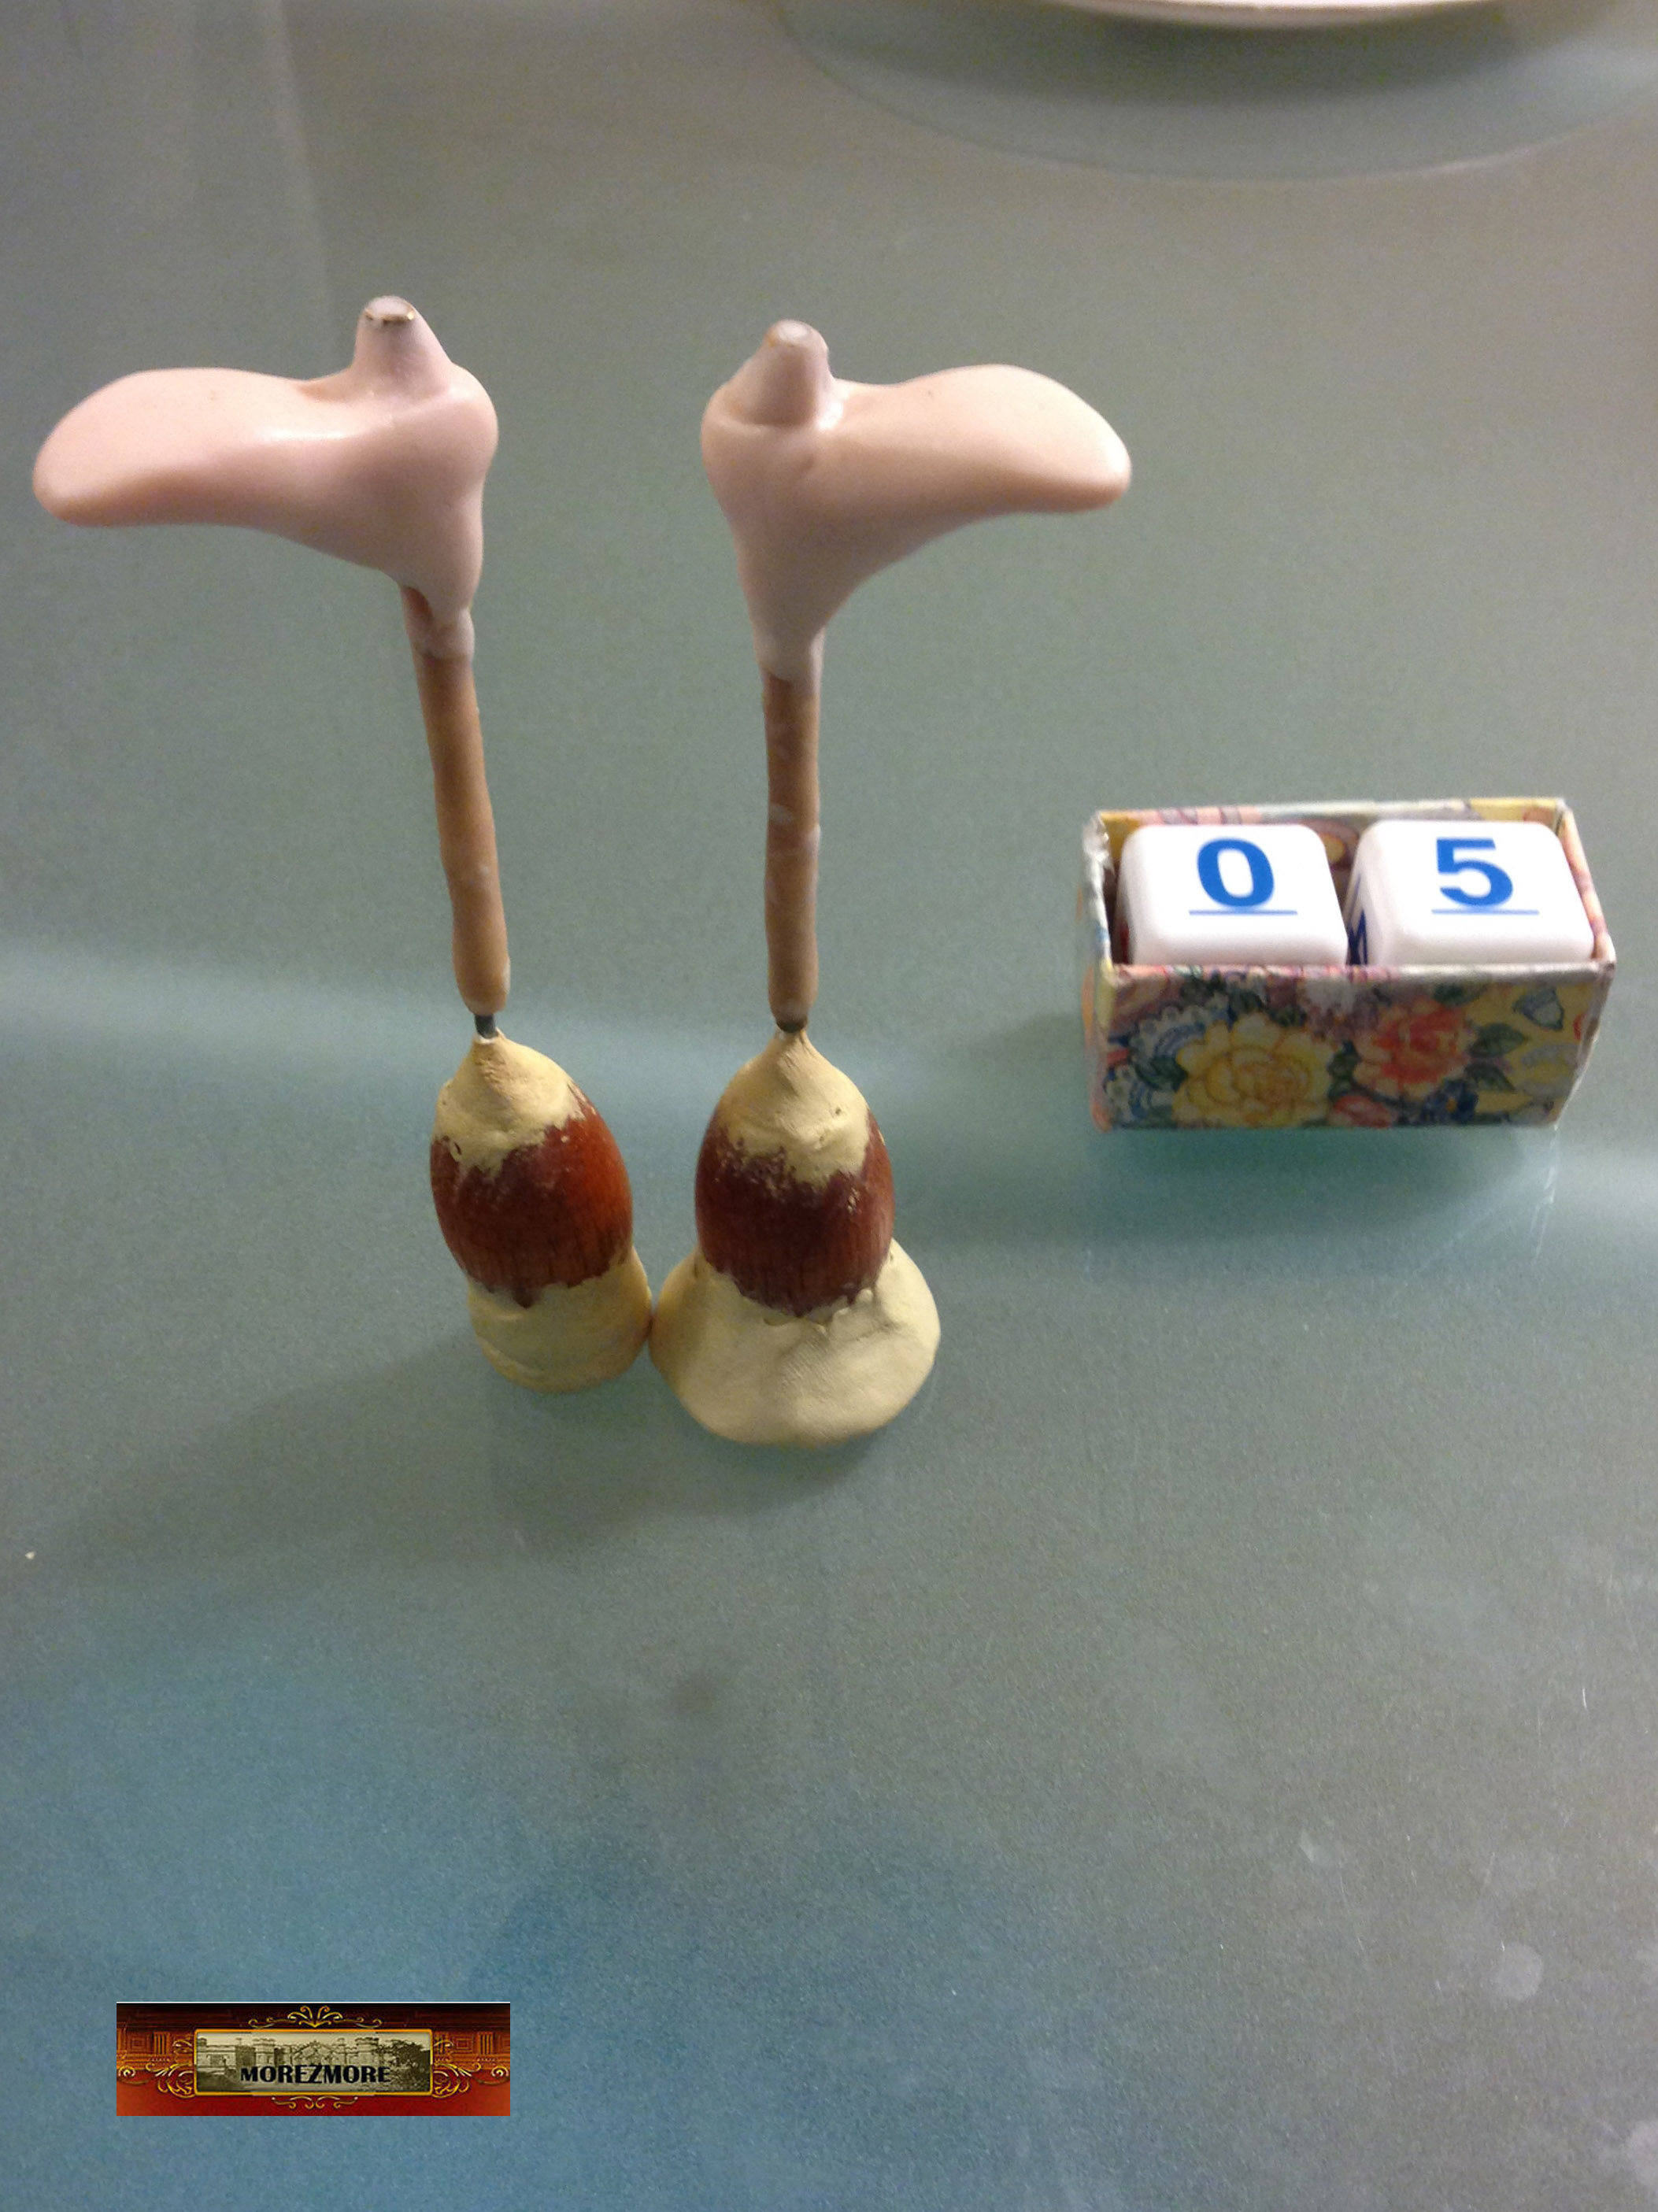
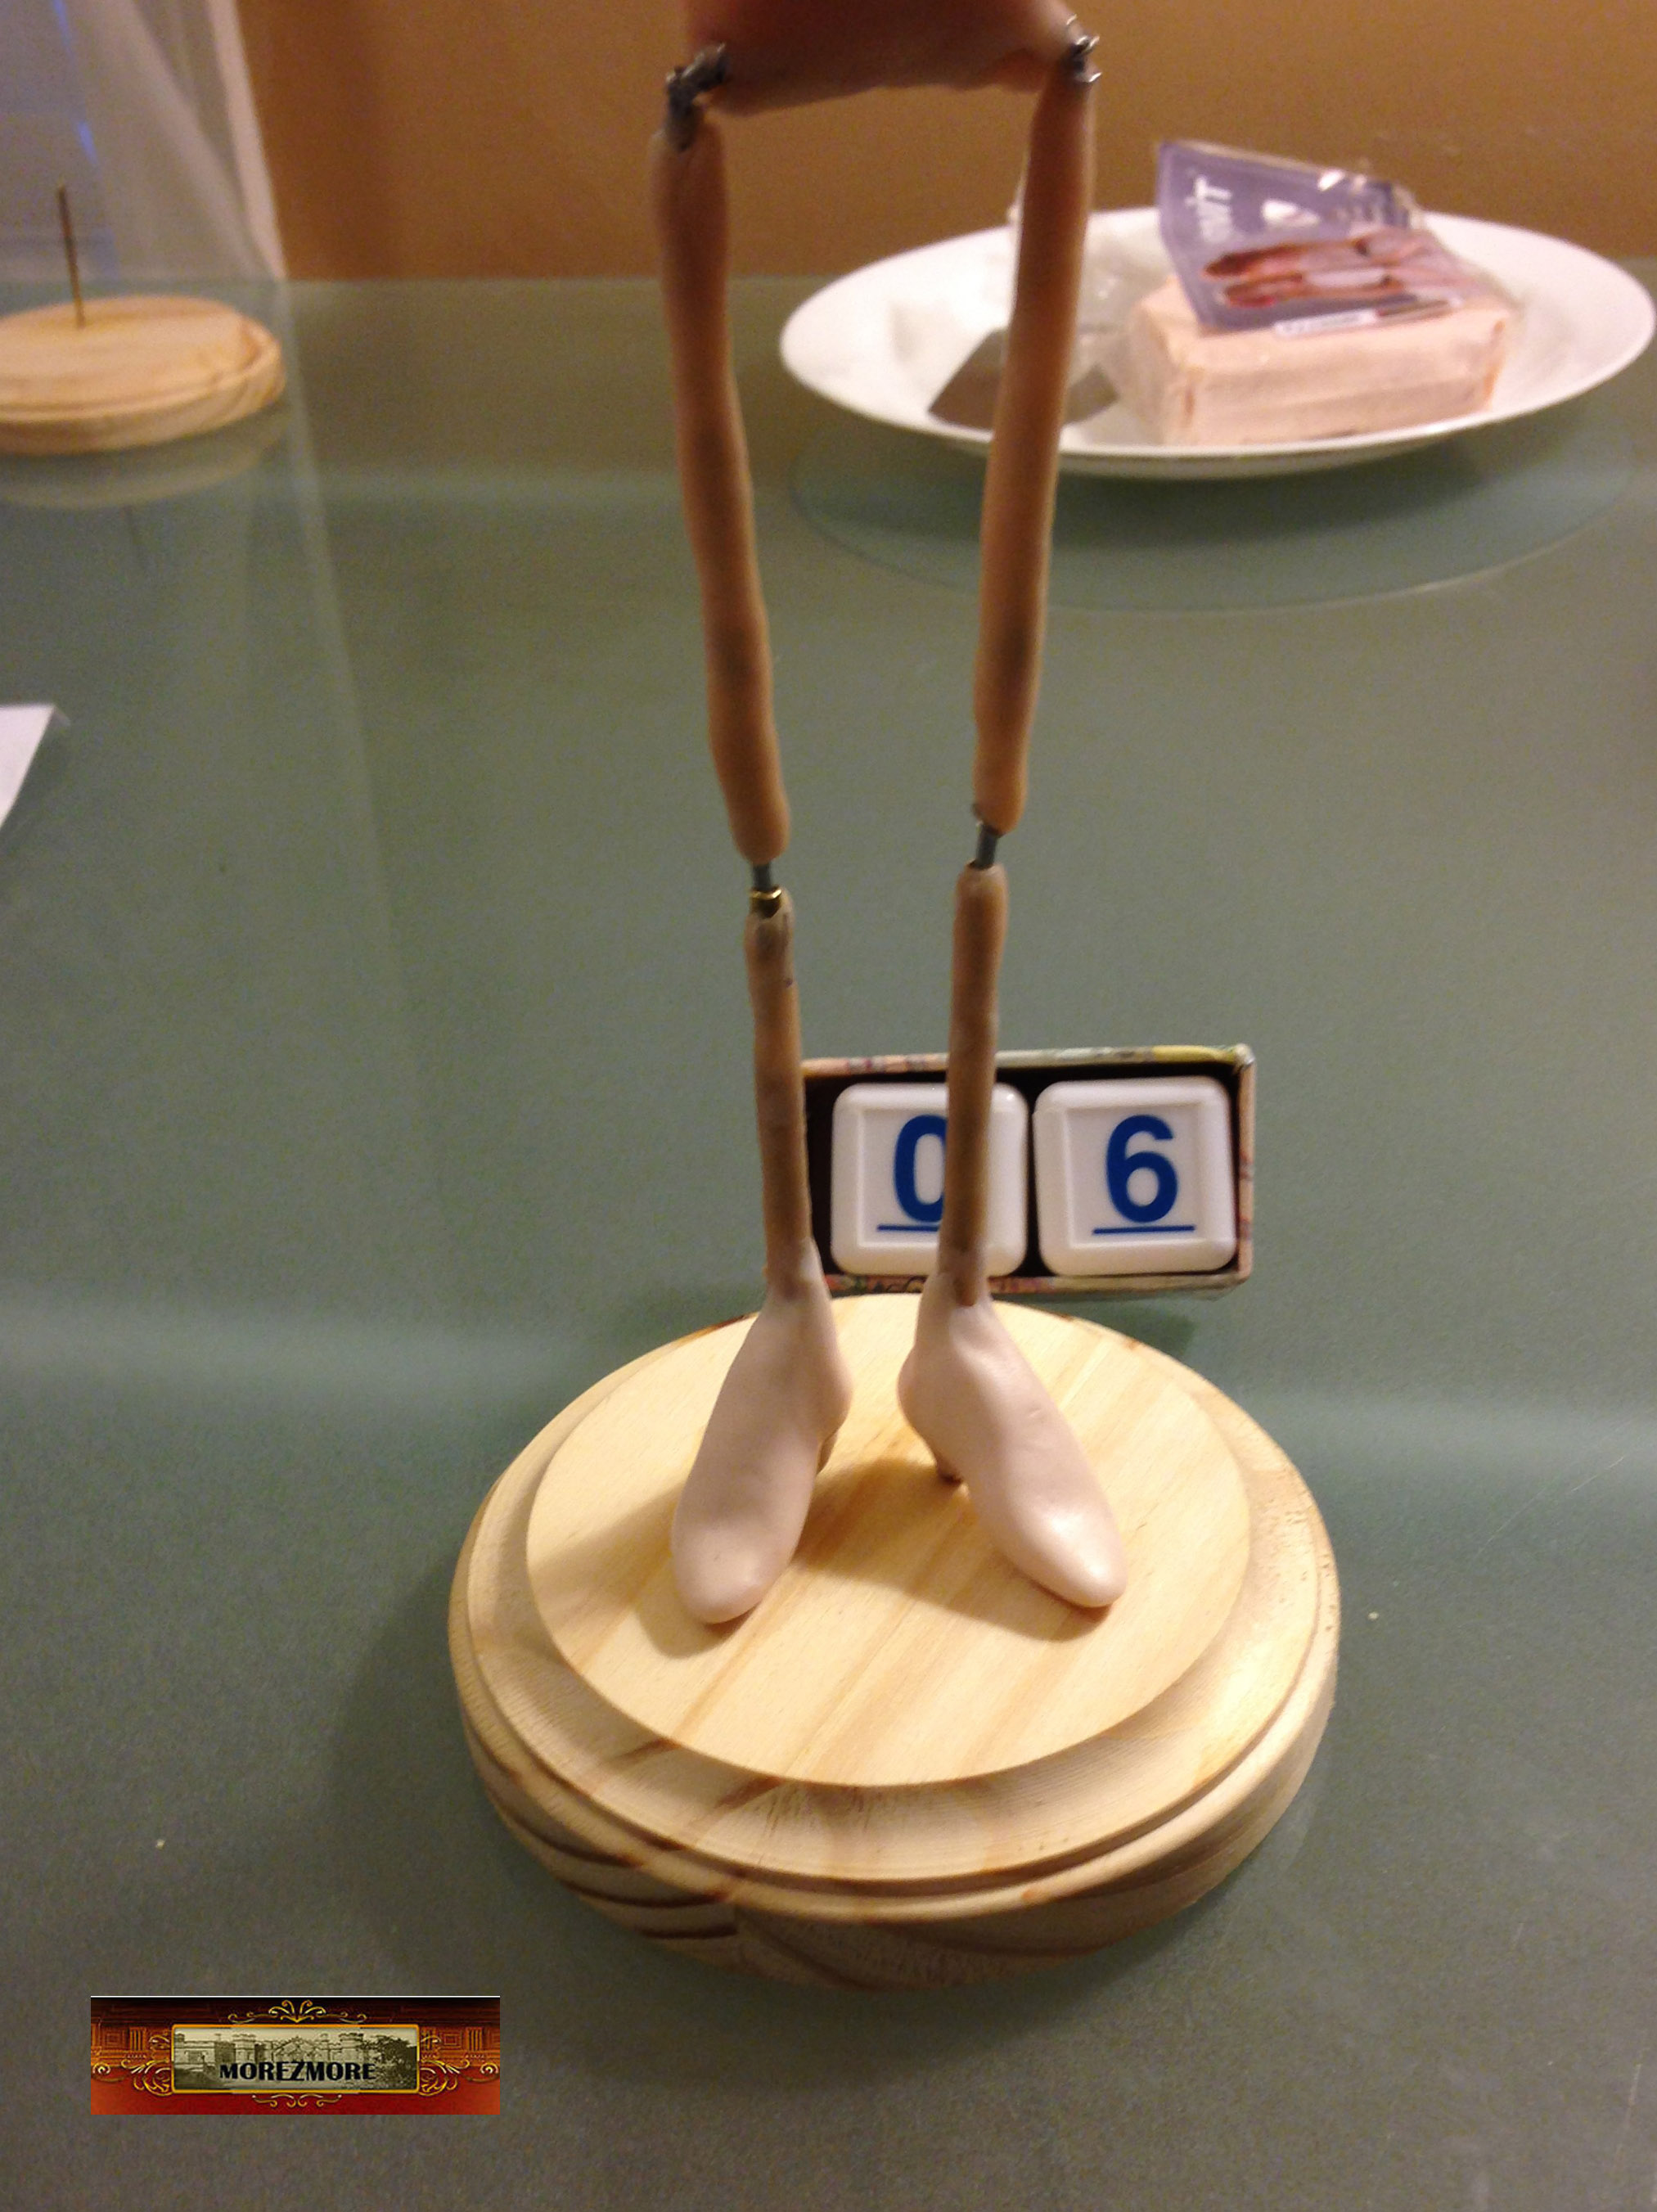
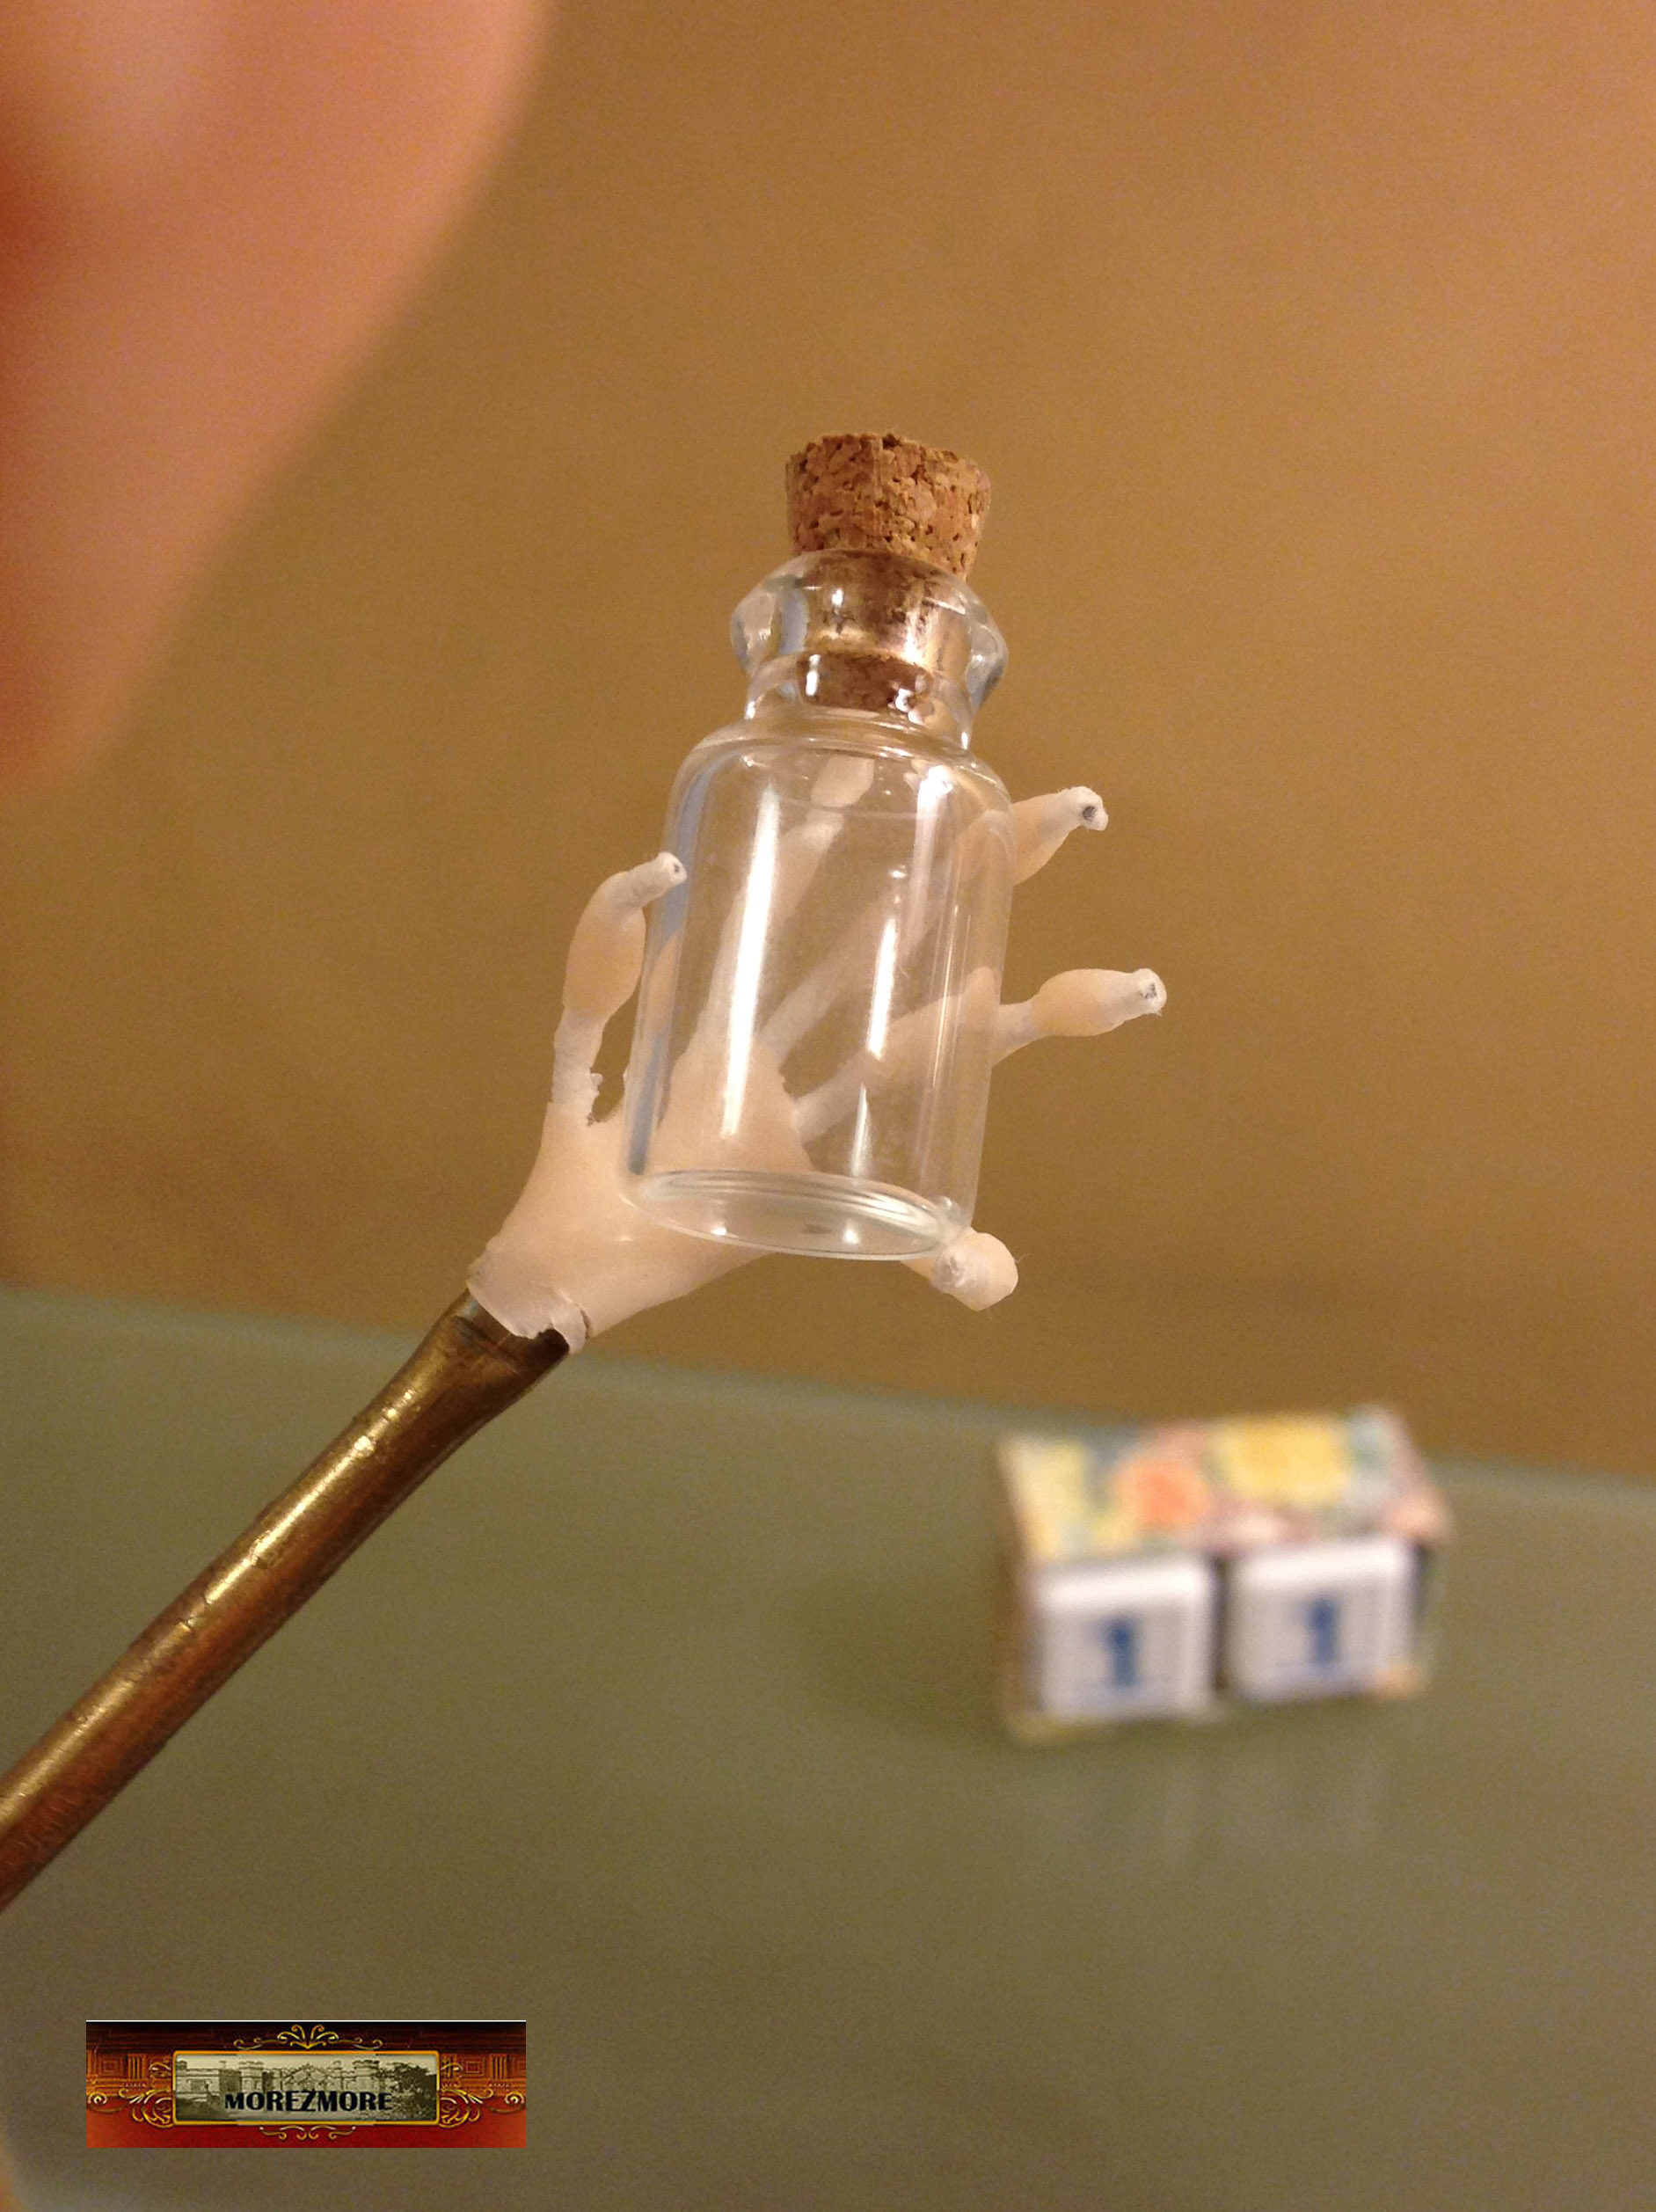
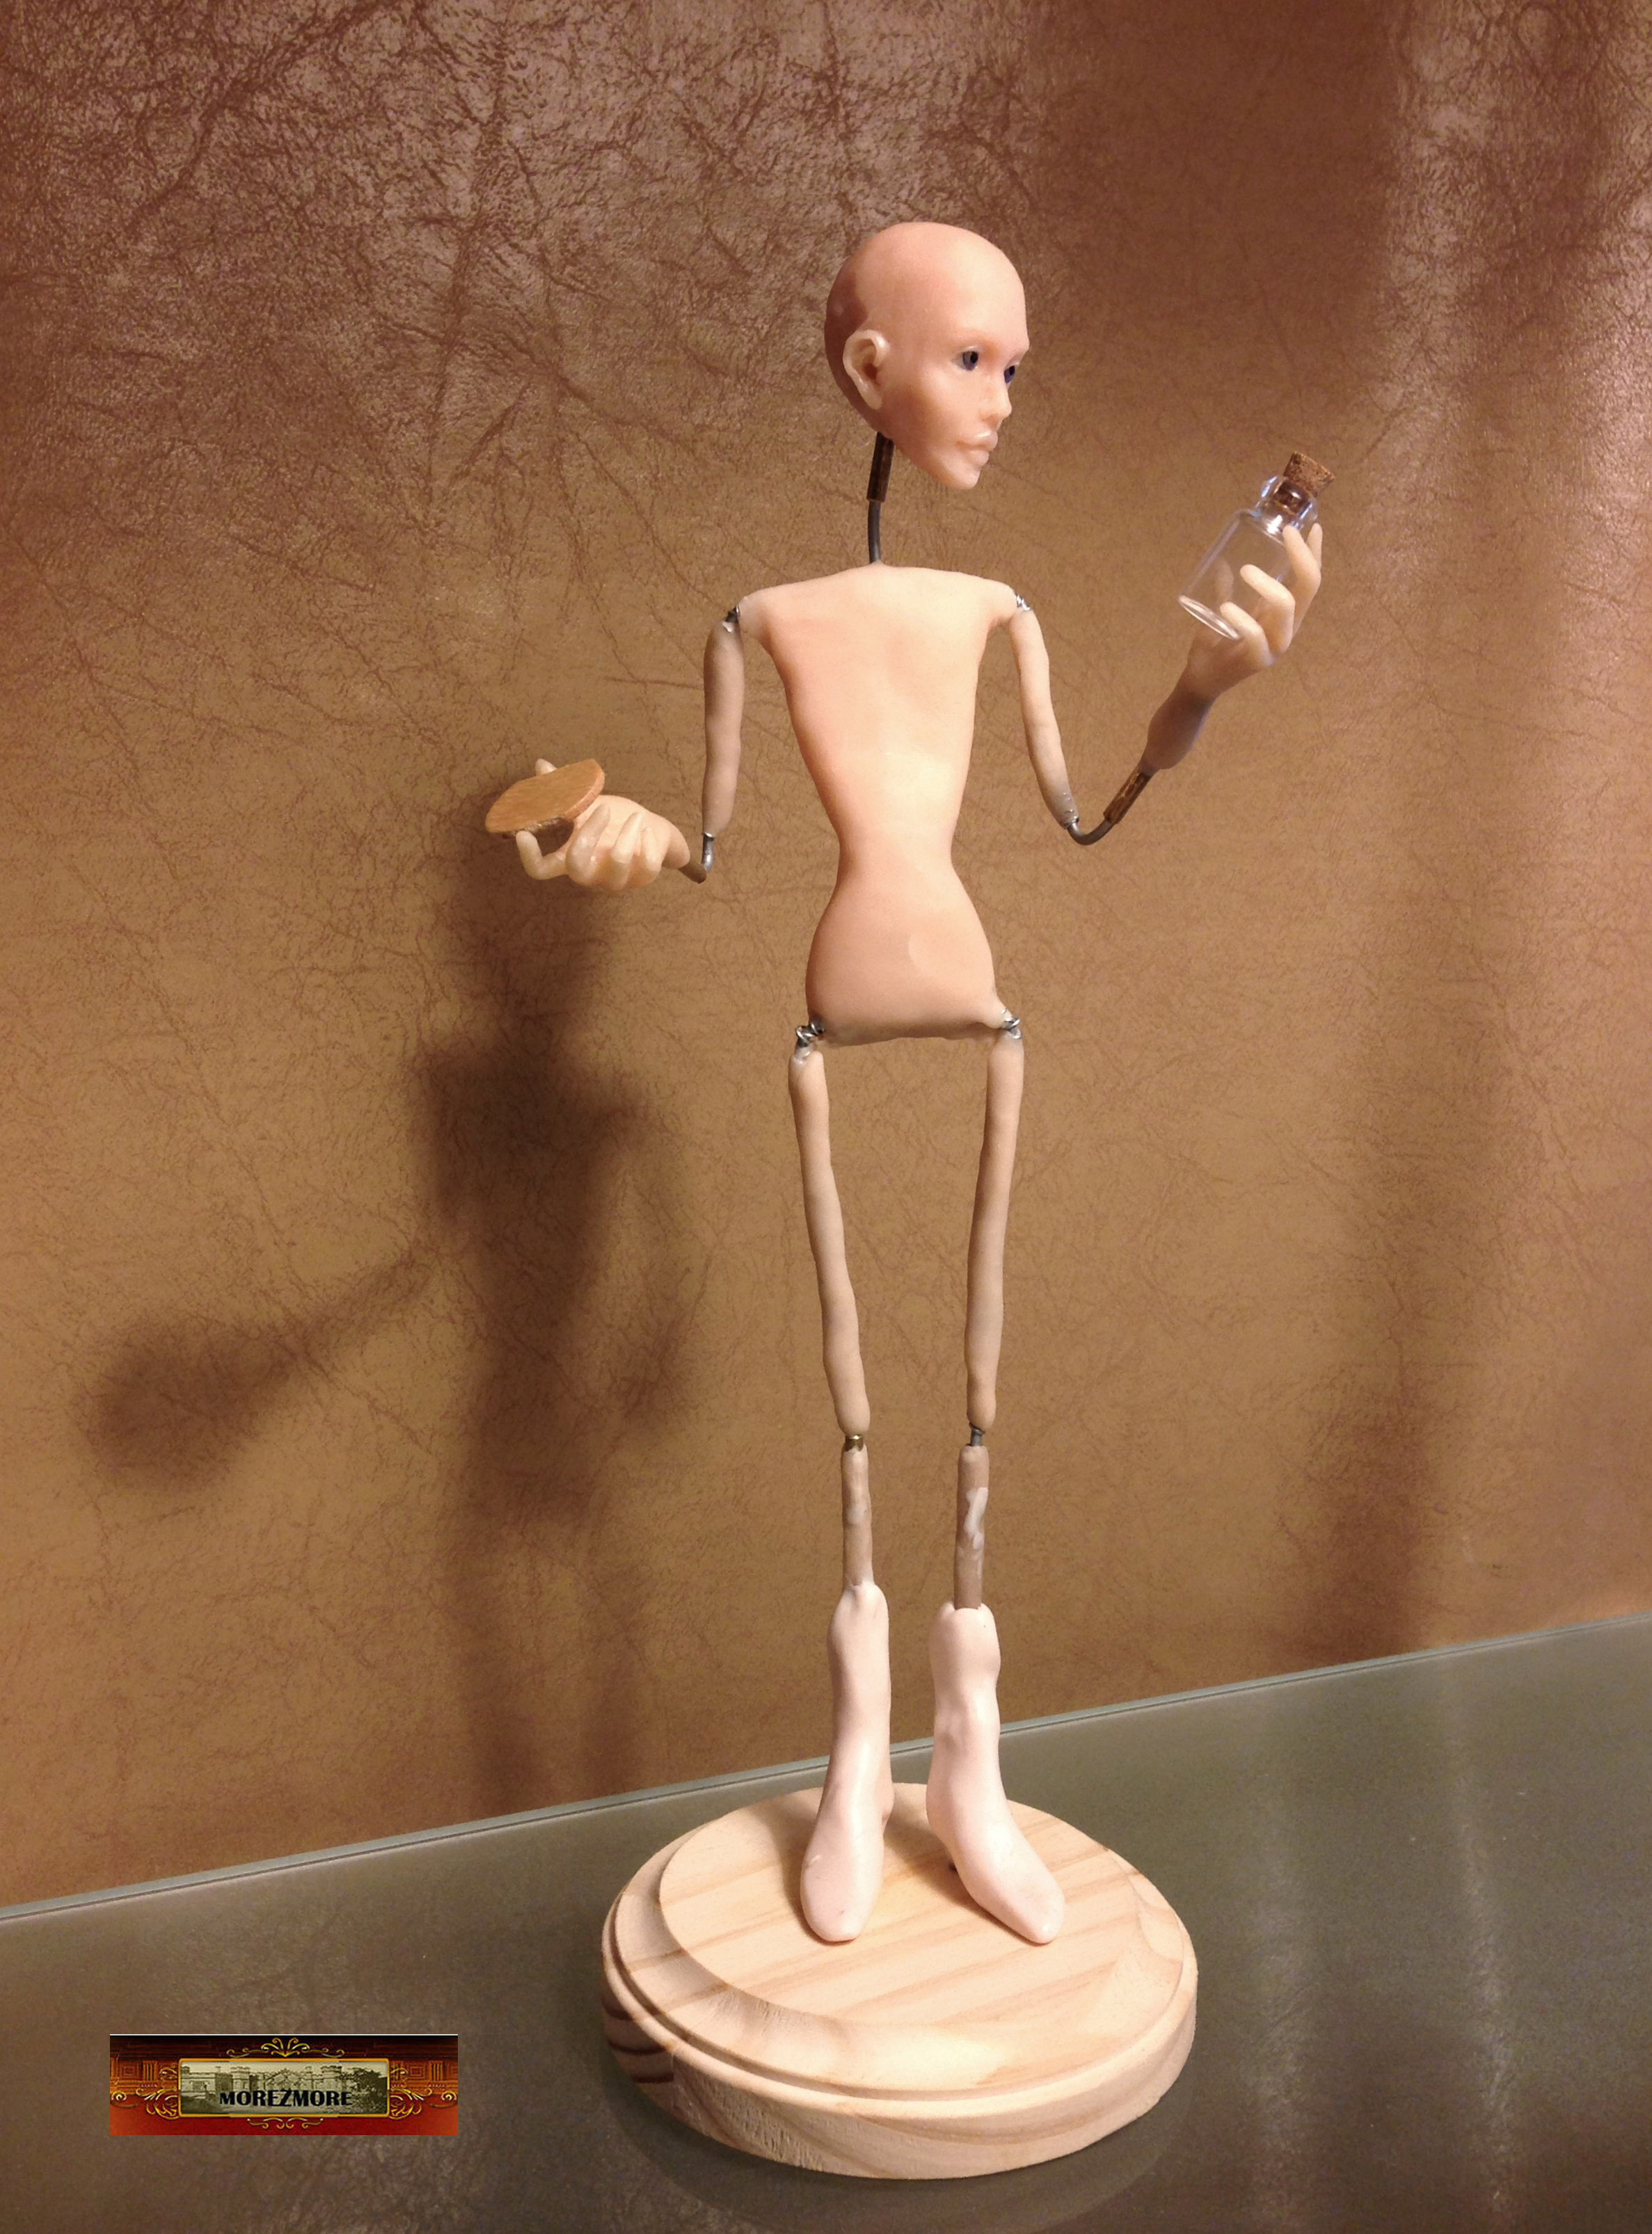
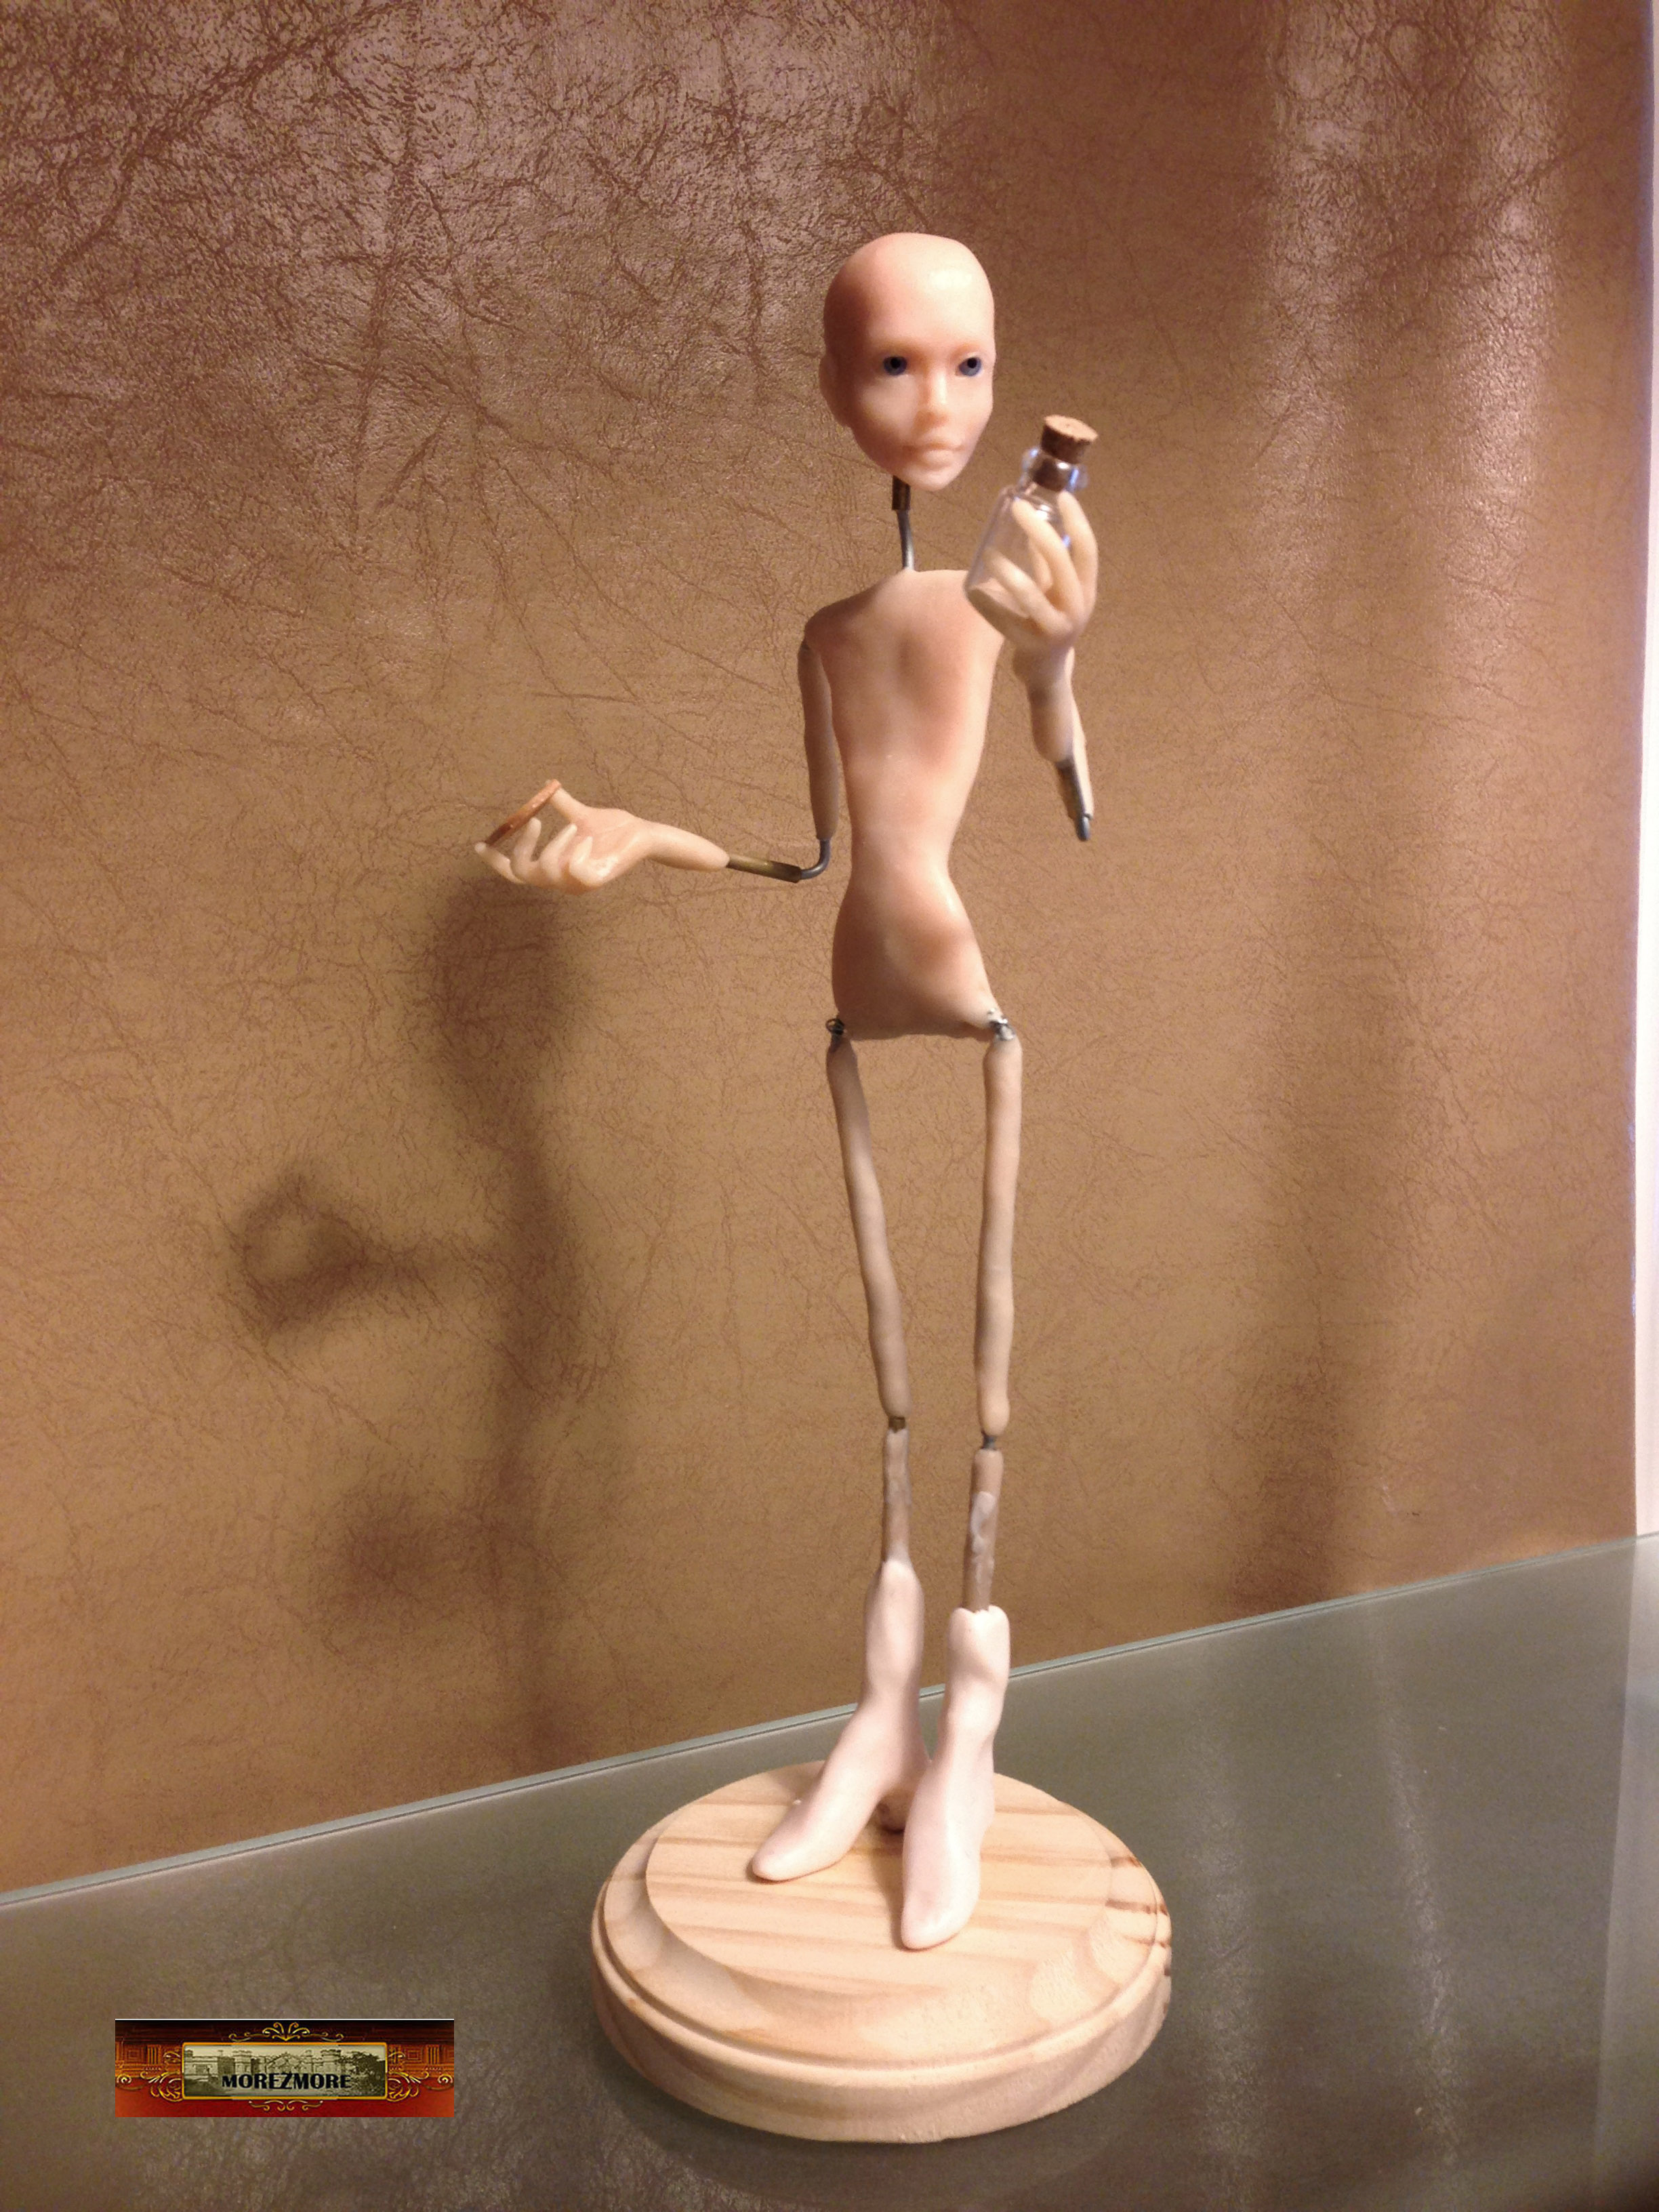
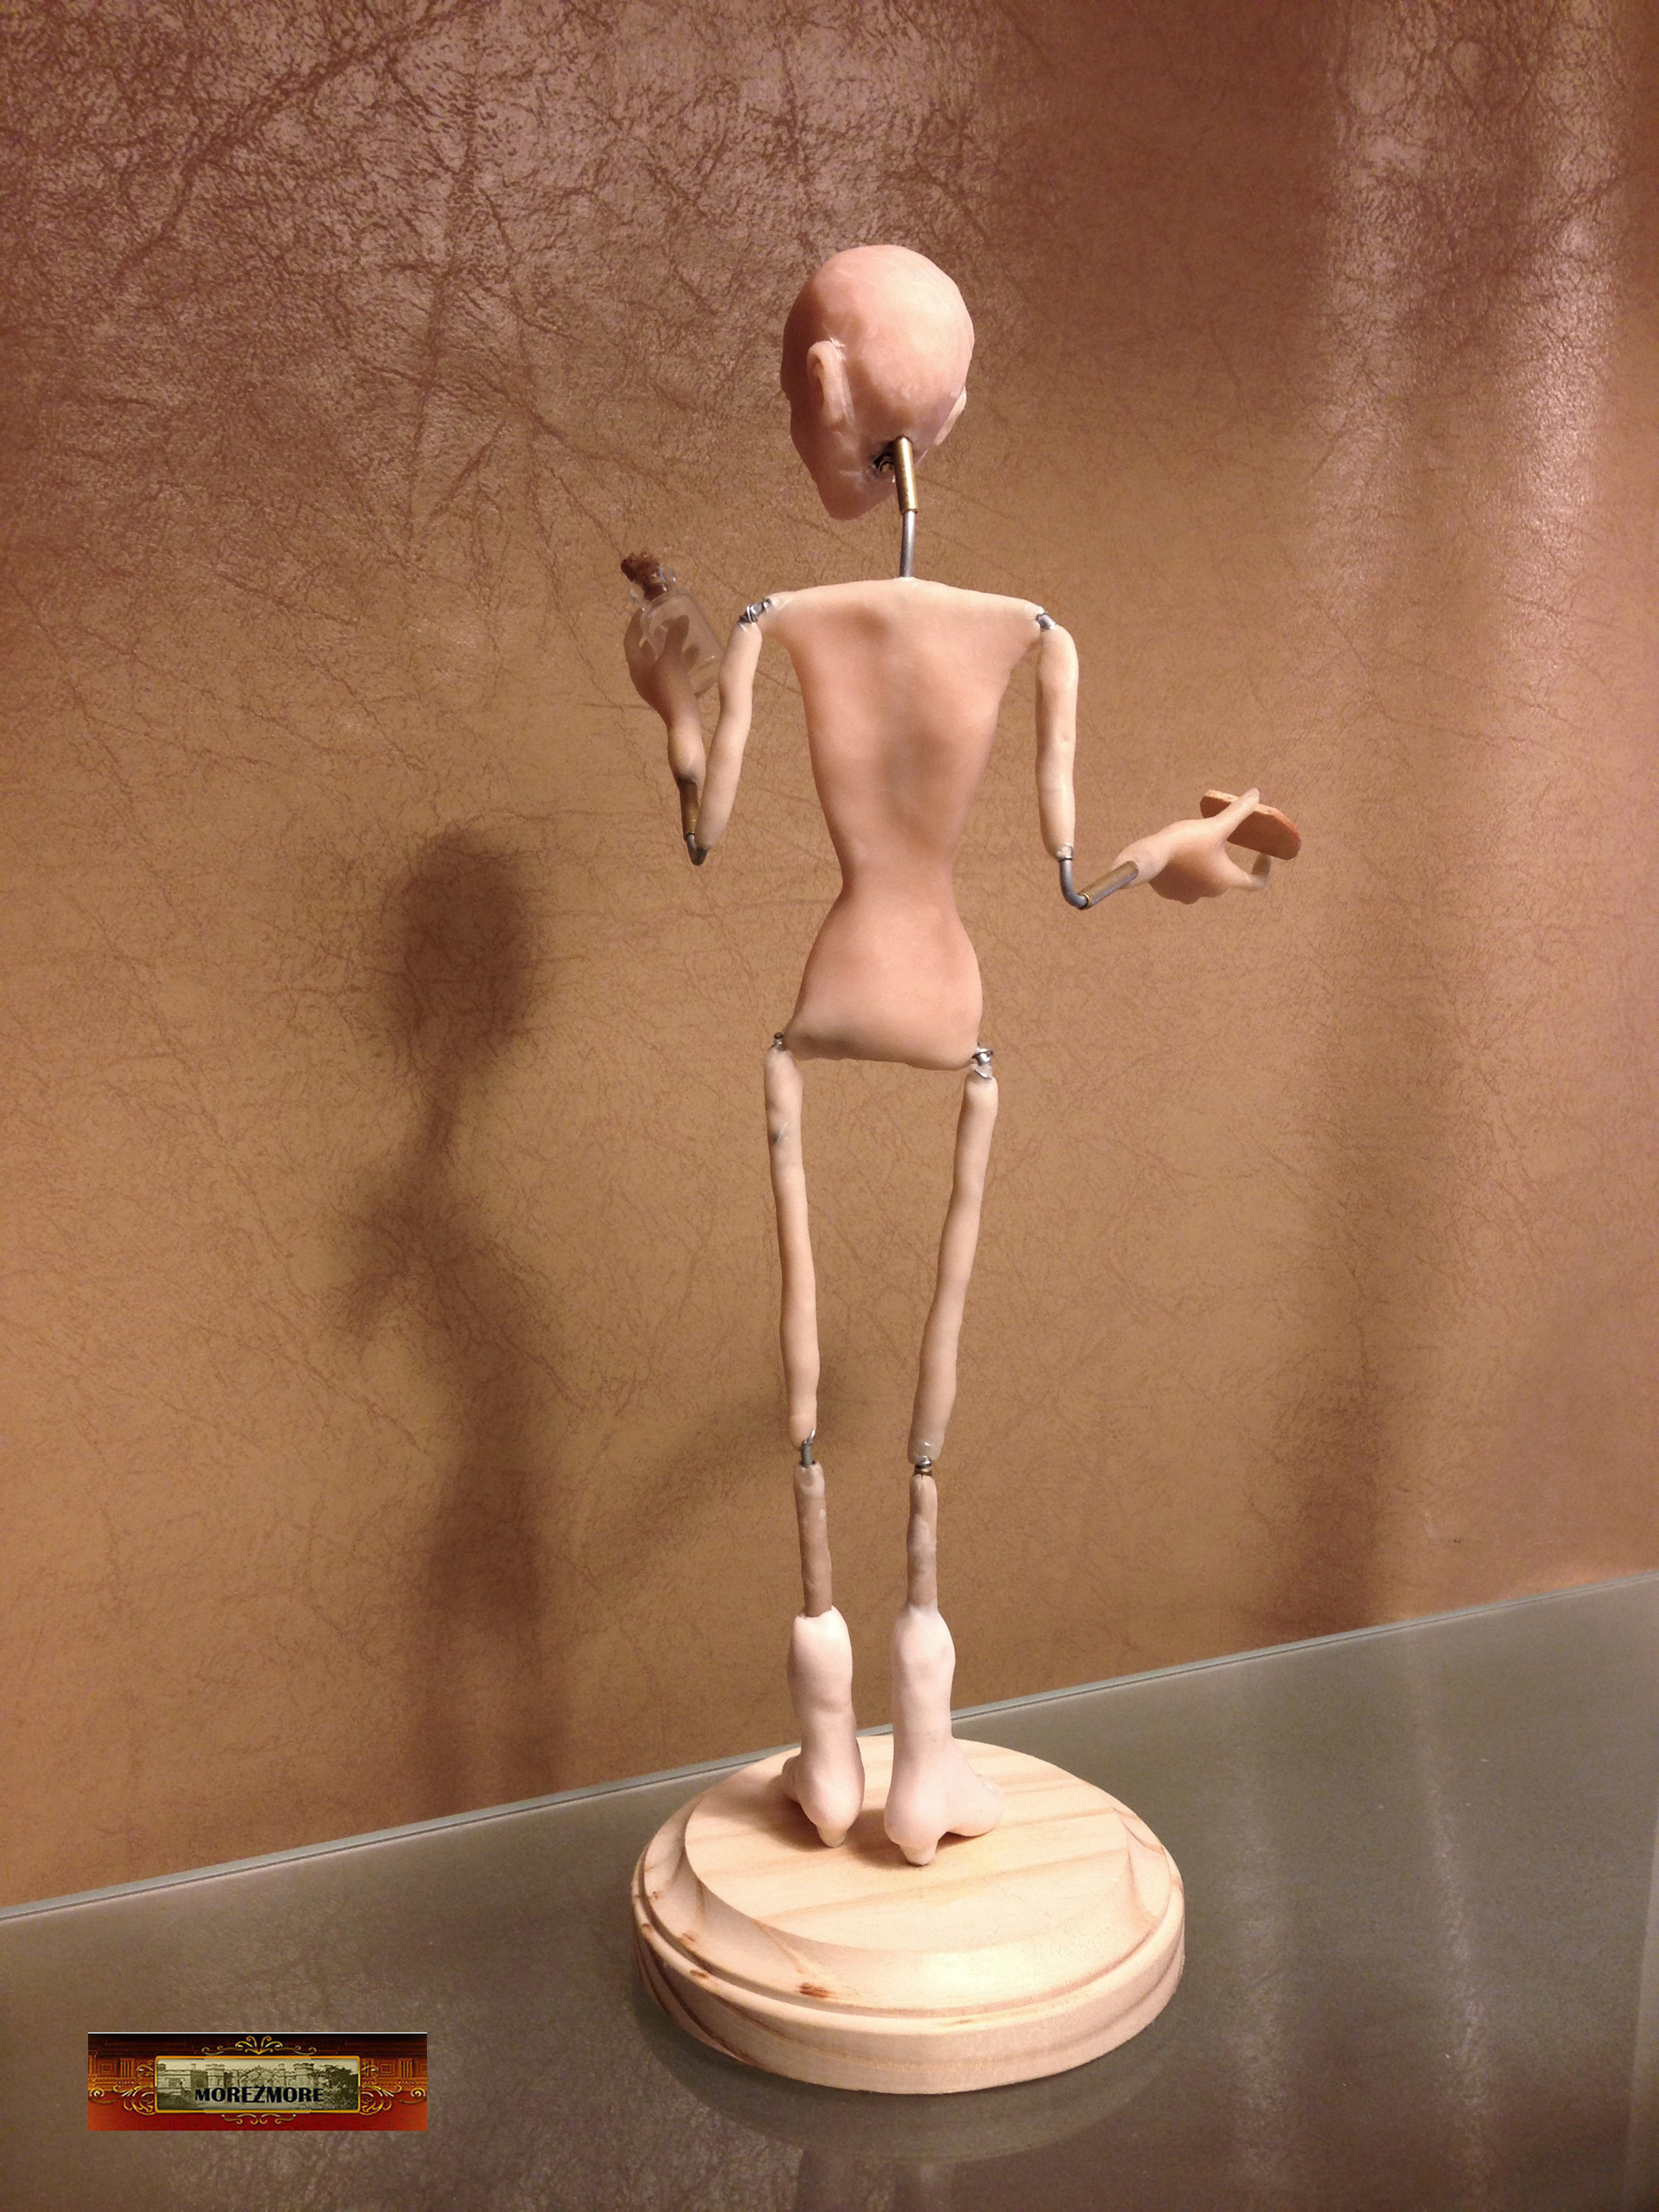
Posing. I am going to make a simple pose: Alice considering drinking from a little bottle.
“… she found a little bottle, … and round the neck of the bottle was a paper label, with the words ‘DRINK ME’ beautifully printed on it in large letters.” — Alice’s Adventures in Wonderland, by Lewis Carroll.
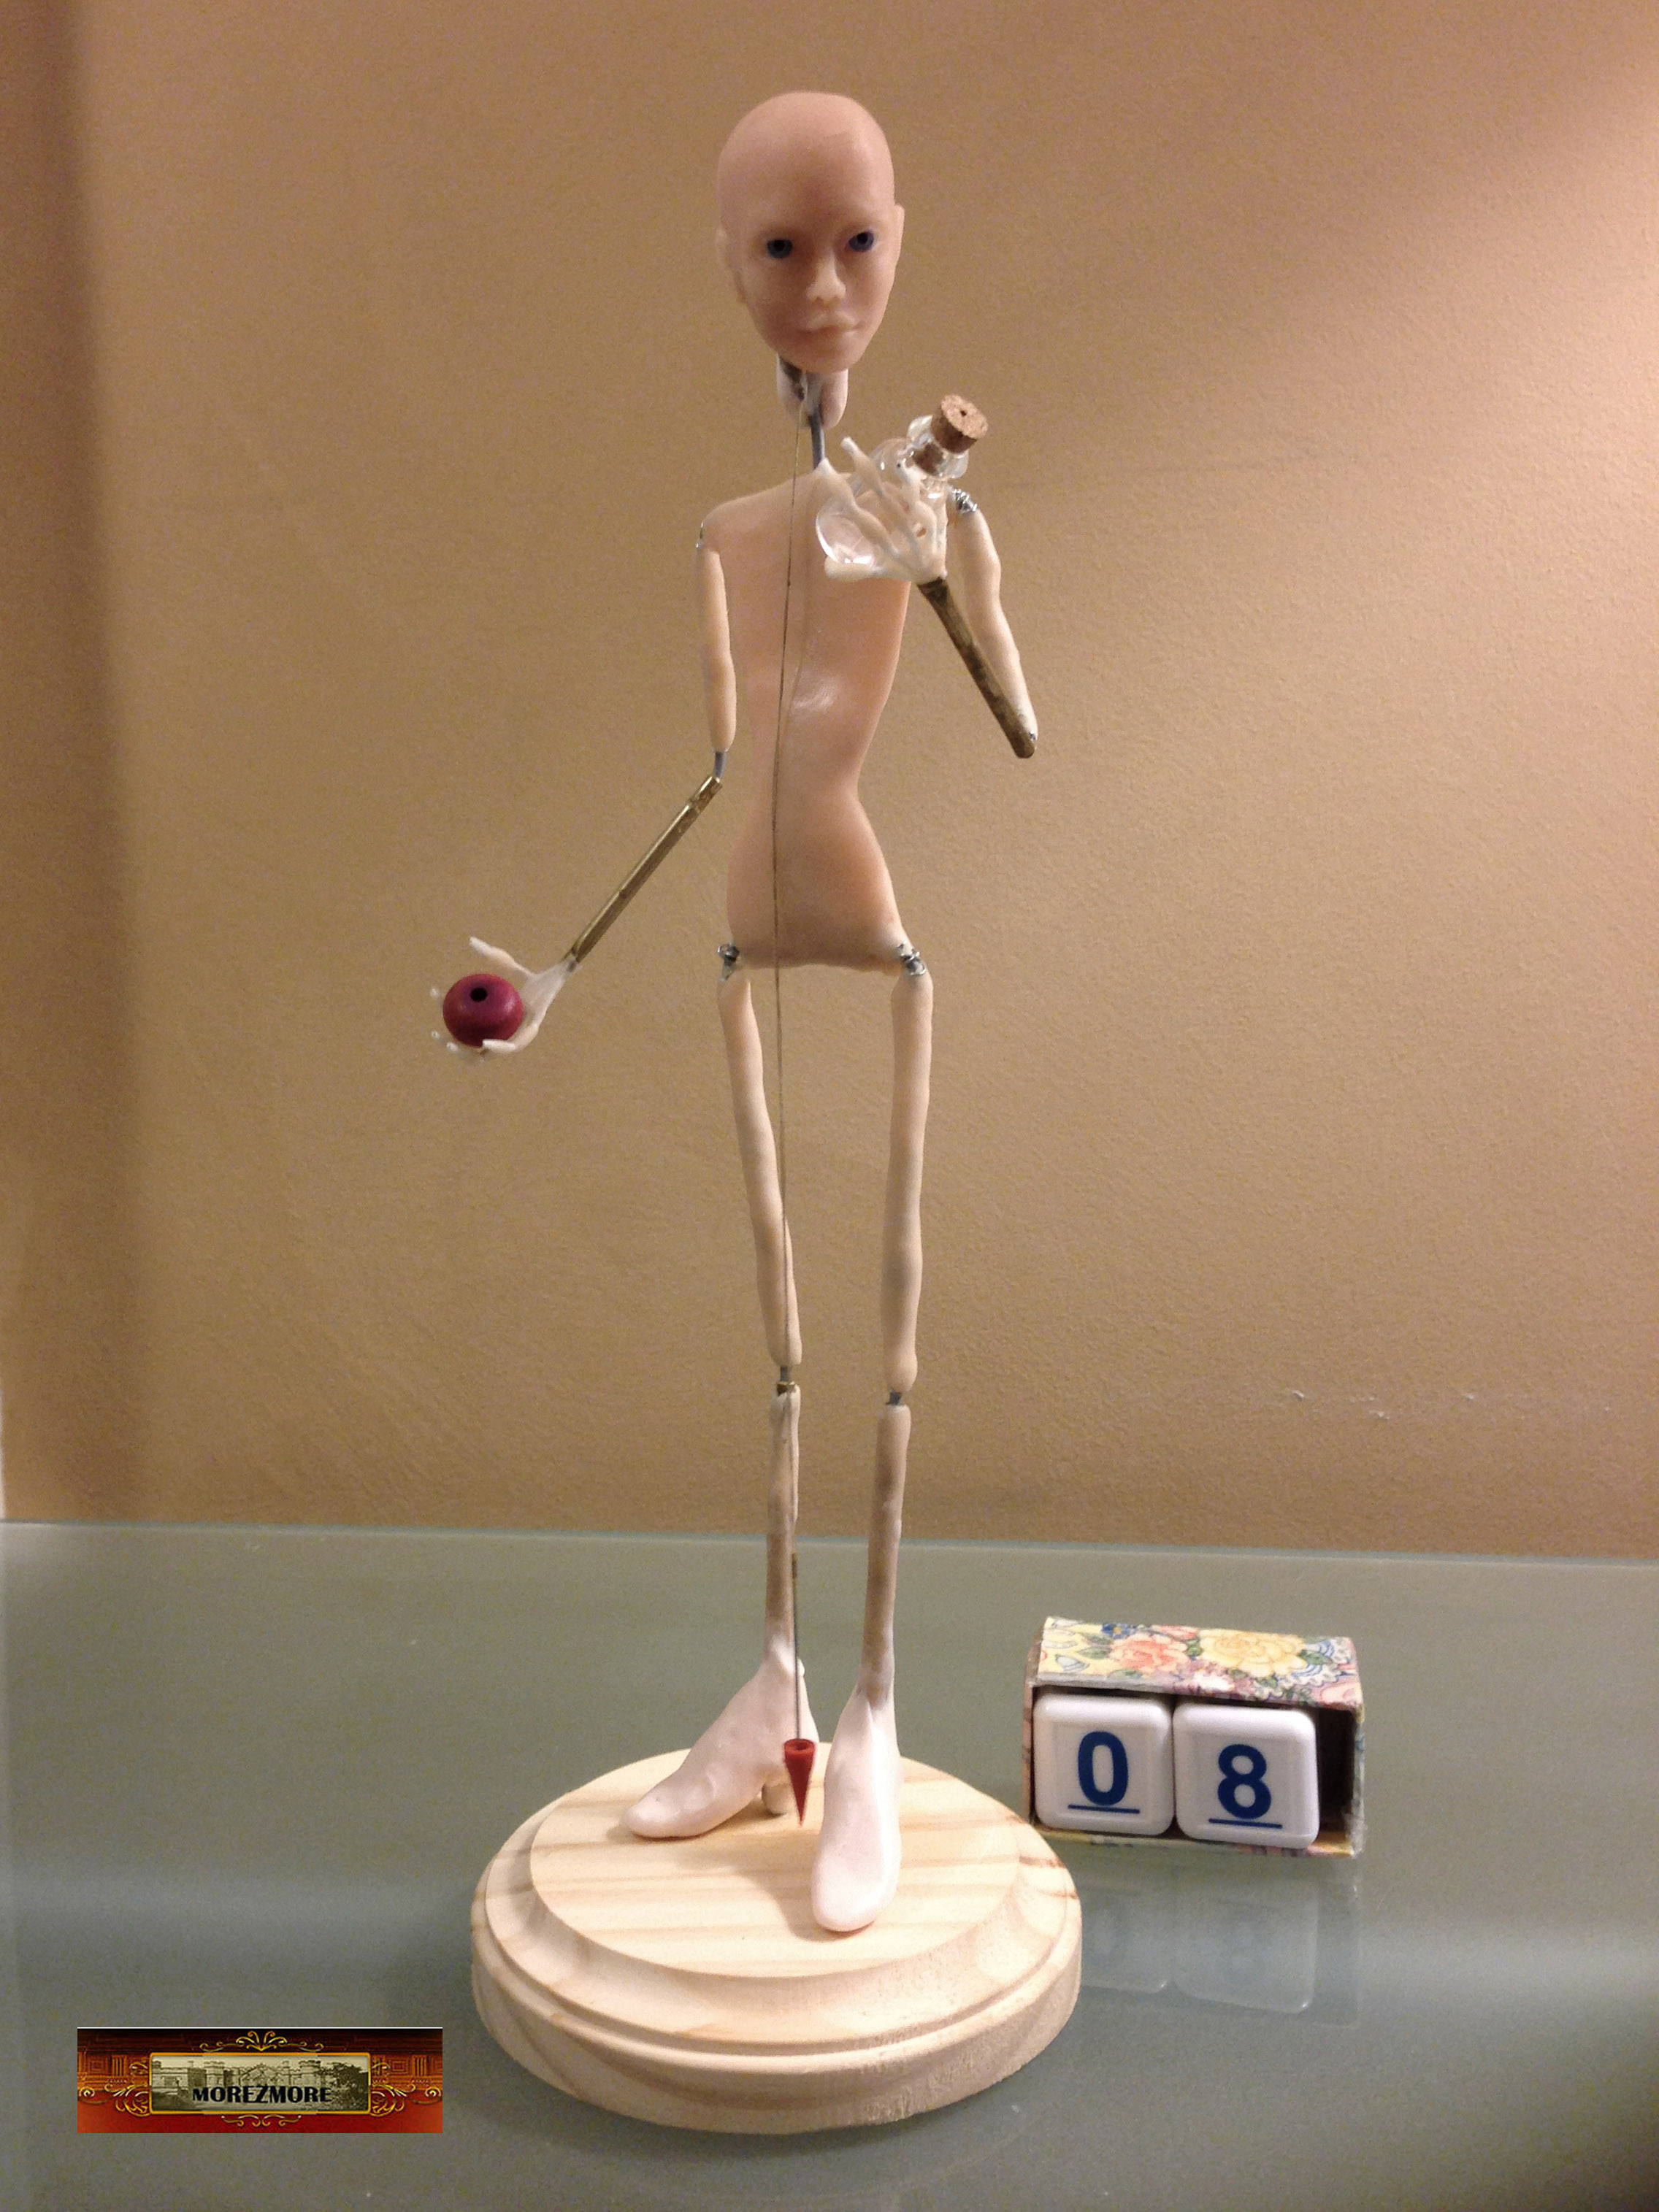
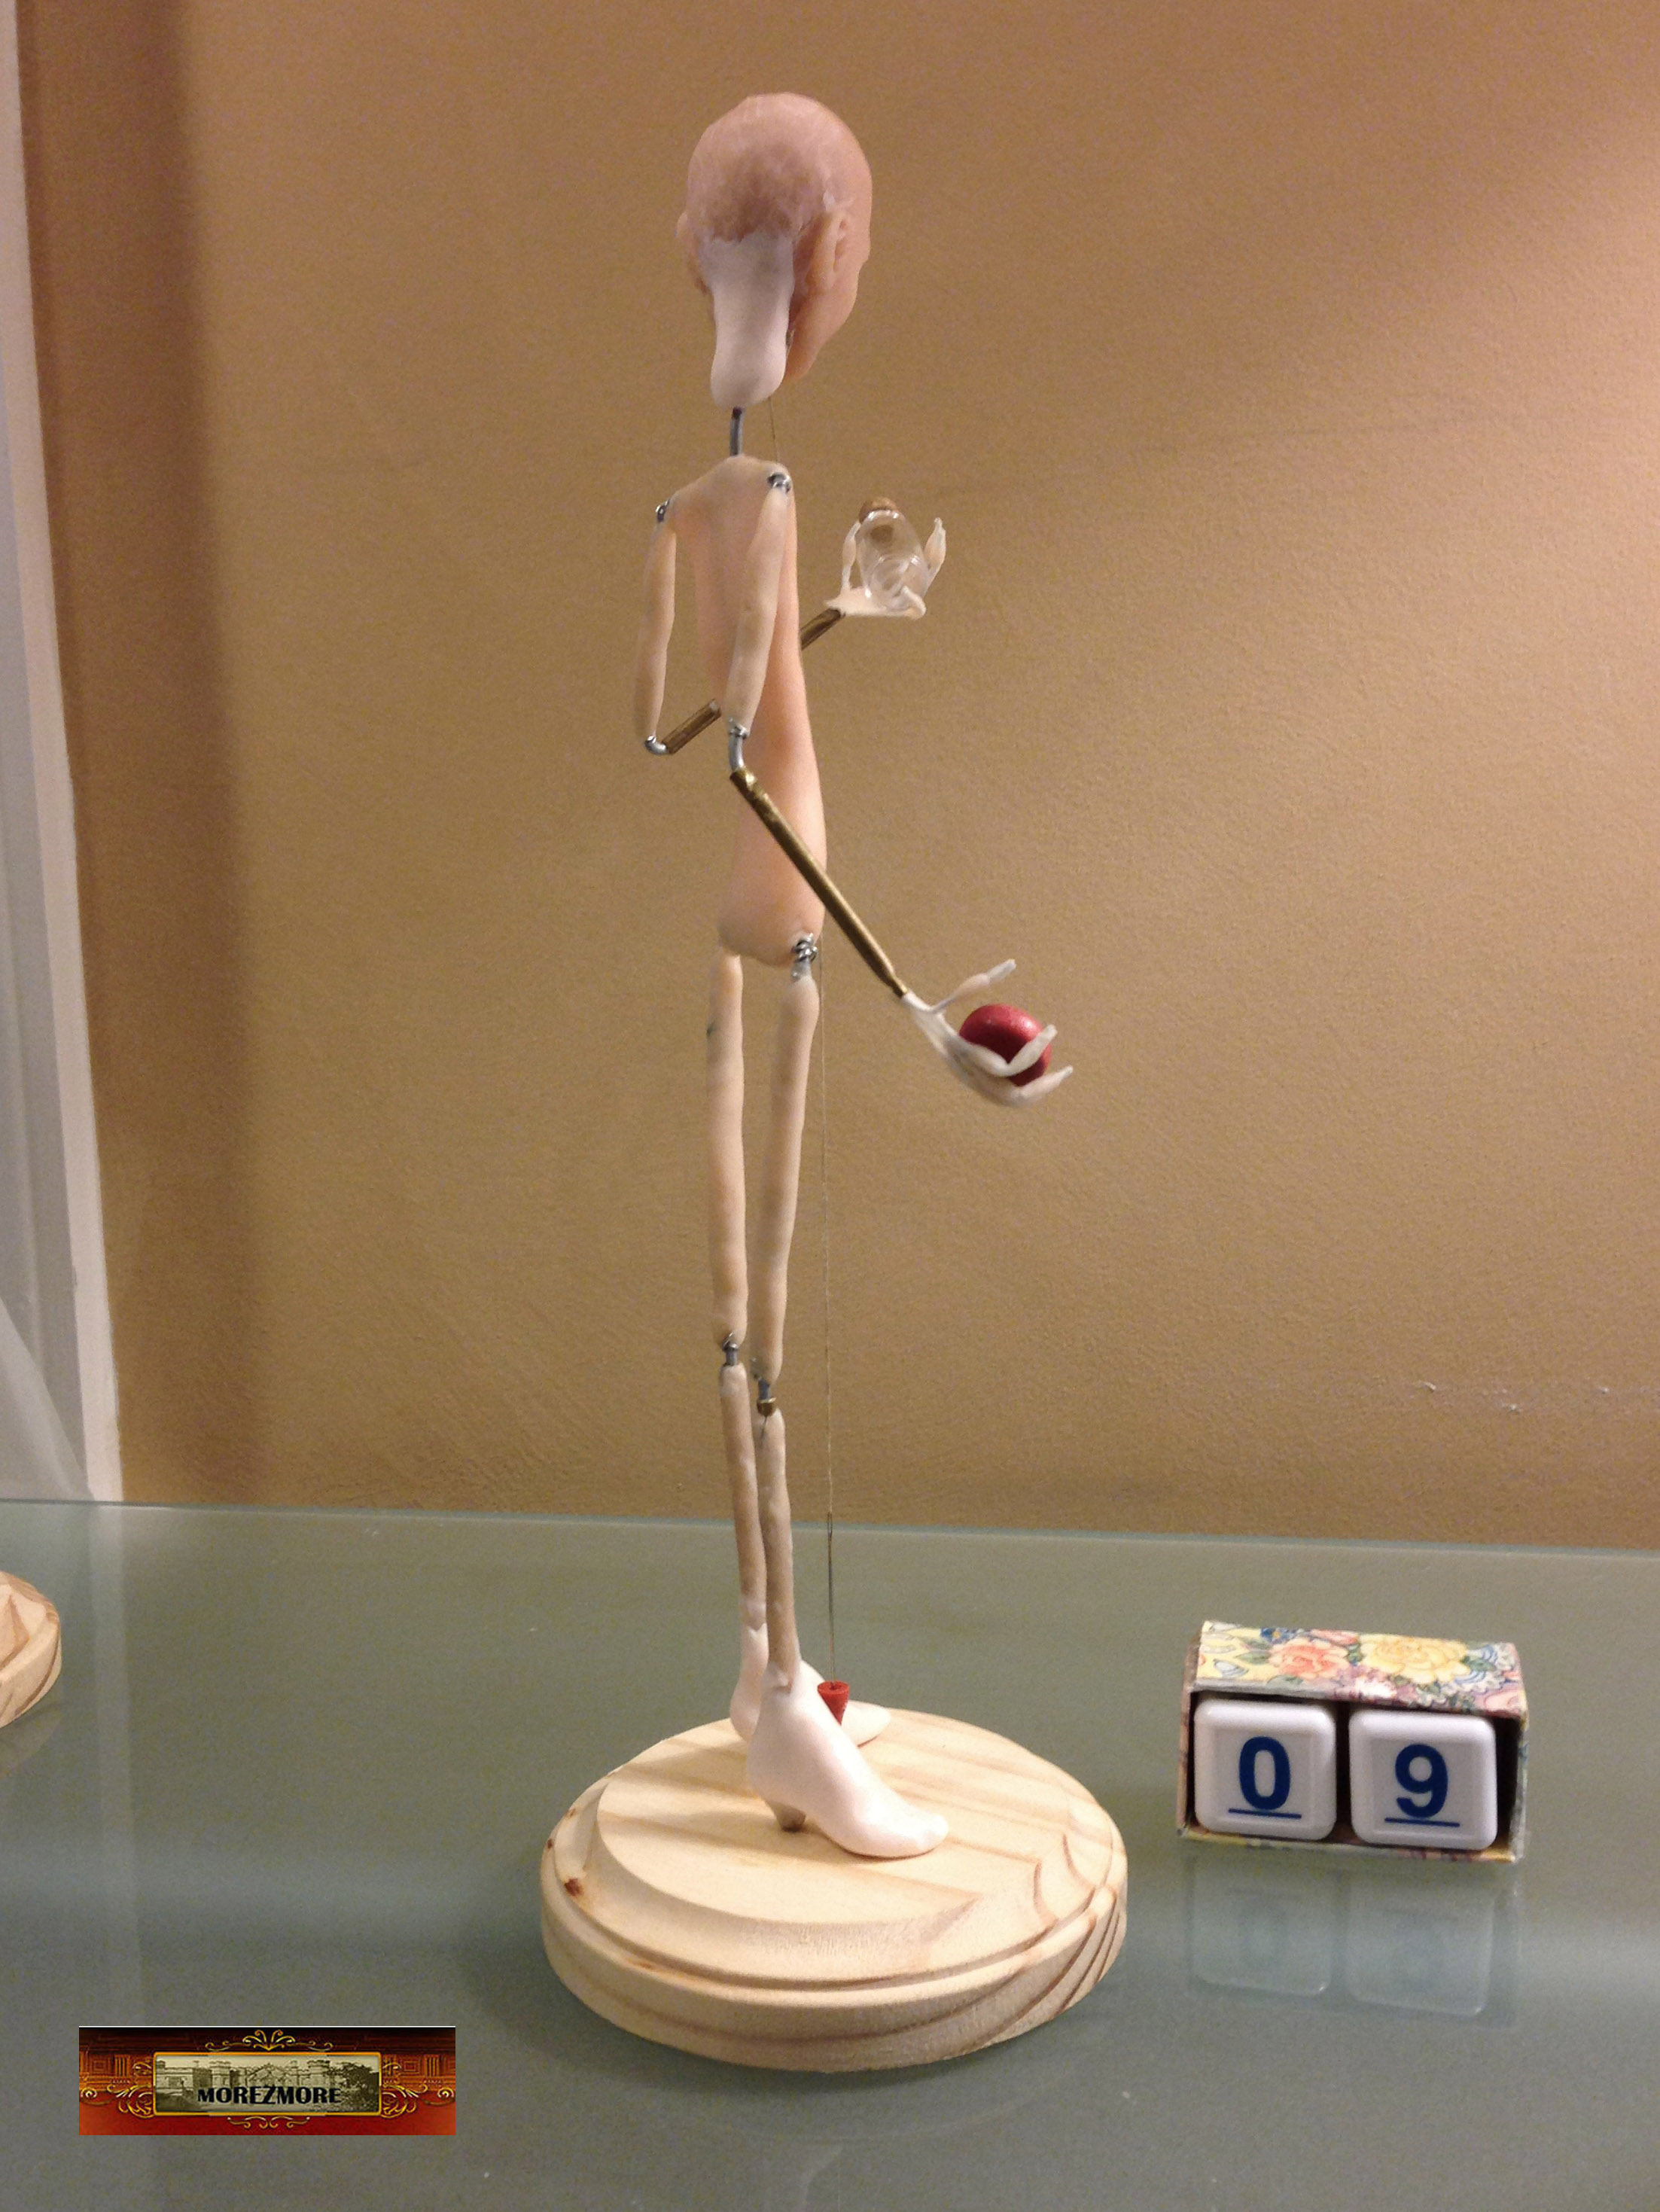
Lucky me – I live in a OOAK supply store, so I went downstairs and obtained a miniature bottle with a cork which is of a perfect size.
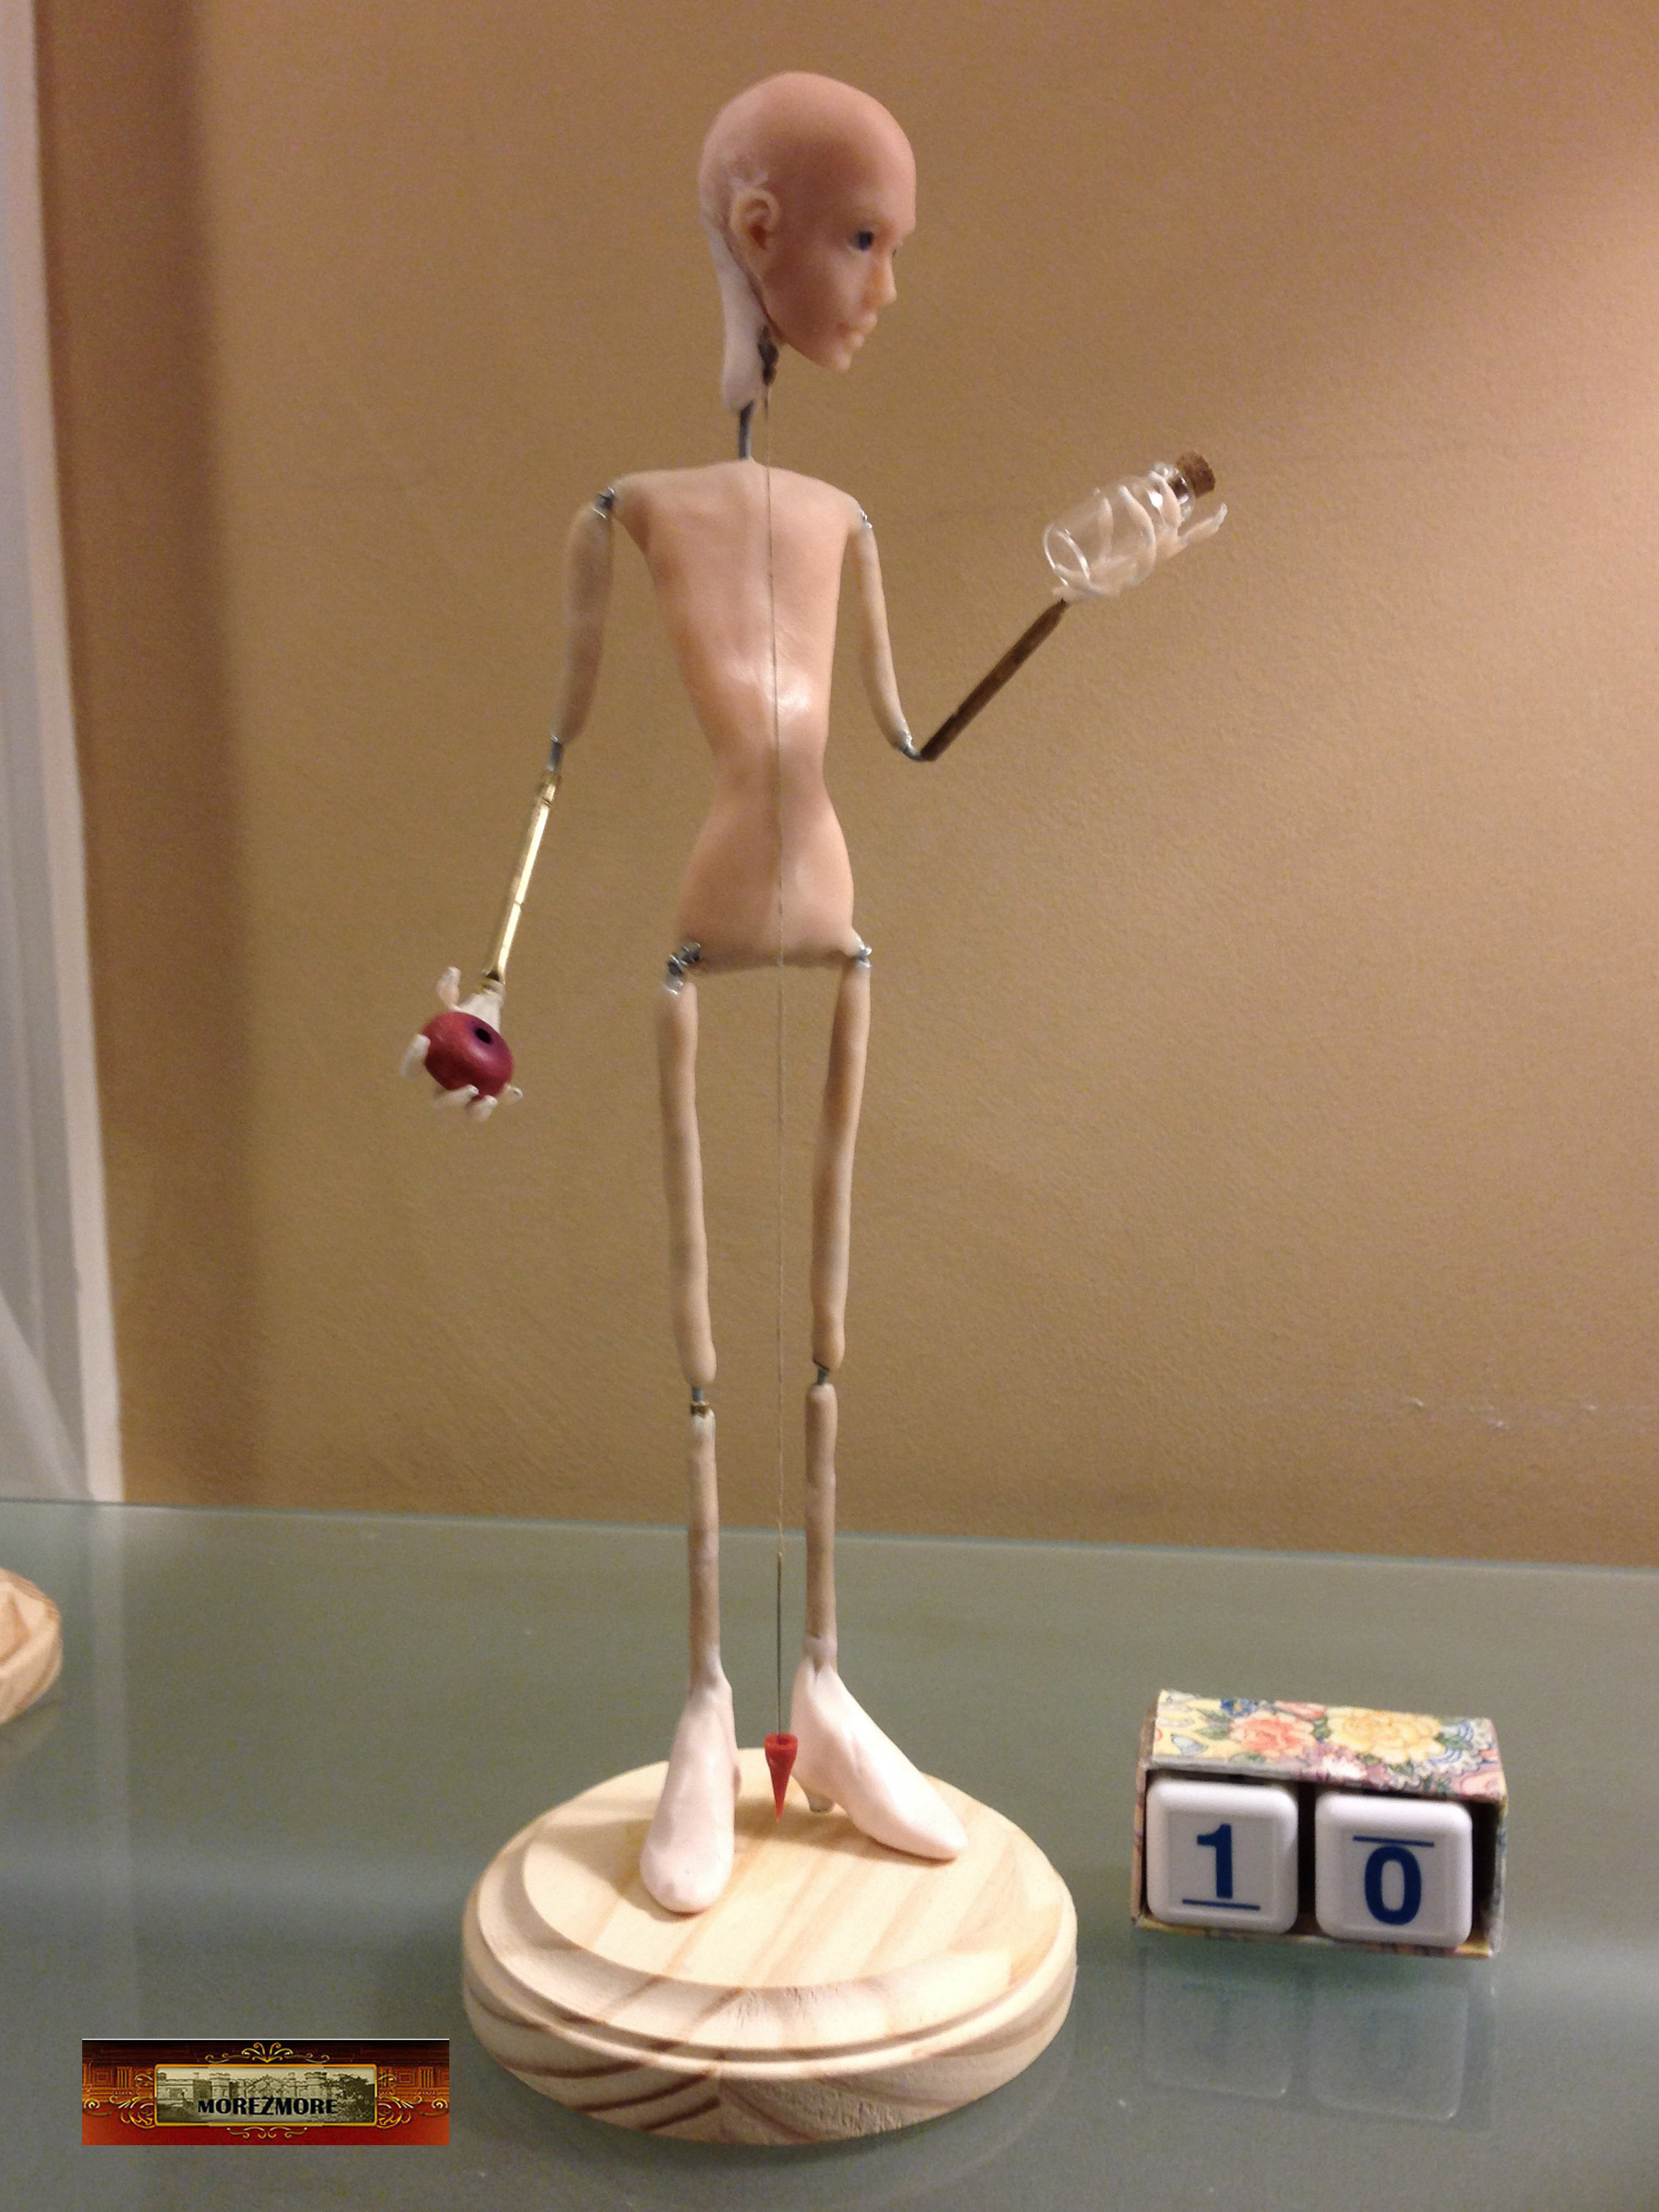
THE PLUMB LINE RULE
When a subject stands with the weight on one foot, the inside of the ankle supporting the weight is in a direct line straight down from the pit of the neck. This holds true whether the body is viewed from the front, back, or side. This very important line is called the PLUMB LINE.
Although my Alice is standing on both feet, the plumb is helpful to balance the armature. Sometimes I don’t see the error in the balance until it is too late. So I am trying to be thorough this time. The plumb is made out of a needle on a thread, suspended from the pit of the neck, with a dental rubber pick tip on the end (so that it can be seen better on the pictures).

***********
Hands – from start to finish
Tools and materials
– cotton-covered wire
– brass tubing 1/8″
– tubing cutter
– polymer clay
– Translucent Liquid Sculpey
– convection oven Deni 10400
– oven thermometer
– “That’s the One” tool
– fine point dental rubber tool
– X-Acto knife
– flat clay smoothing brush
– ball-point stylus tools in different sizes
– miniature fingernail tool set
– long-nose pliers
– wire cutters
– fine abrasive sanding mesh 180 grit
– needle files
******
5 pieces of wire and a piece of 1/8″ brass tube (hand module).

Bouquet of wires goes into the tube.
Pinched the end of tube to secure the wires.


Arranged the fingers into a palm tree leaf and painted each wire with translucent liquid sculpey.
Collected the fingers together and painted heavily the place where the palm will be.


Baked

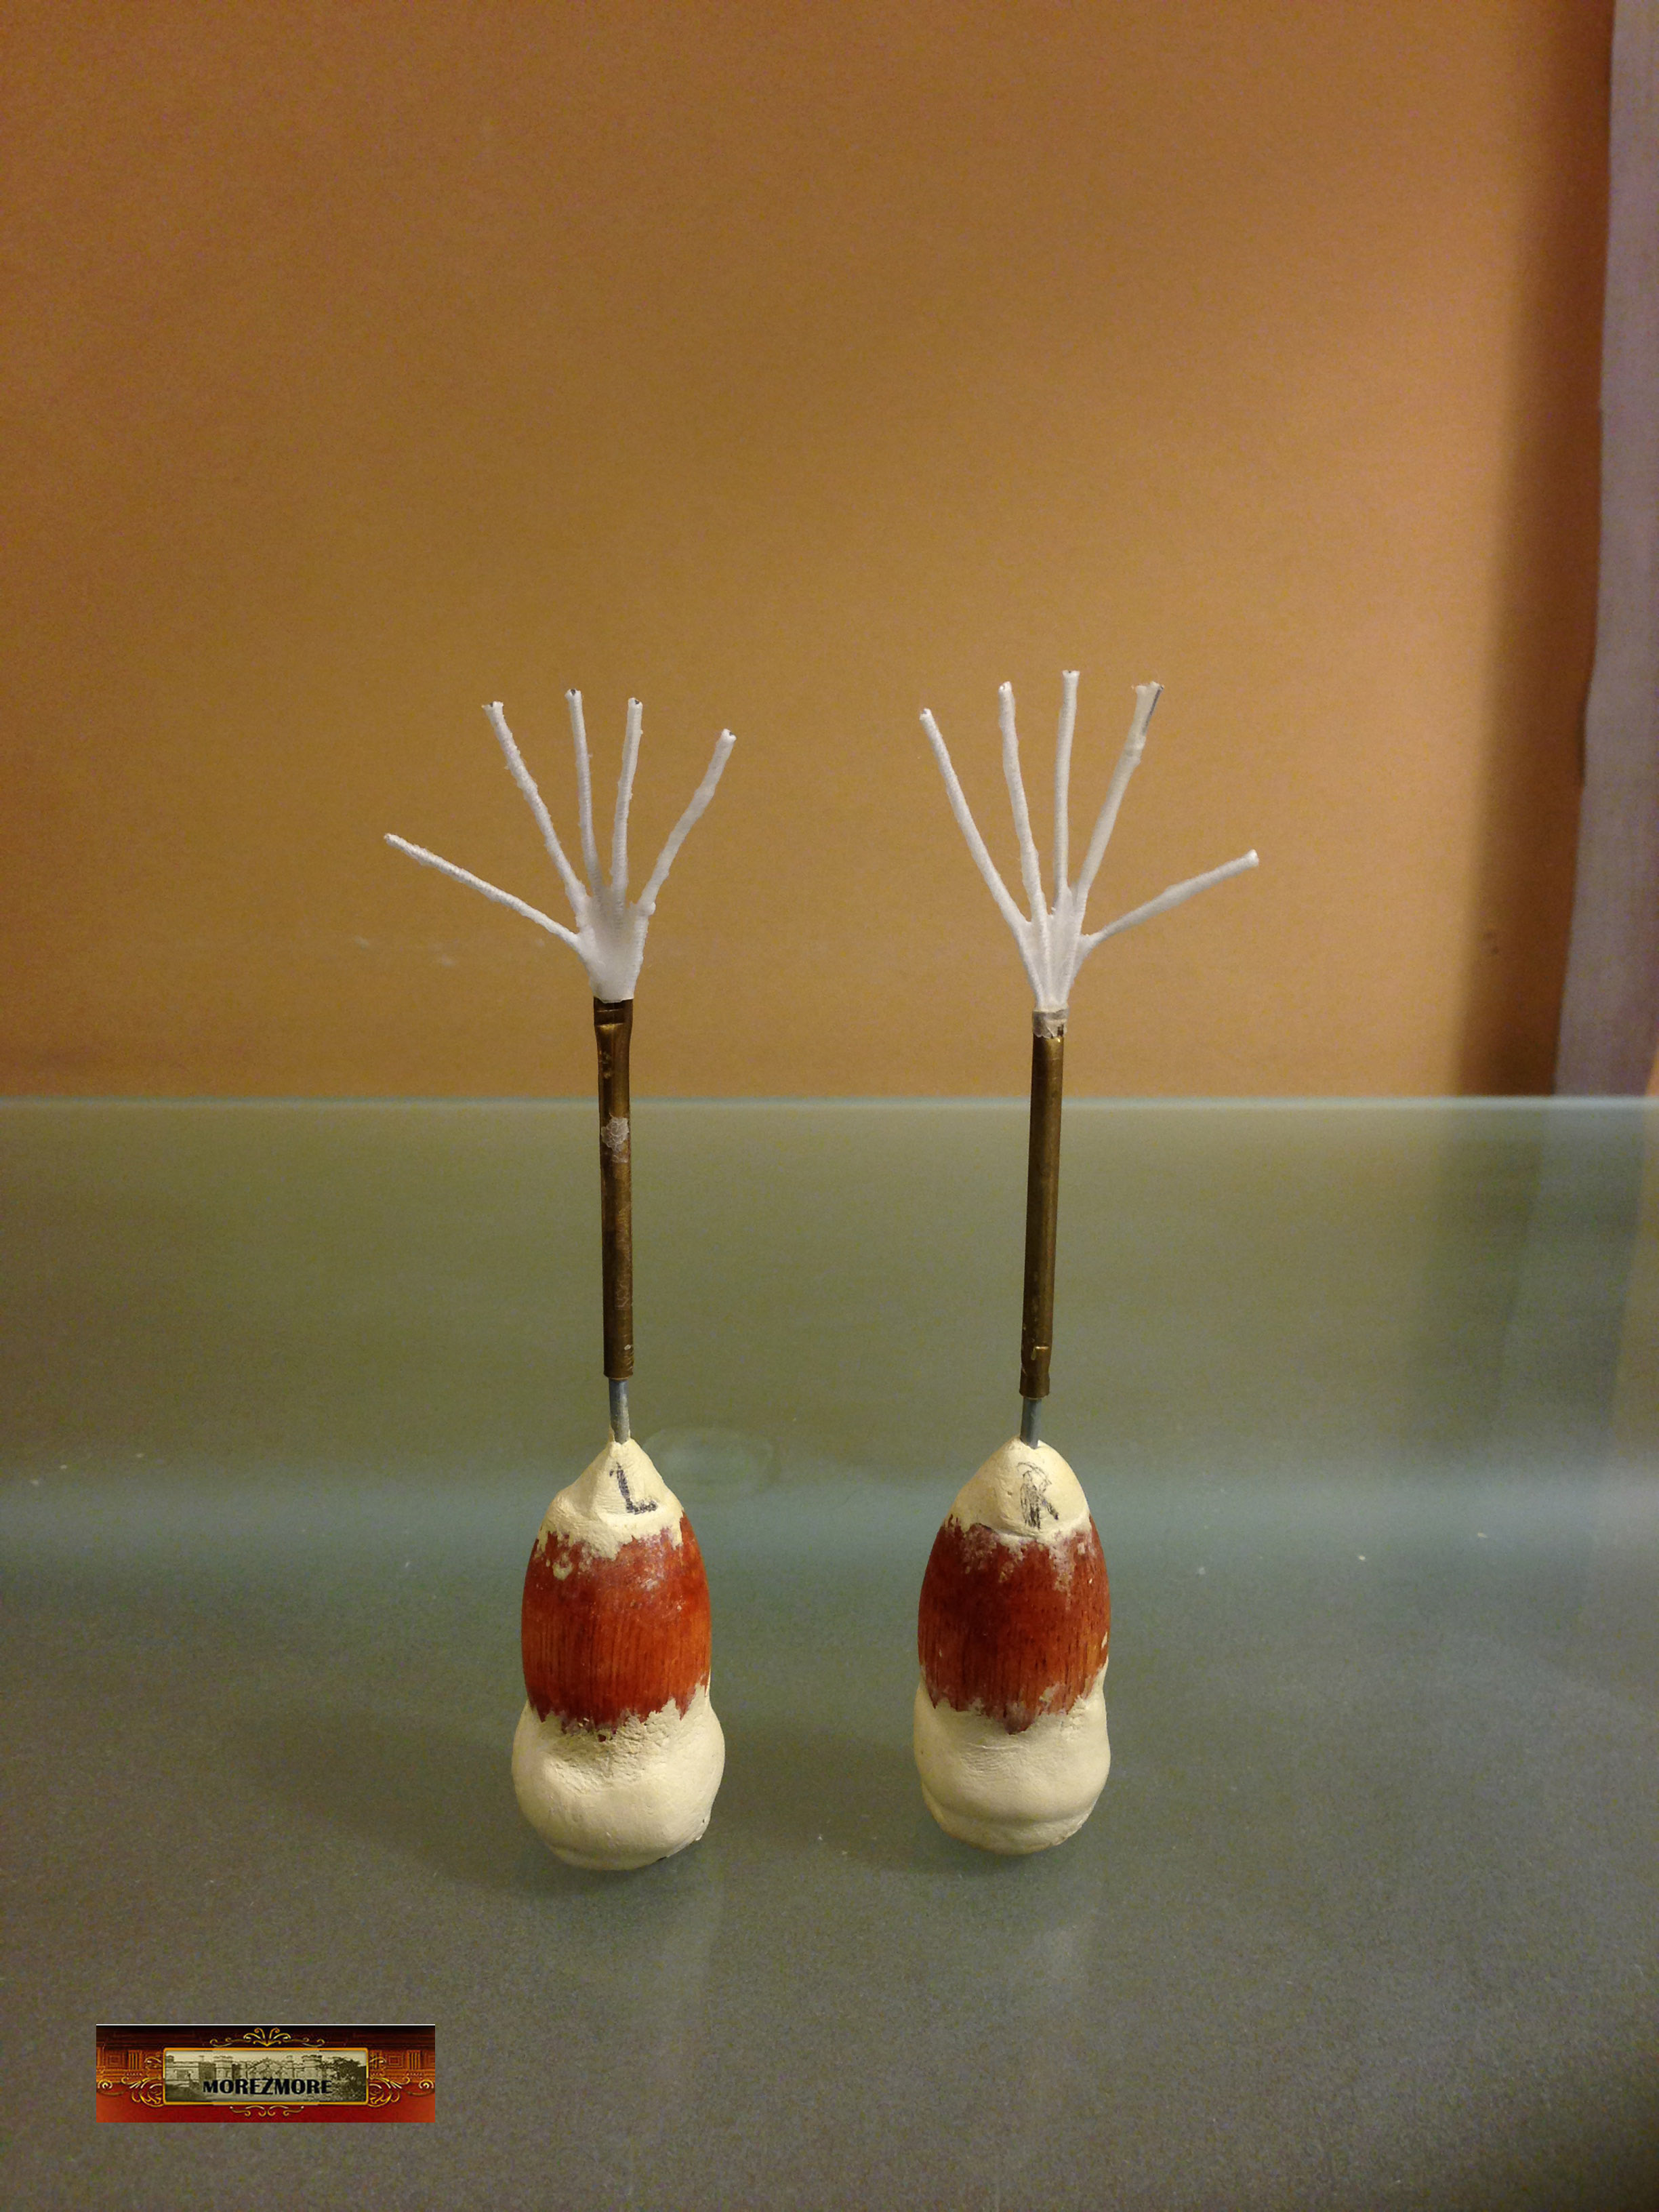
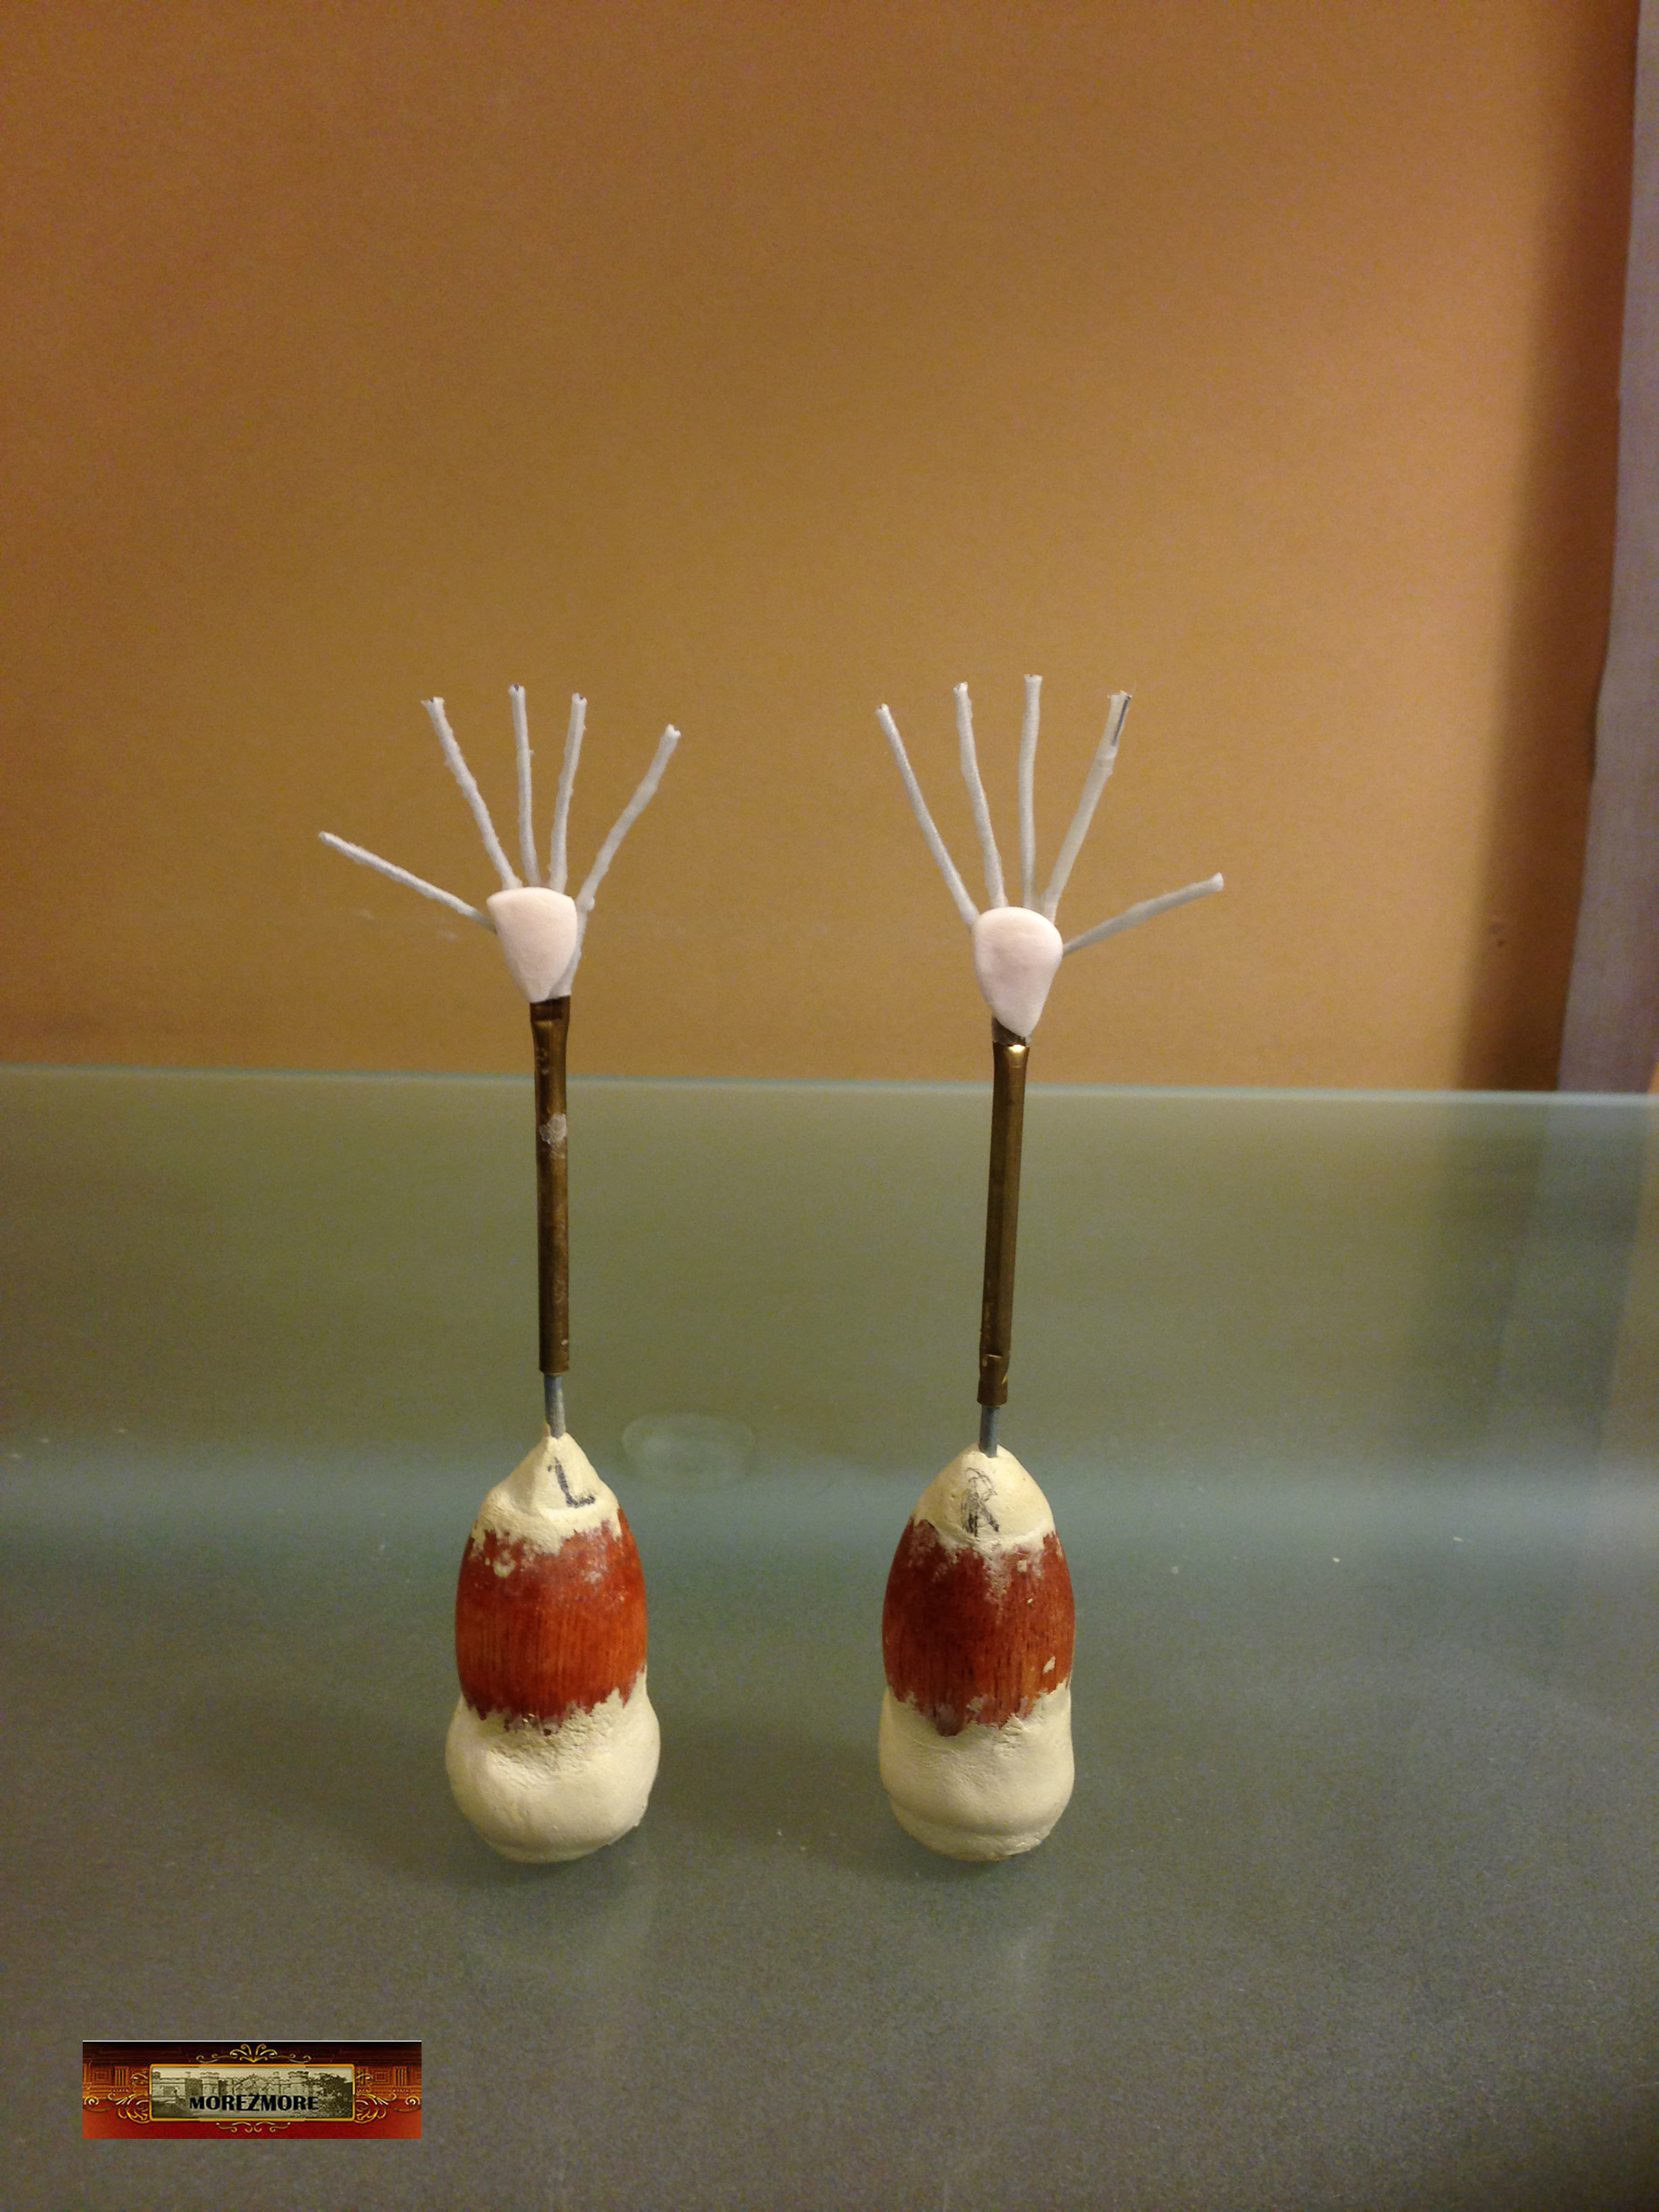
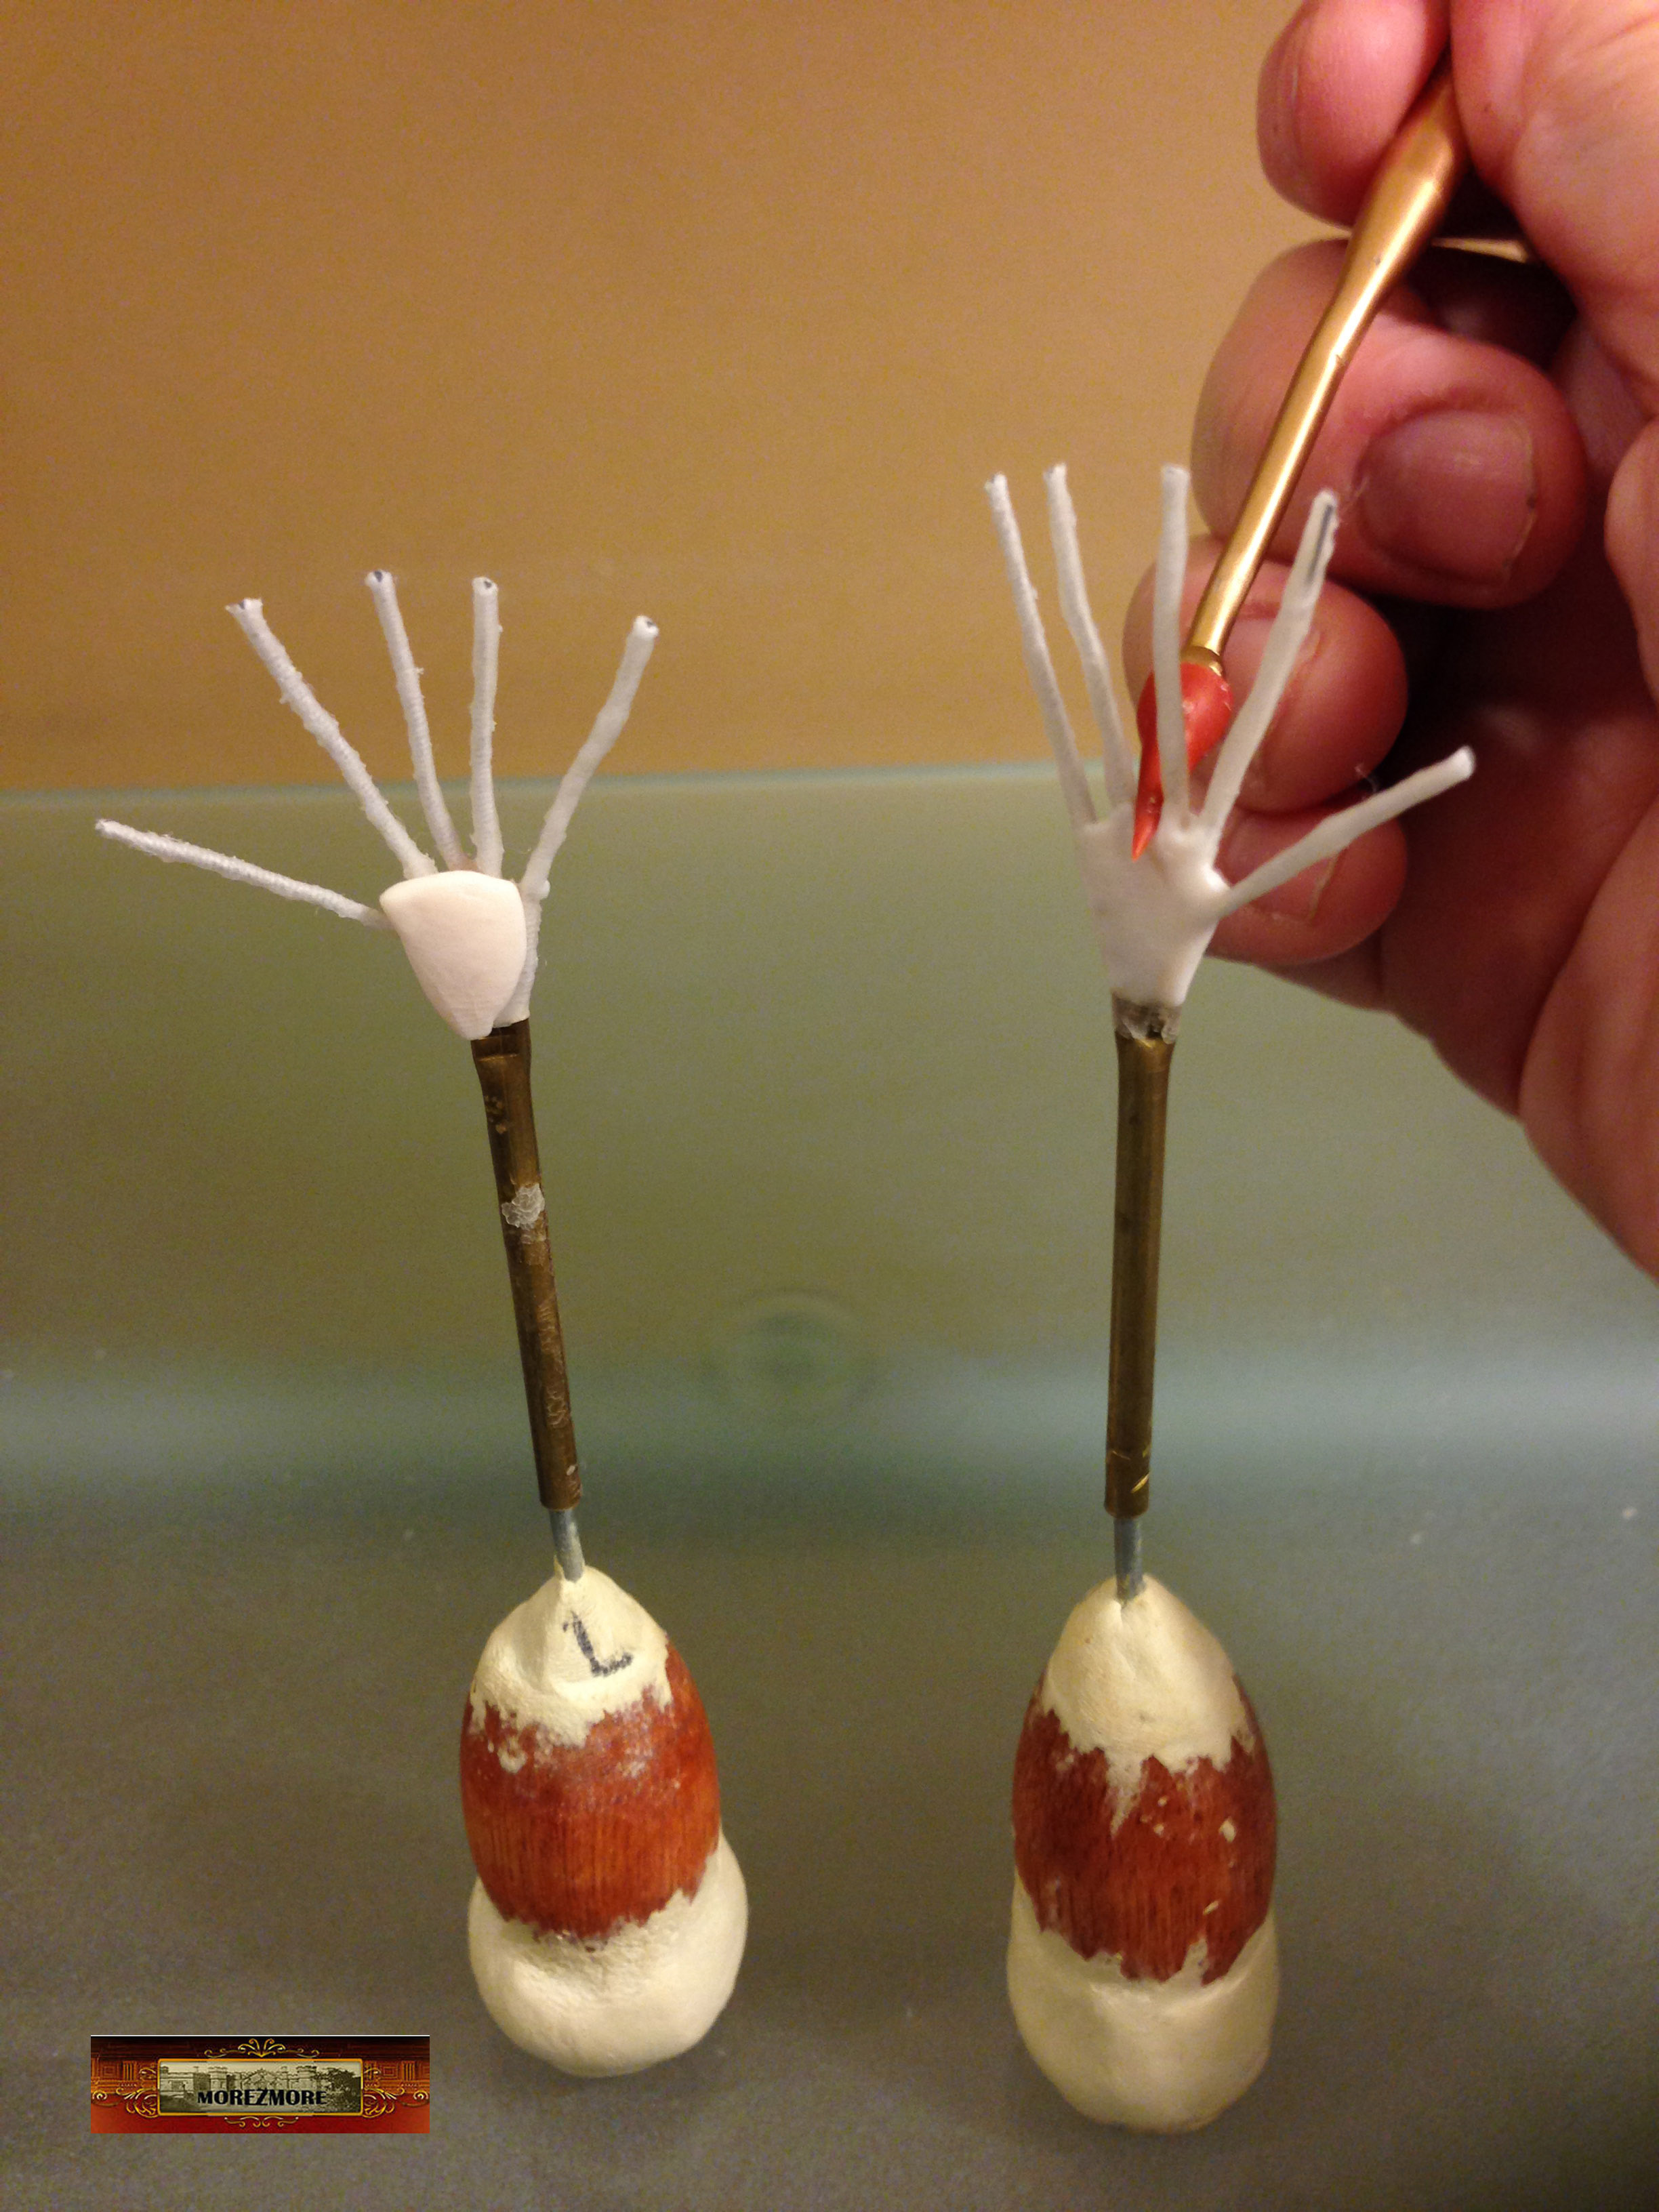
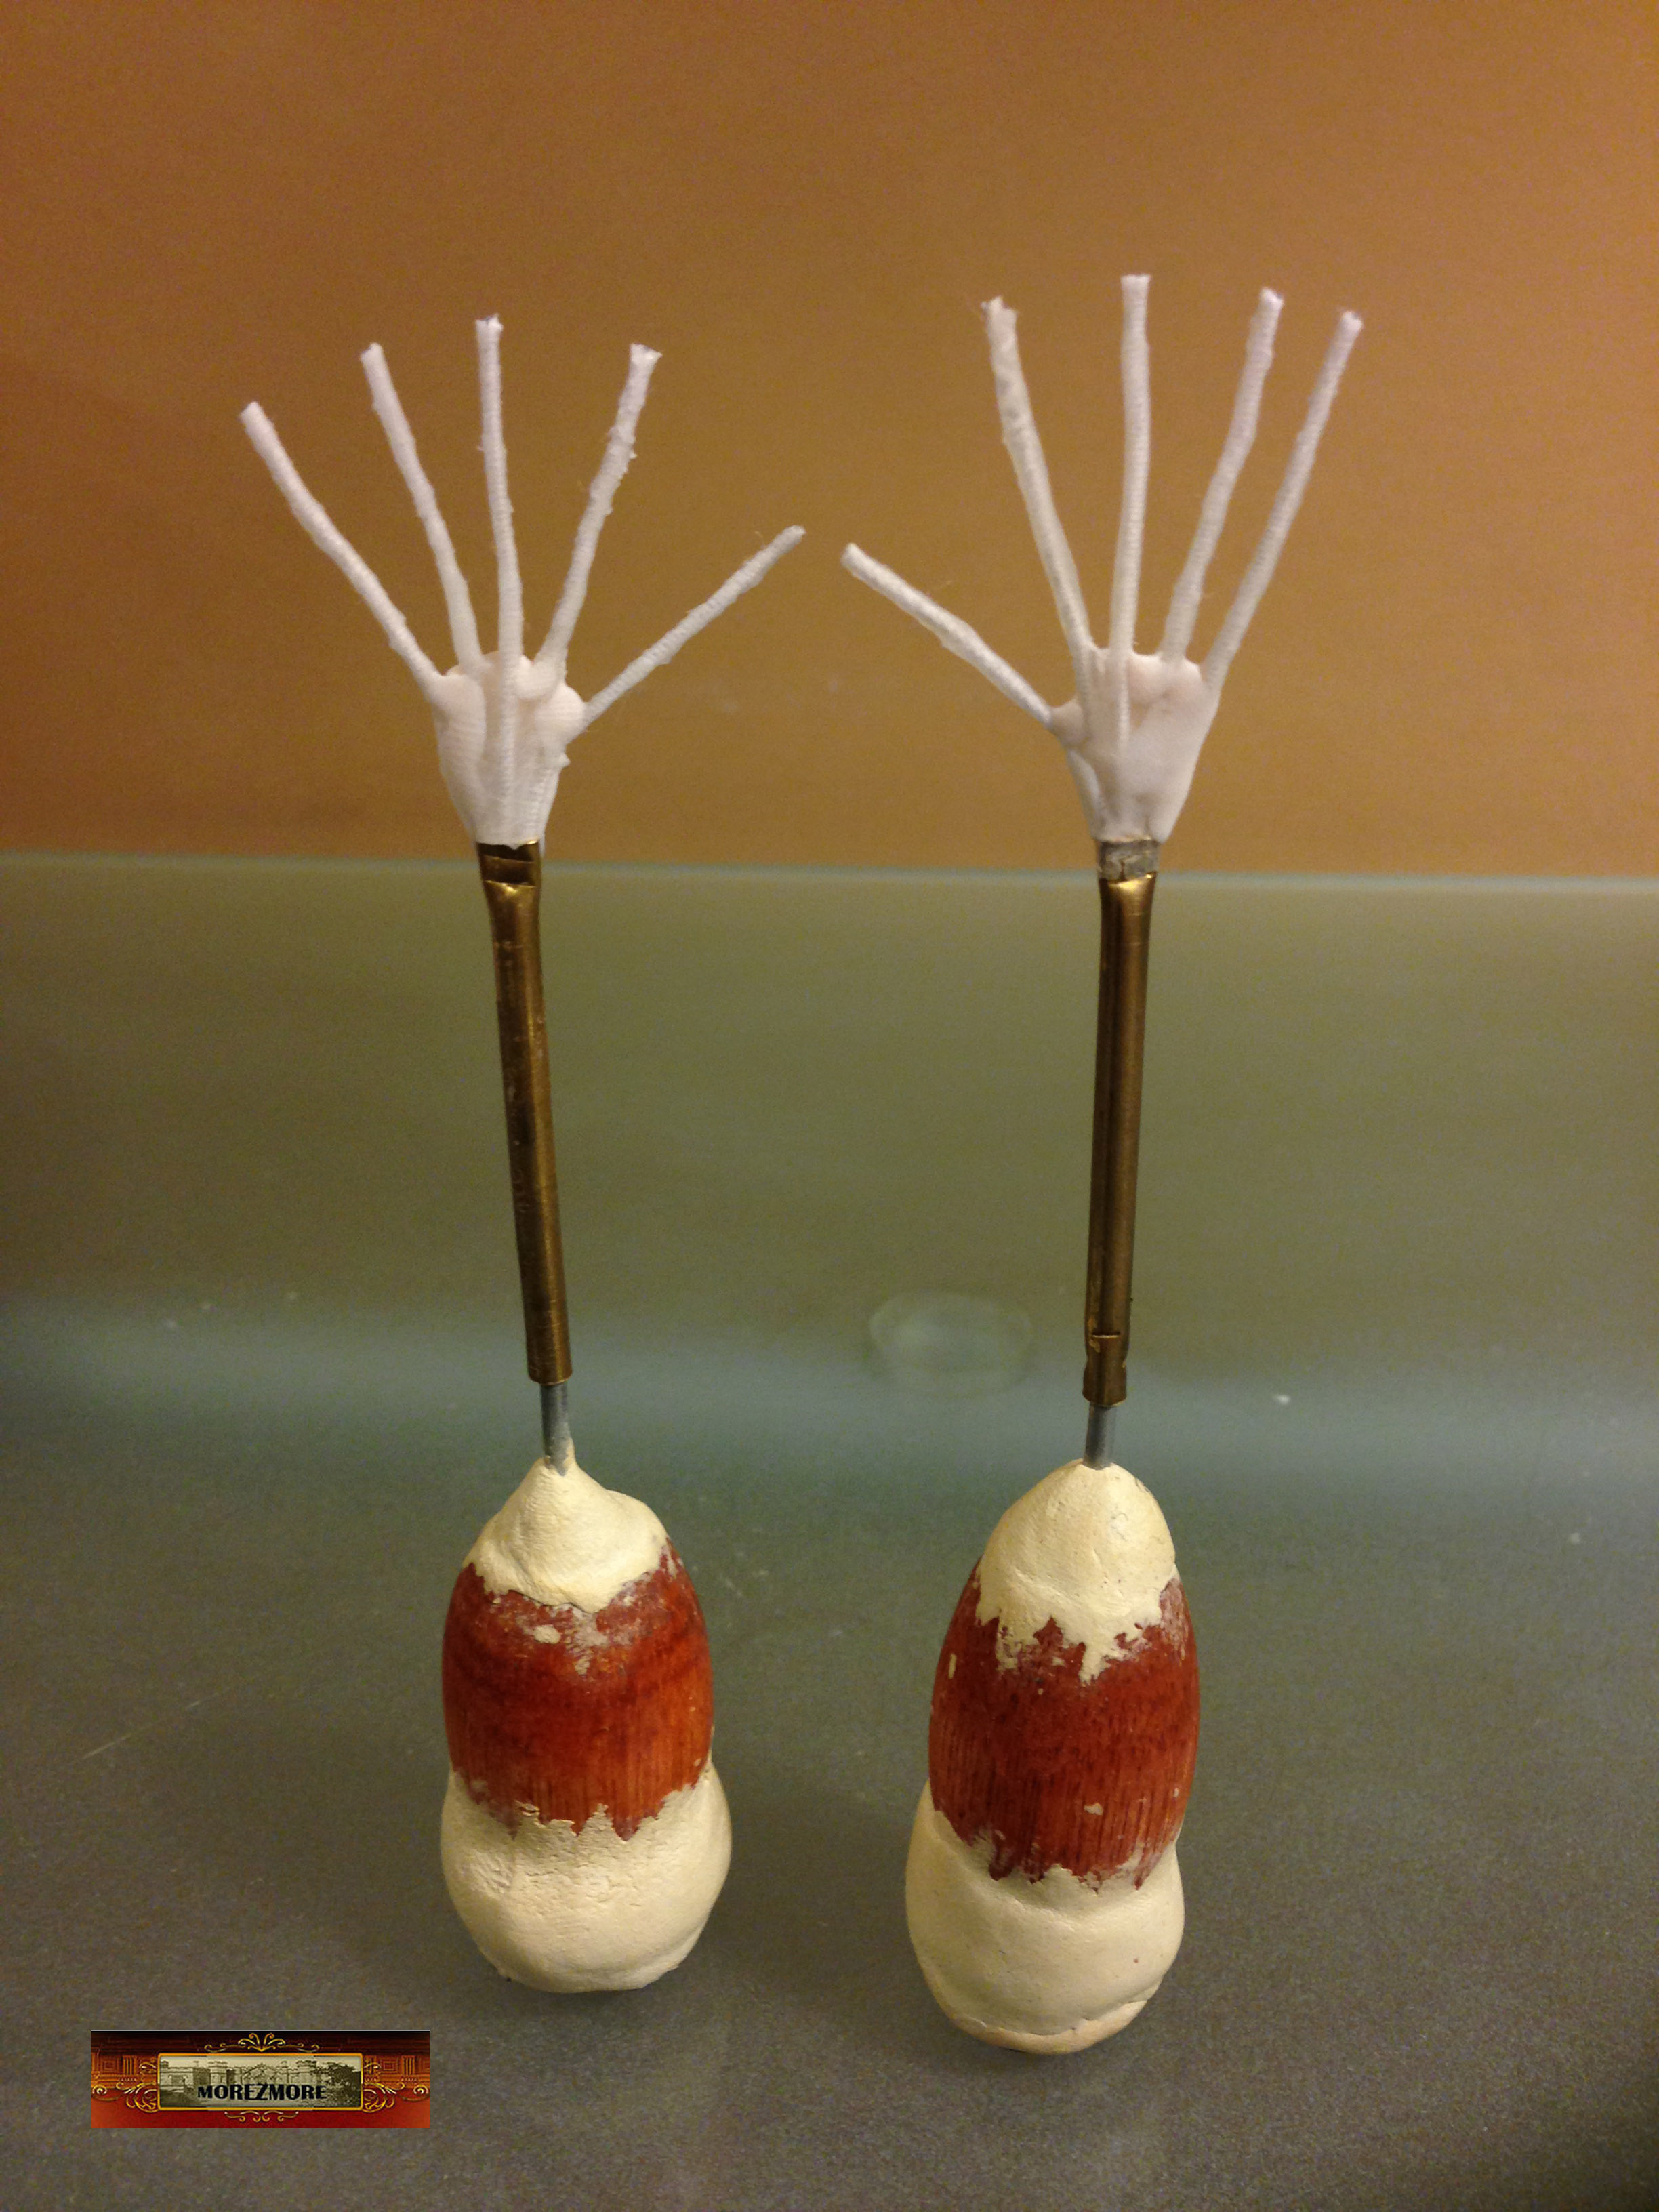

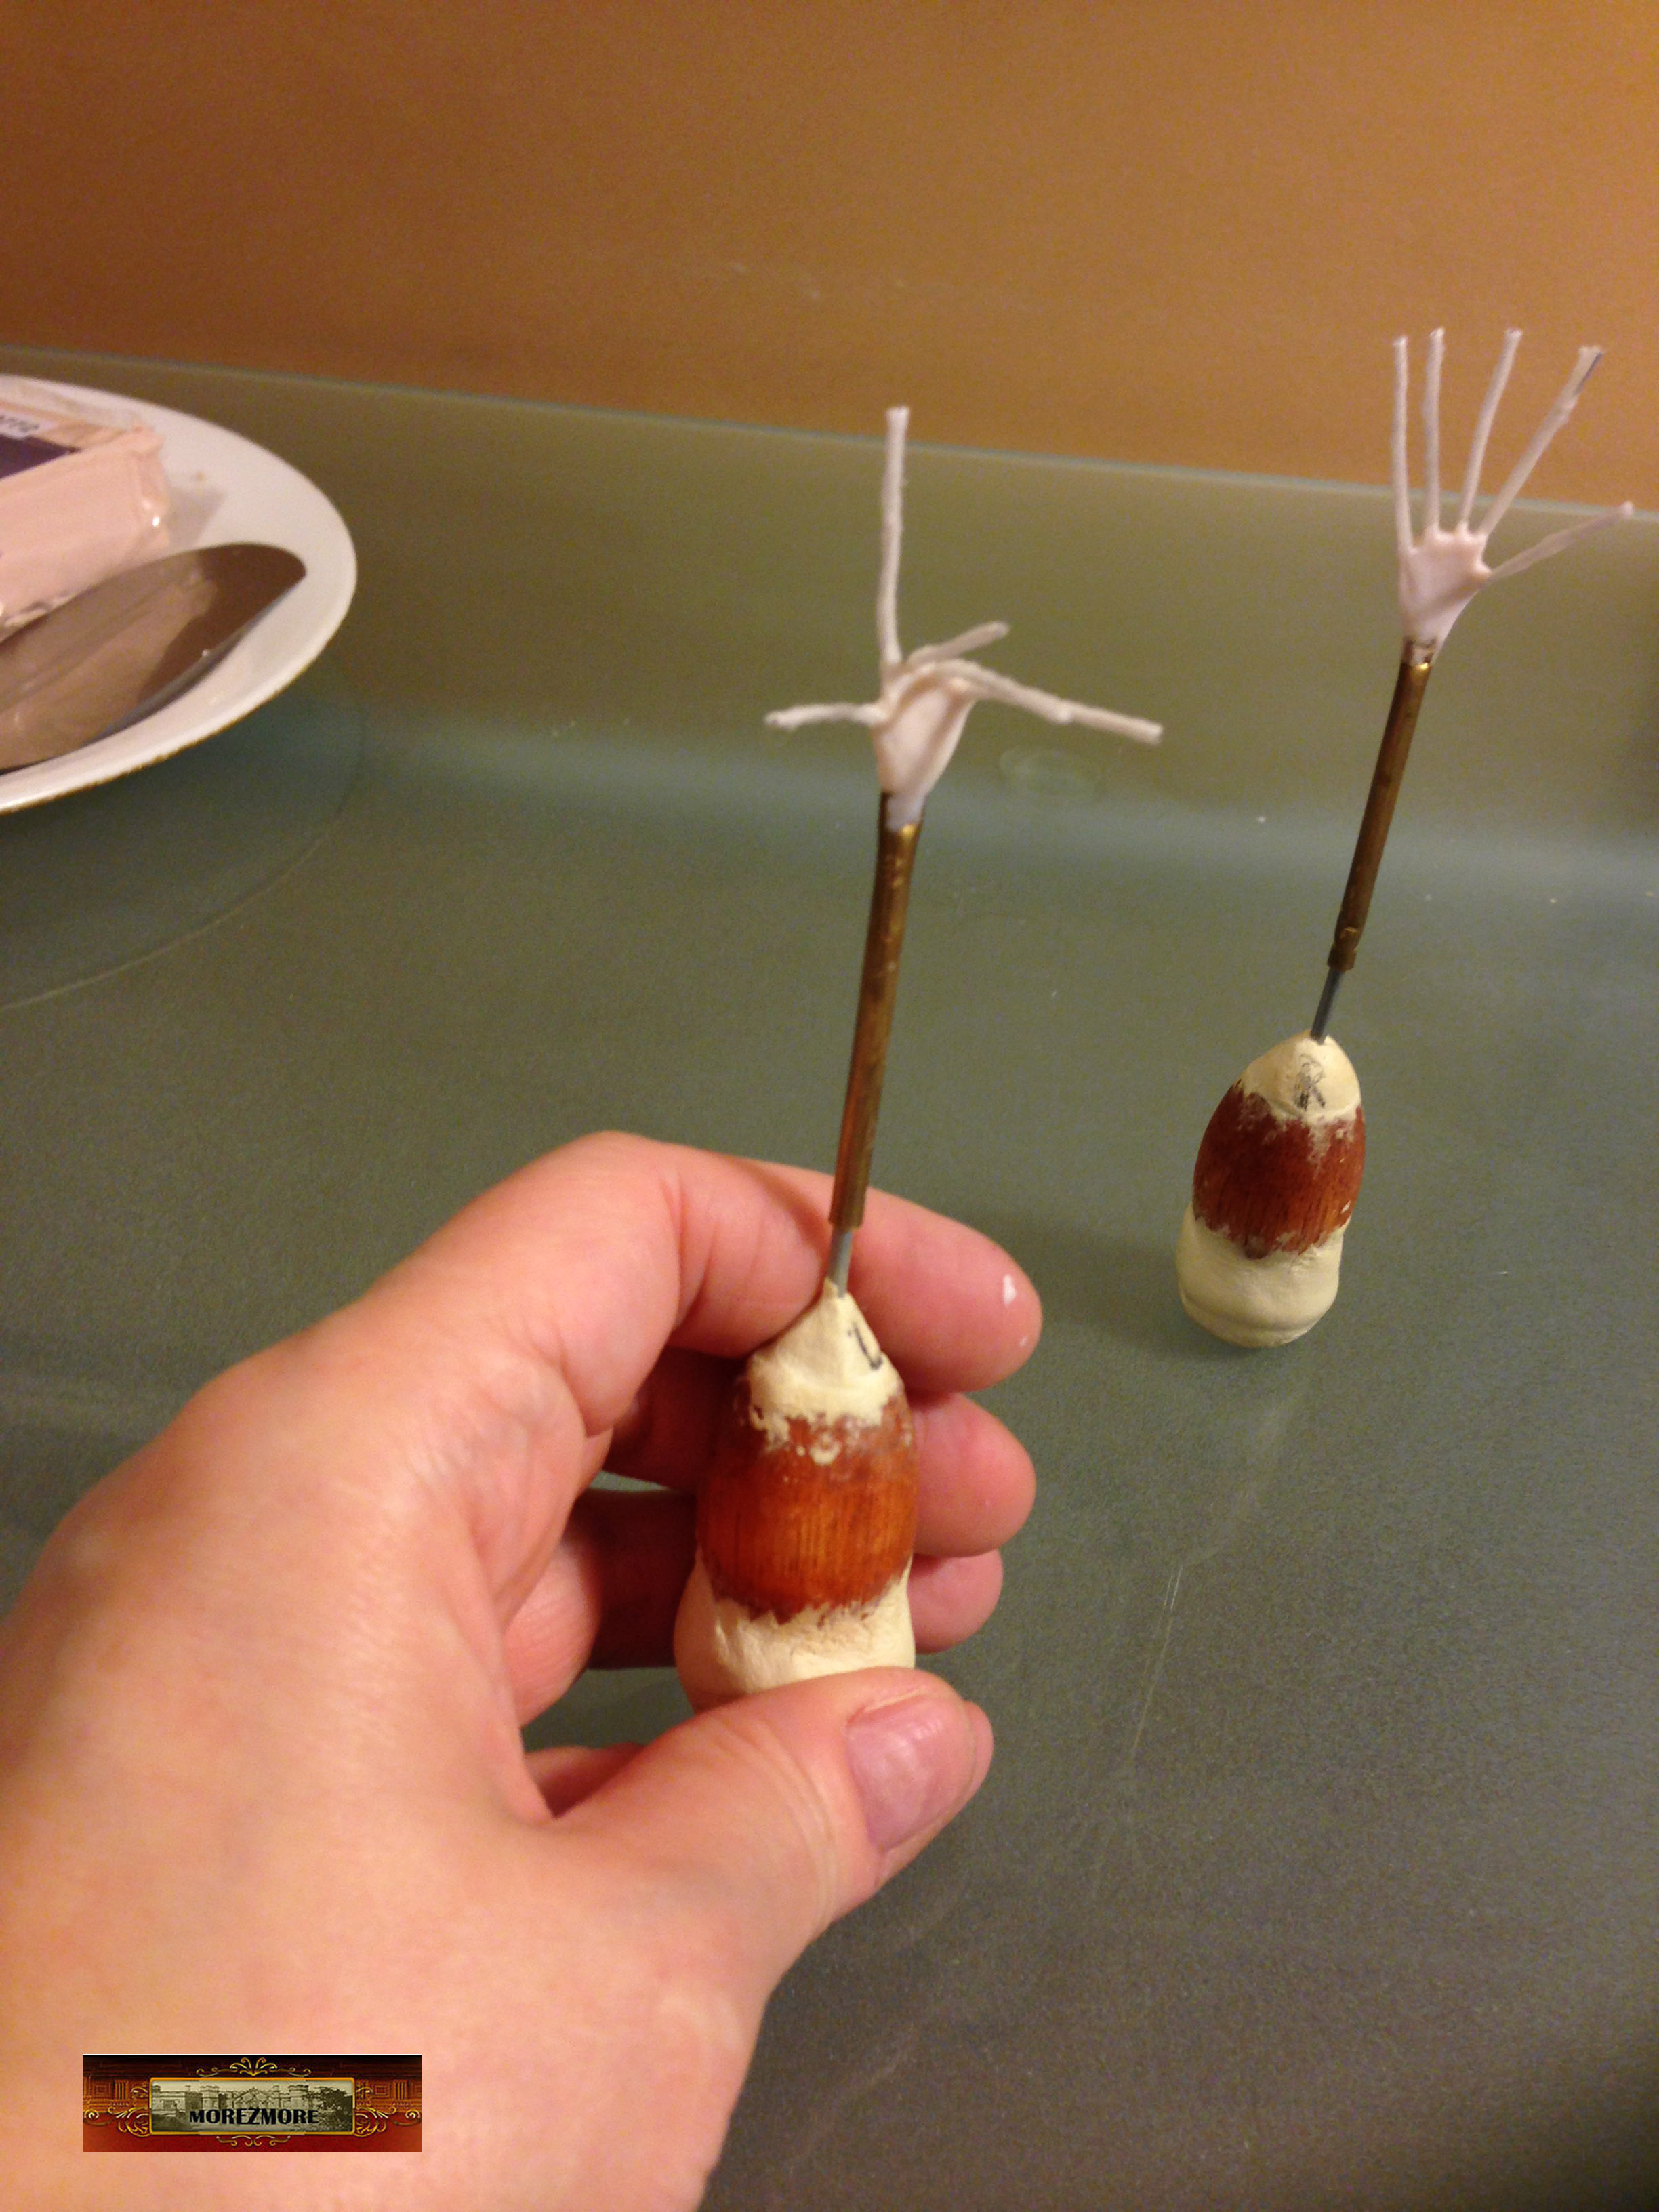
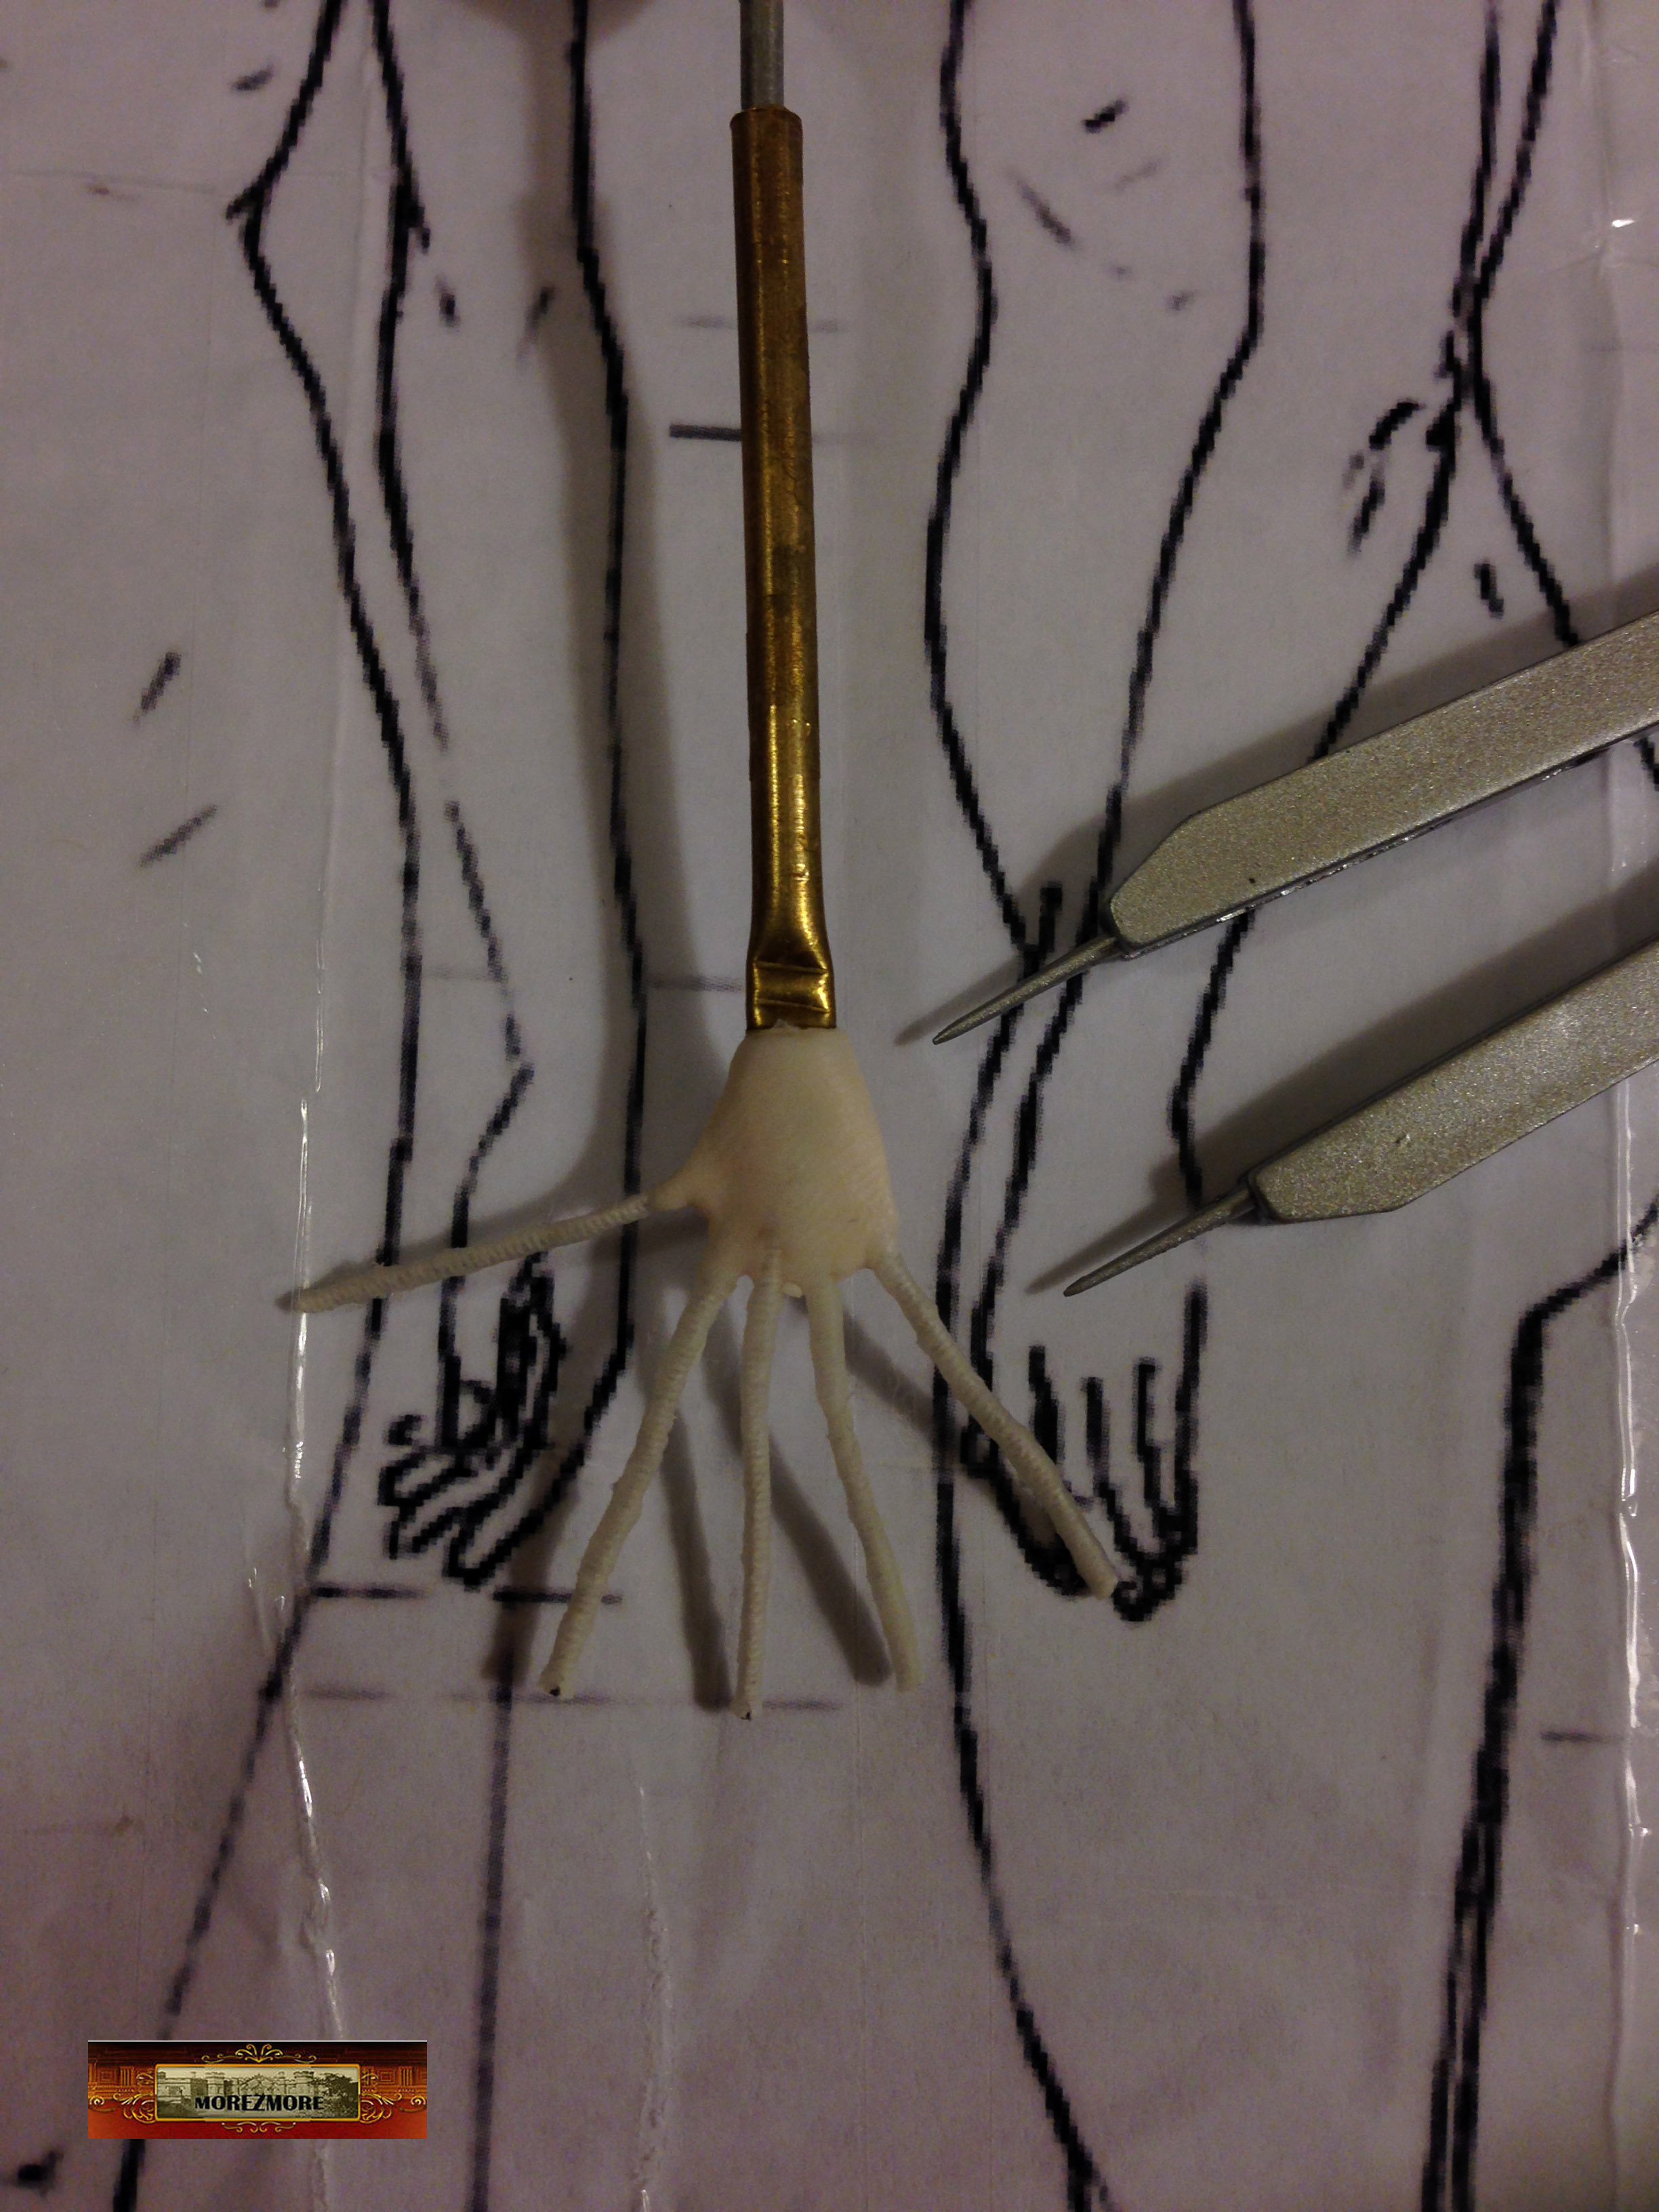
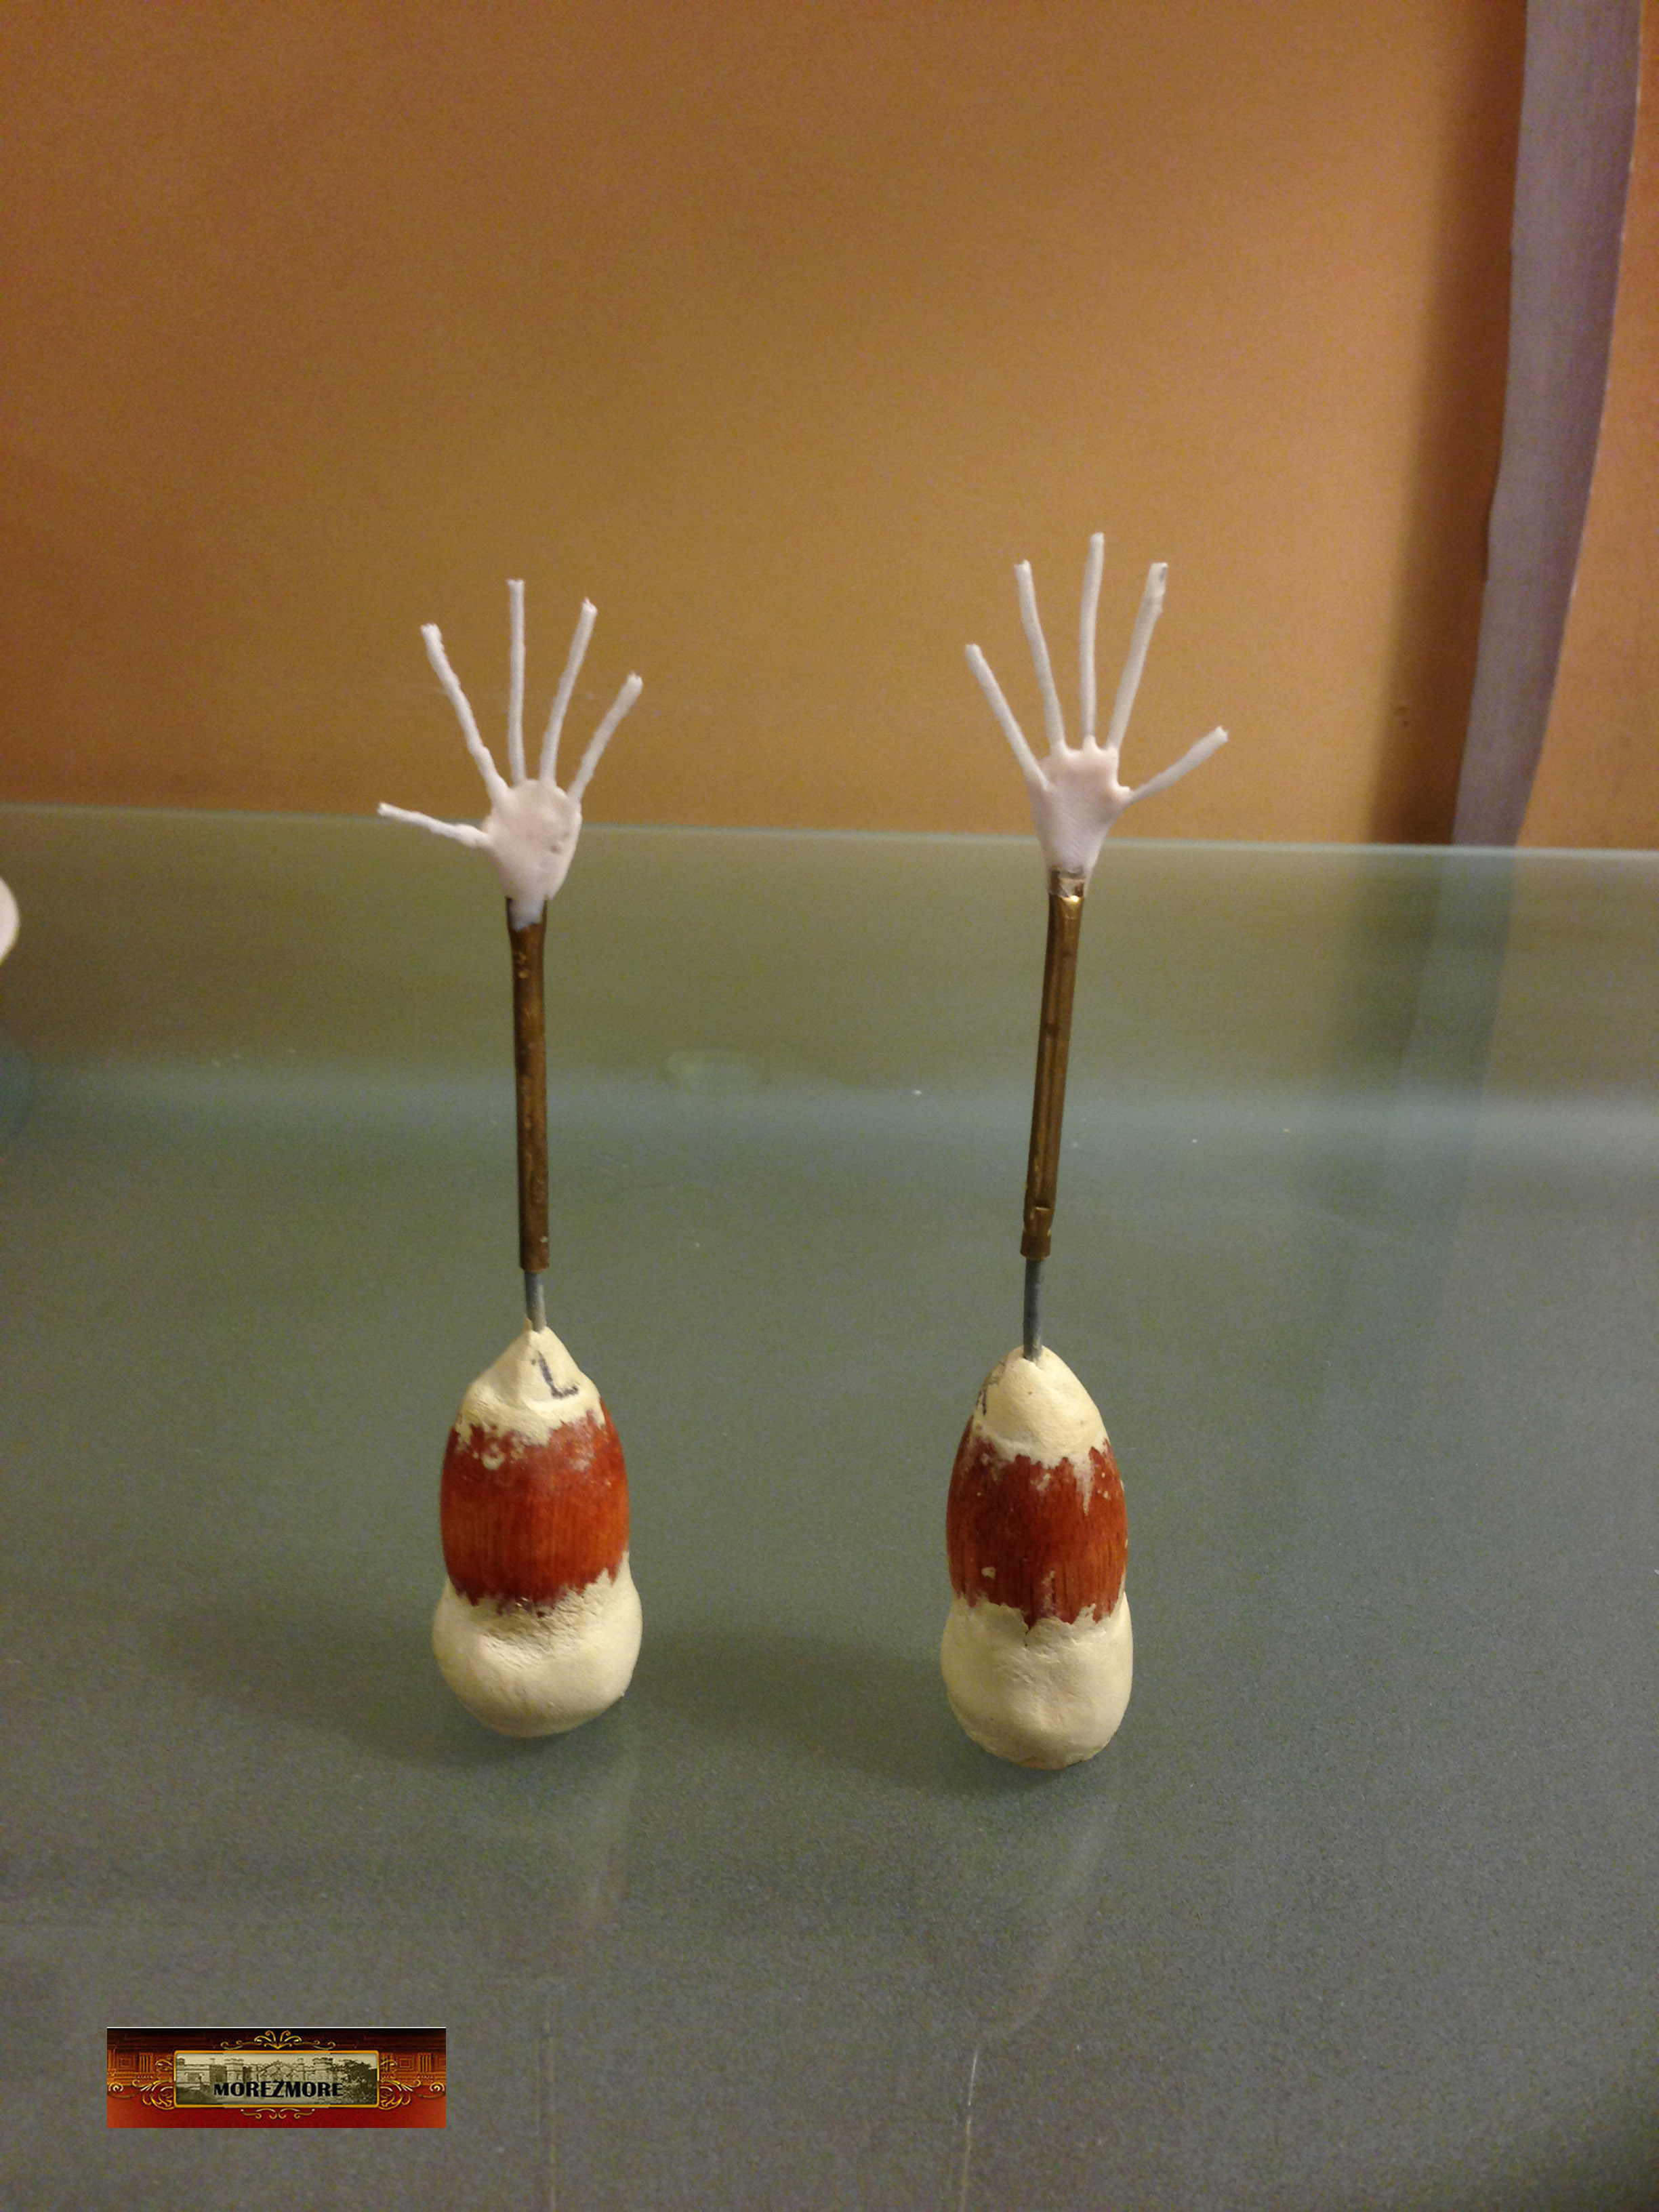
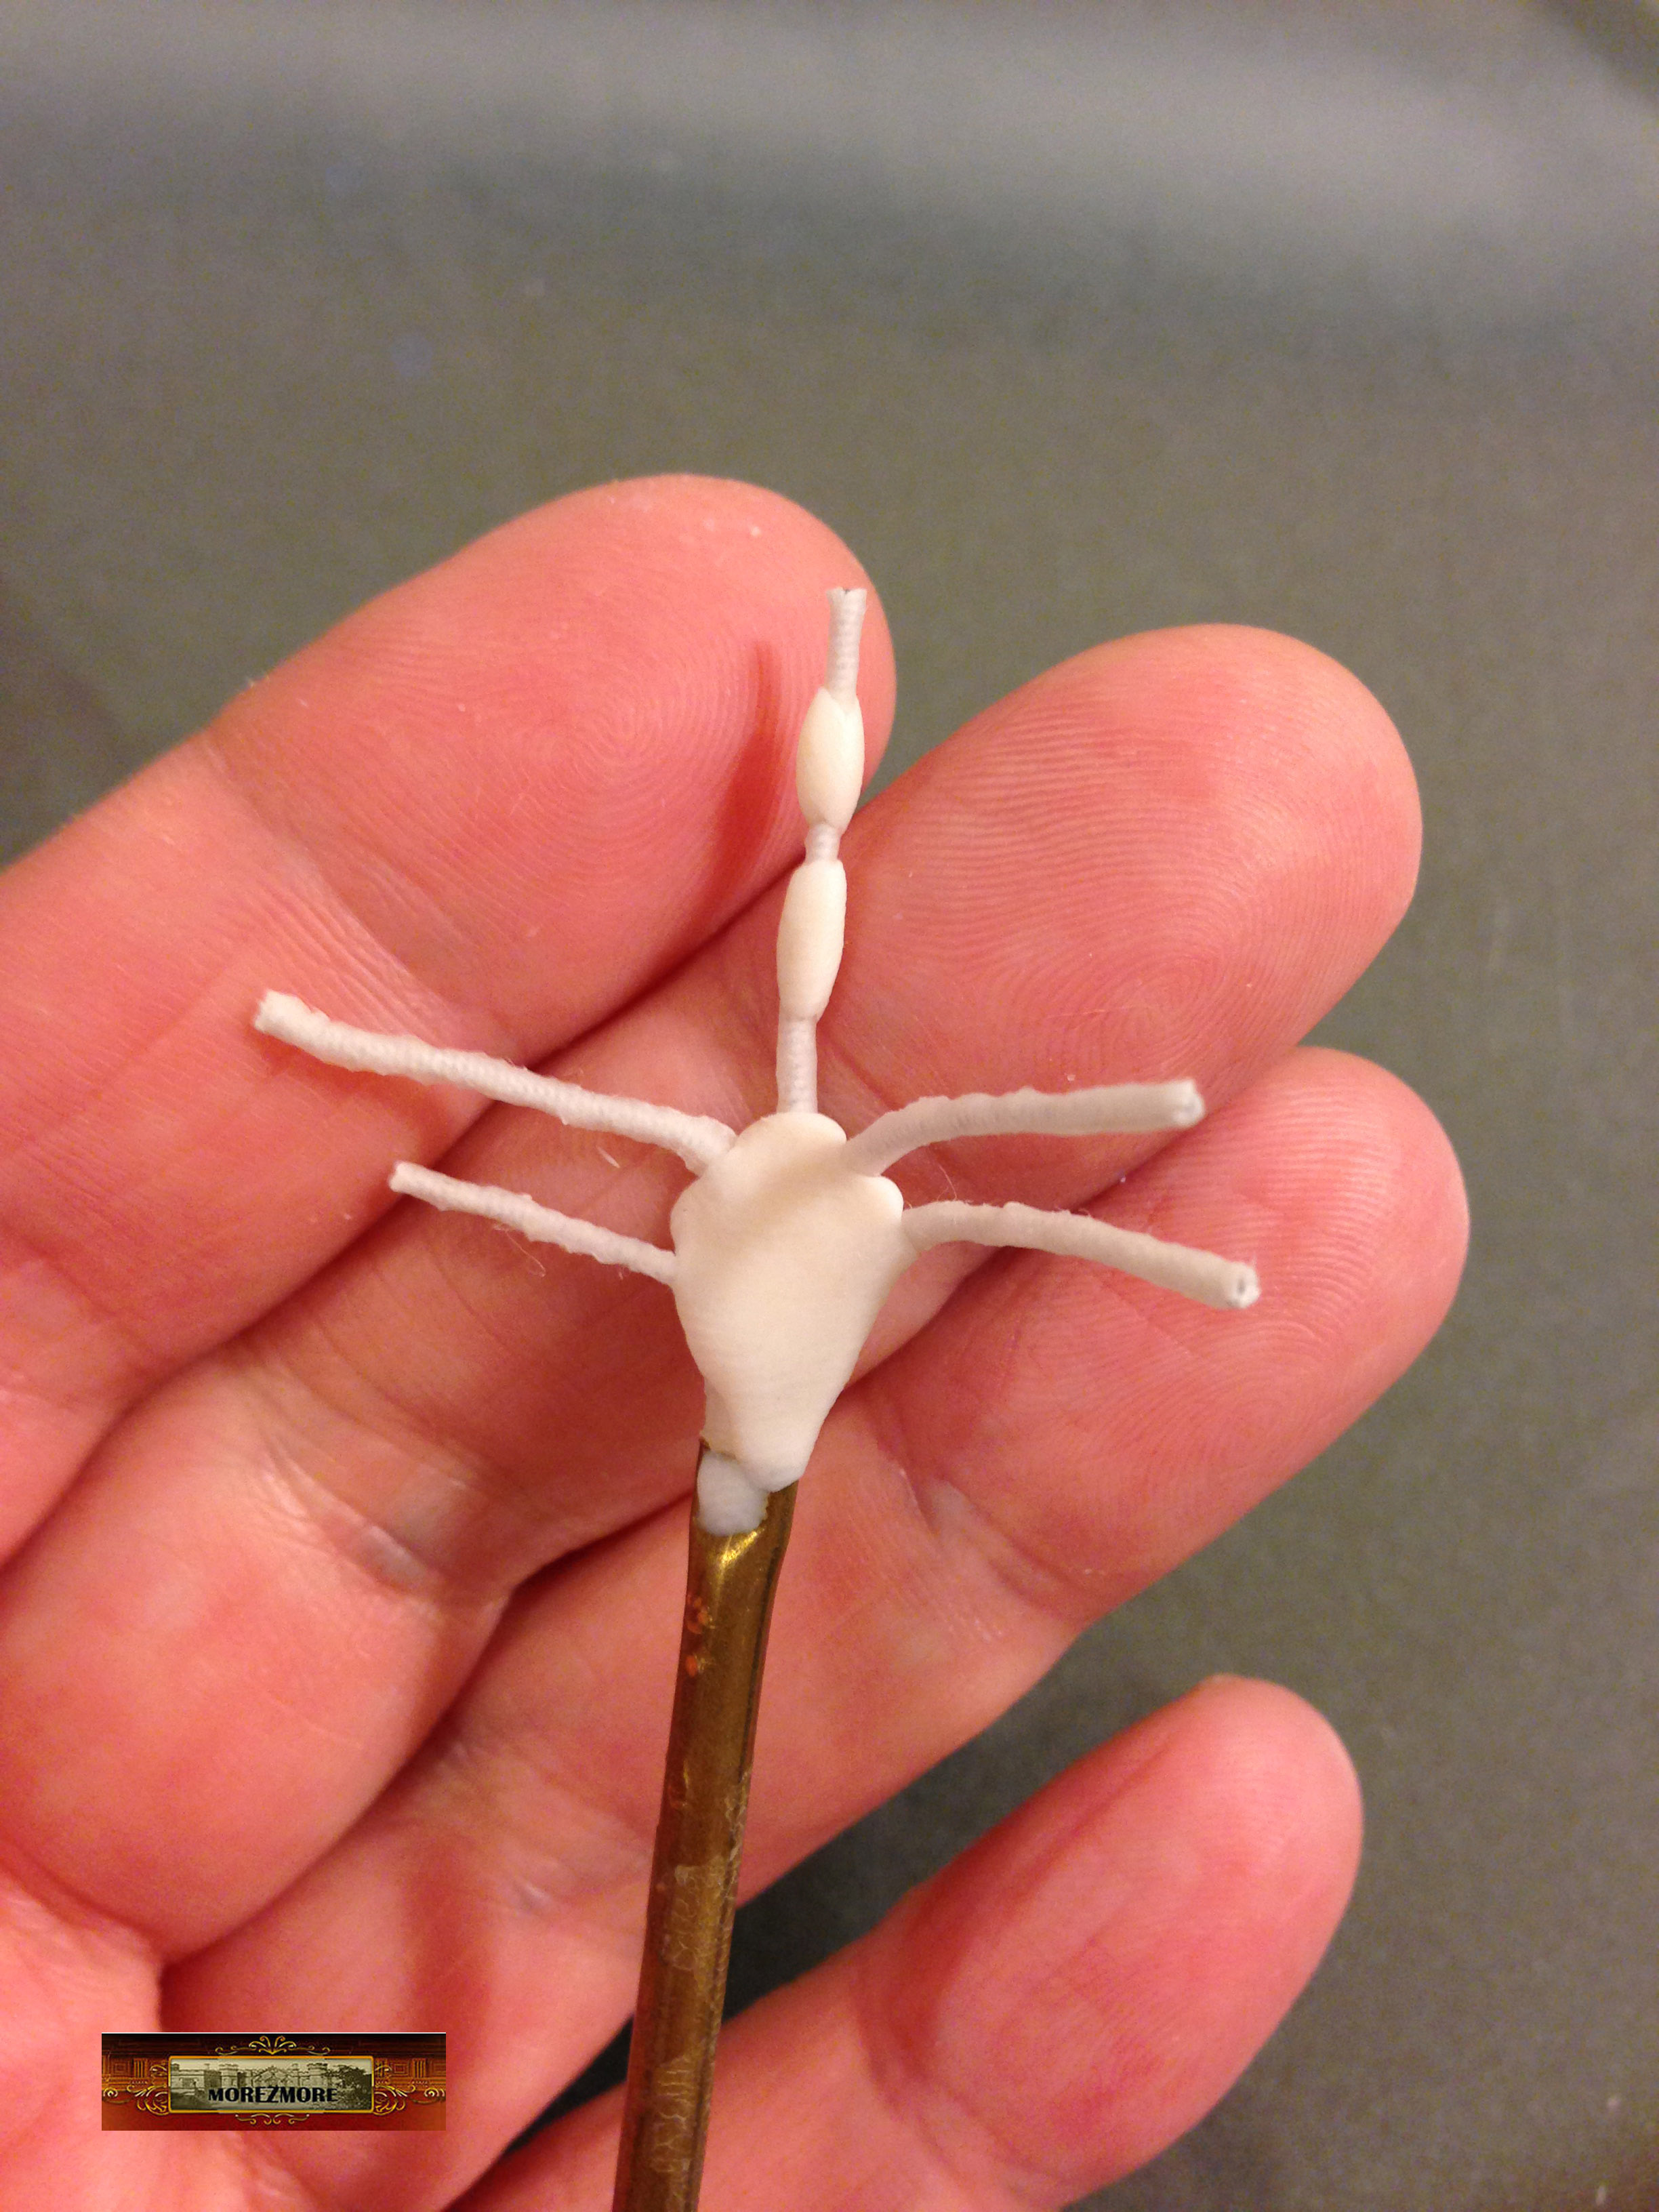
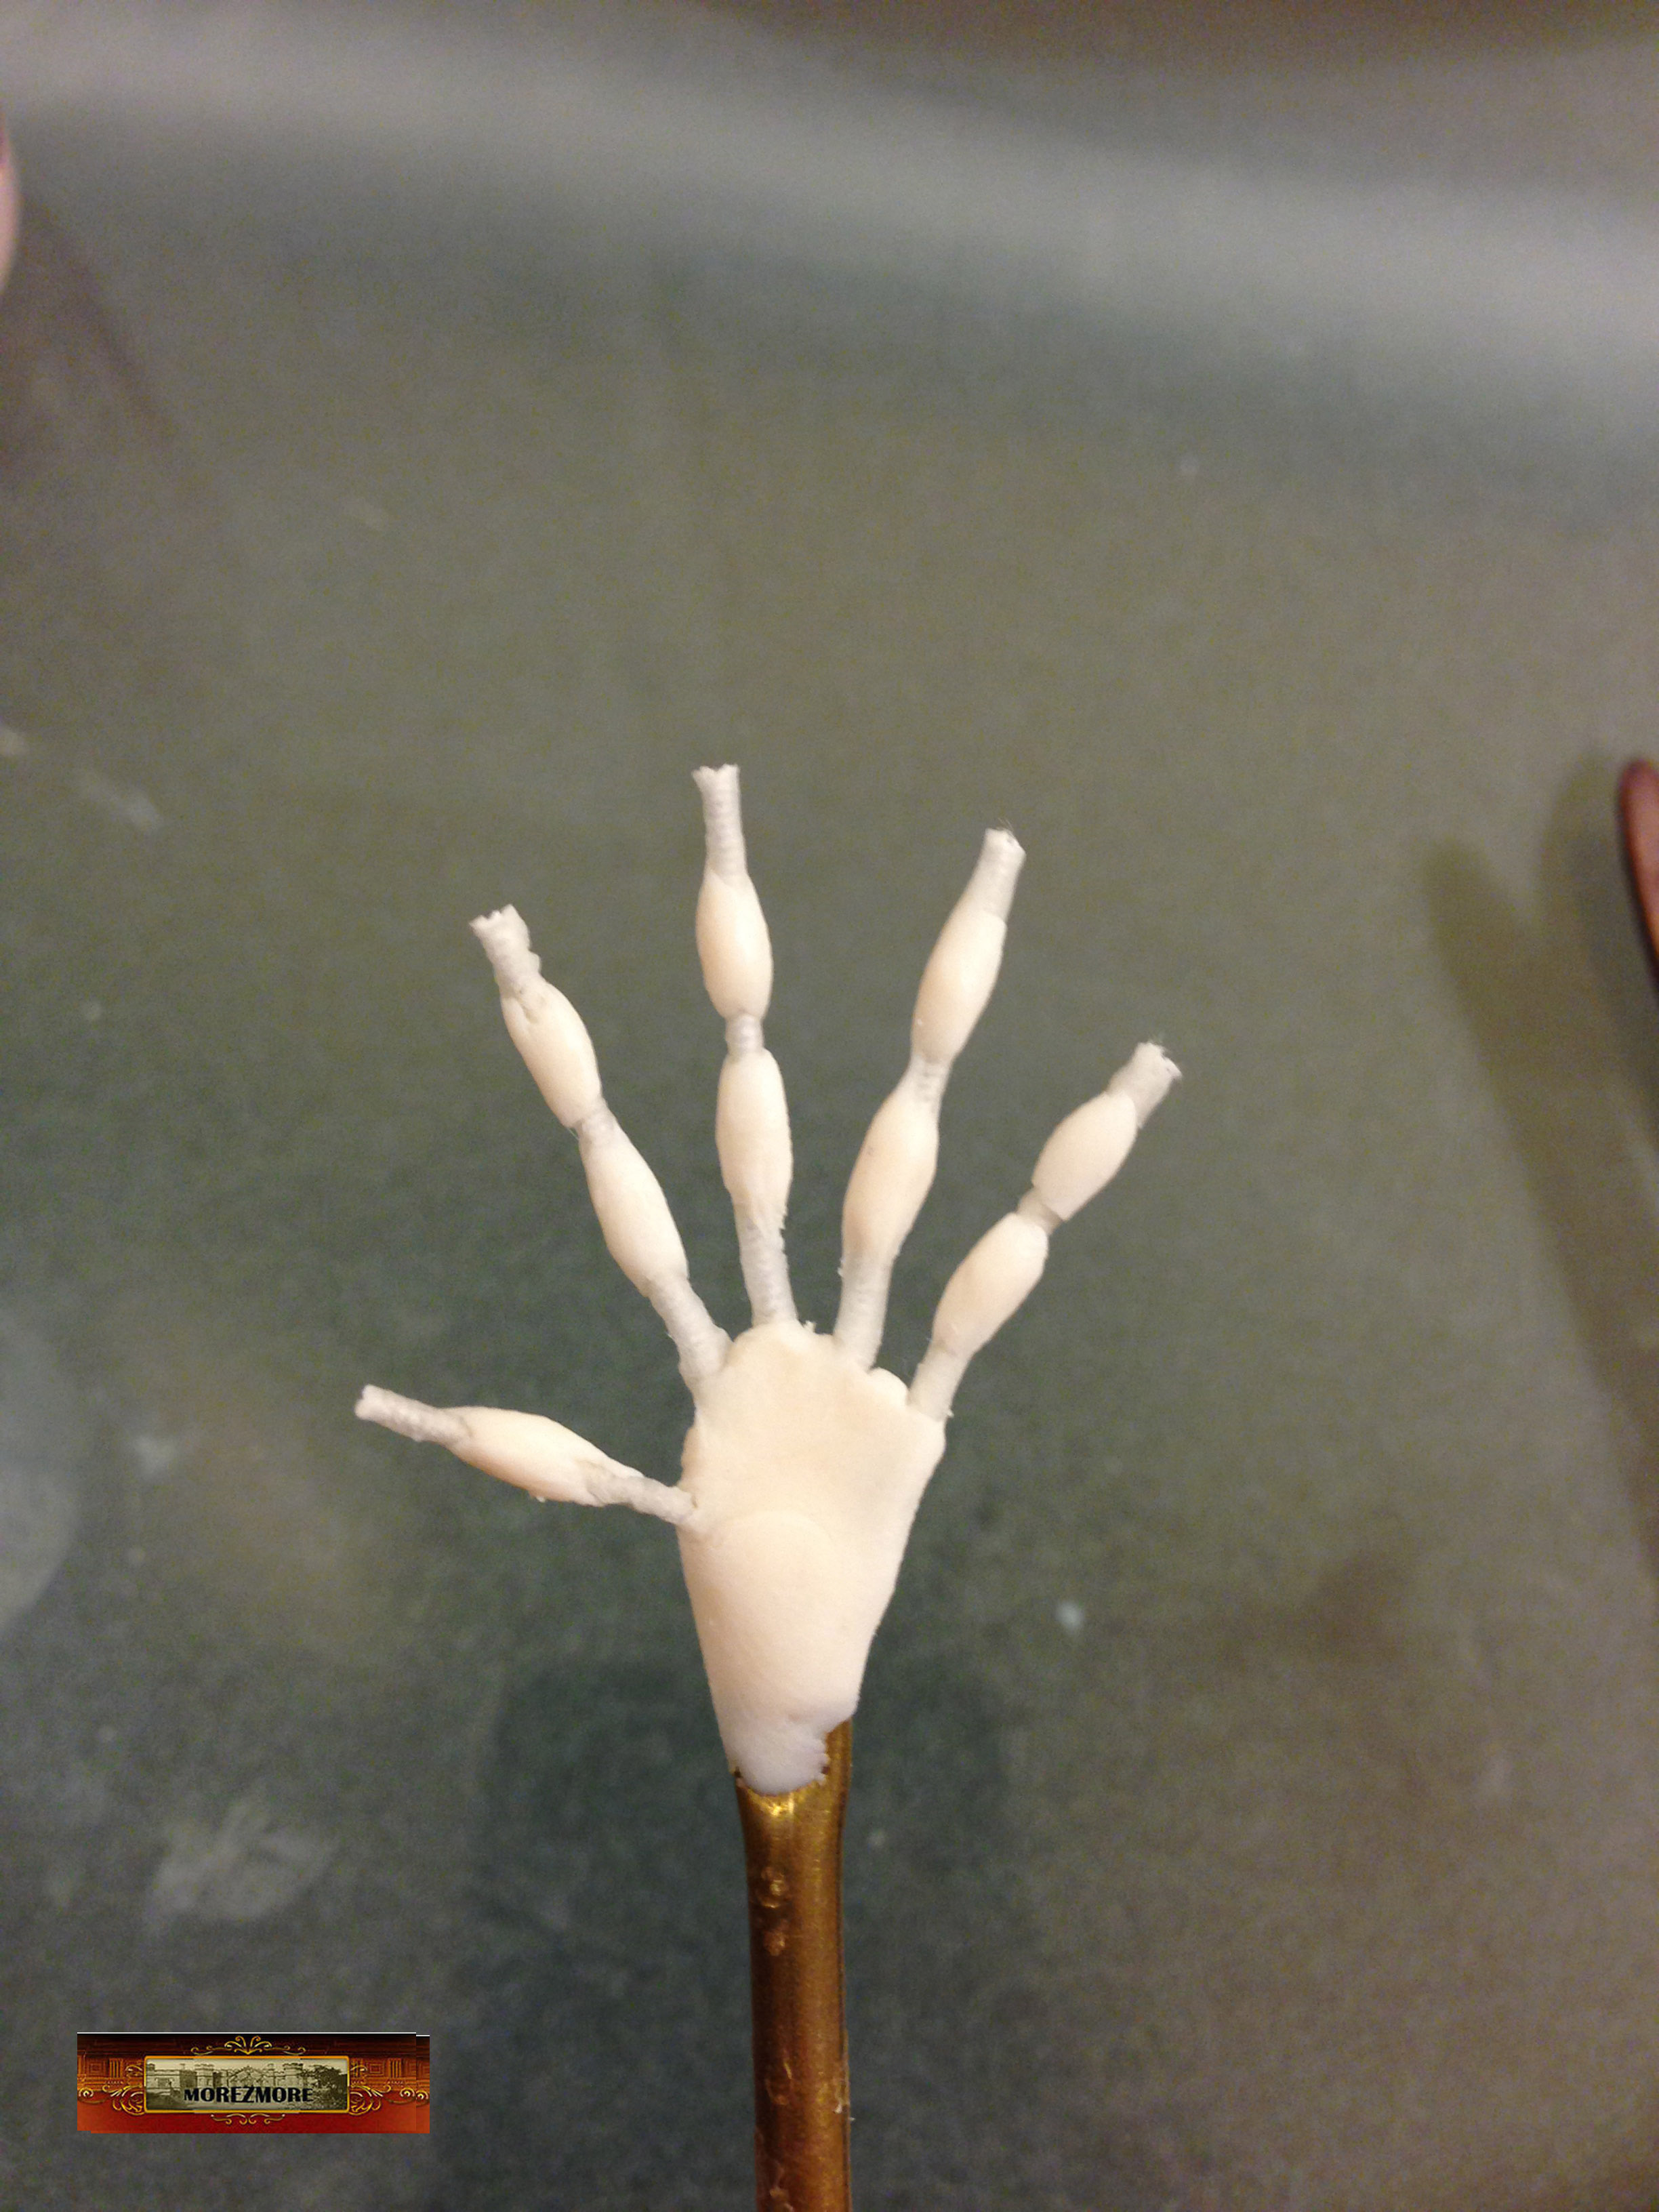
Baked here.
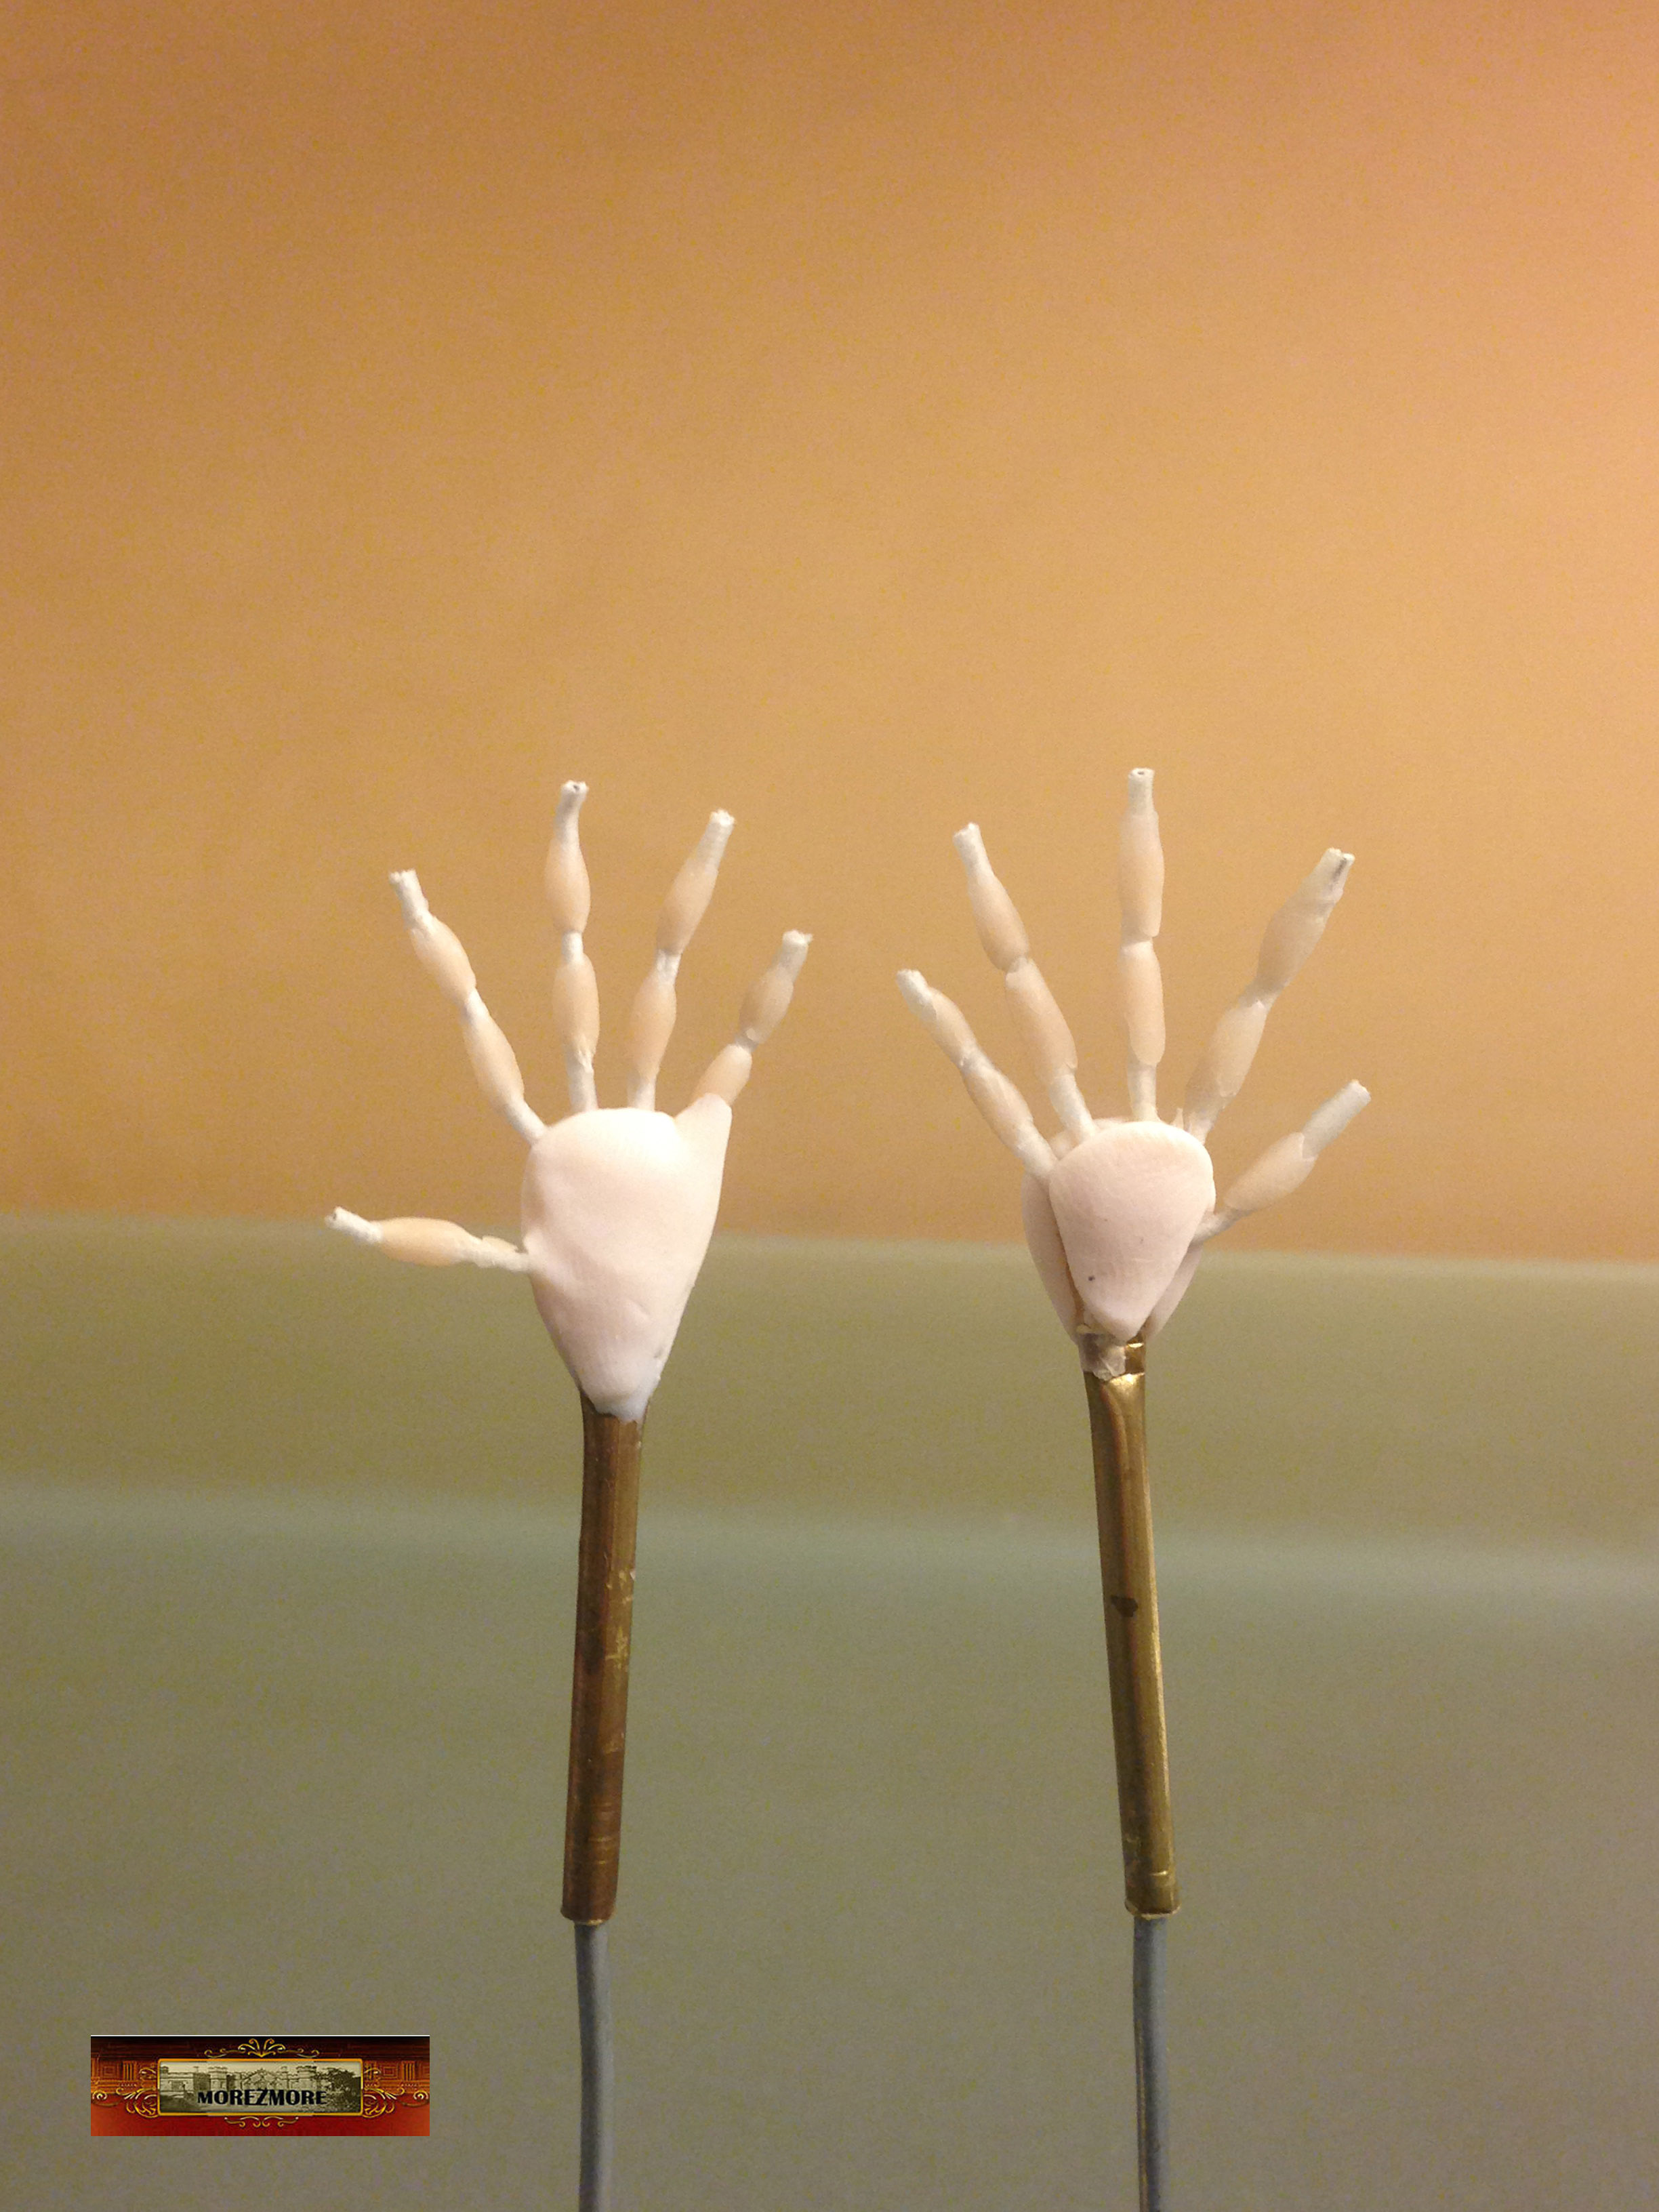
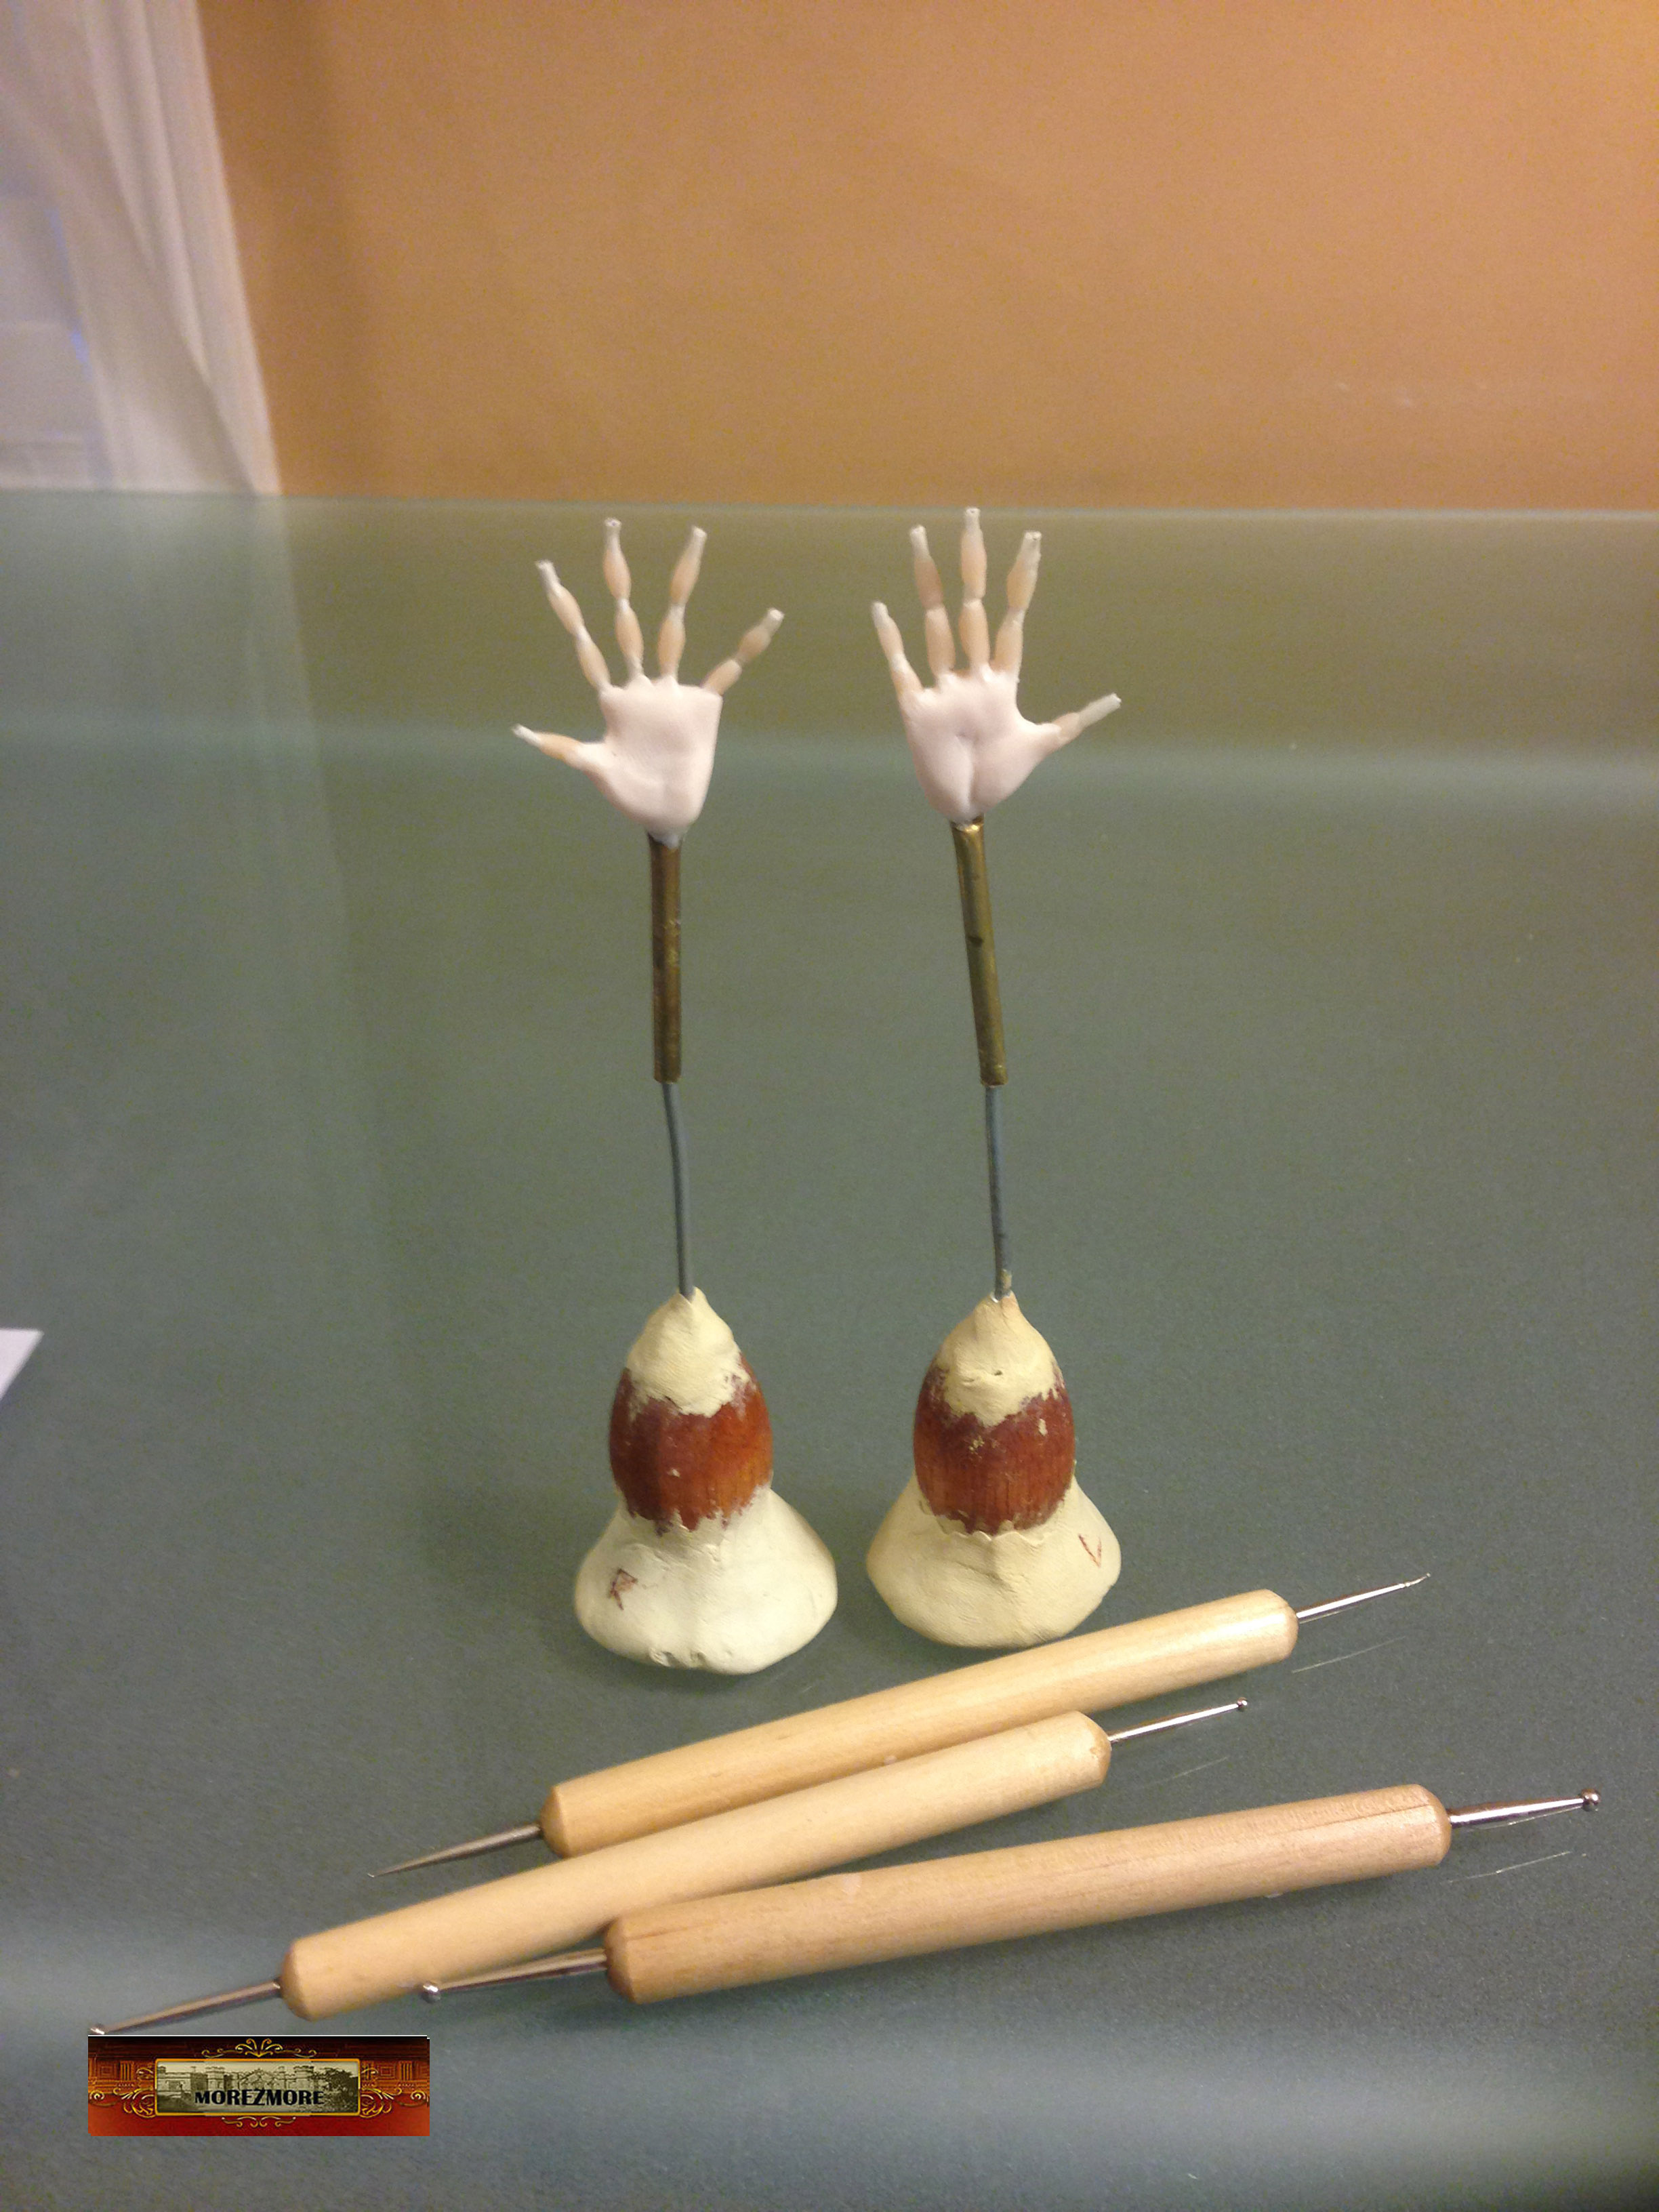
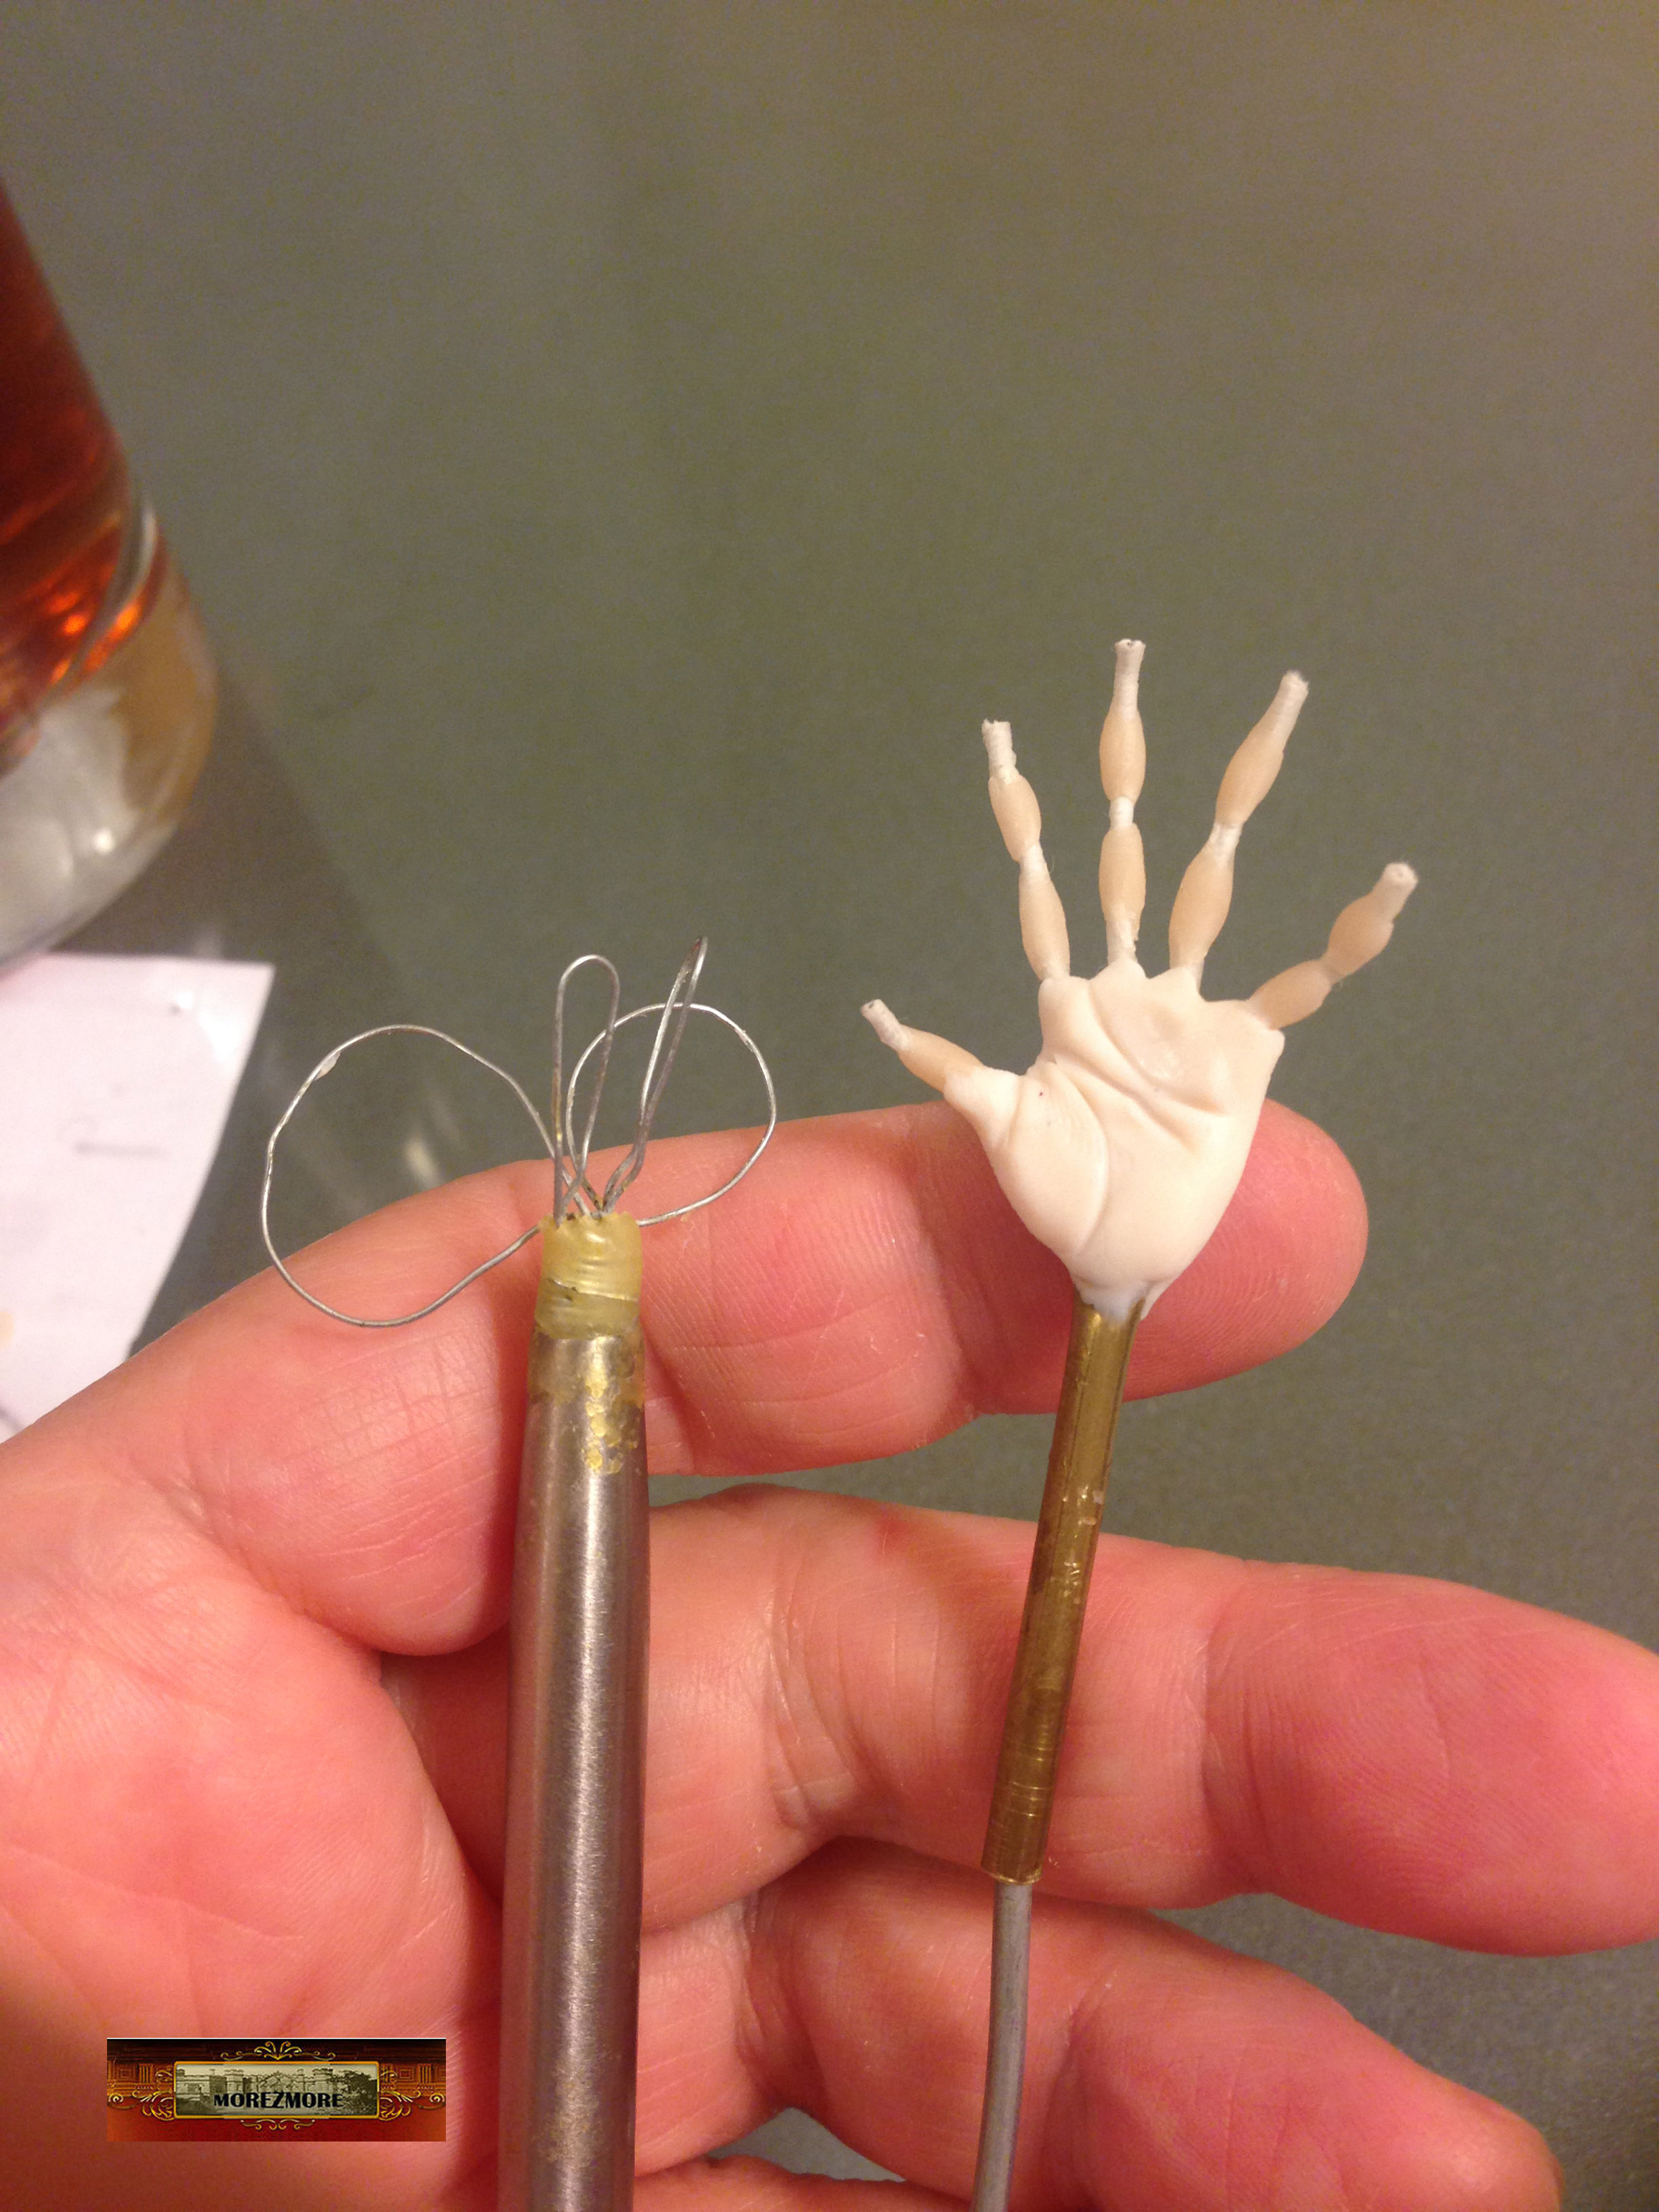
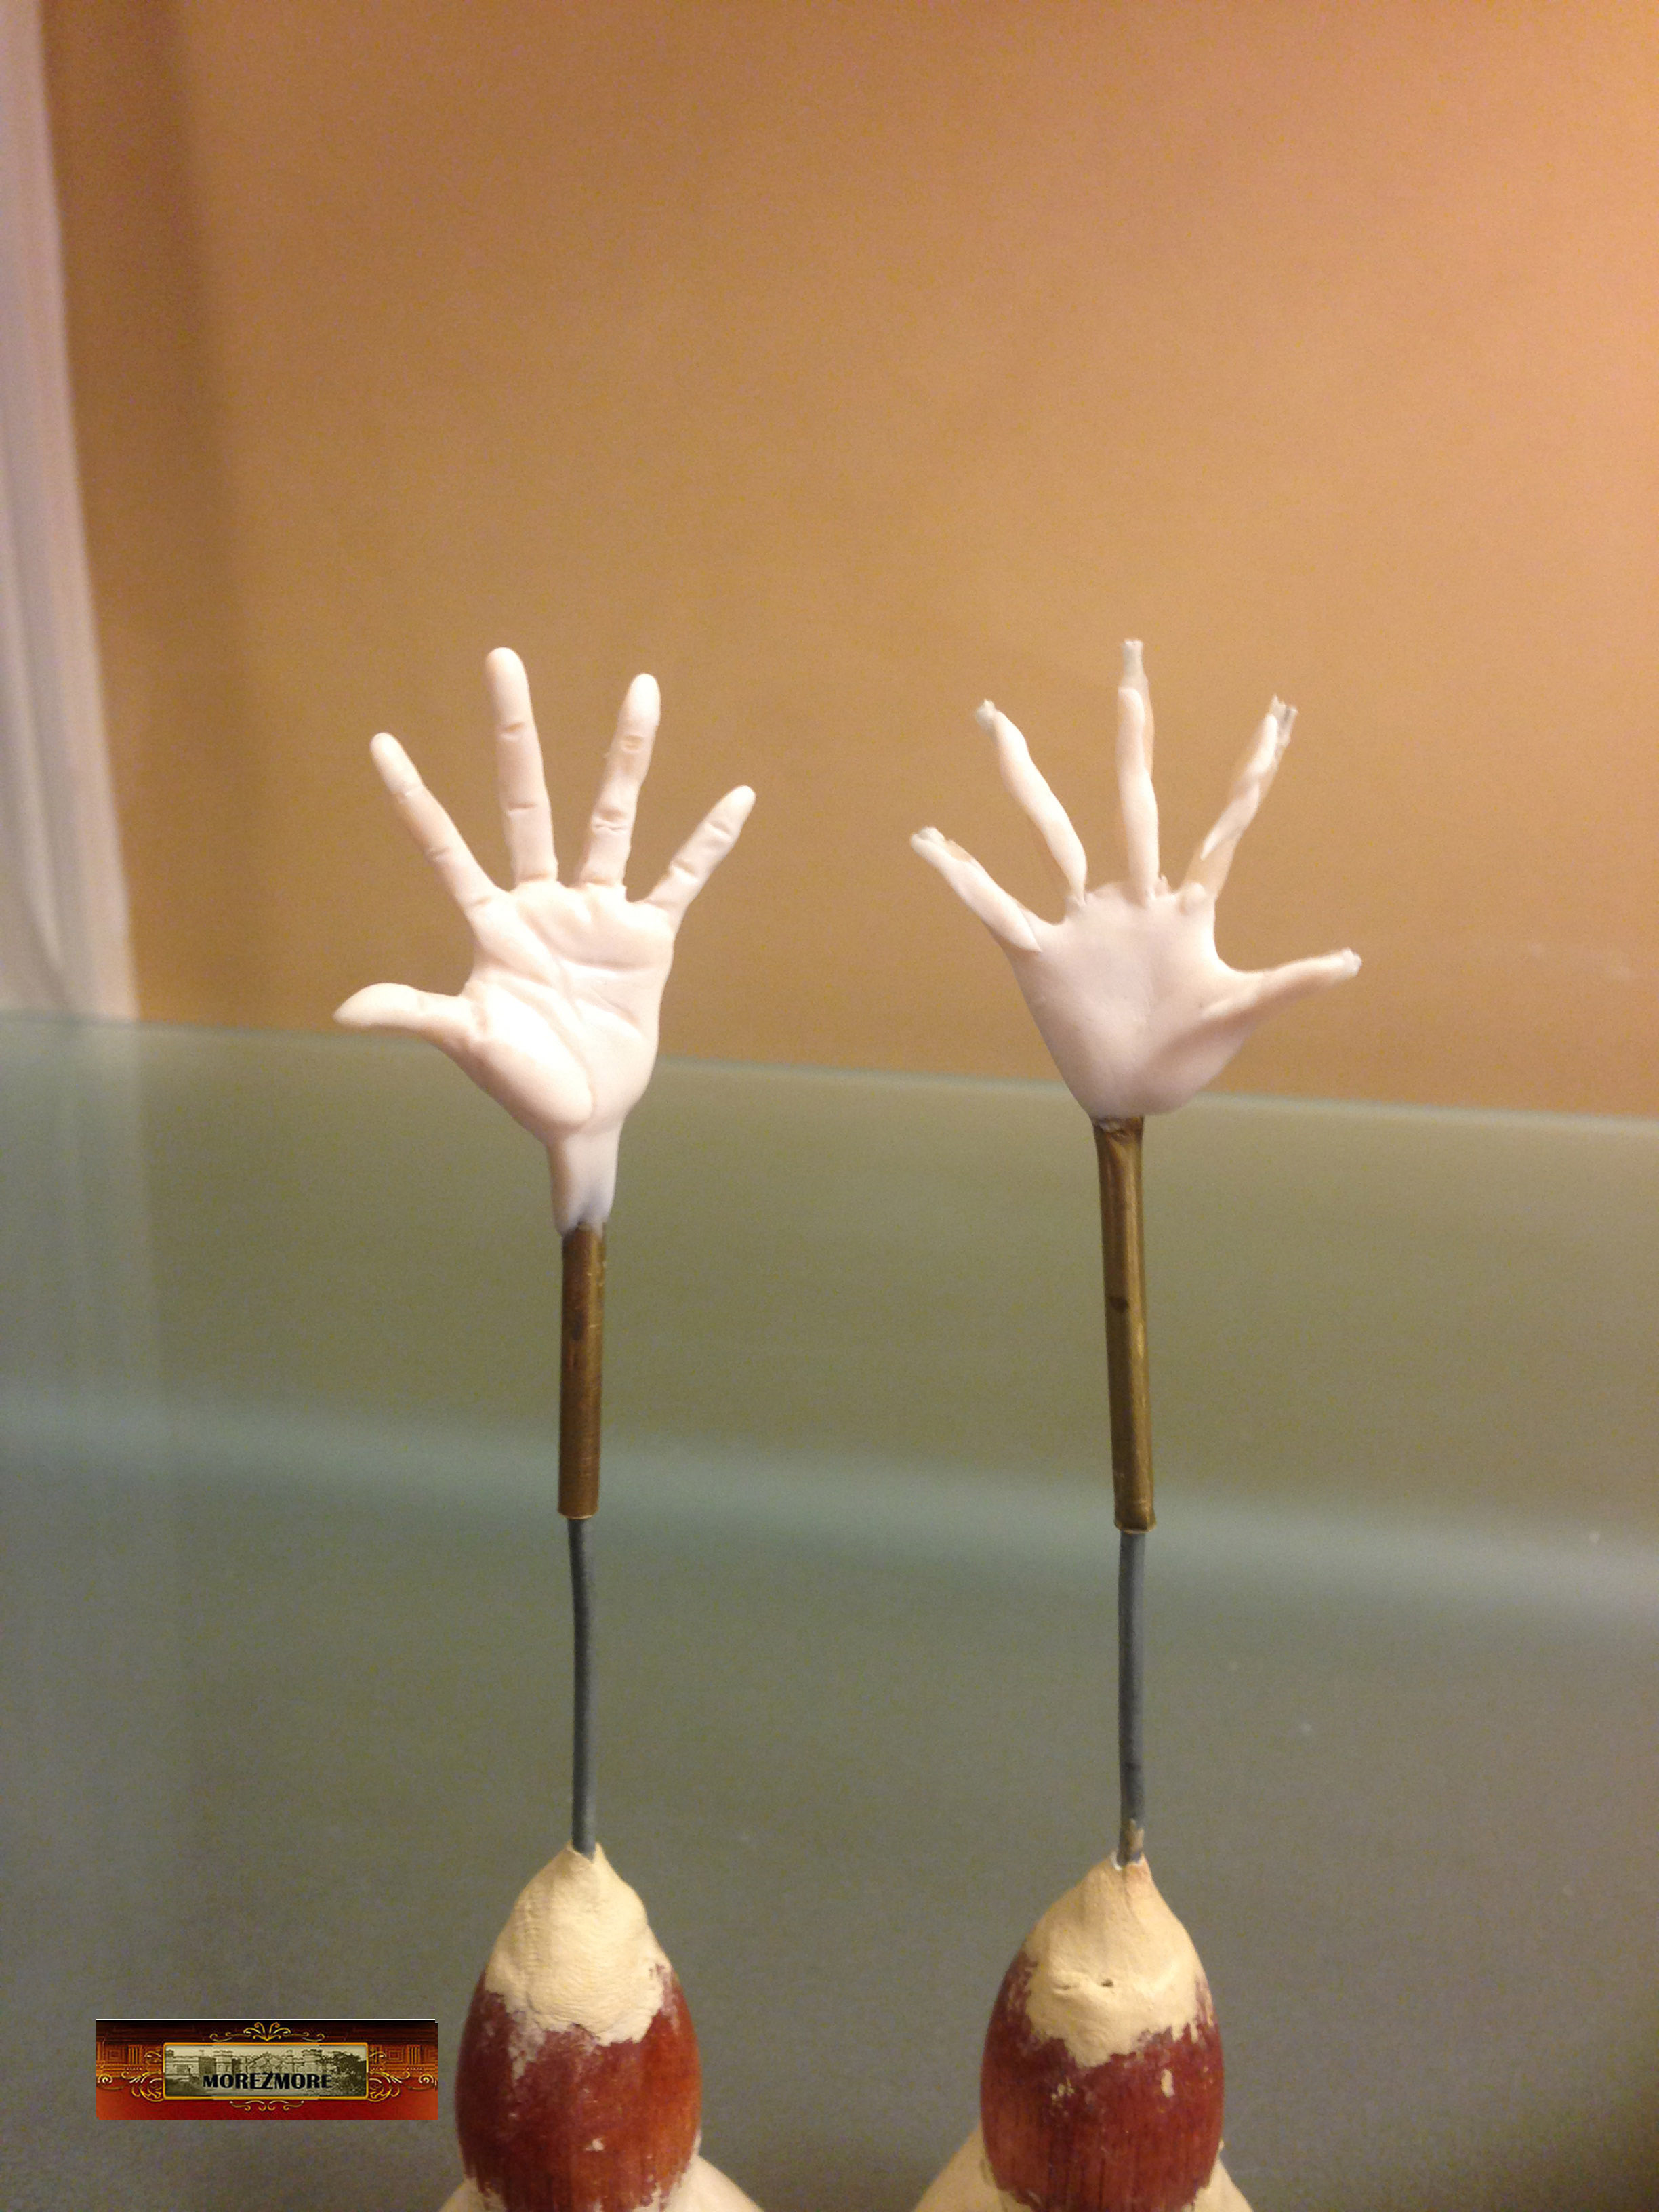
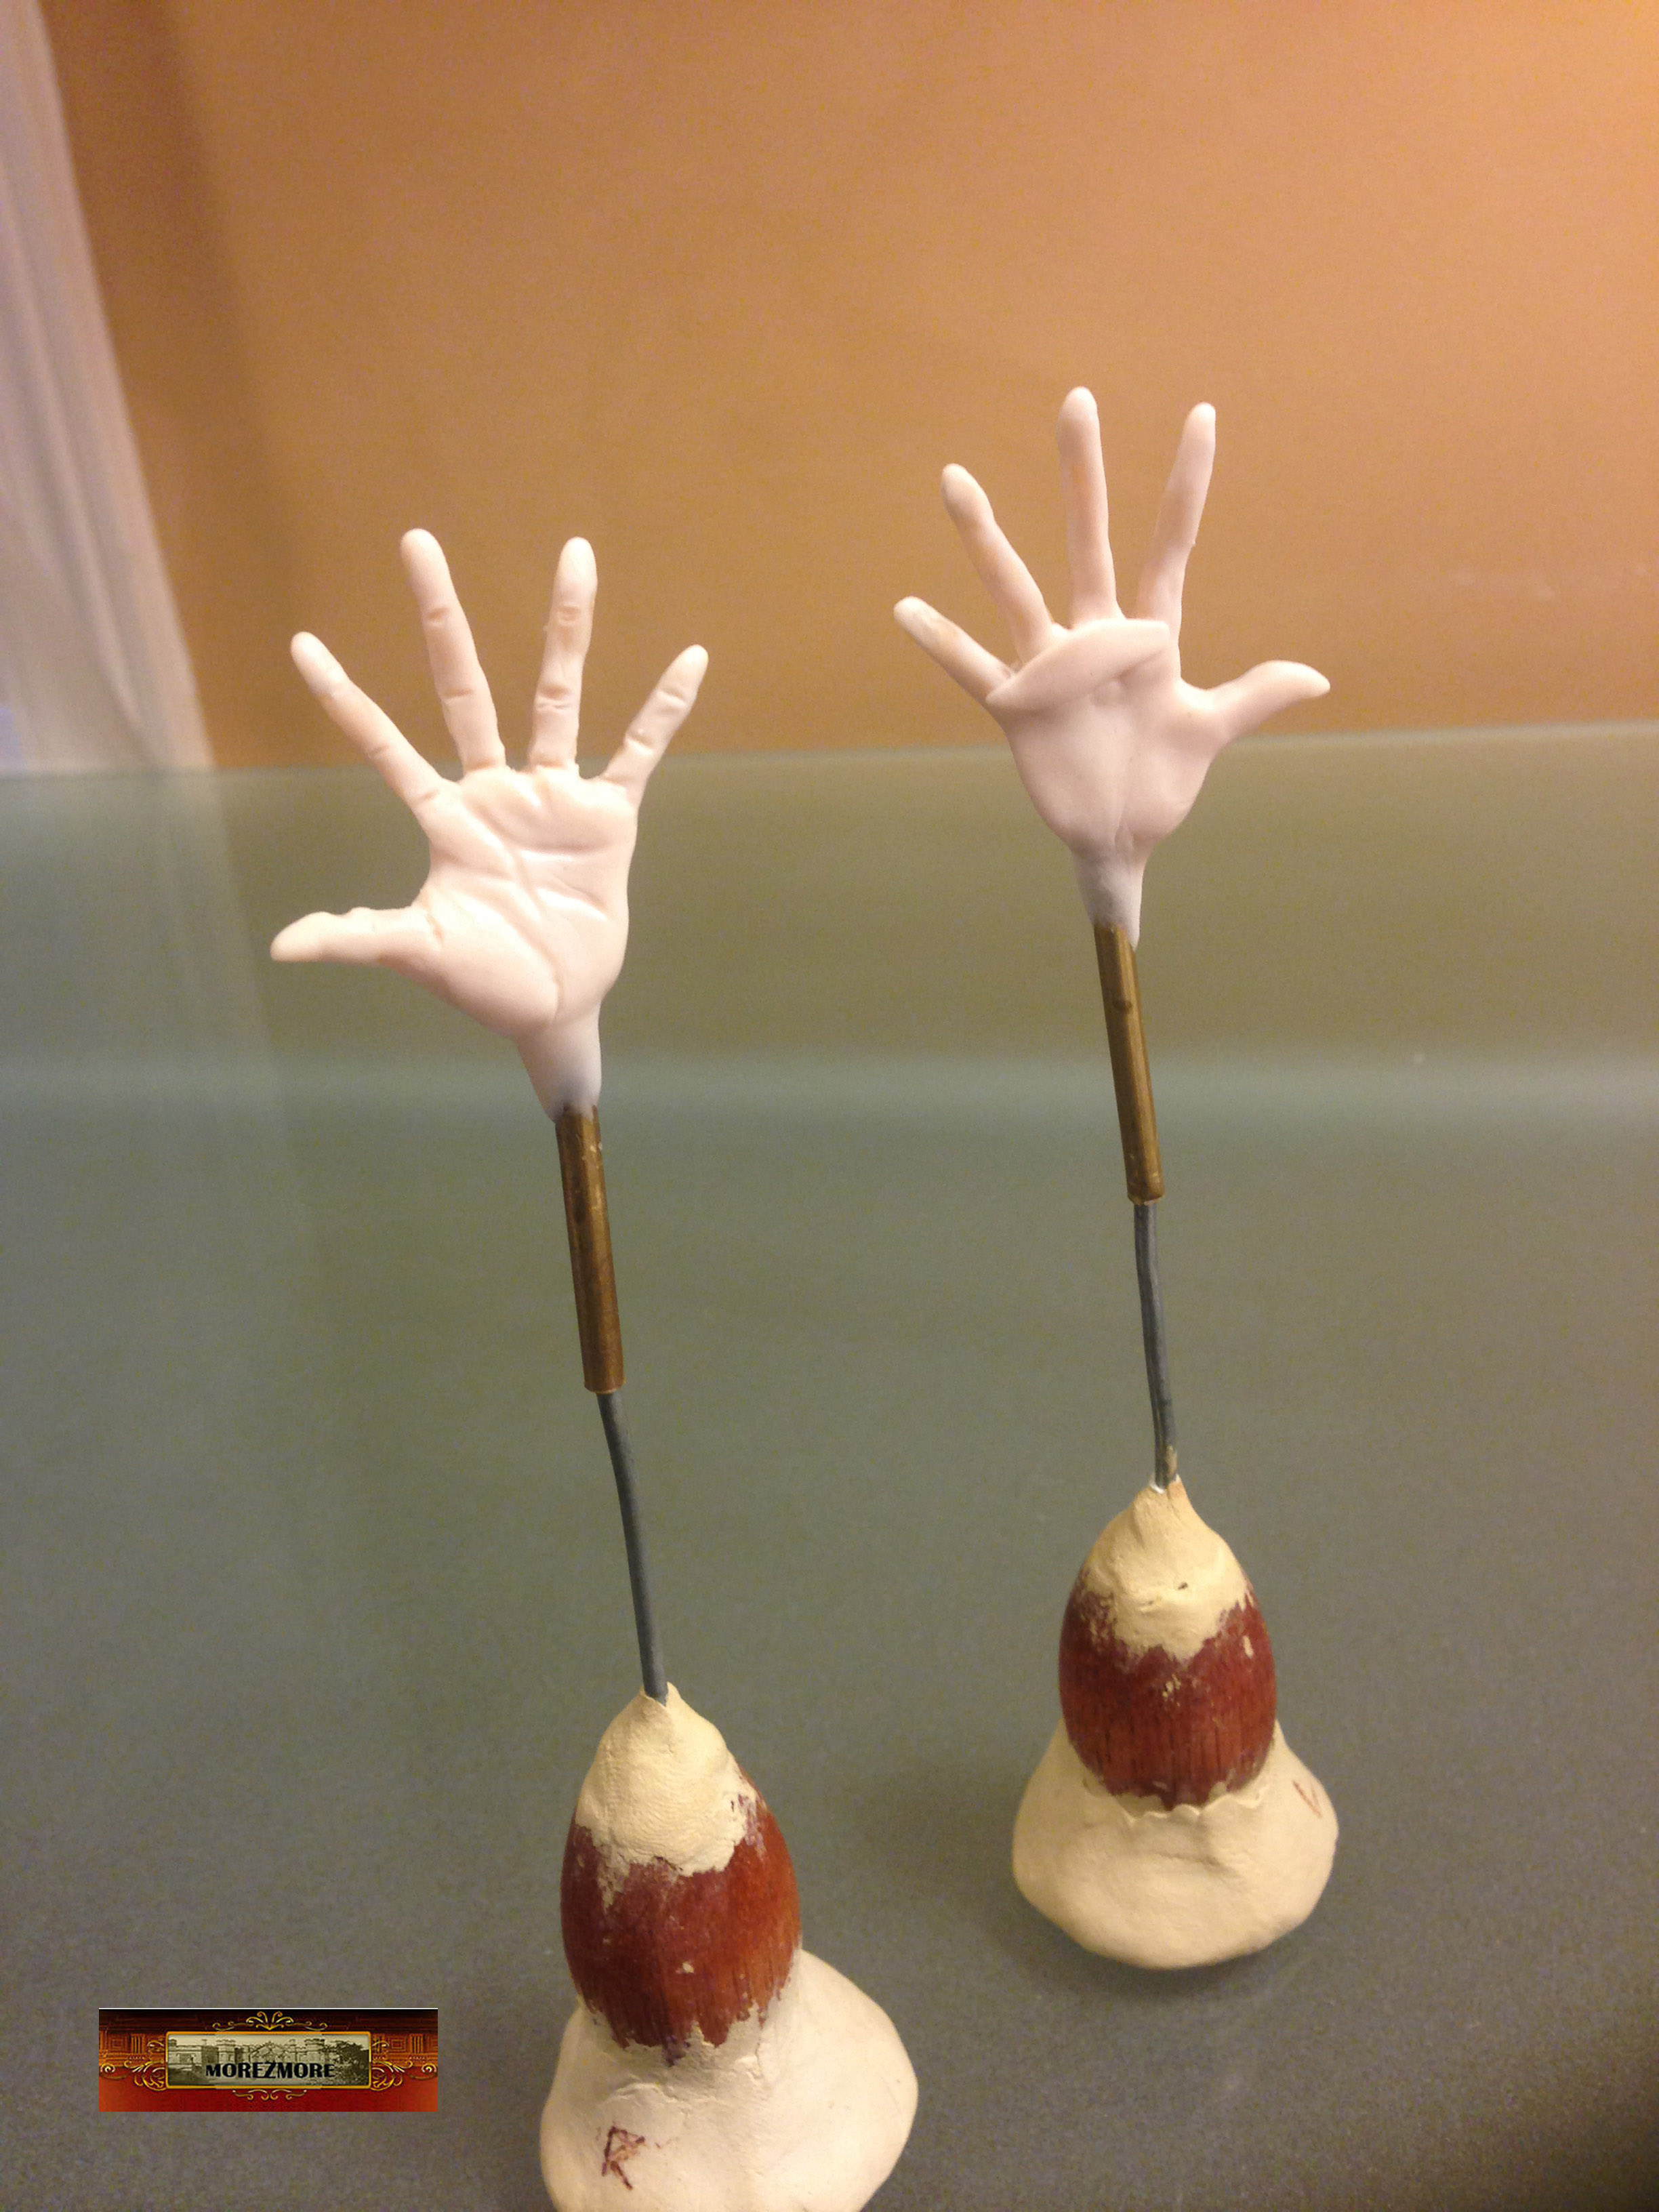
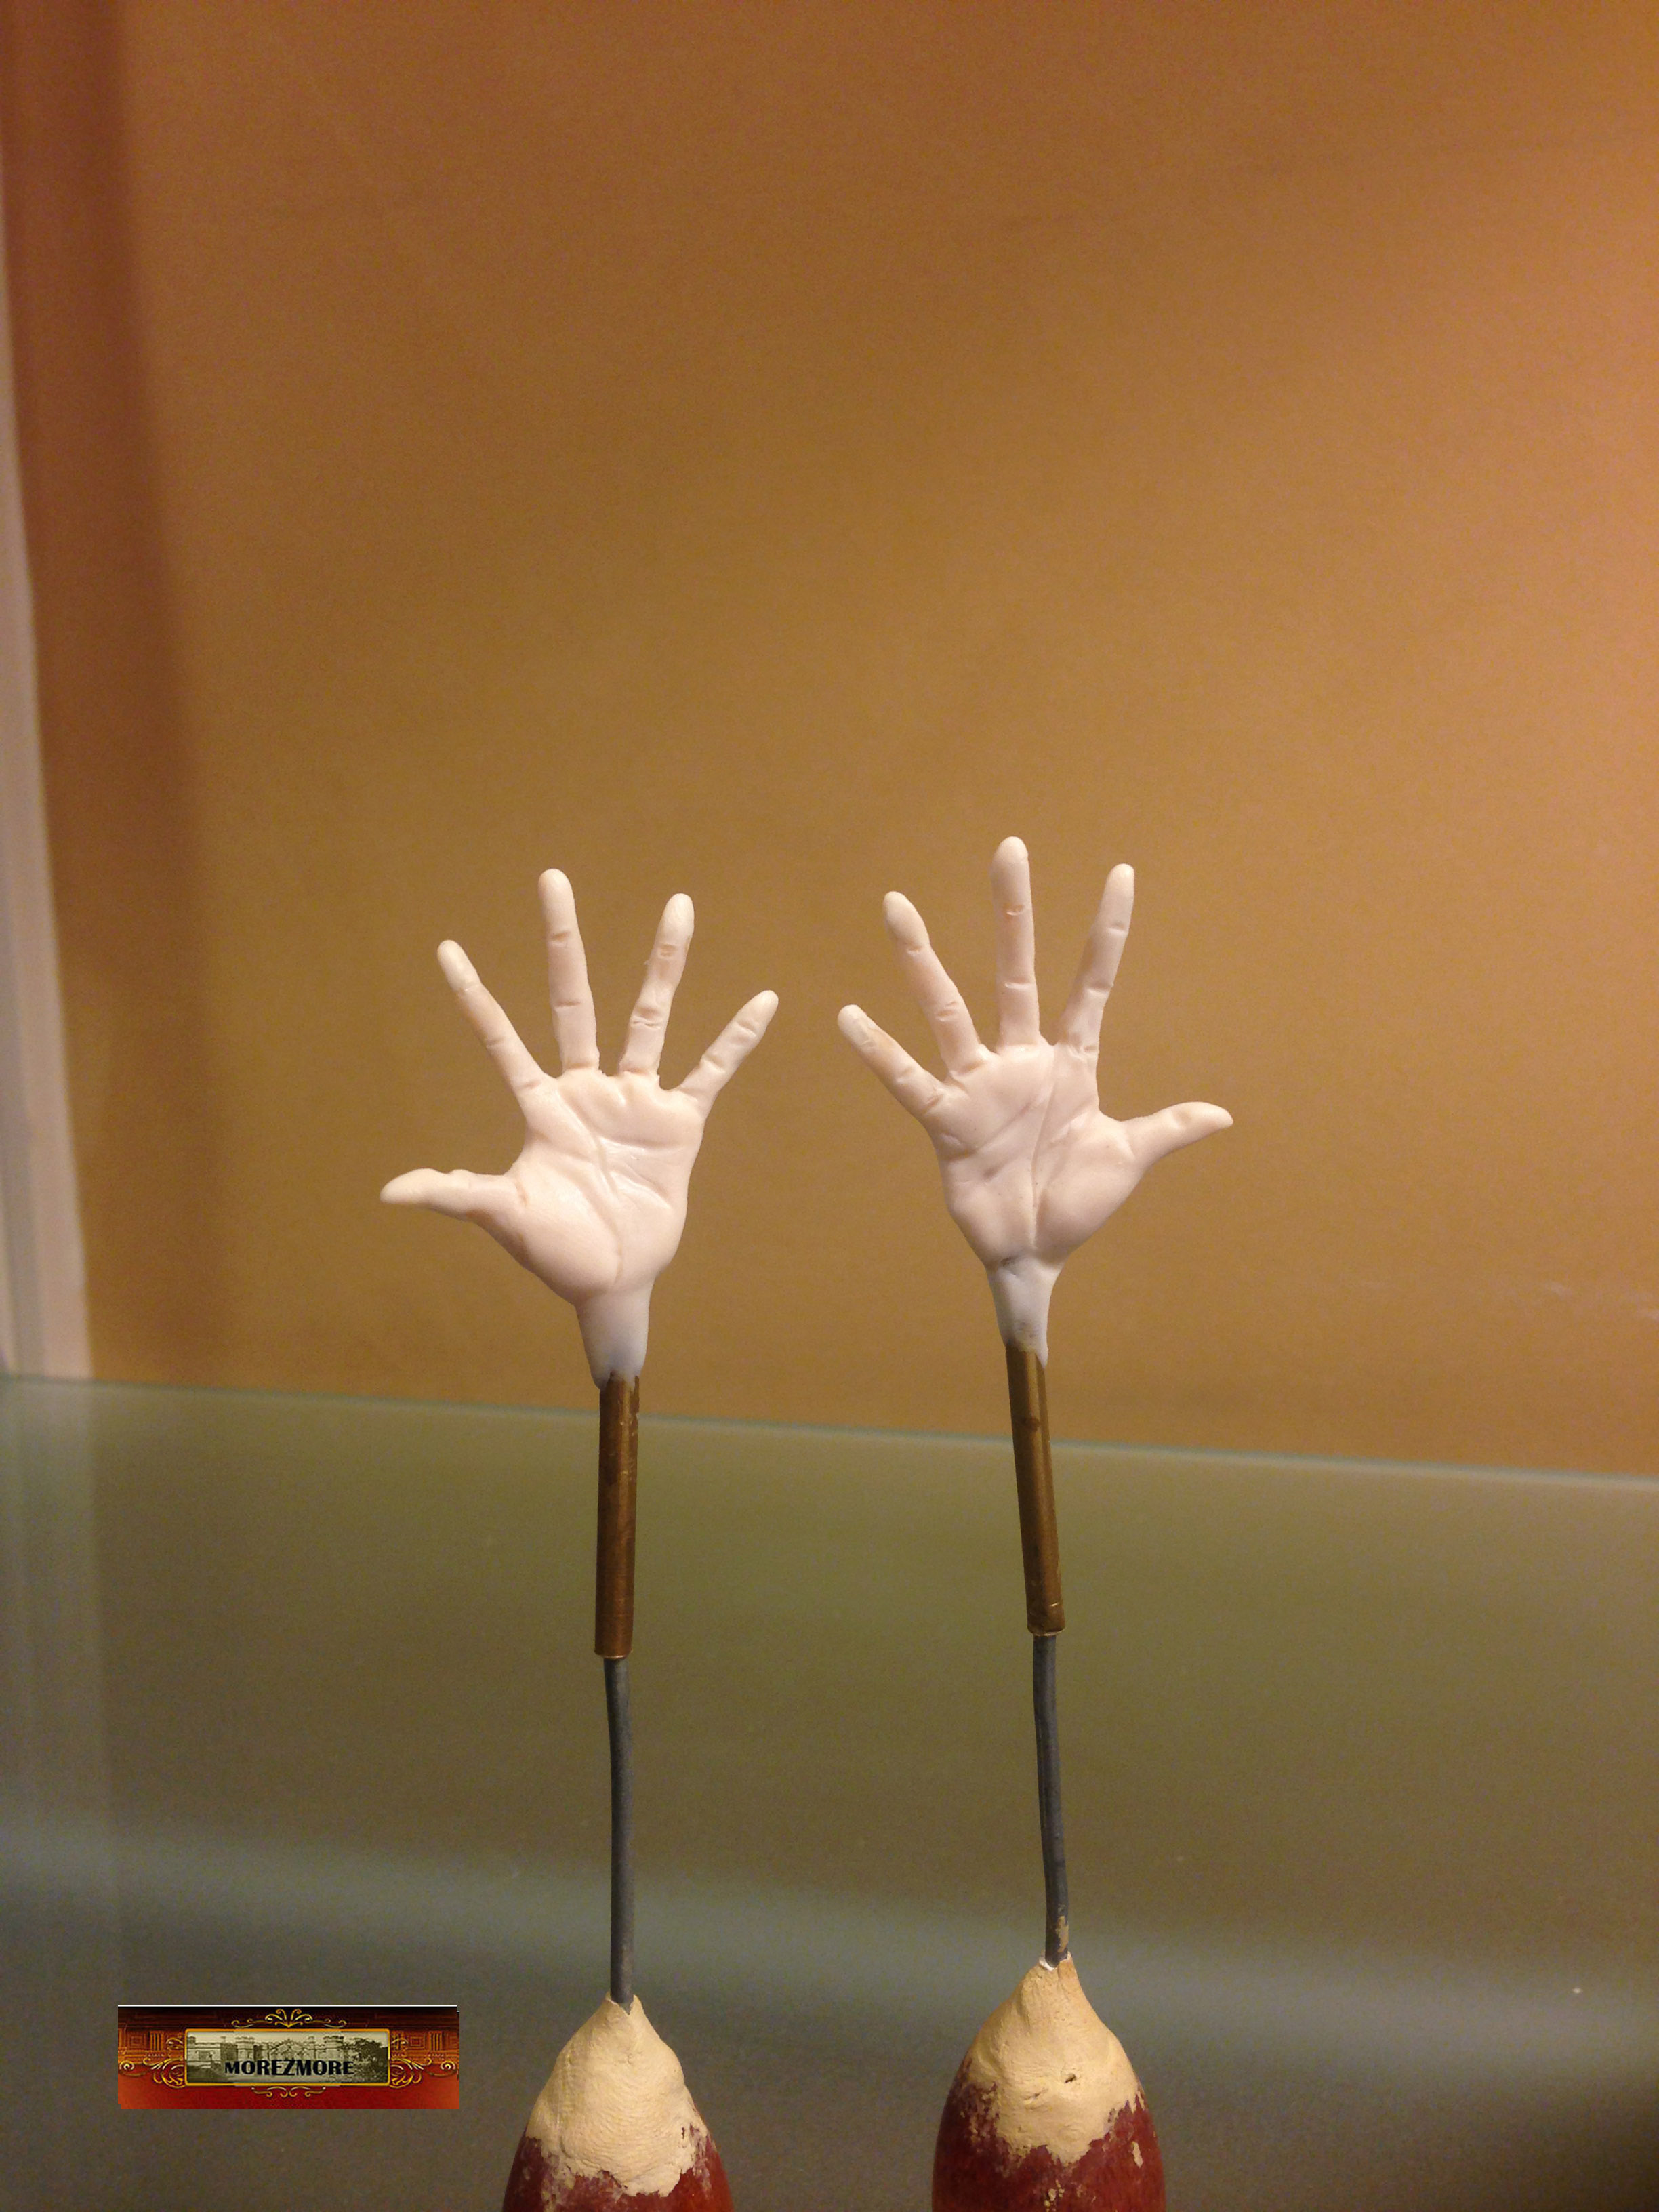
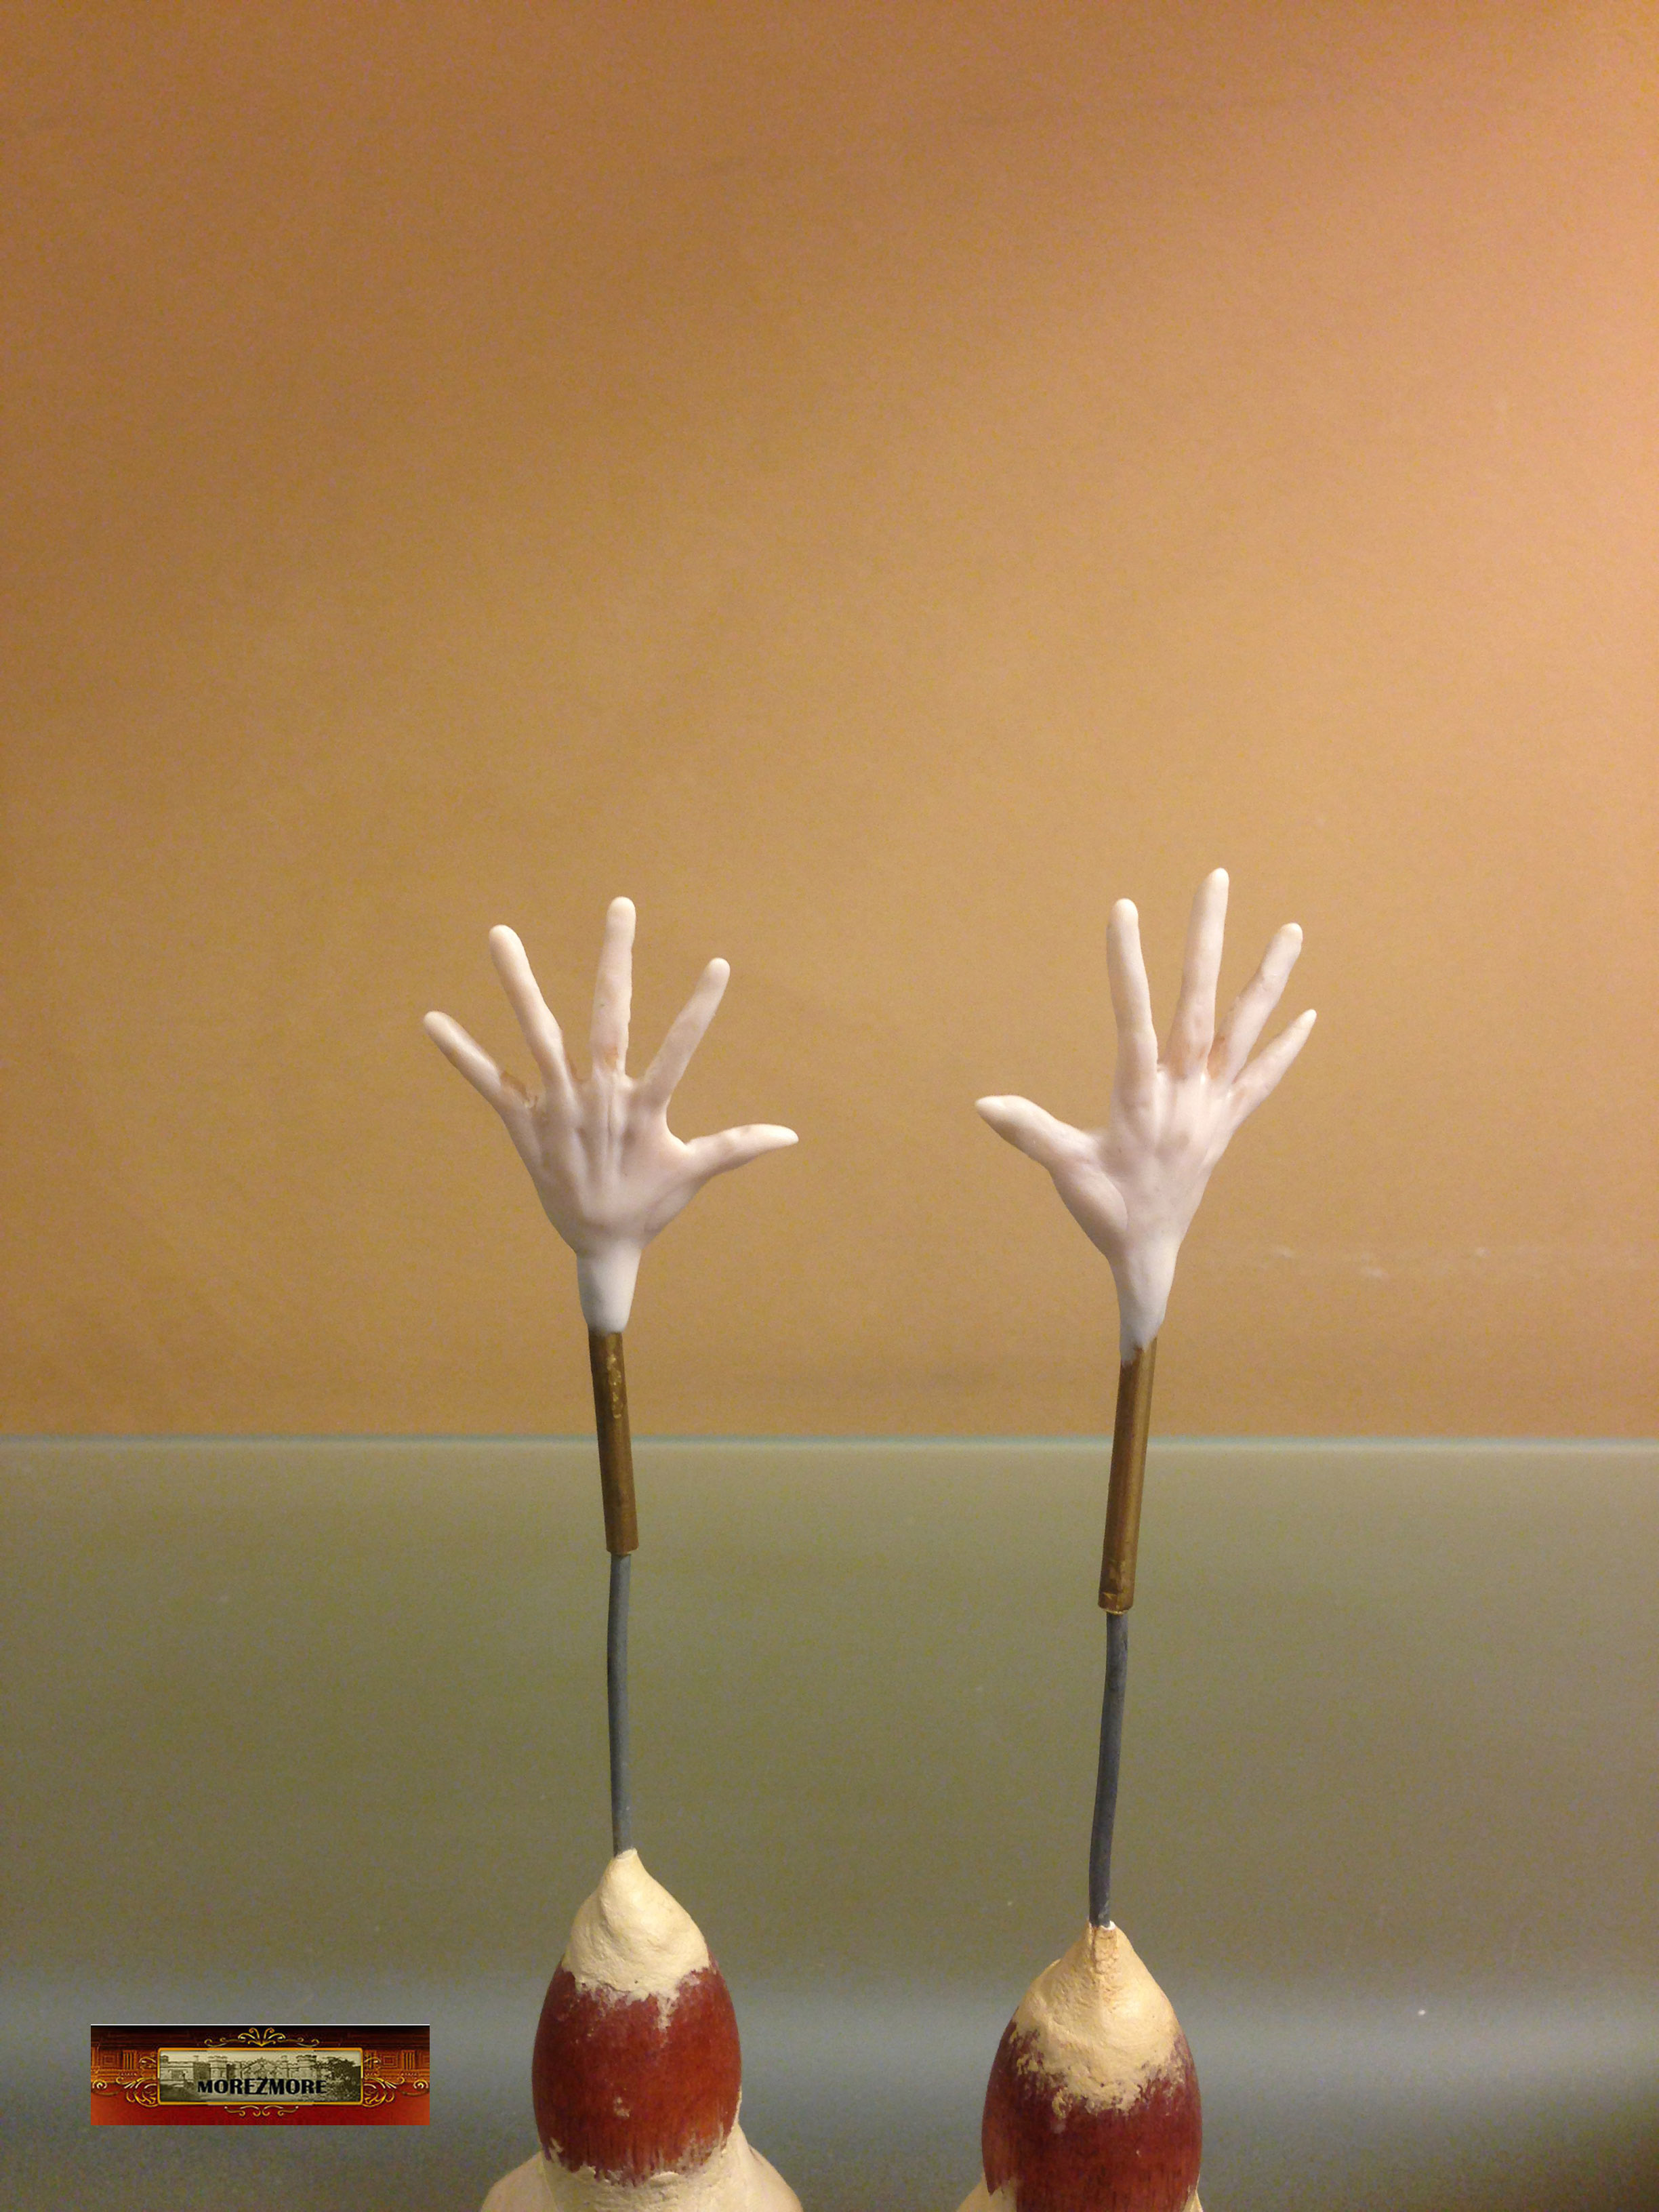
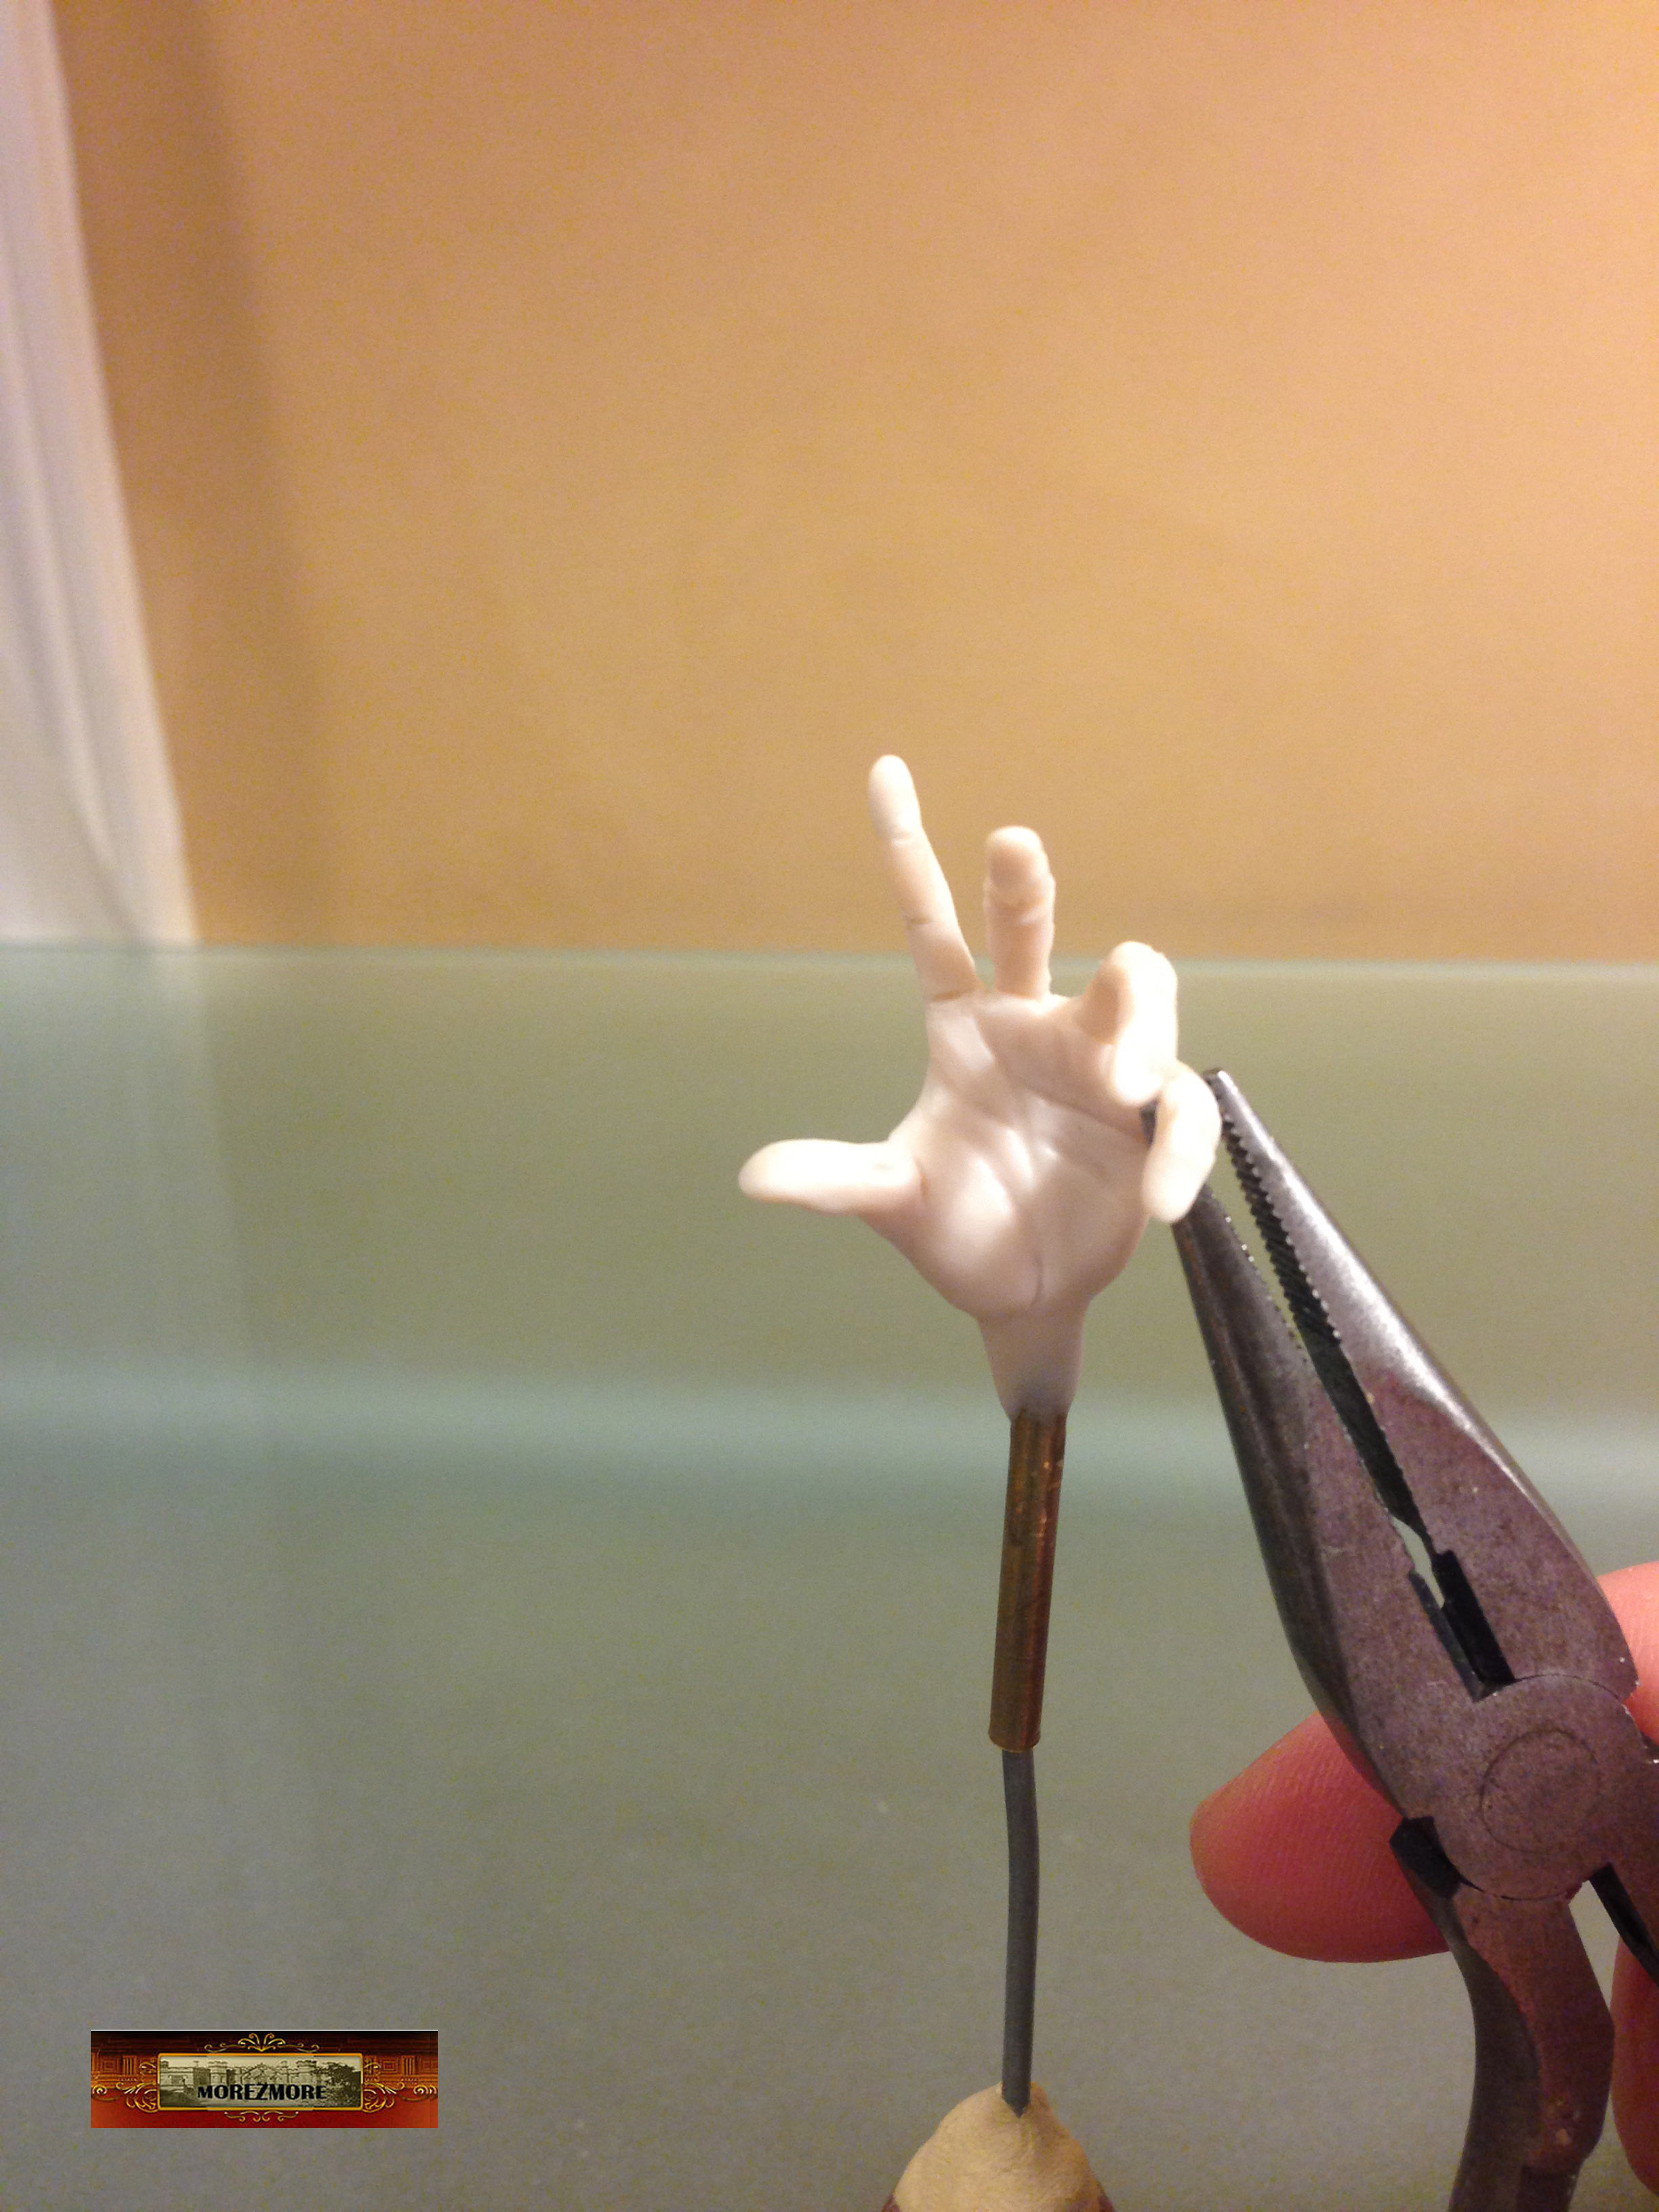
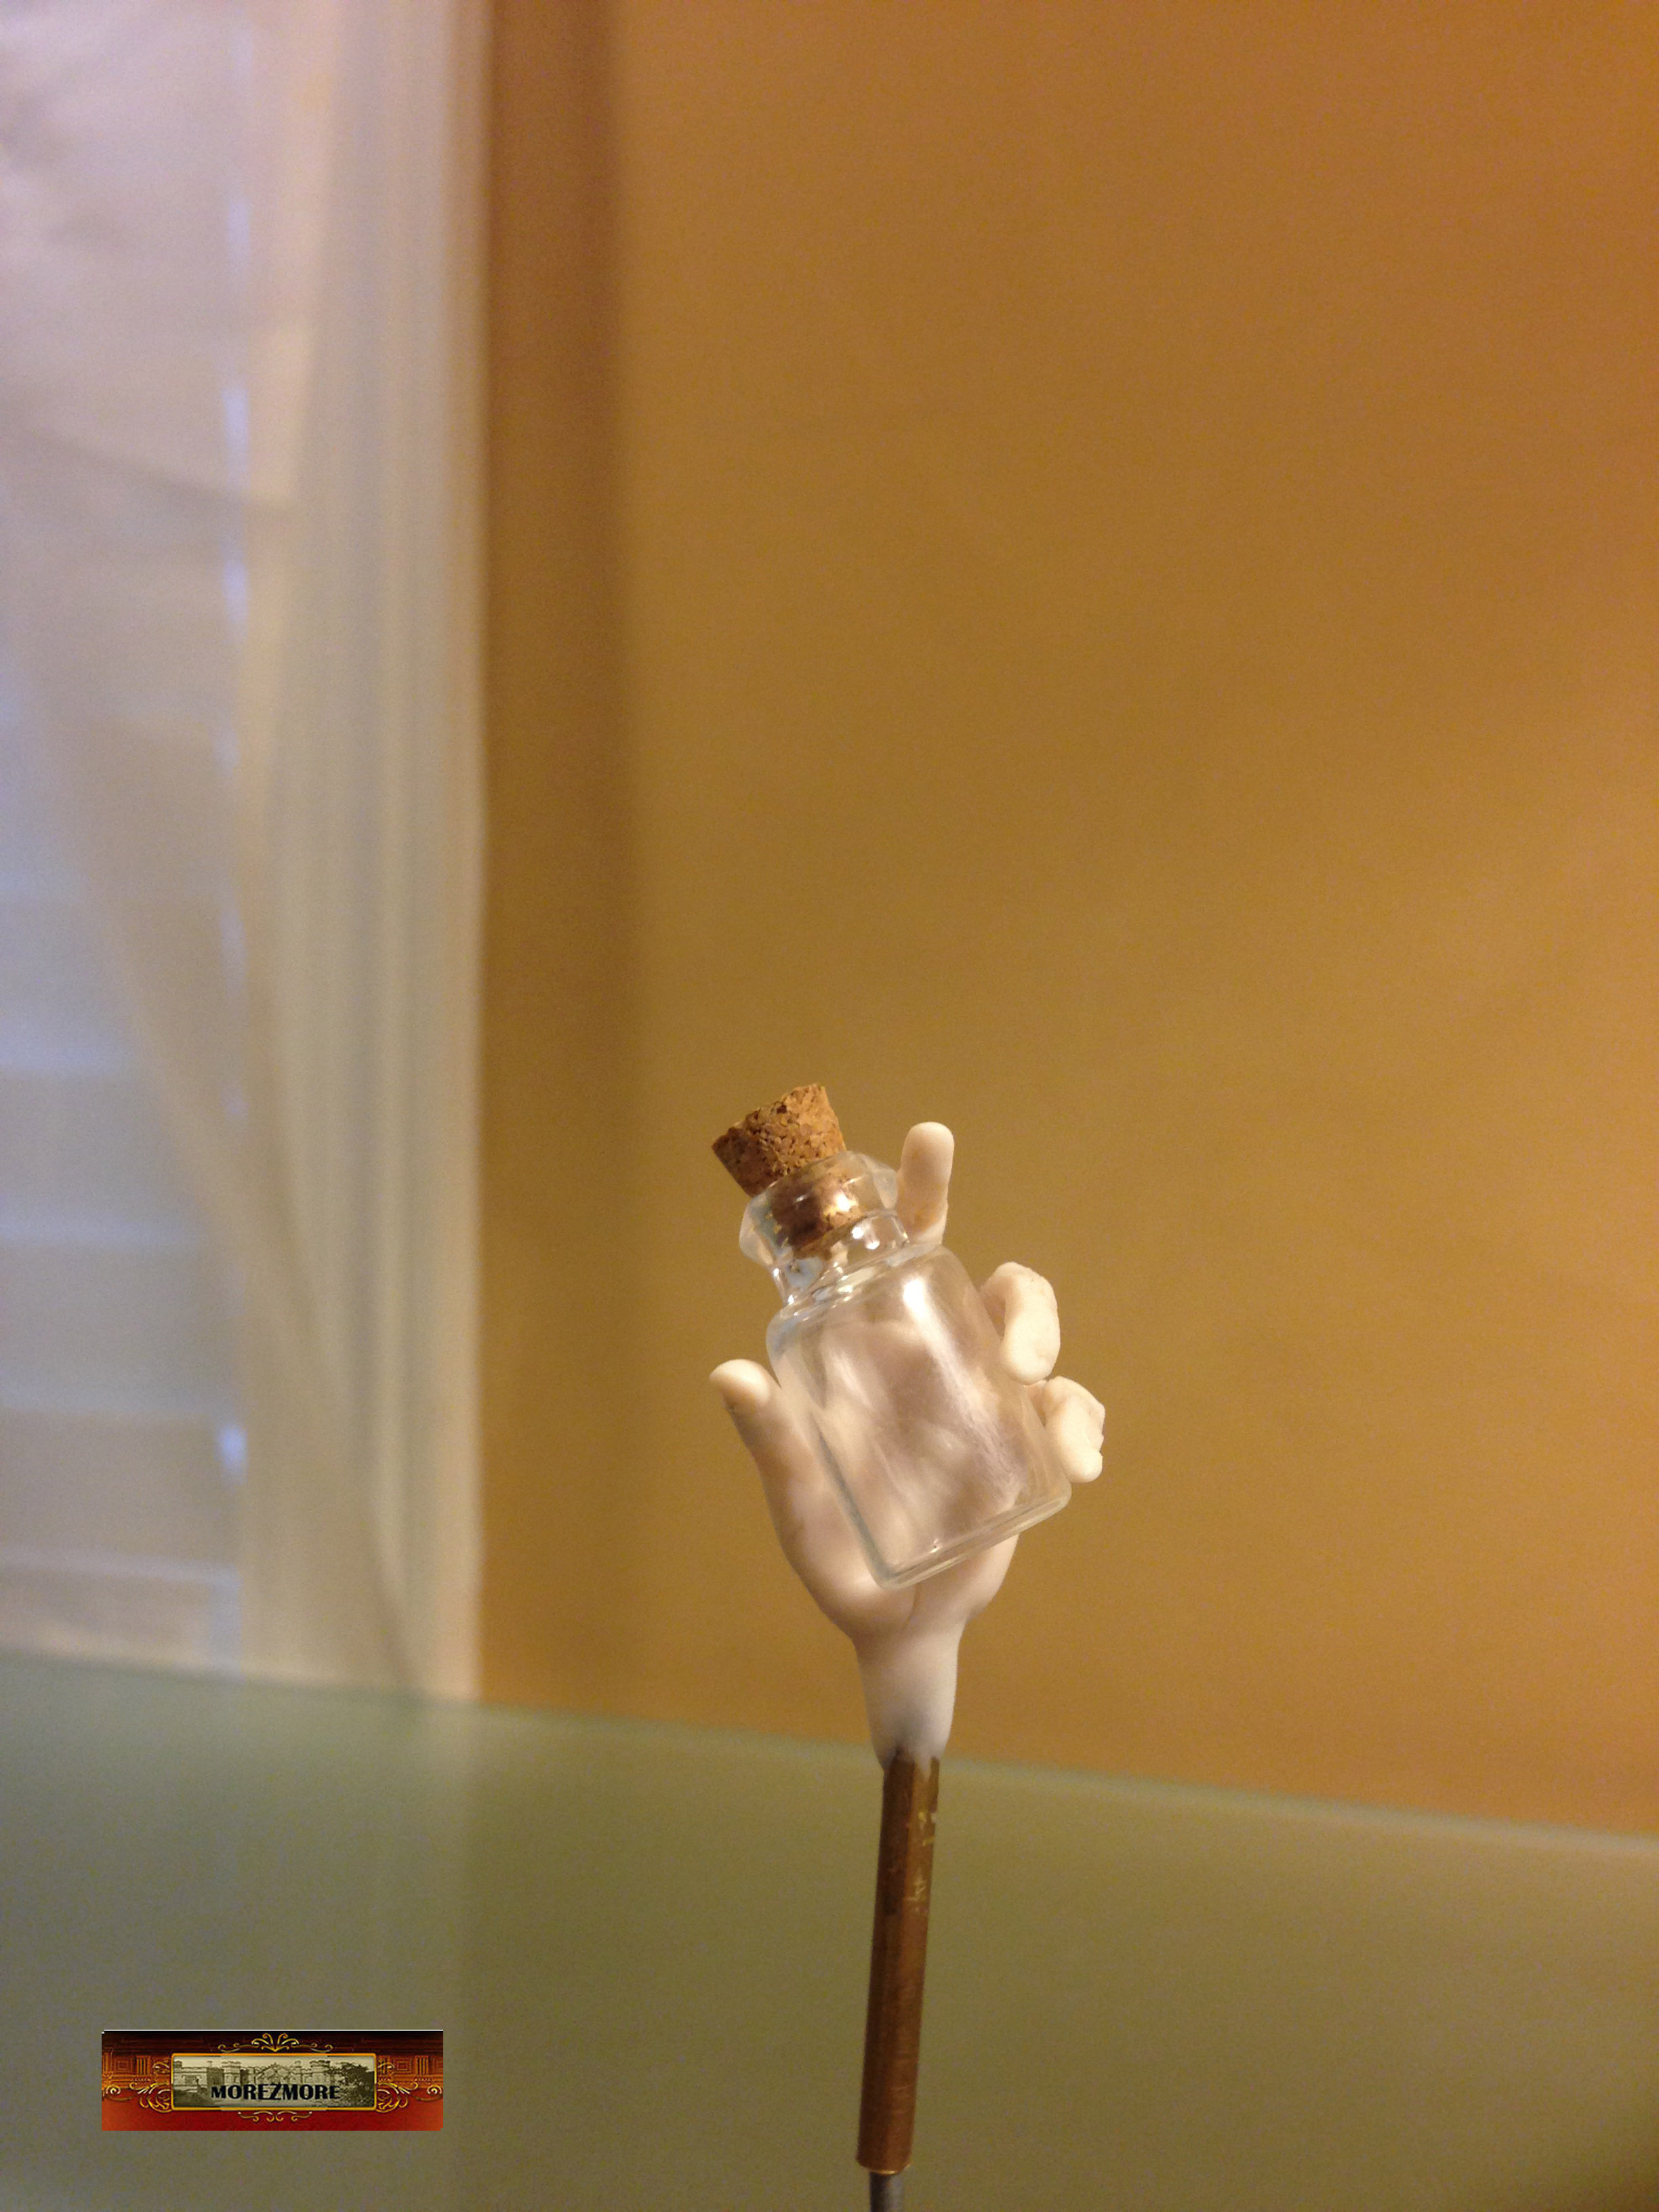
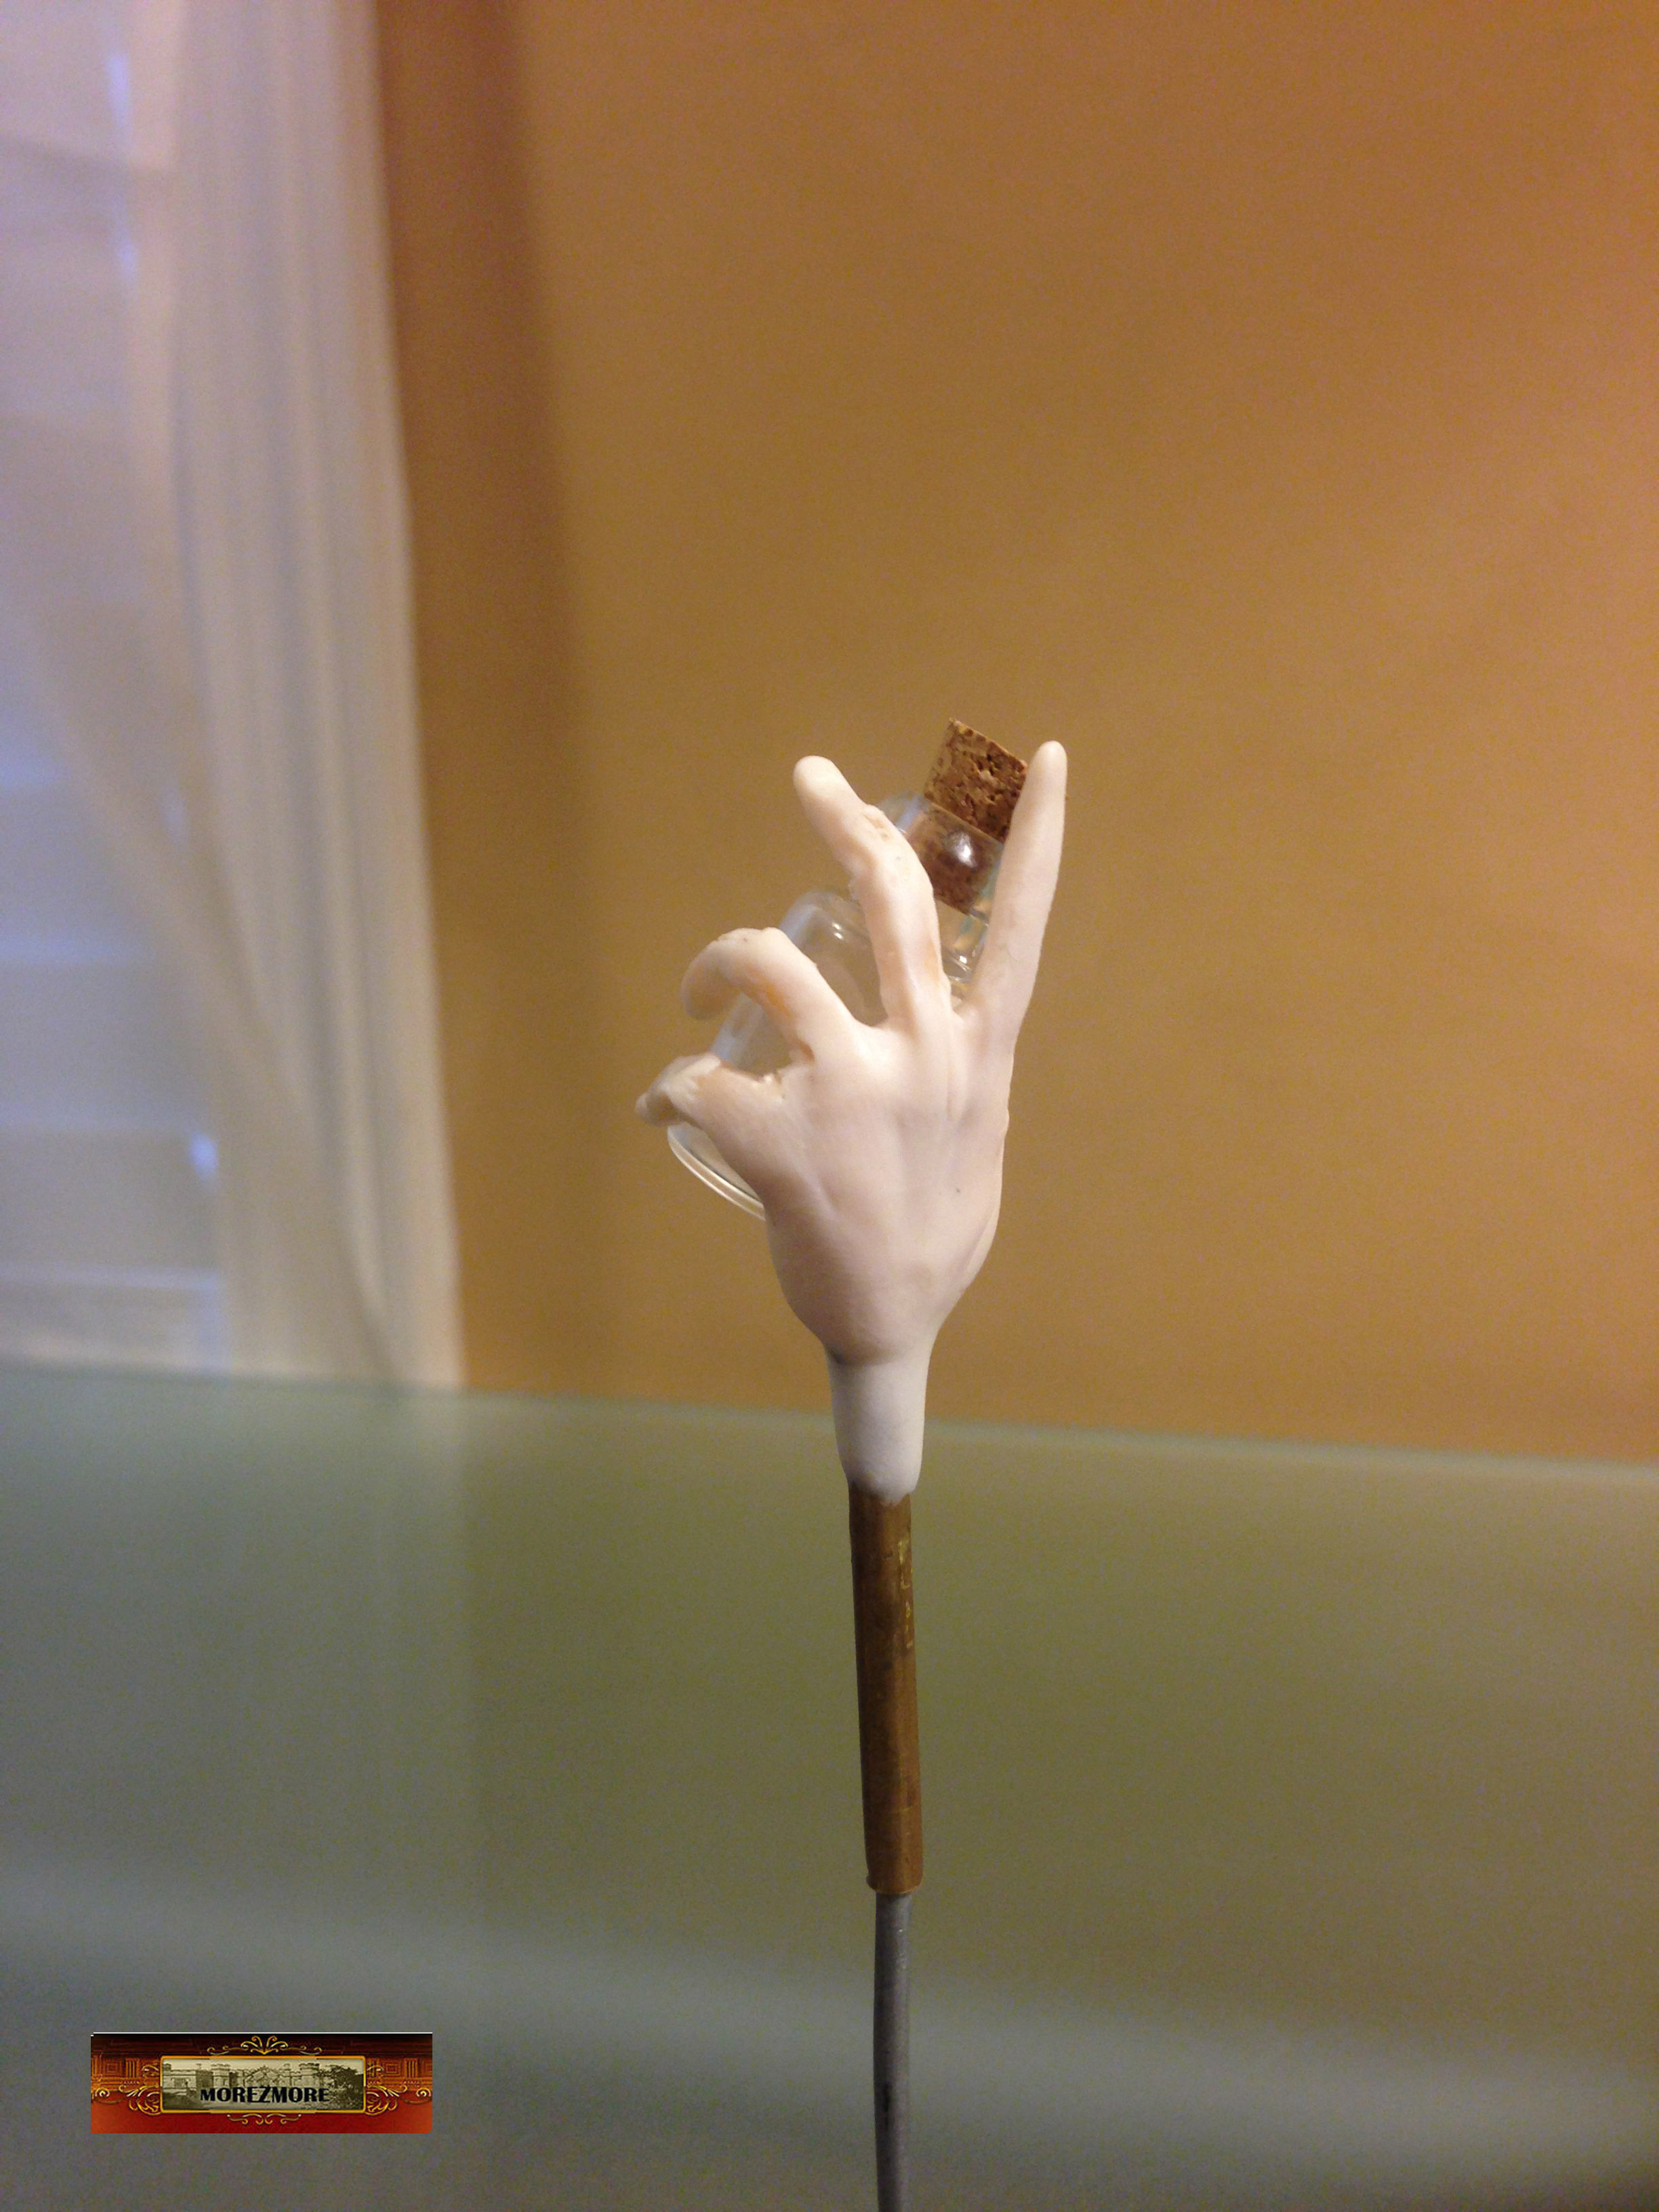
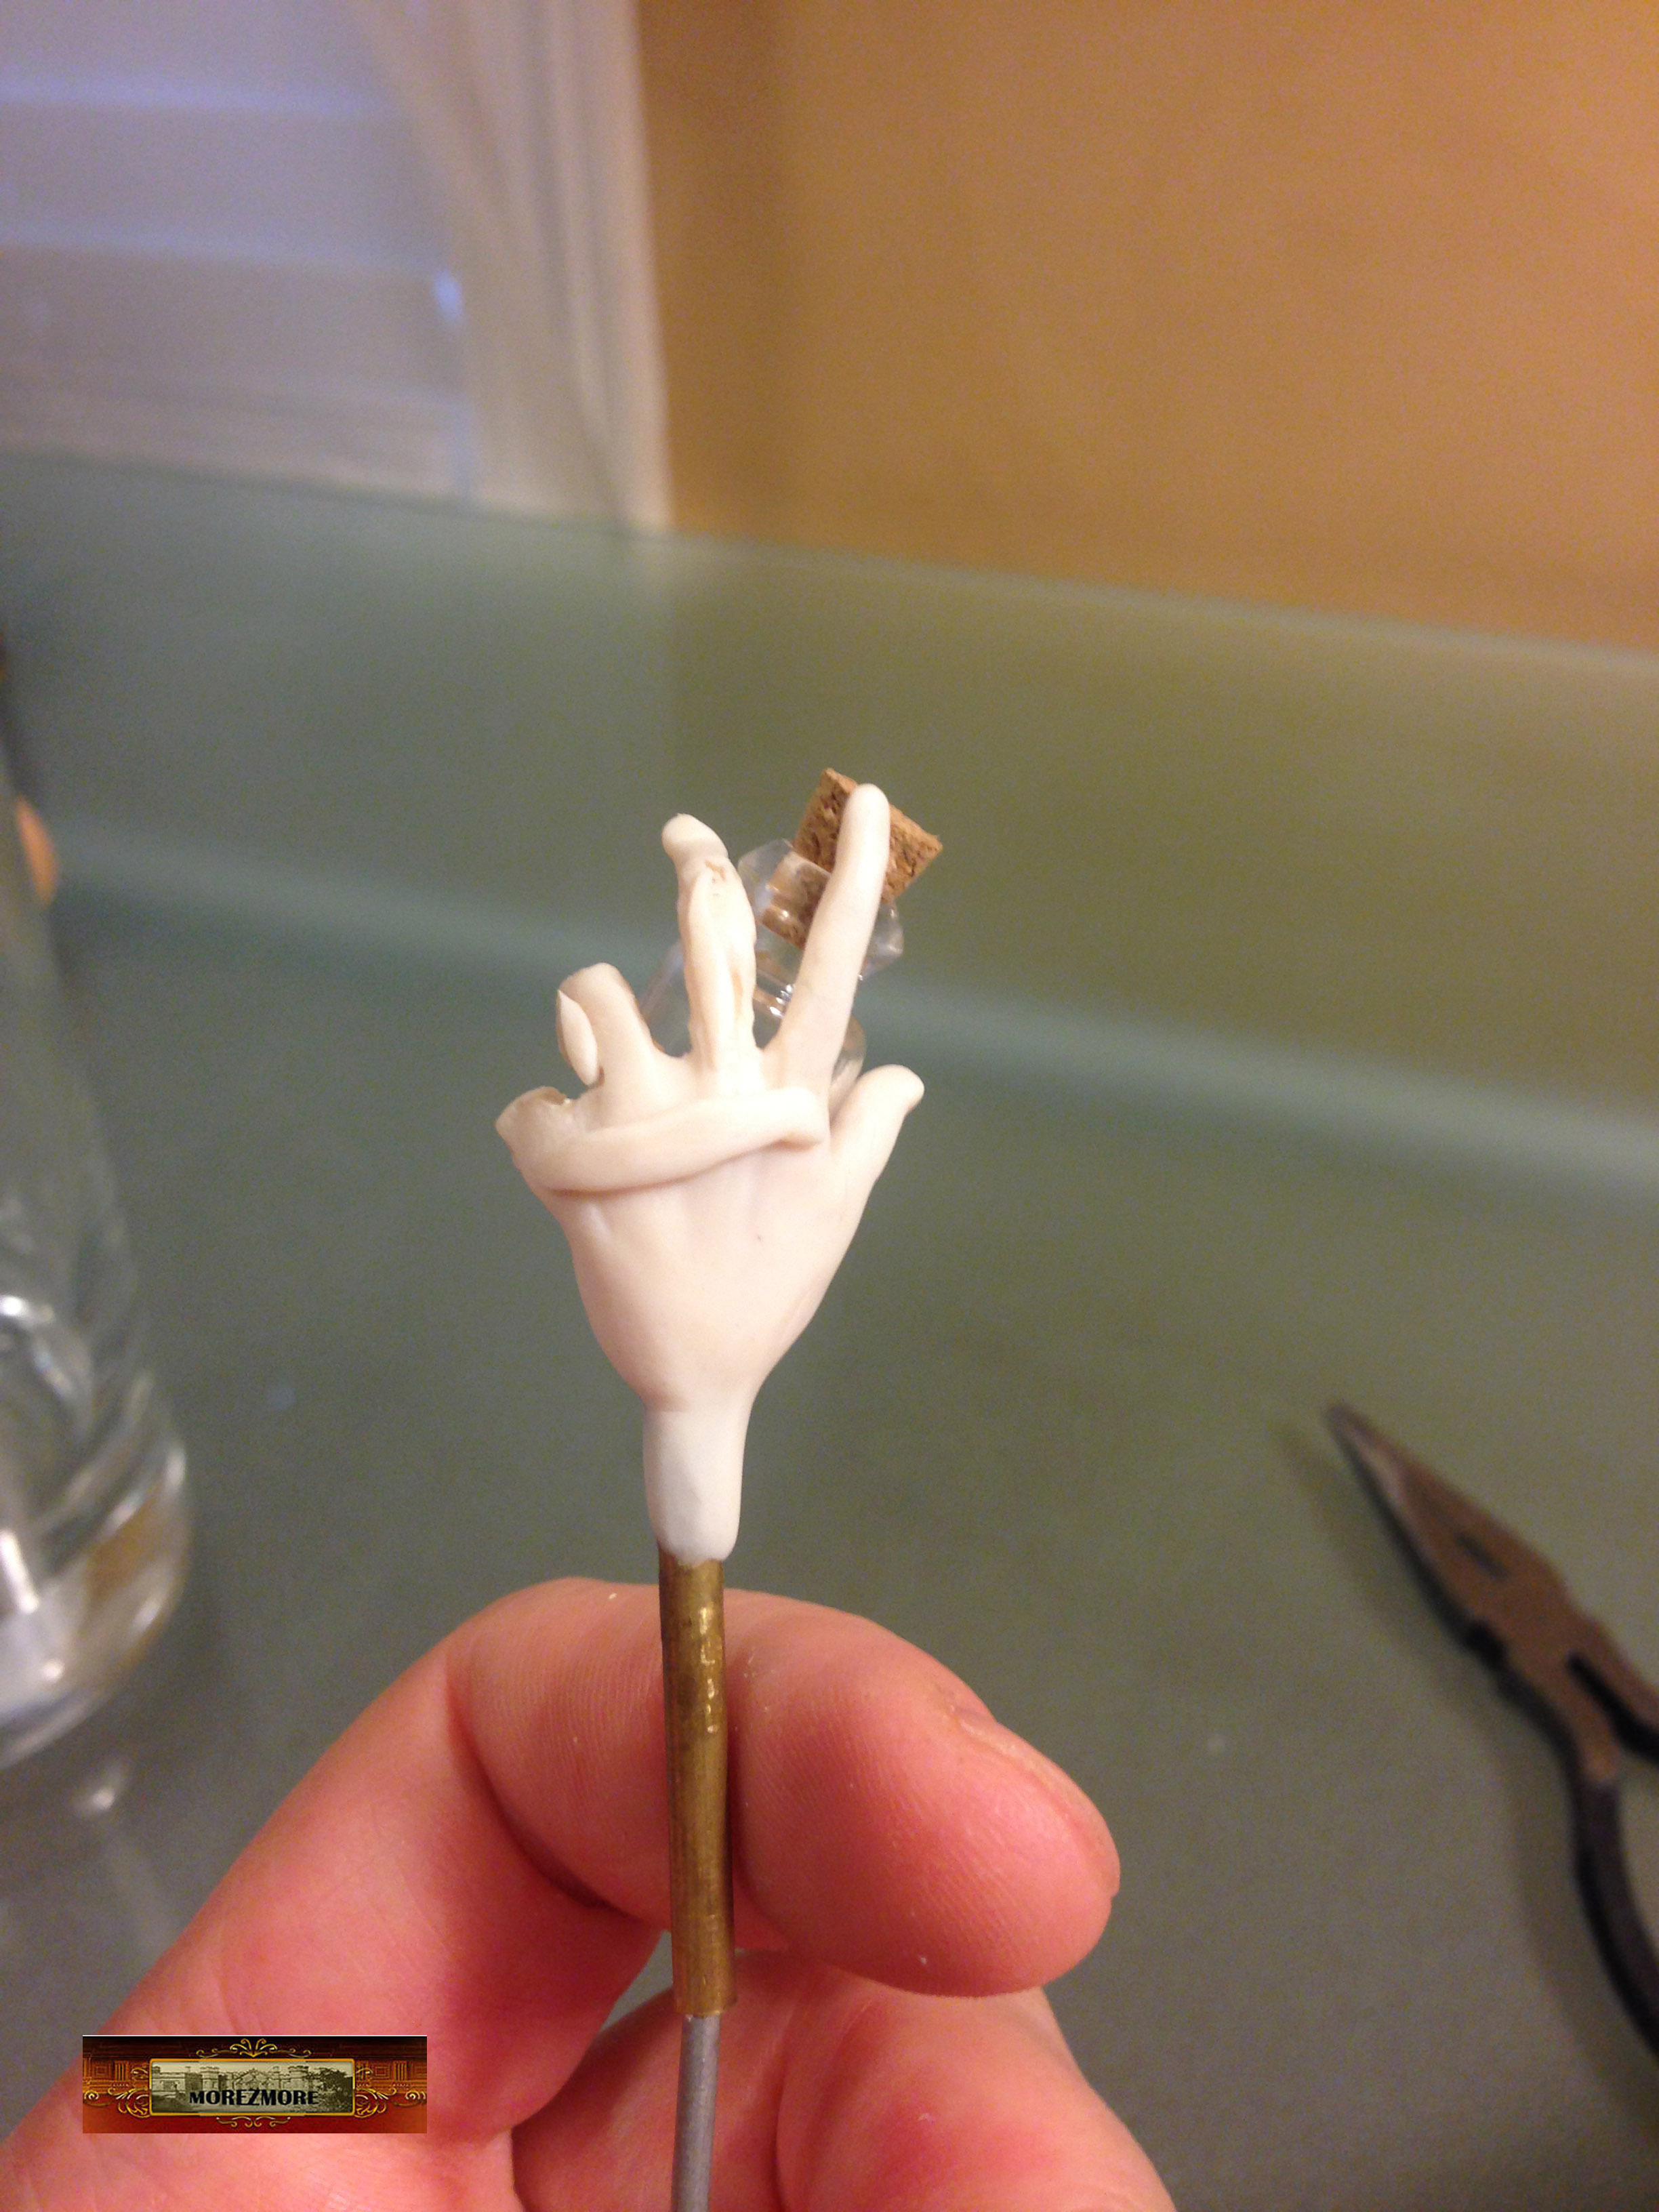
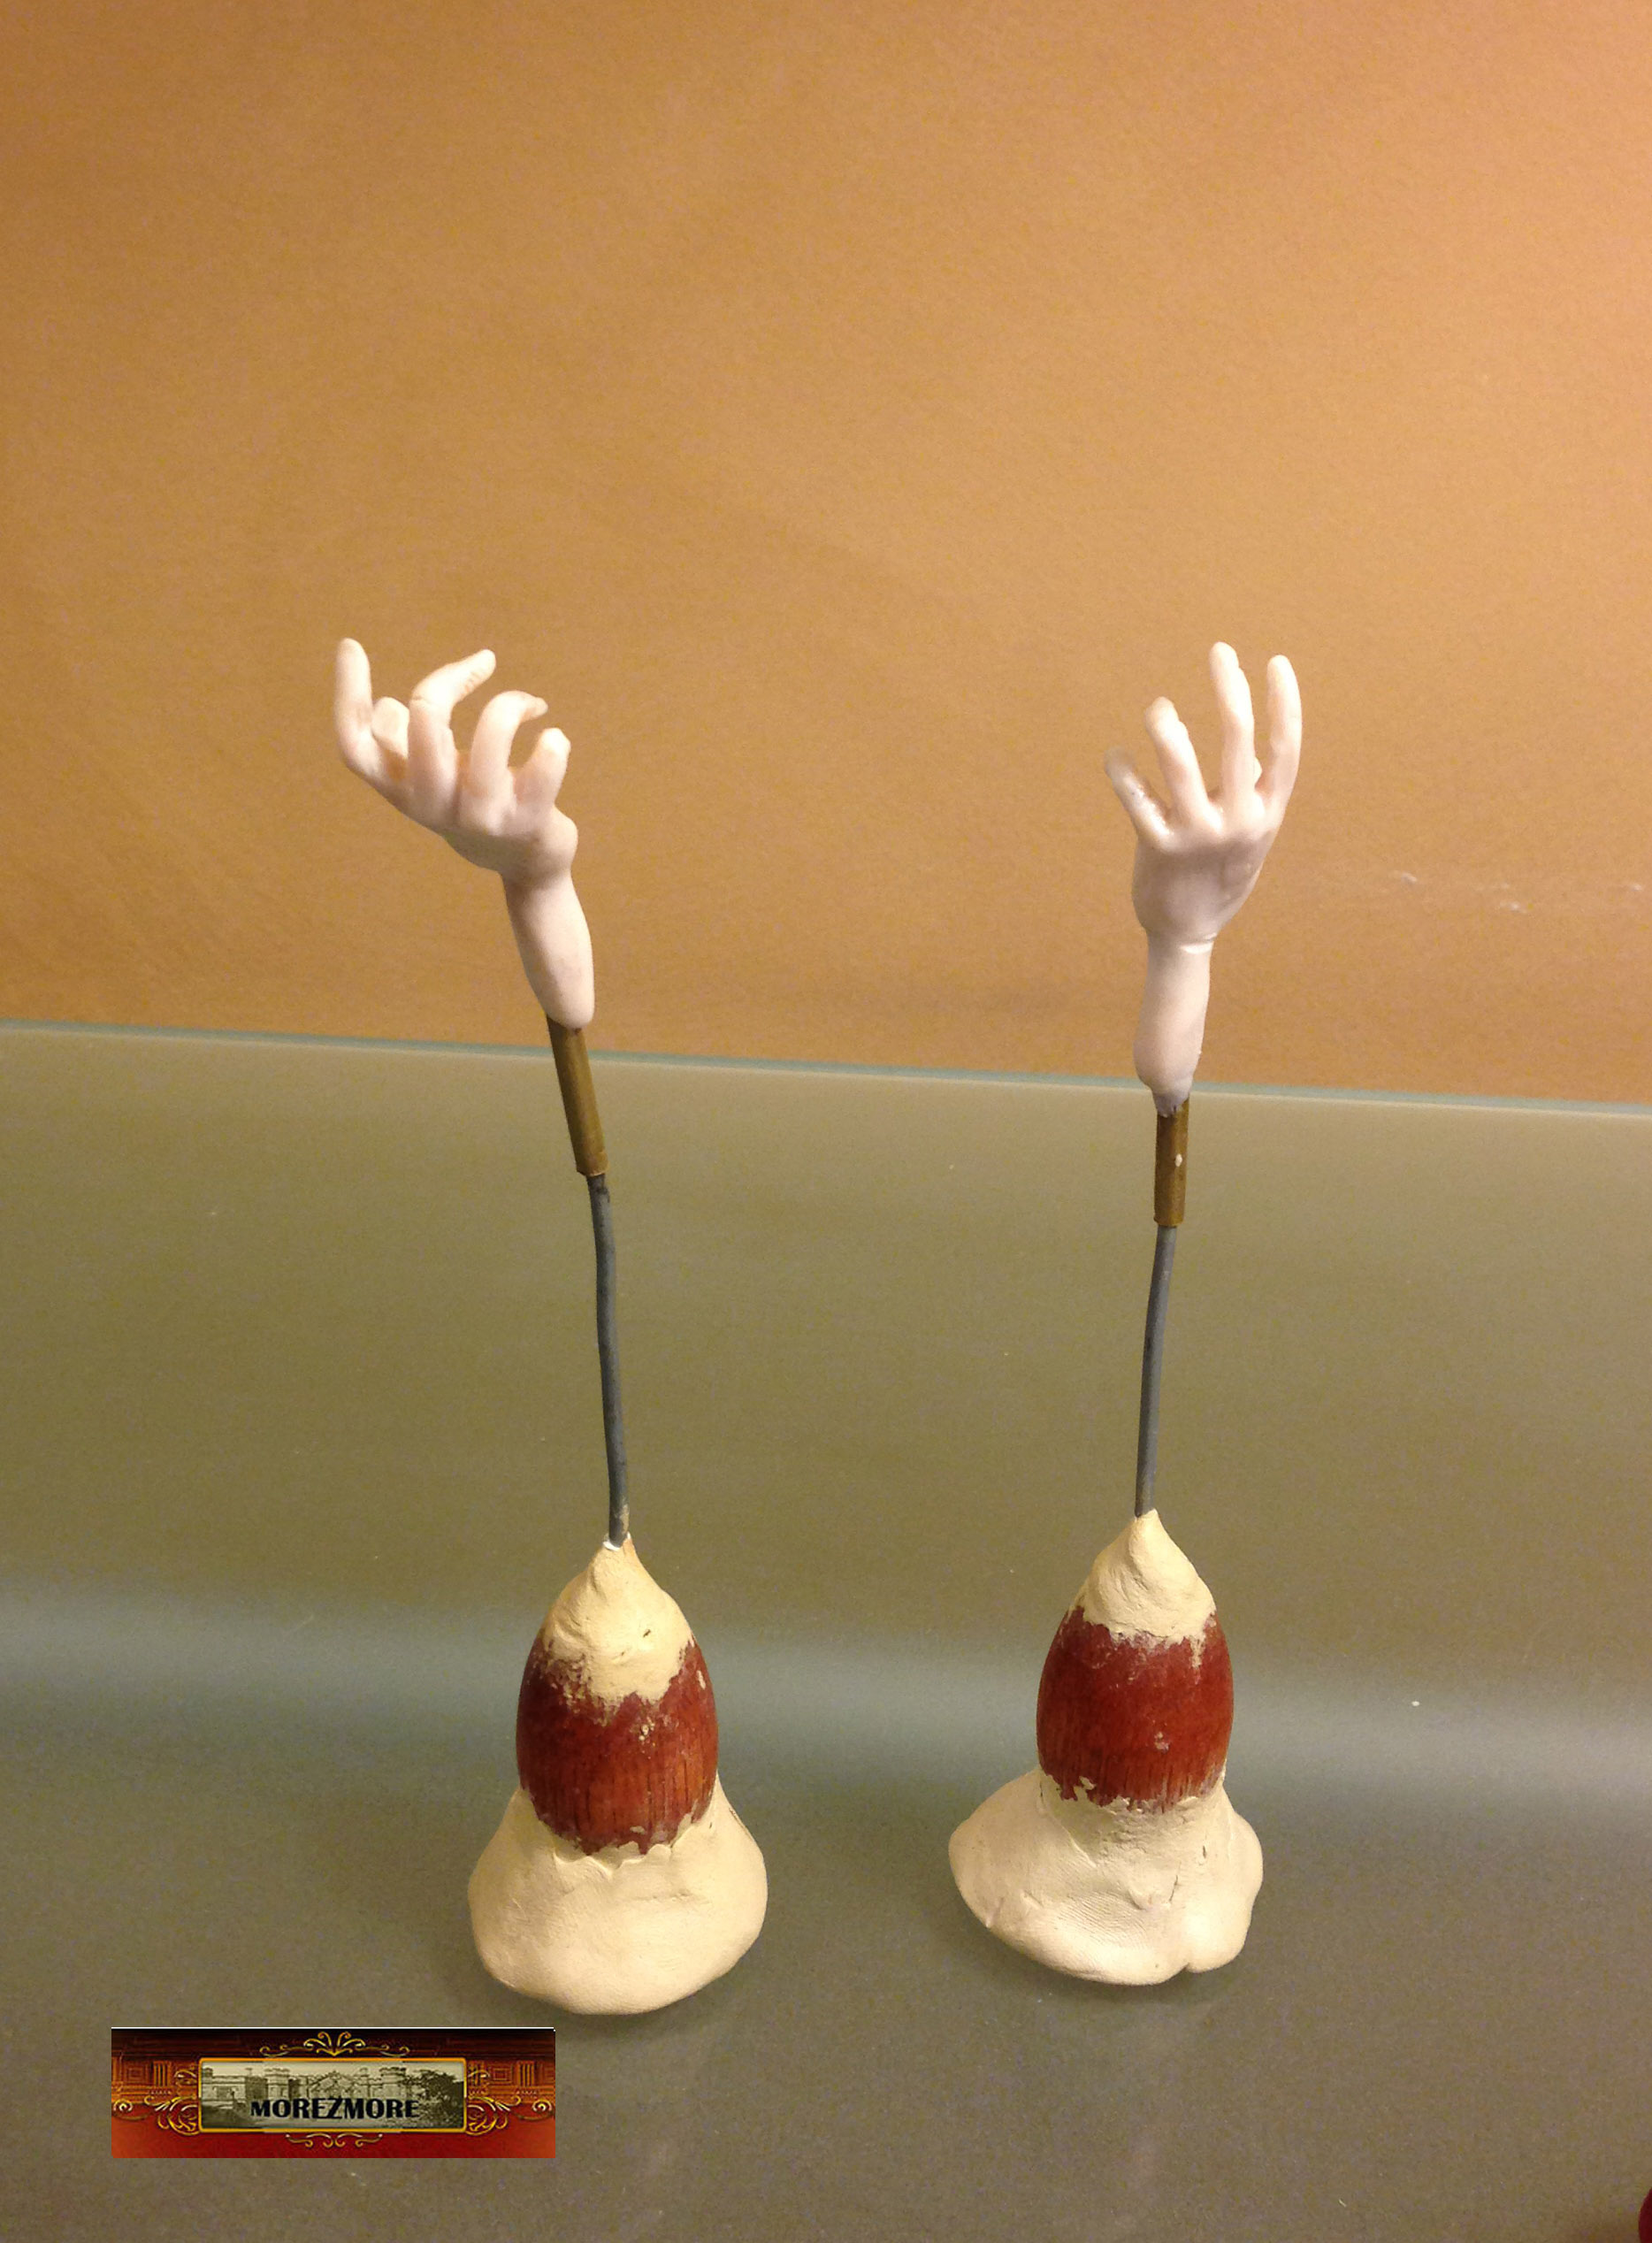
Baked here.
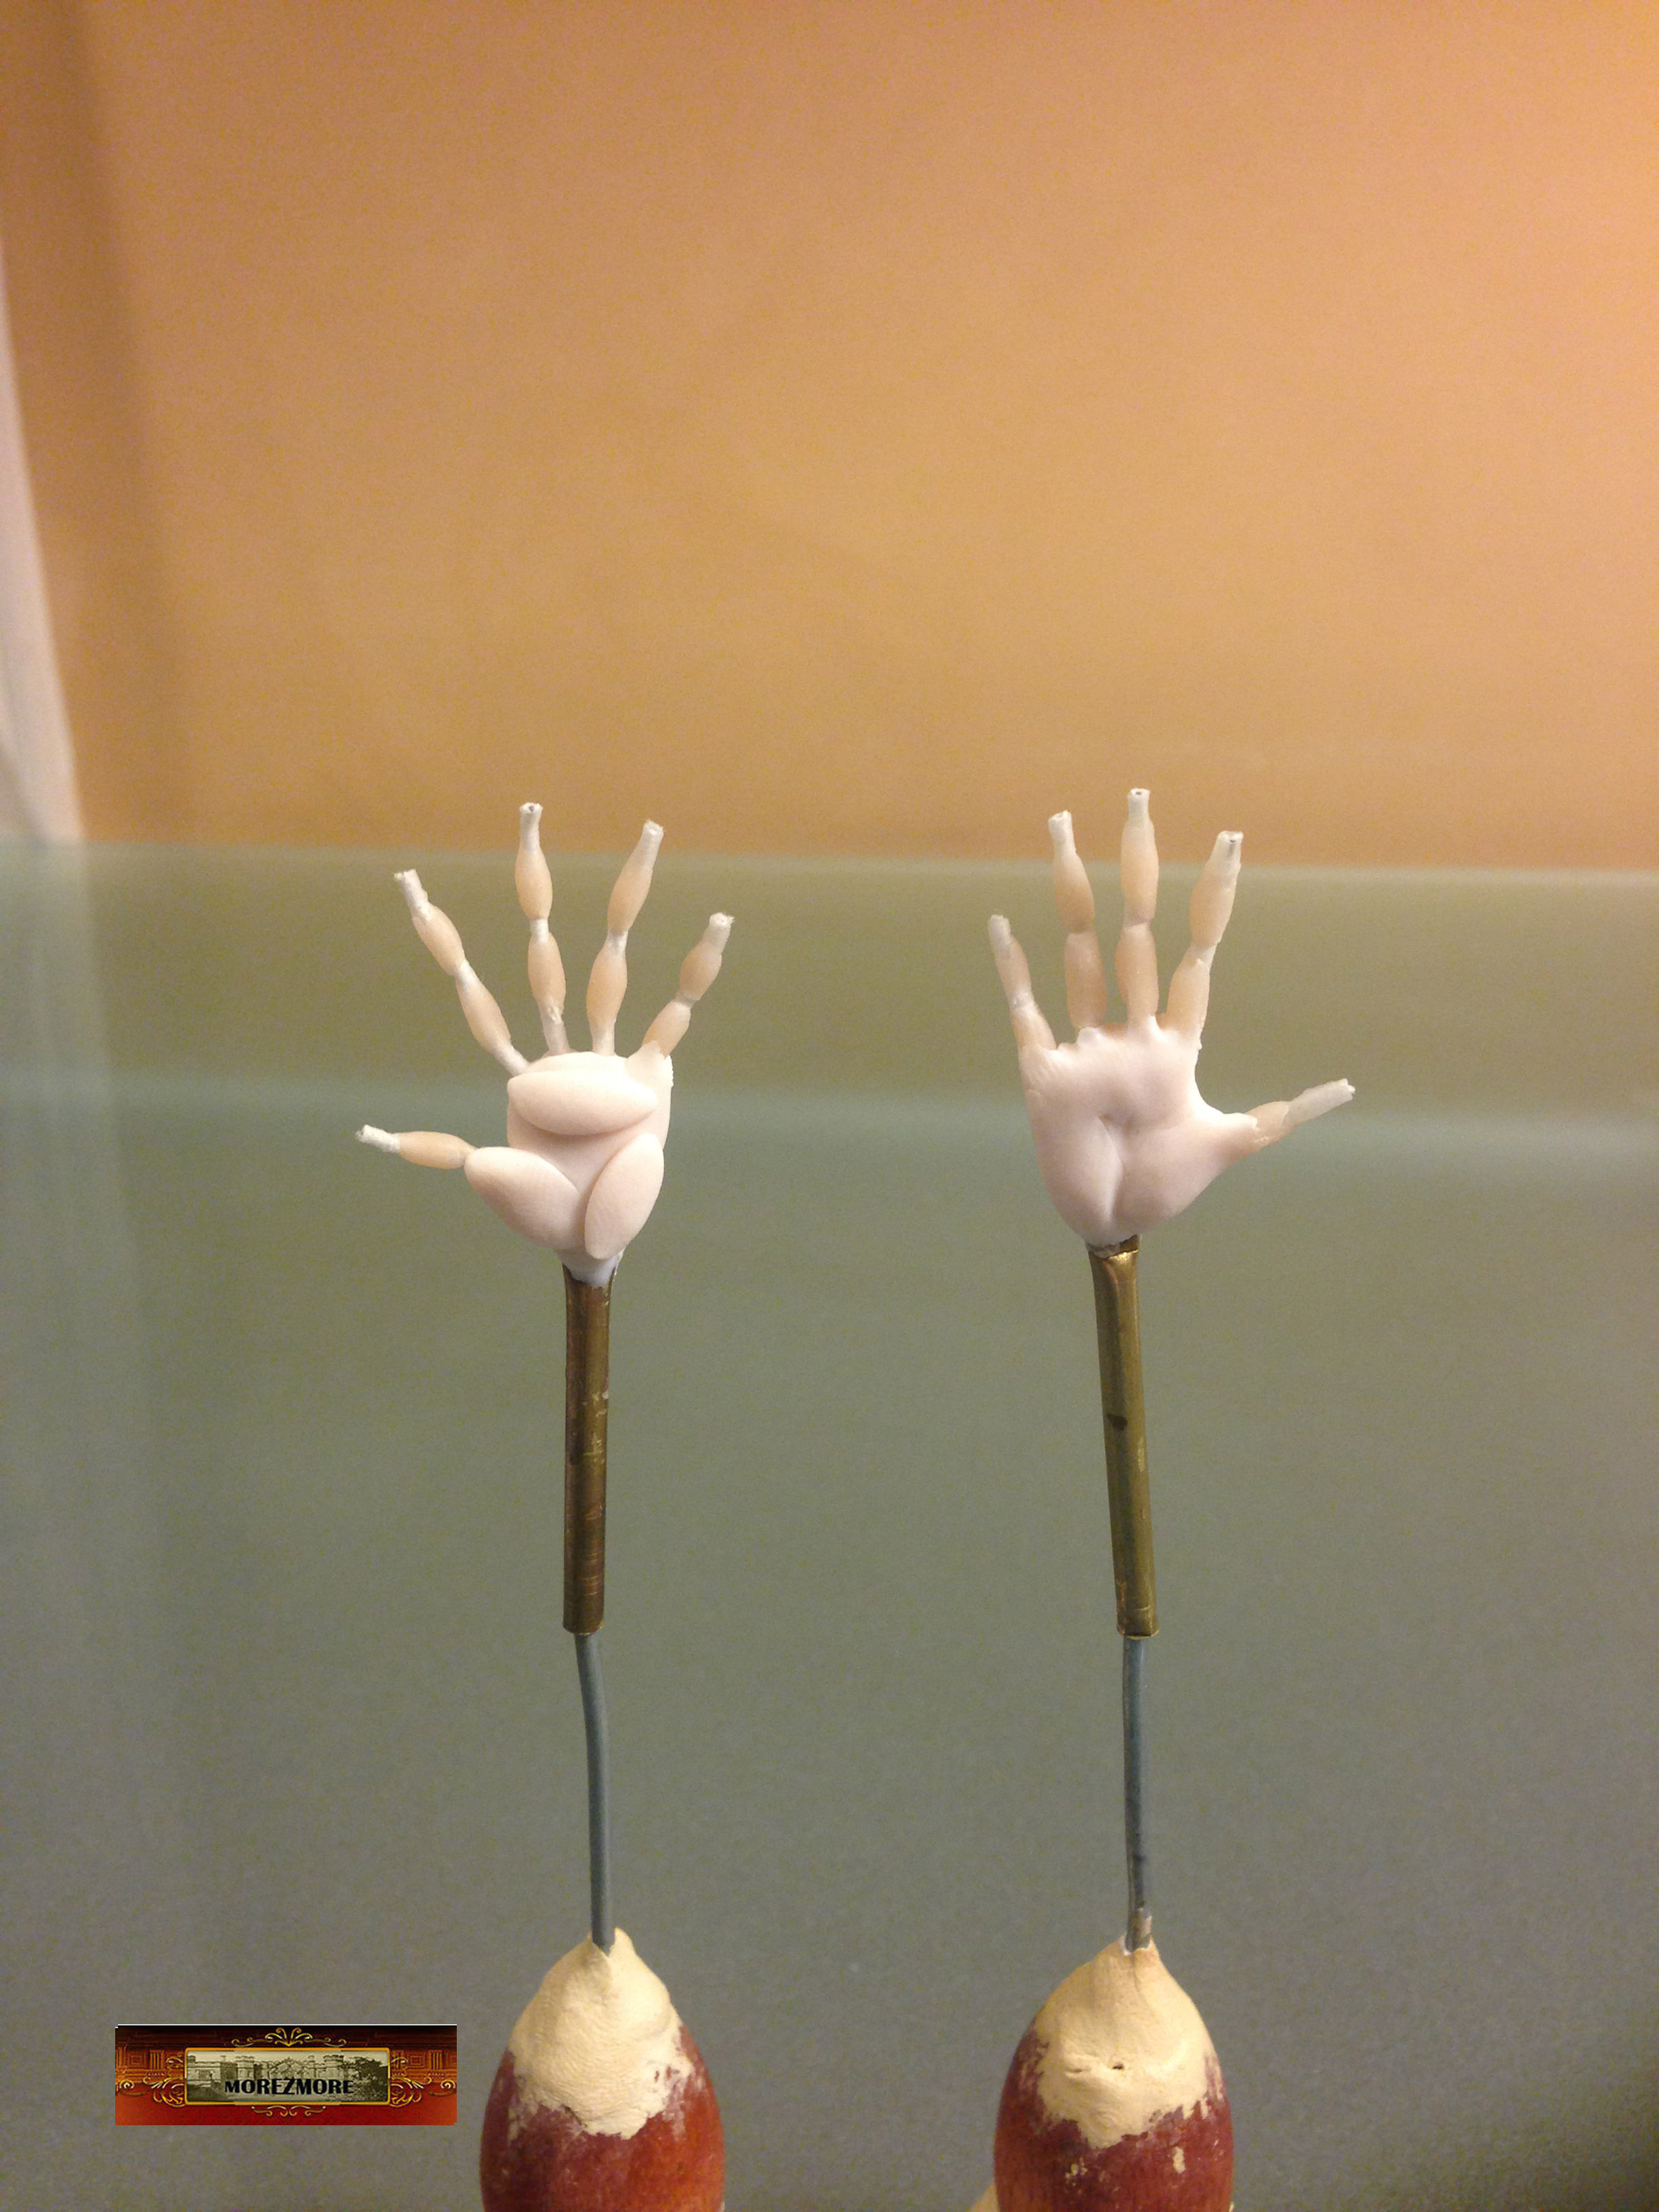
Trim, corrected, filed down with X-Acto knife and needle files.
Covered with Translucent Liquid Sculpey

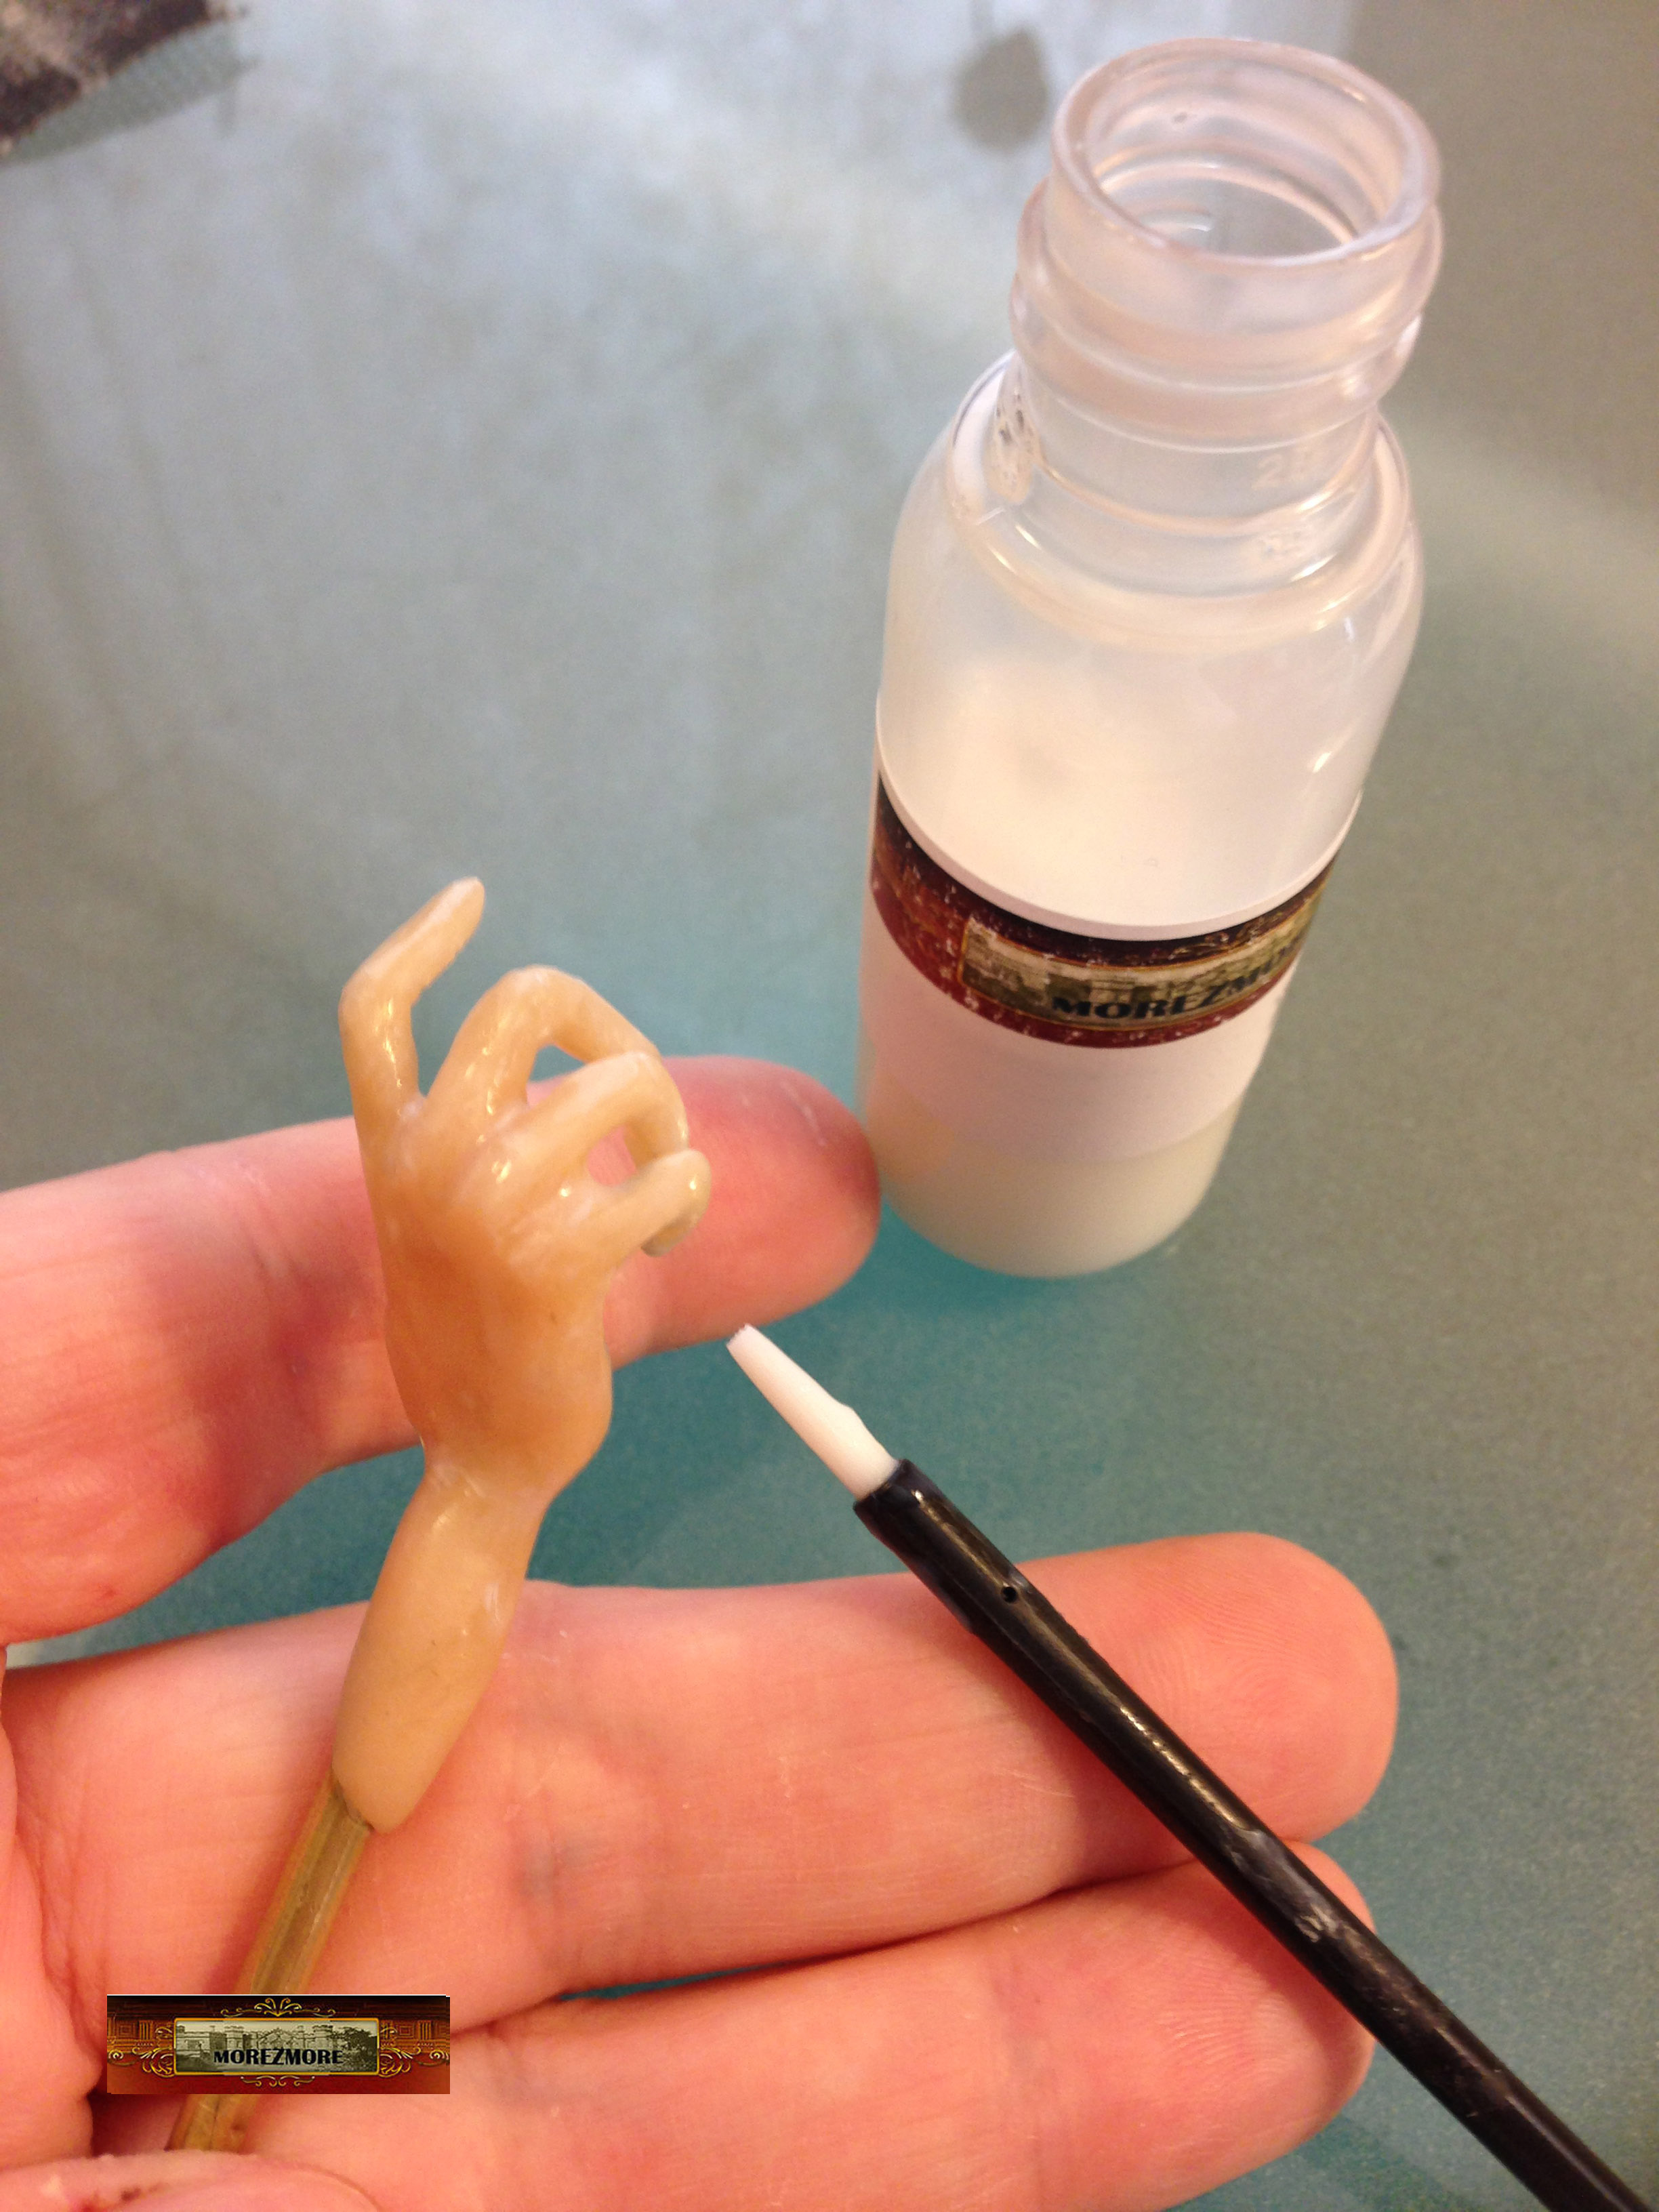
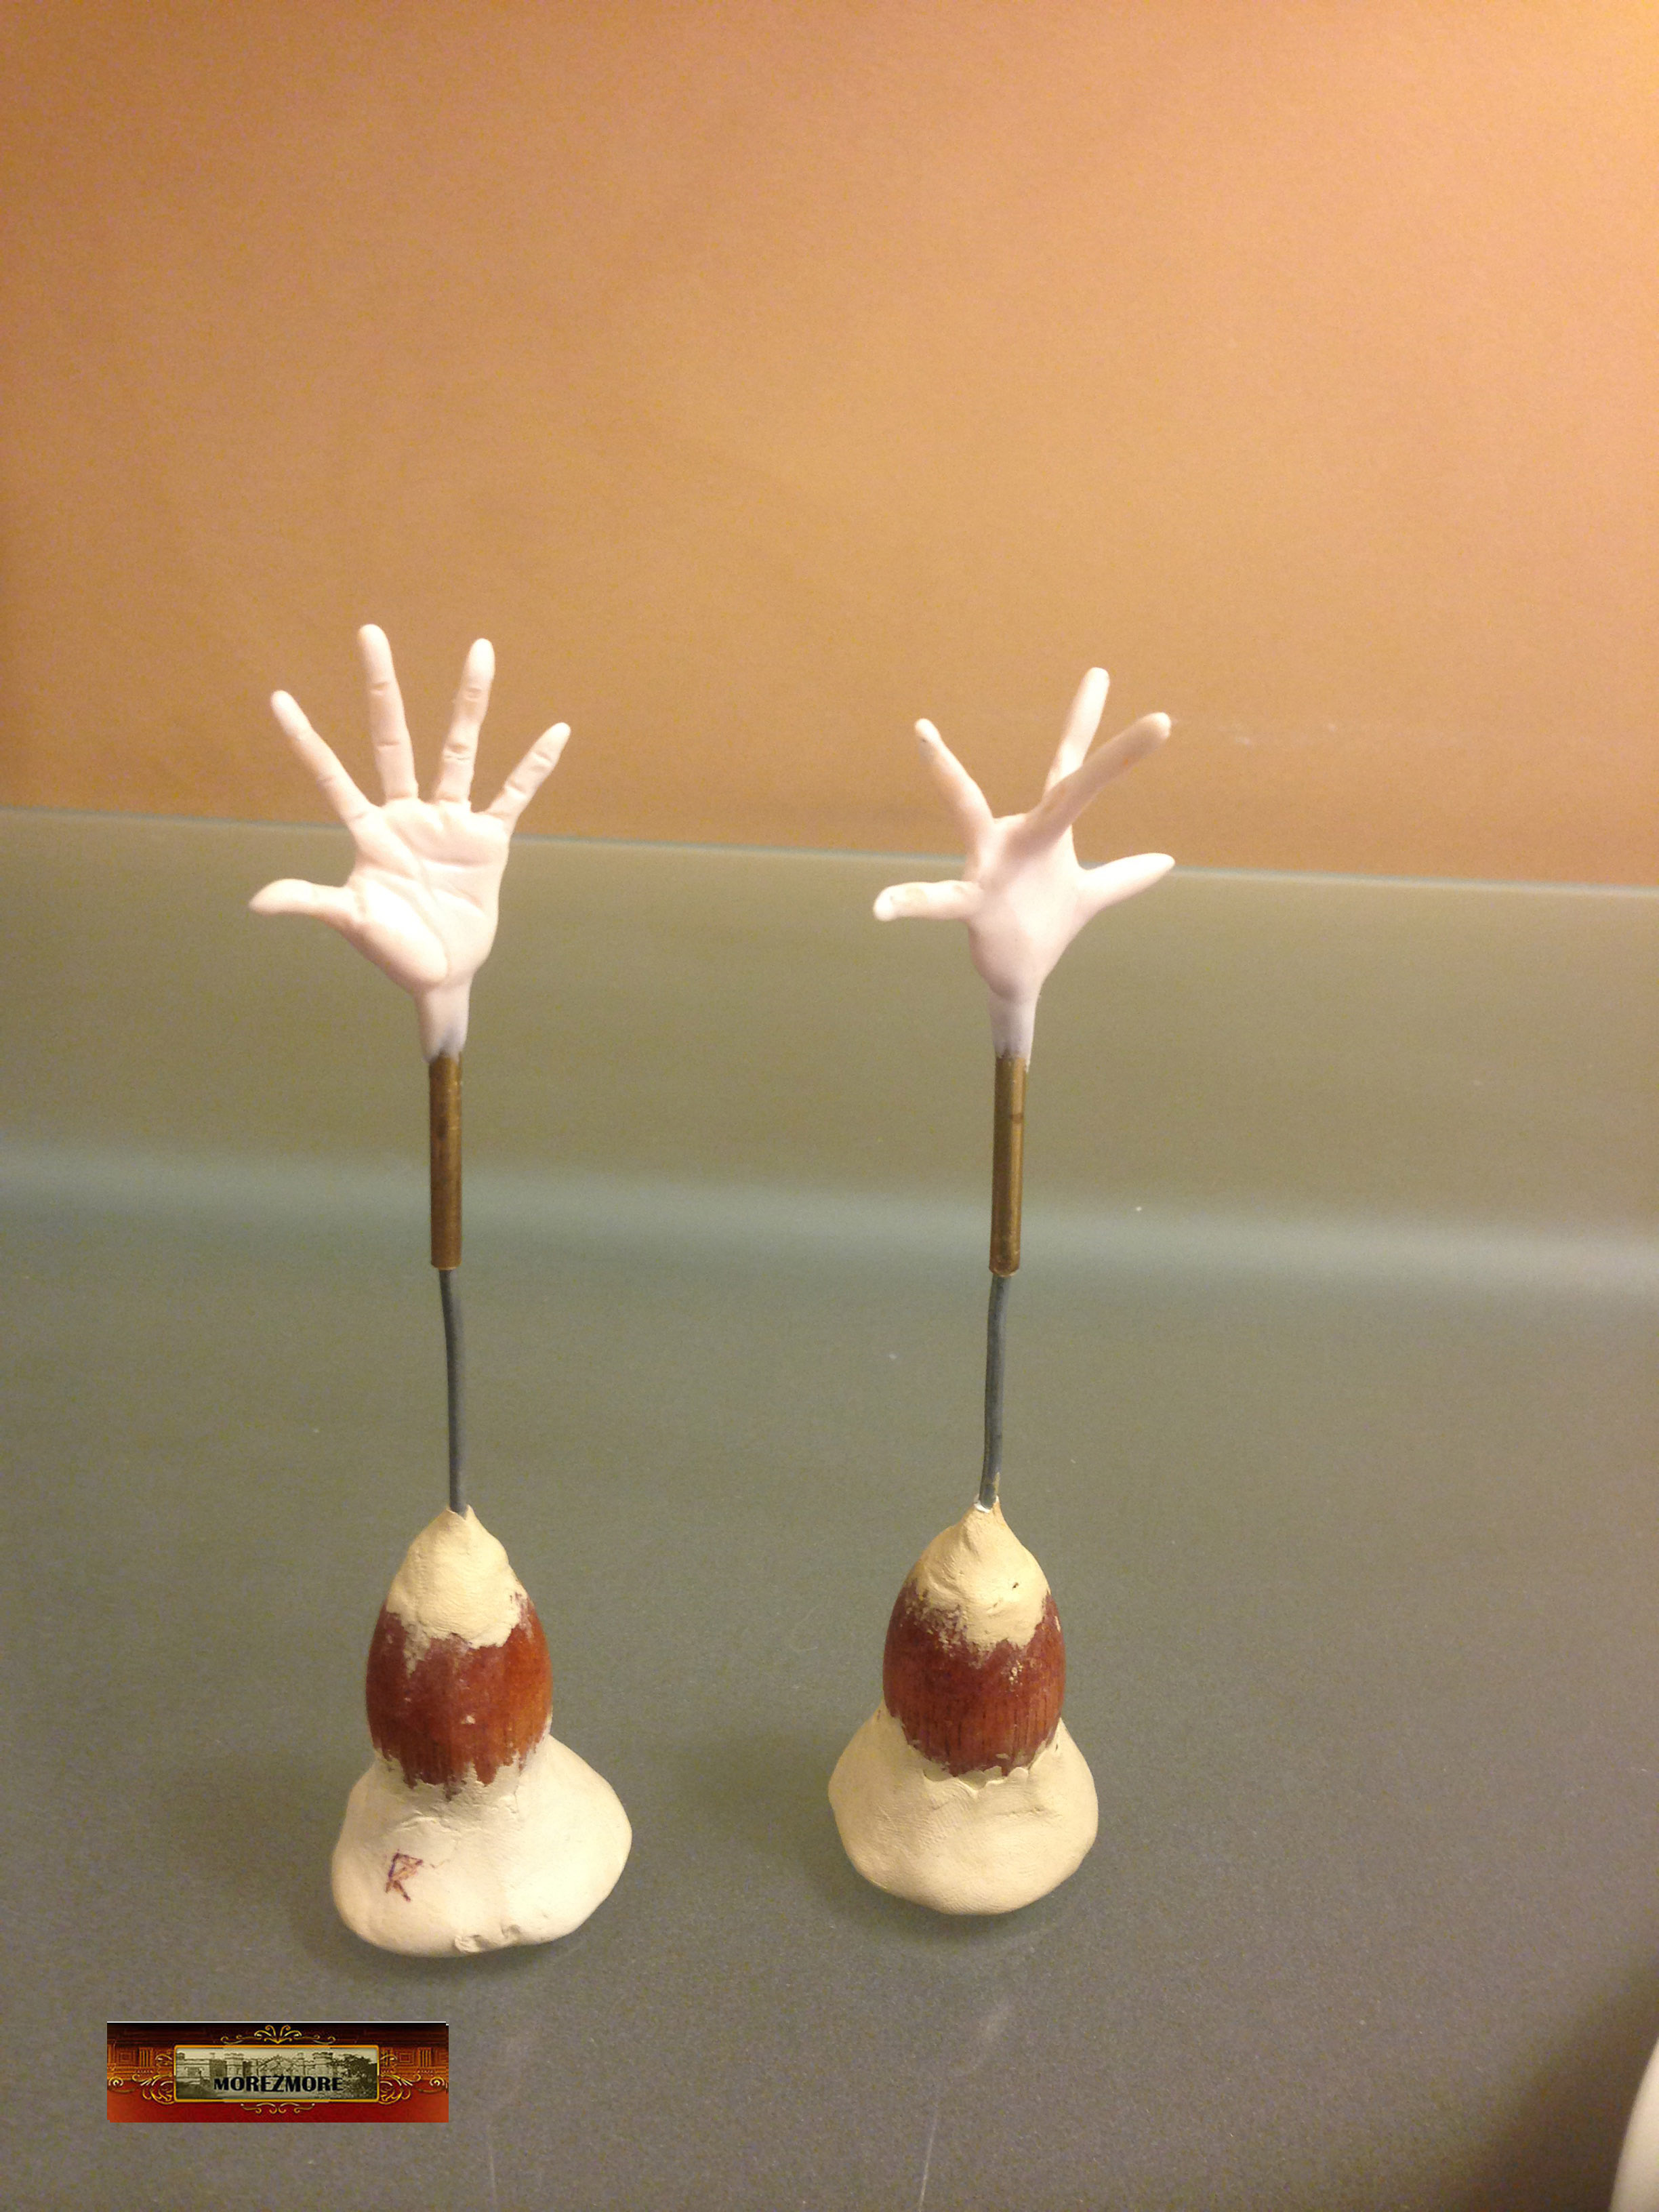
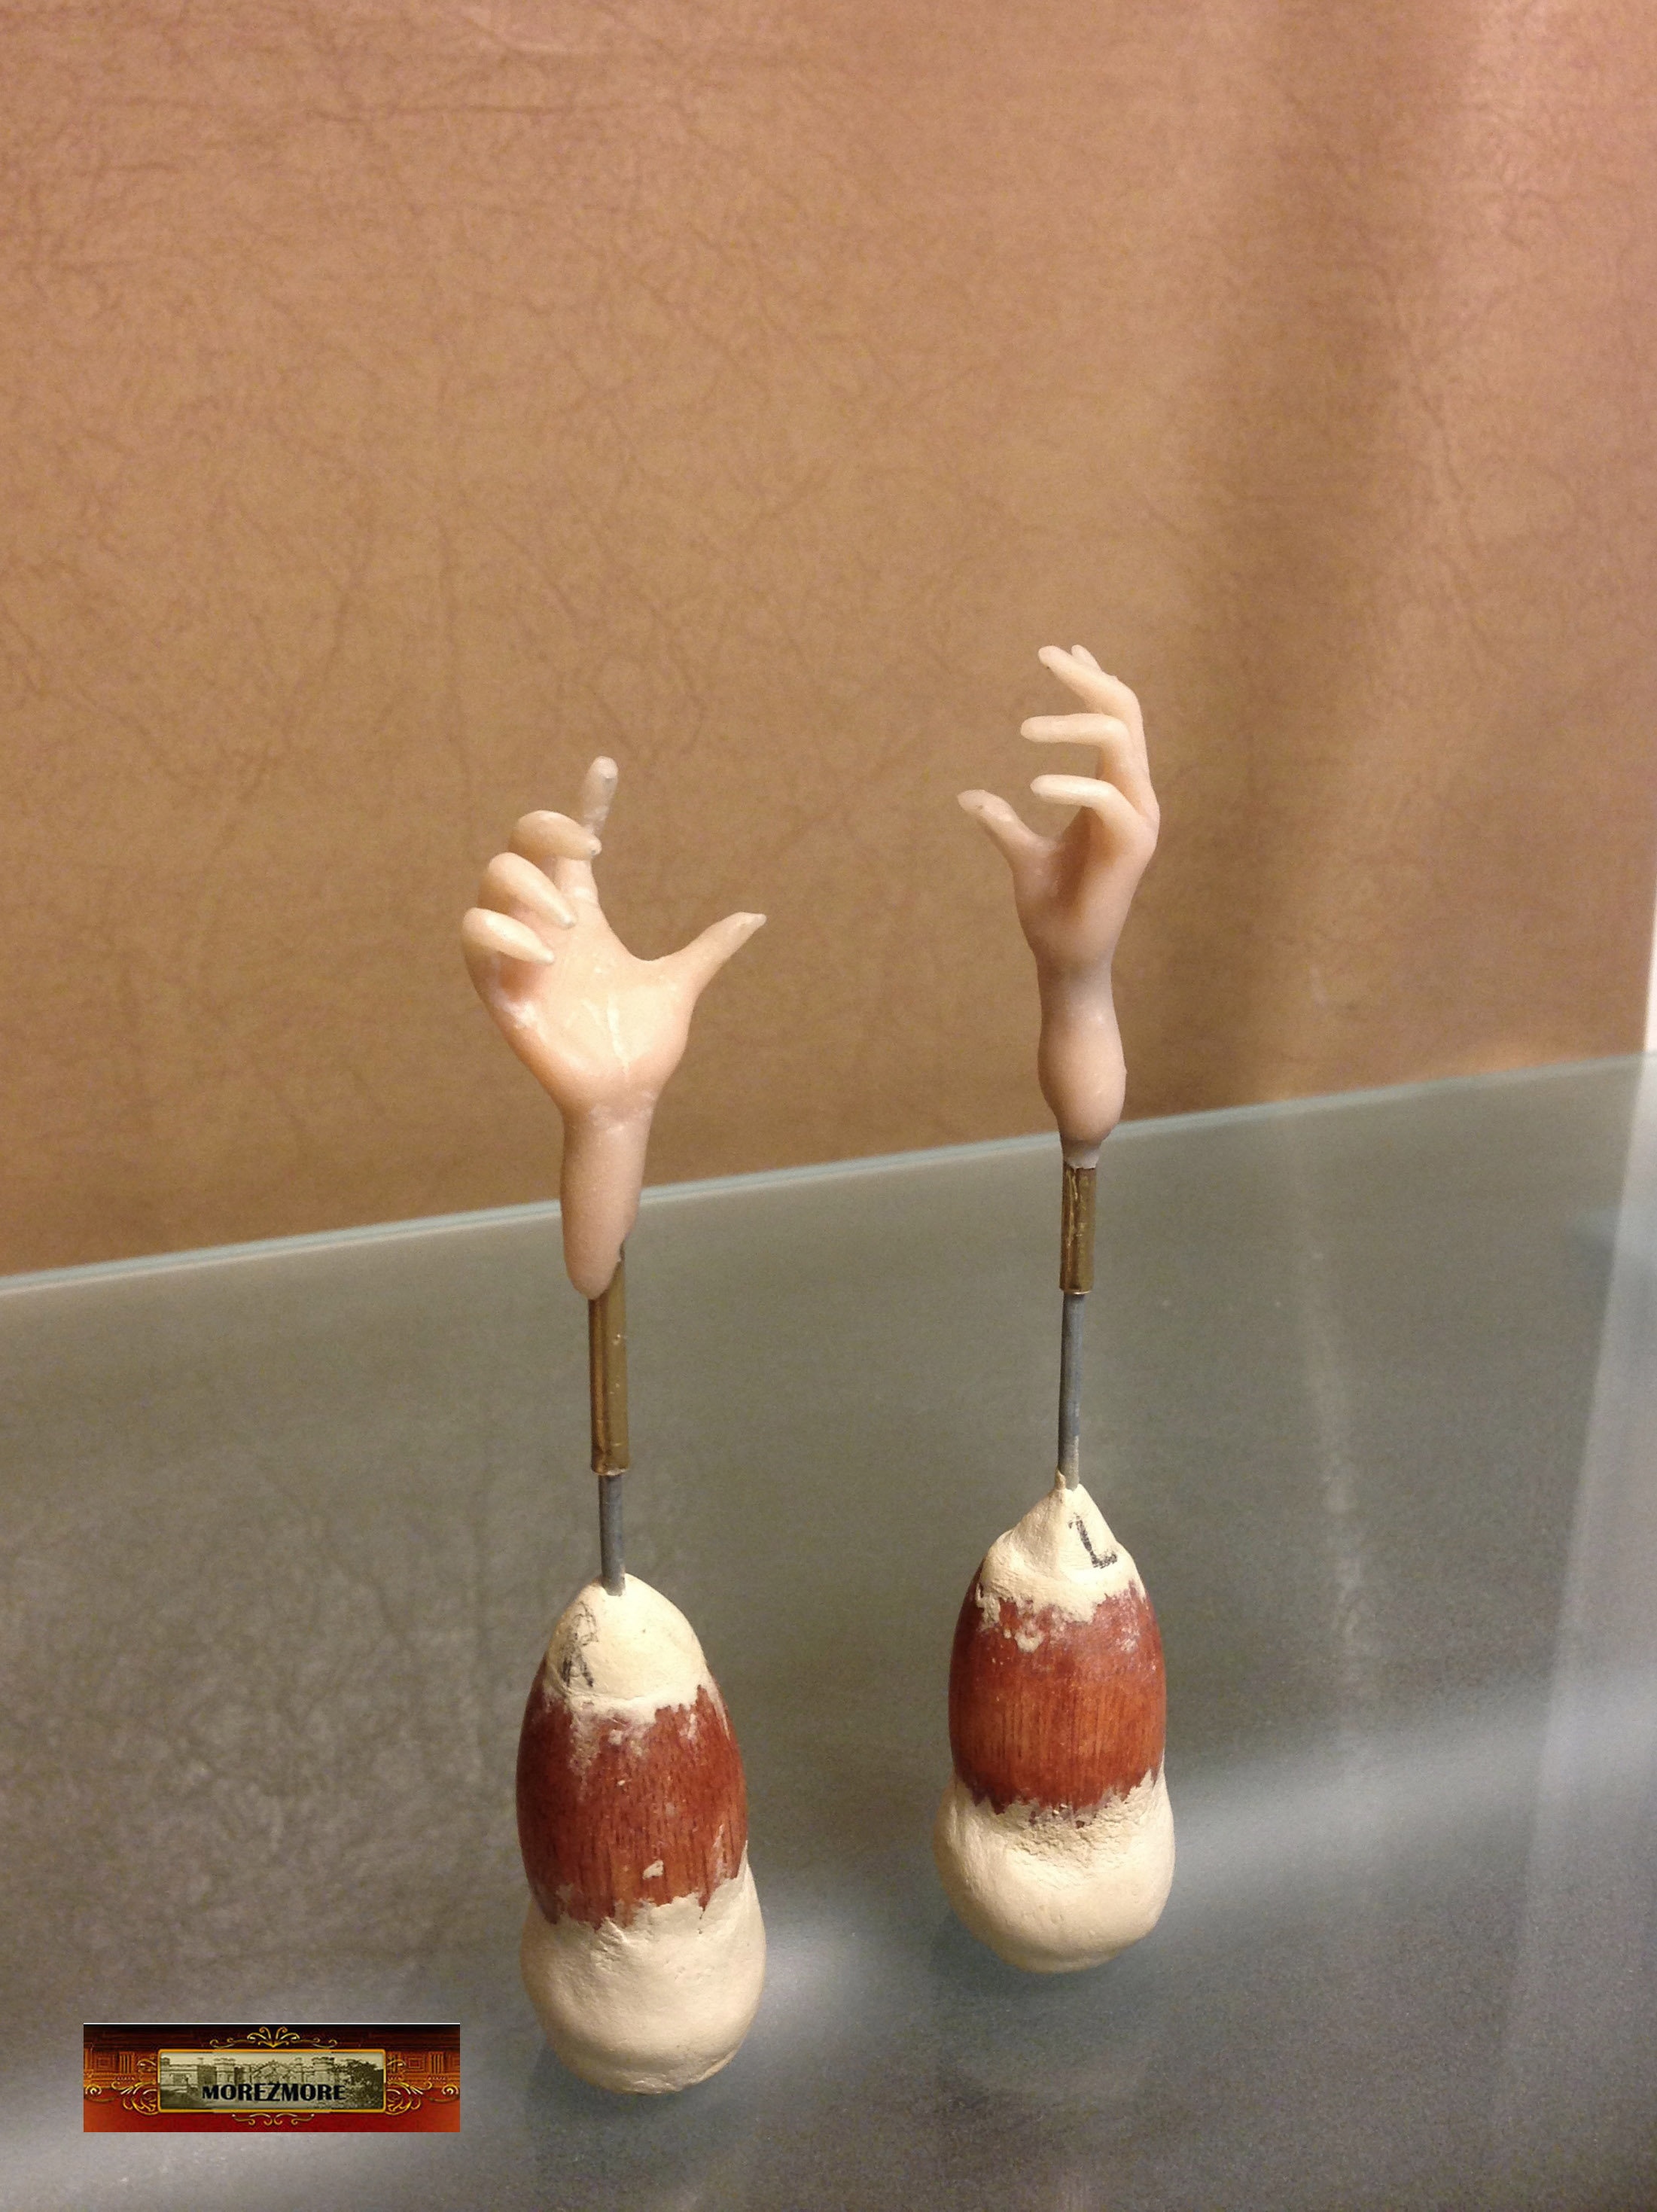
Baked. Done. They look a bit too large, possibly because they are on a stick figure. I thought I followed the proportions pretty closely. Now, when I think about it, I think I remember I read somewhere that dolls’ hands are usually made smaller – for this exact reason – to make them dainty. Well, it might be a good idea for the next time.
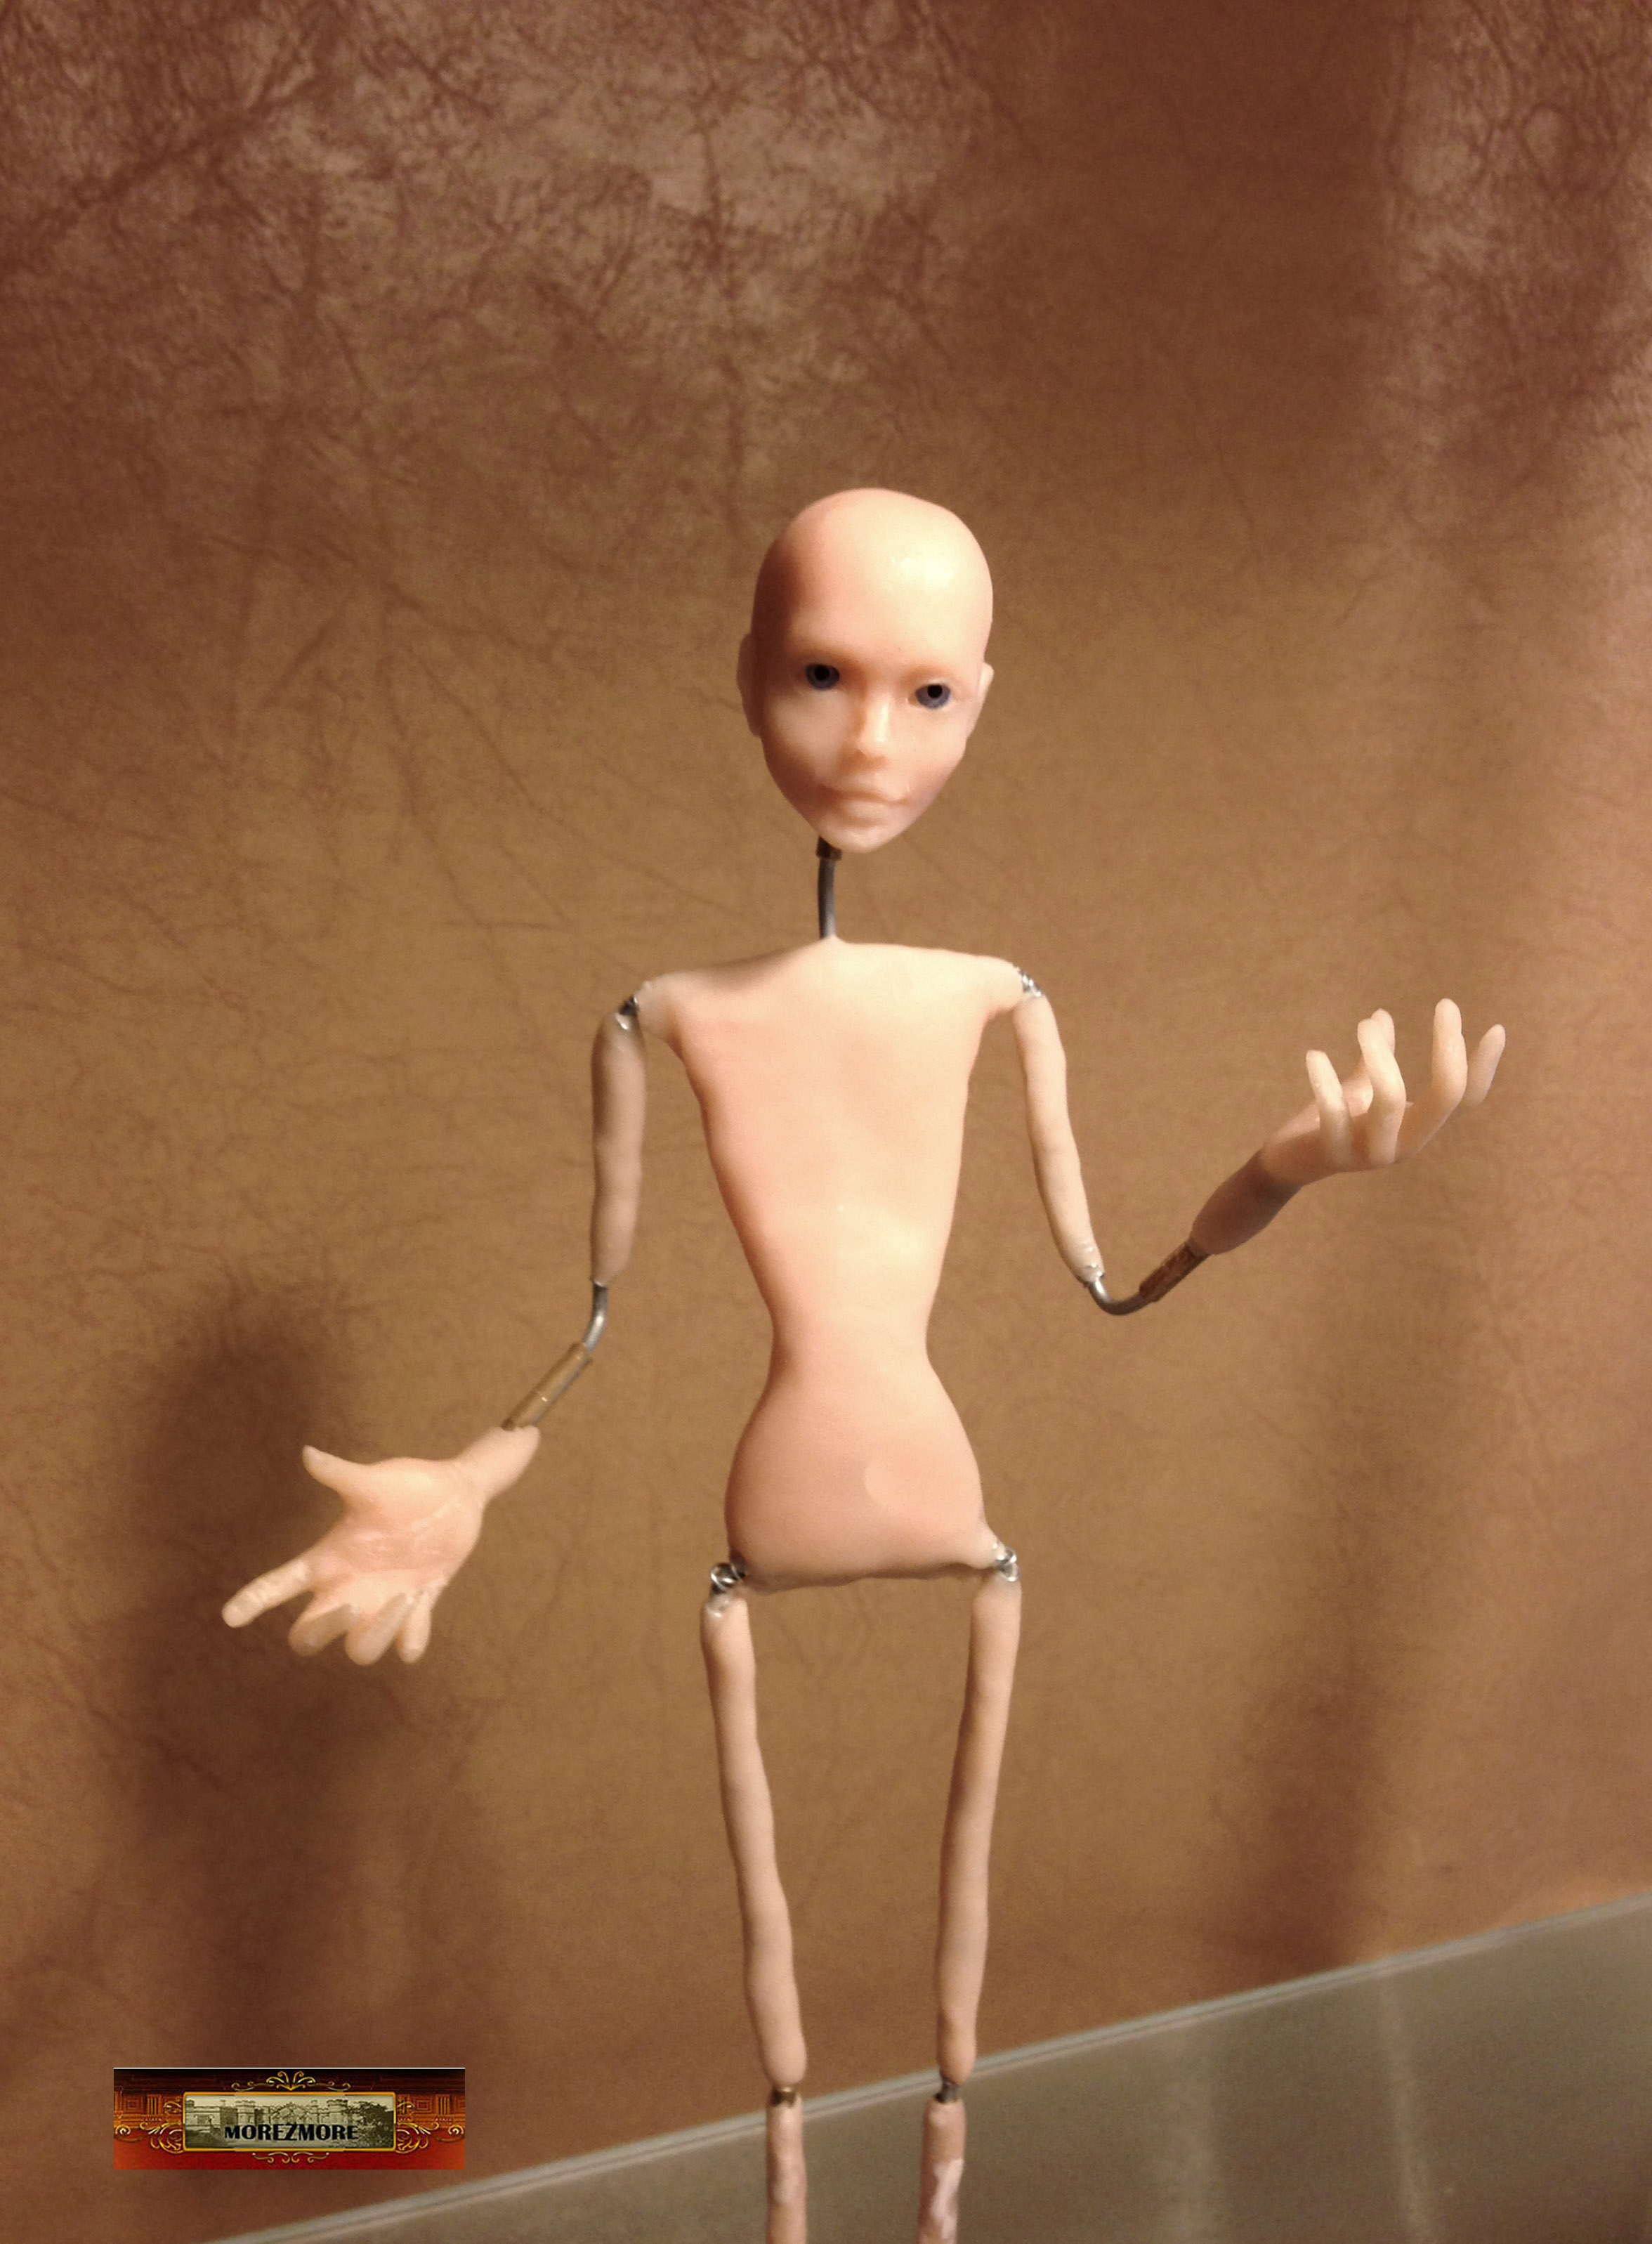
She is holding a piece of wood (future “Eat Me” cake) and the “Drink Me” bottle.
Overall, I am content with her hands and moving on to the feet.
[…] Continued from Part 3 – Hands and Feet […]