Continued from Part 2.
Reminder: This is an experimental doll.
I am testing different materials and techniques, results might vary, so please do not see it as a tutorial.

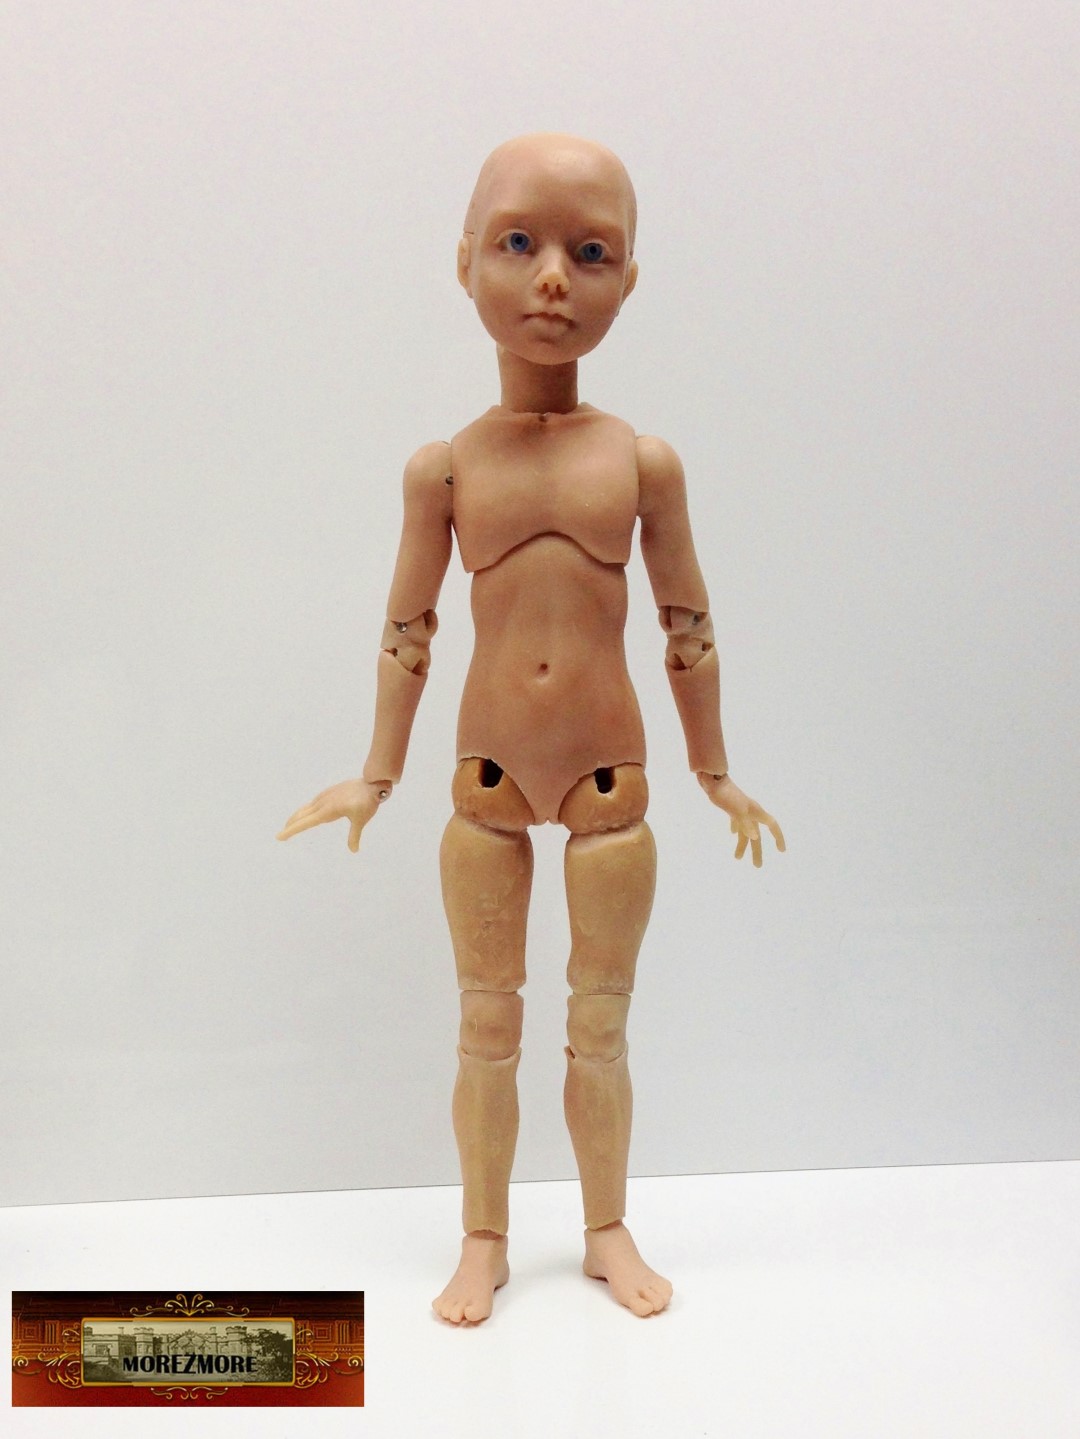
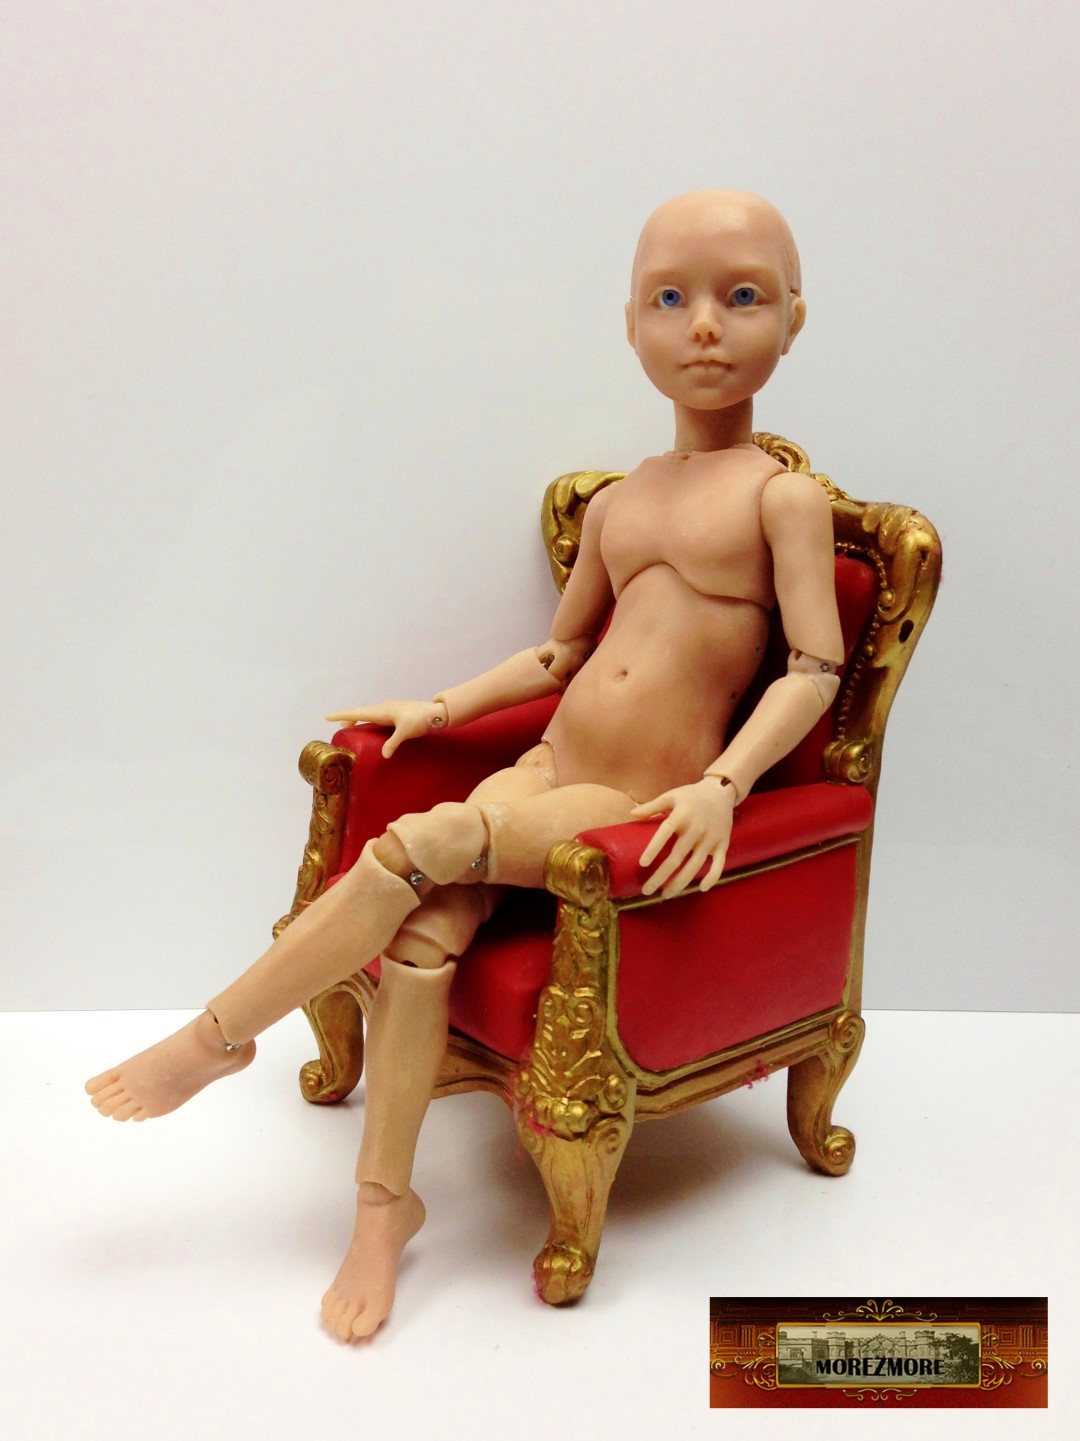
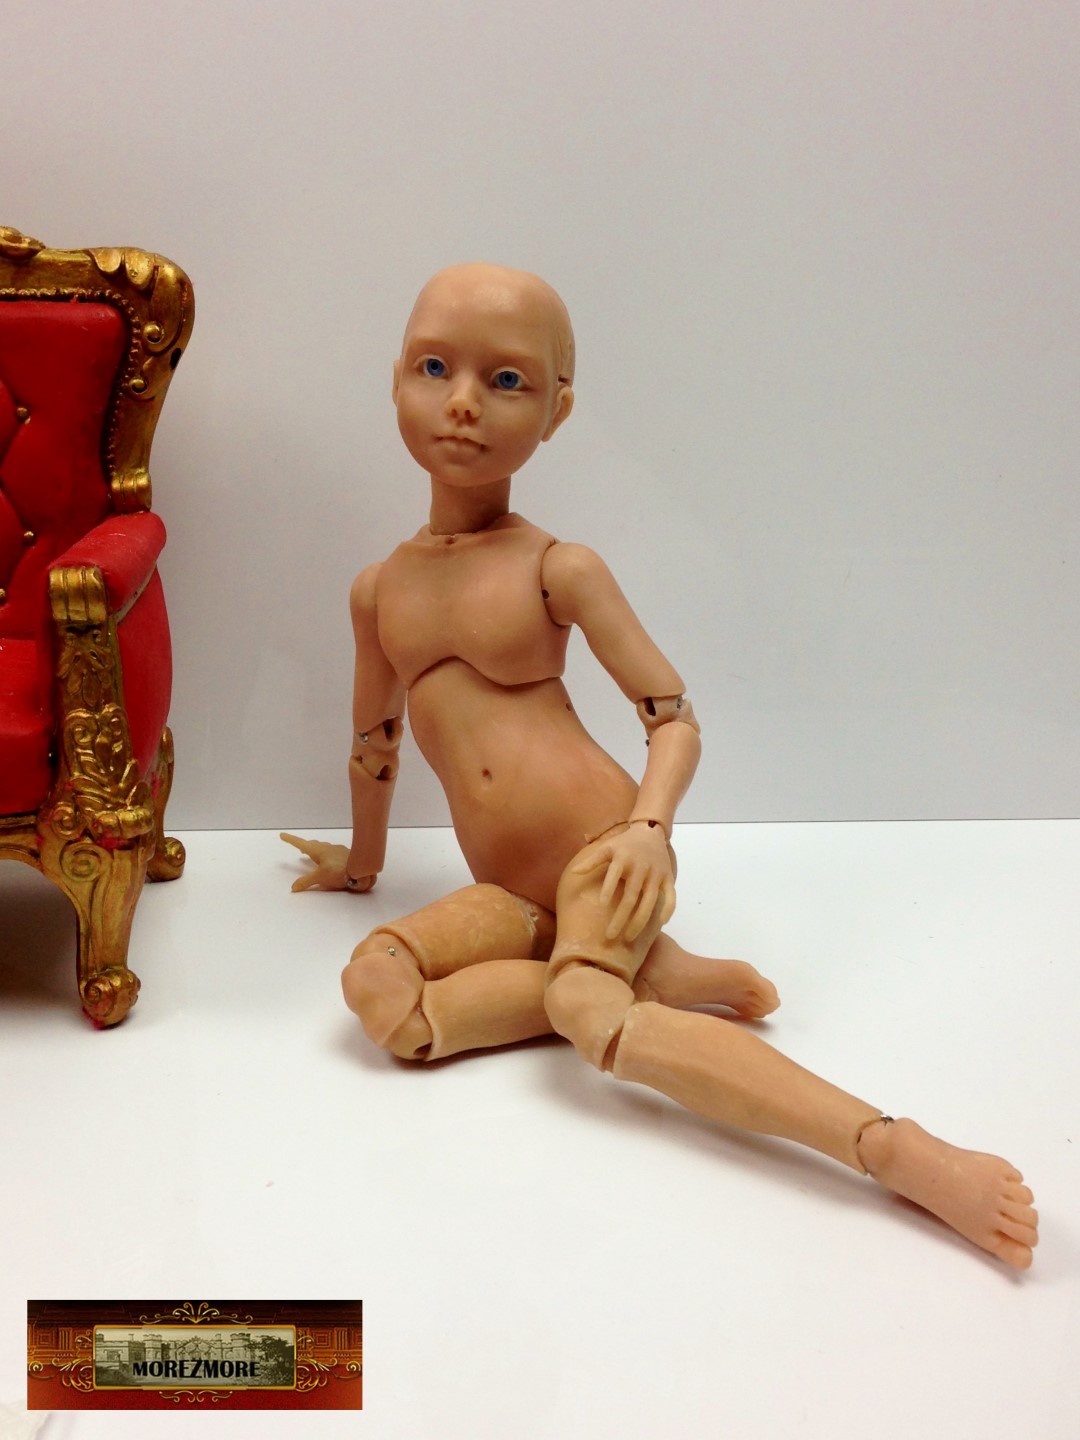
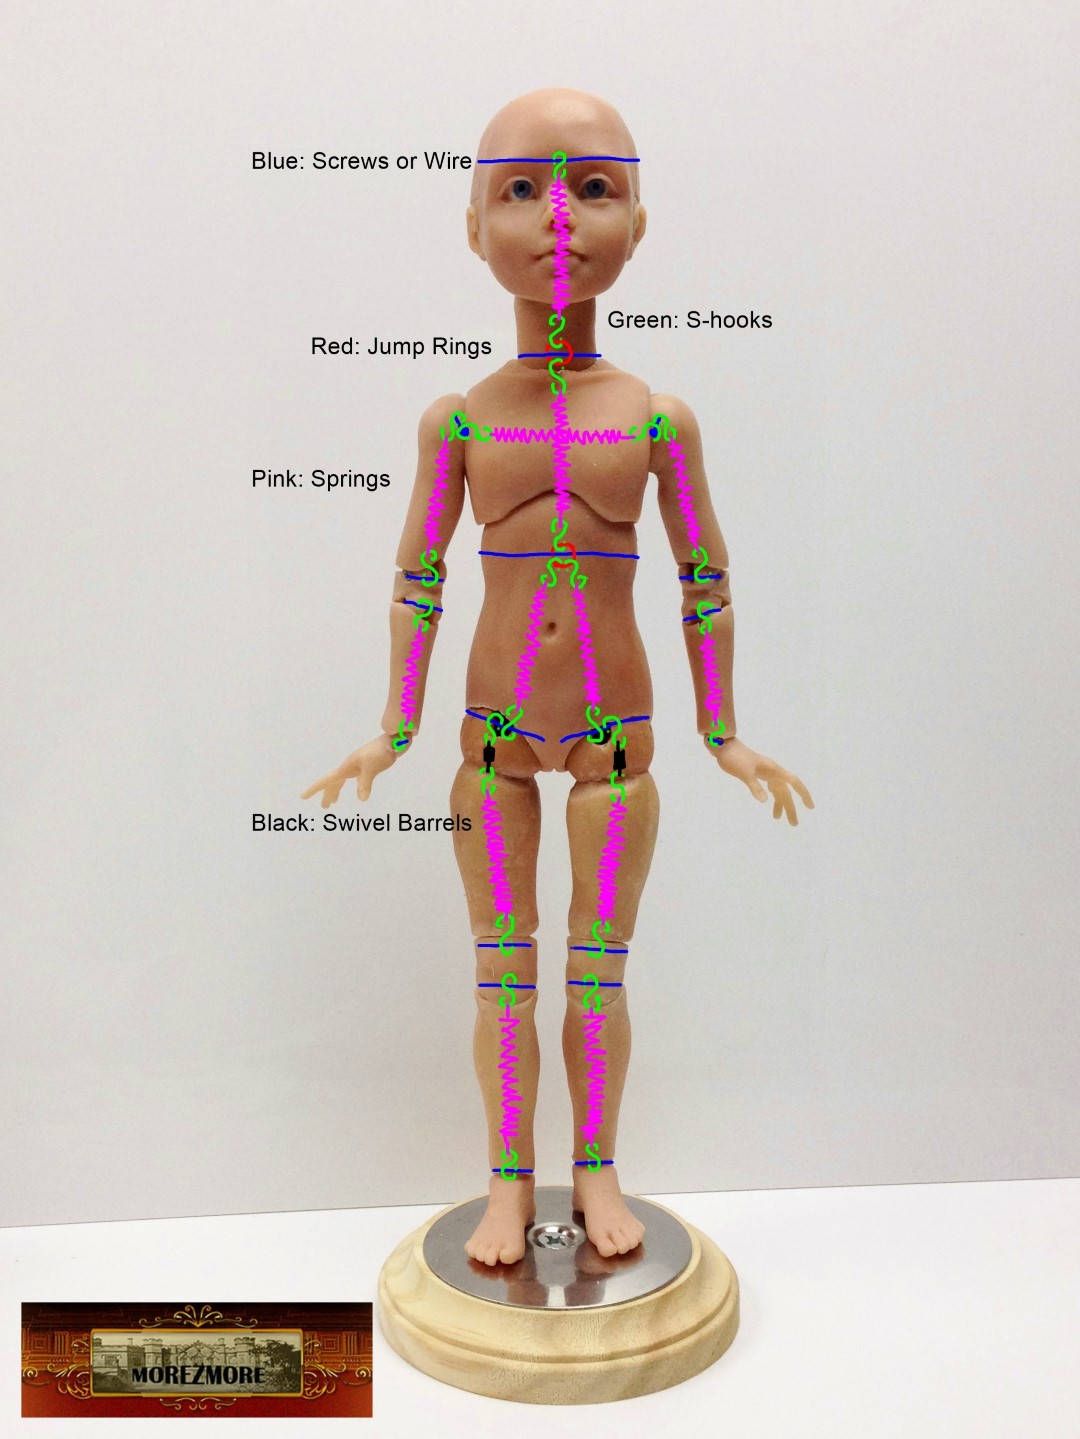
So, this was the first version. In the second version I am going to make a set of “bones” first. Well, actually they will look like a bunch of beads – ball and socket joint sets. After they are complete, I will assemble the “skeleton” and test how it fits and moves. Then I am planning to sculpt the doll around that skeleton. Added bonus – the “bones” can be molded and recast – to save time and effort on the next doll.
Off we go.
Tools and Materials:
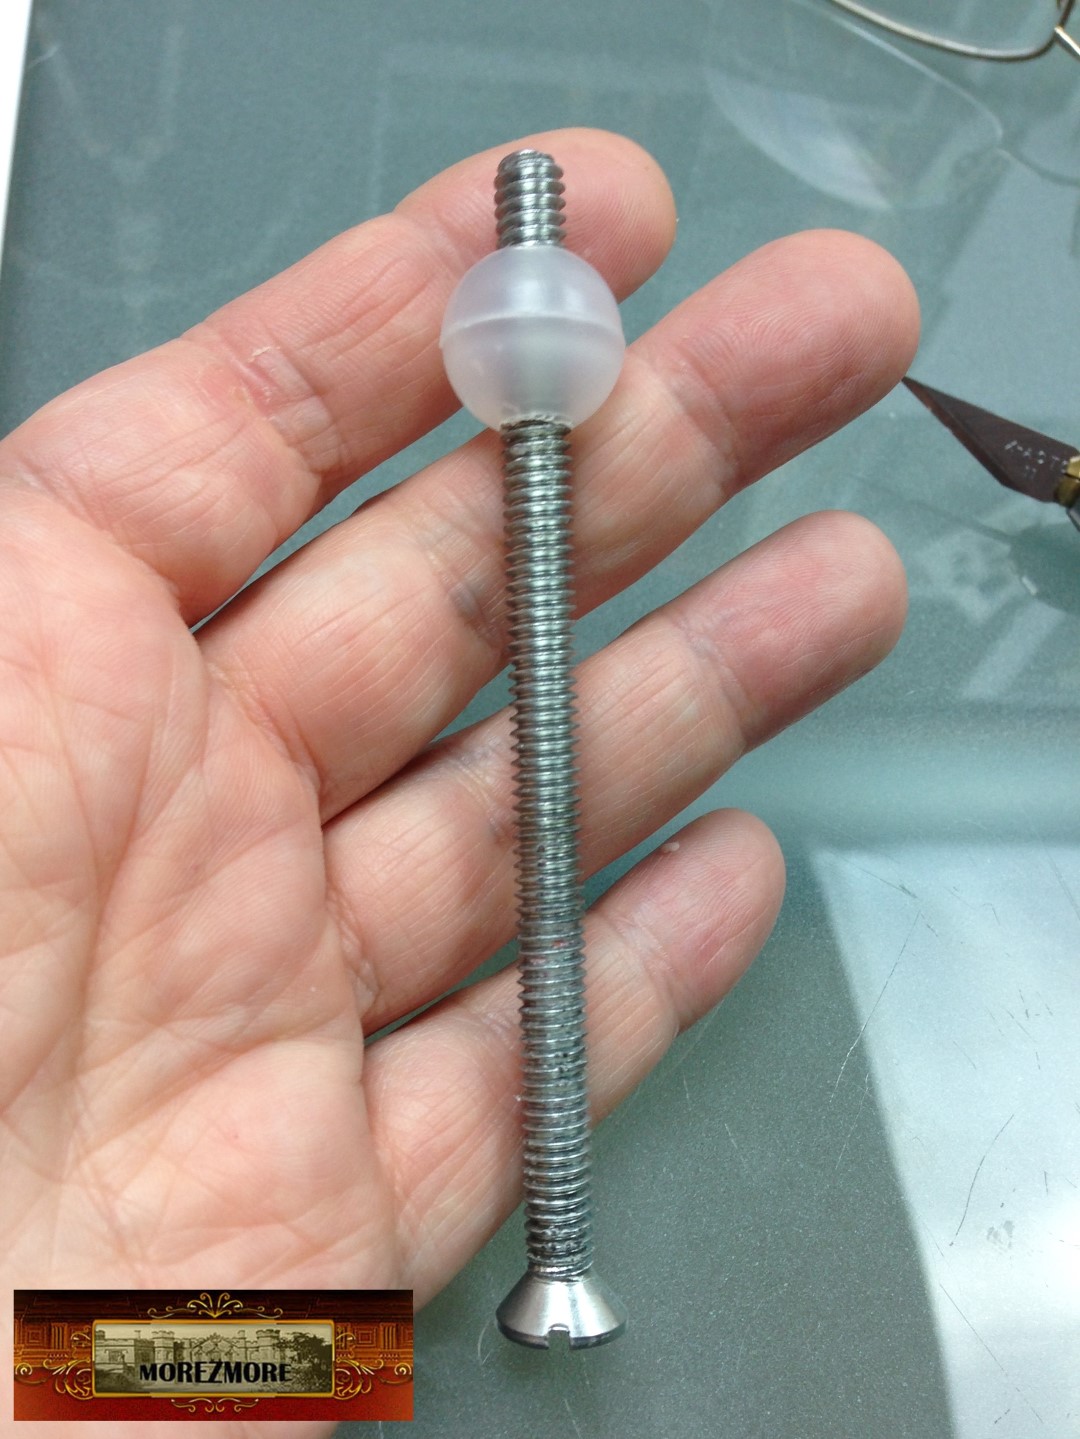
– hollow balls for modeling spherical surfaces in future ball-socket joints
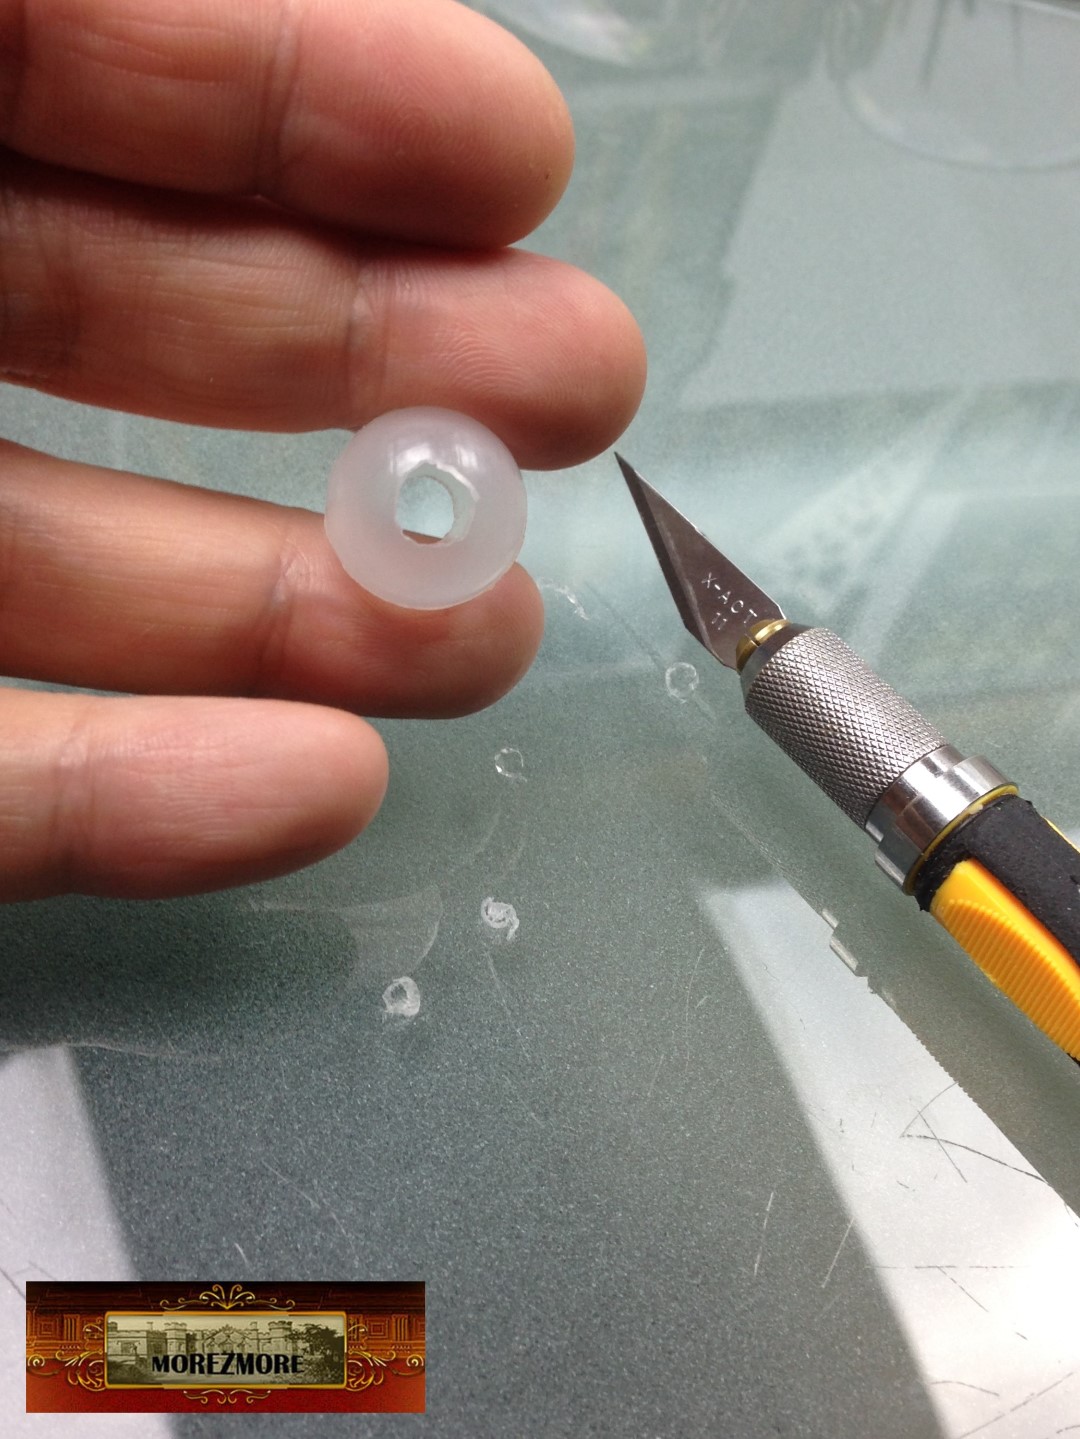
– x-acto knife to make holes in the balls
– 1/4″ thread screws for torso and legs
– 1/4″ thread studs (coming soon) to make X-shaped chest connector bead and Y-shaped hip connector bead
– 8-32 thread screws for arms
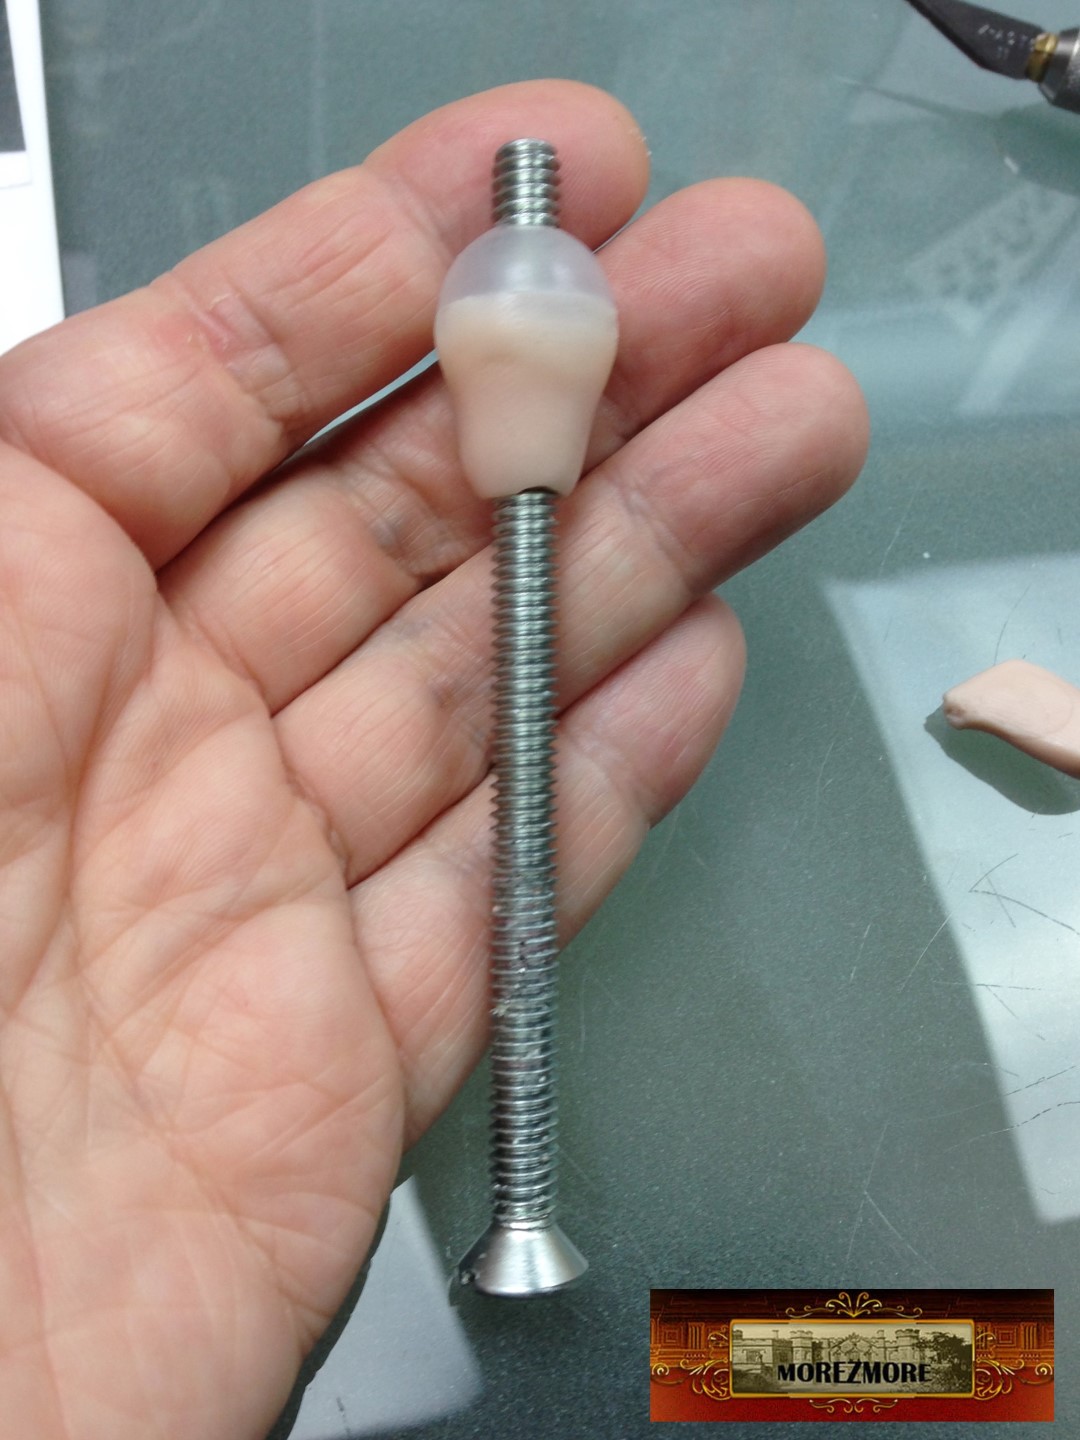
– Living Doll clay for modeling
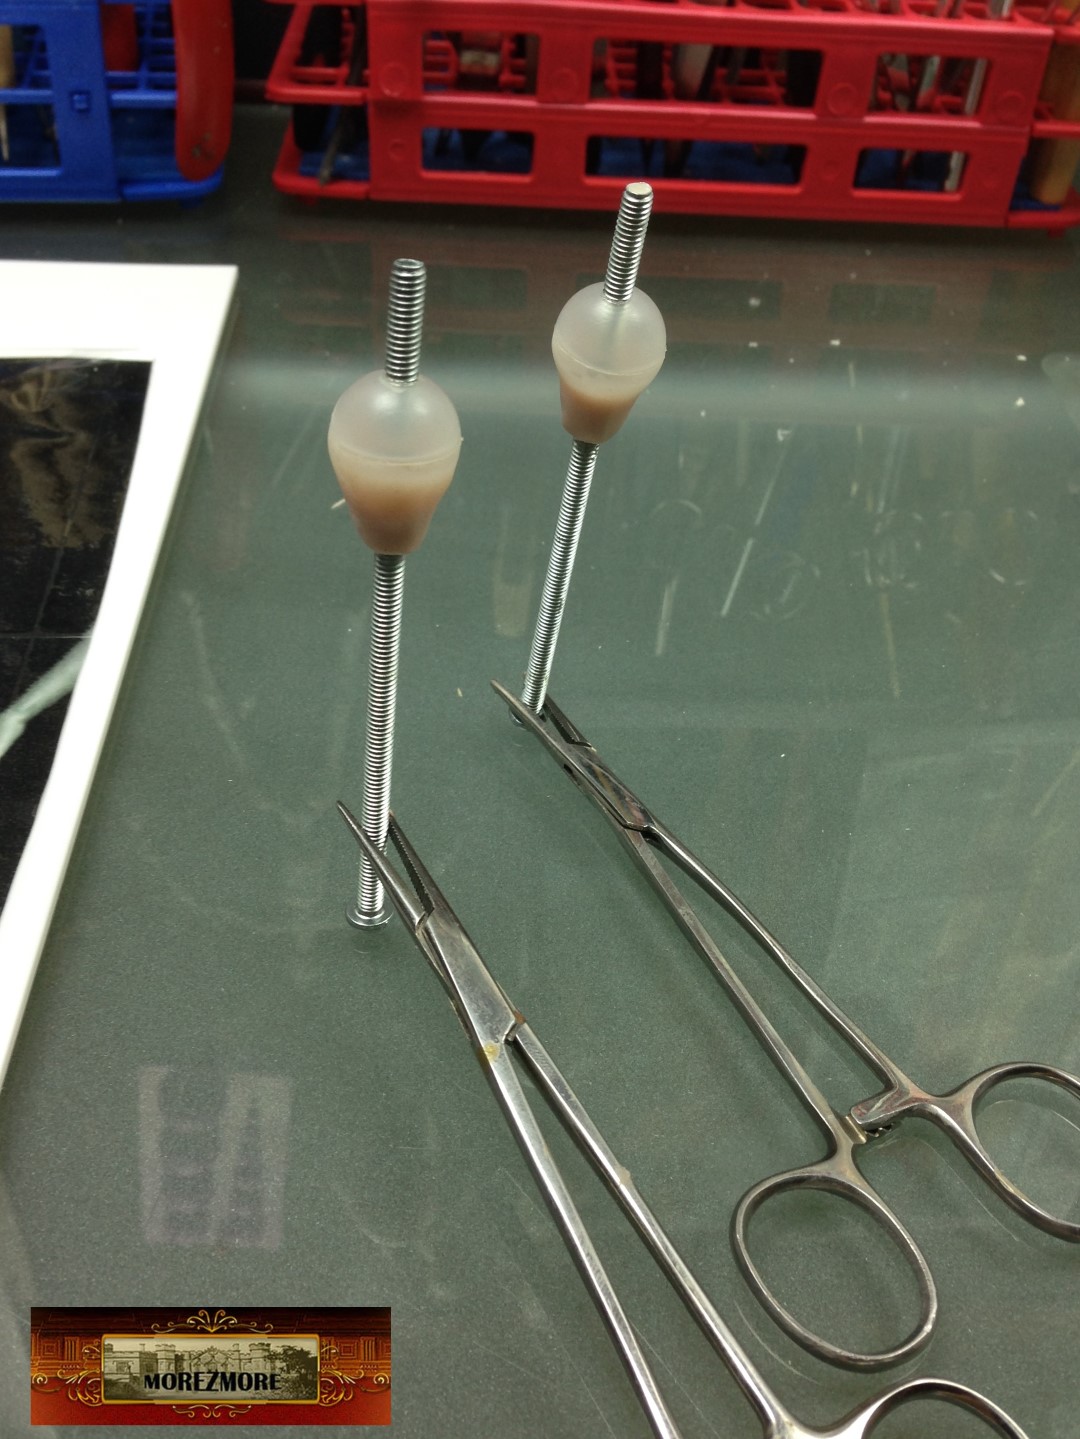
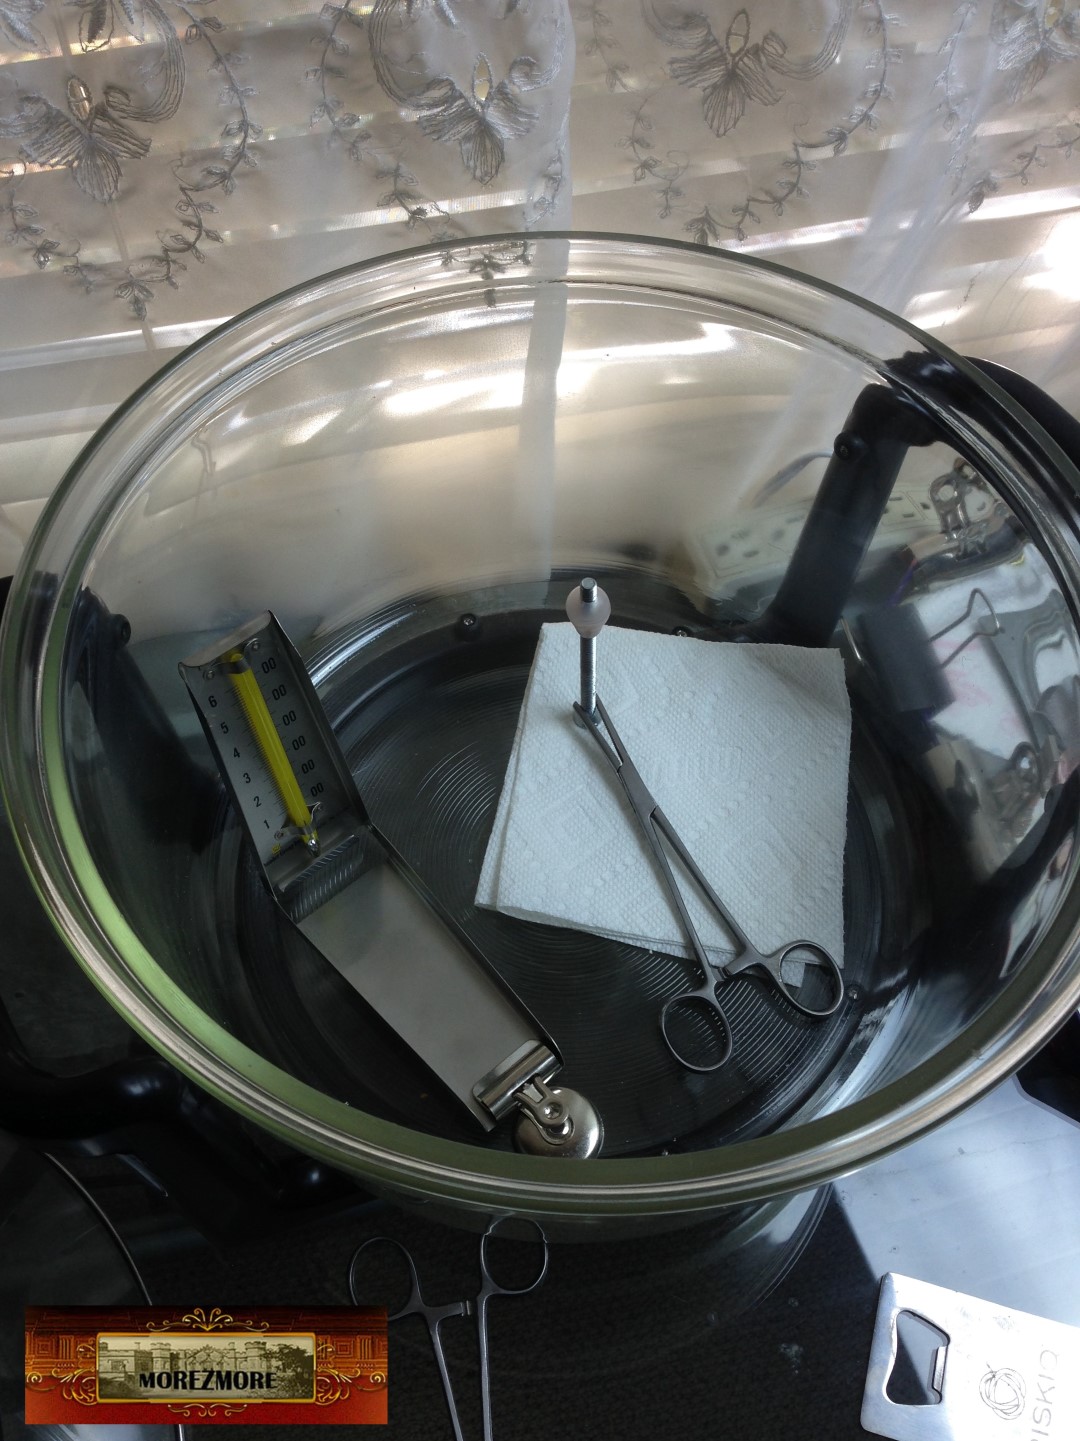
– forceps for supporting parts during baking
– lego base and blocks – for mold box
– vaseline petroleum jelly – release agent for magic sculpt
– disposable brush – to brush vaseline on the mold and the part
– magic sculpt epoxy putty – for molding
– digital scale – for measuring equal parts of magic sculpt
– metal bead sizer triangle – precision shaping of the ball after molding
– sanding mesh – to polish the parts
– ice pick – to pry mold open
– elastic cord – 3 mm for the body and legs, 2 mm for the arms
– restringing hook to pull the elastic through the parts

Here is what I have now. I am going to make molds from these parts and cast them.
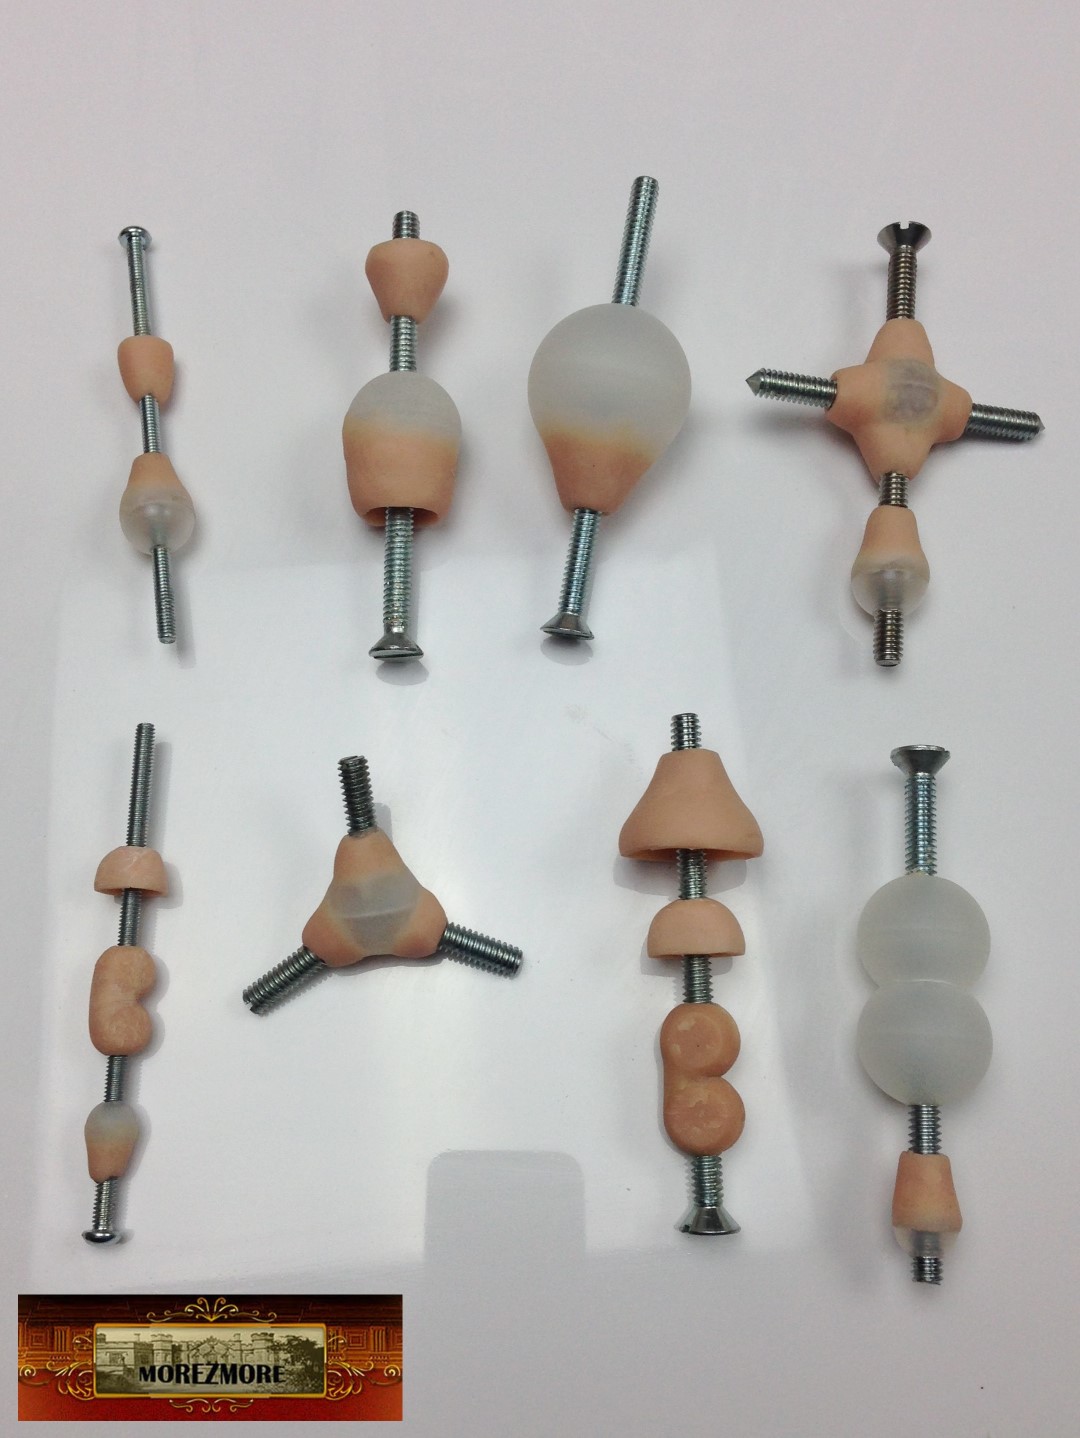
Most of these ball and socket bead prototypes were made simply by putting a plastic ball on a screw, adding some clay and baking.
The elbow and knee beads were made differently, because they are not really round. The process is described here.
*****************
Press mold – to cast parts in clay and to make parts which repeat.
Release agent for magic sculpt – Vaseline Petroleum Jelly.
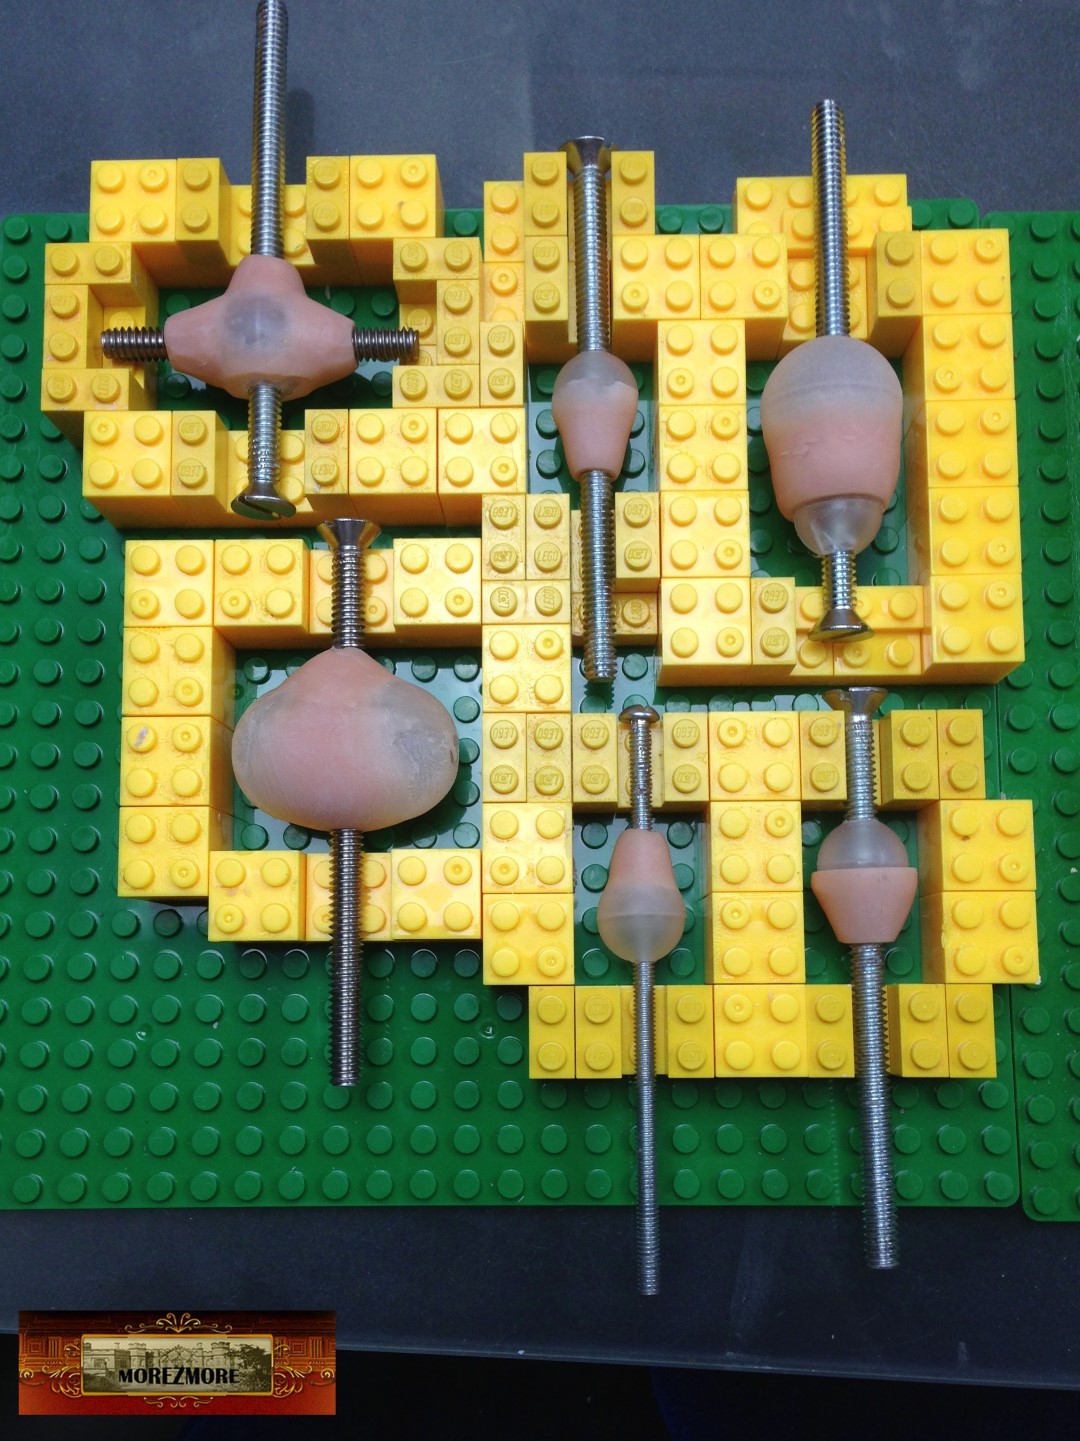
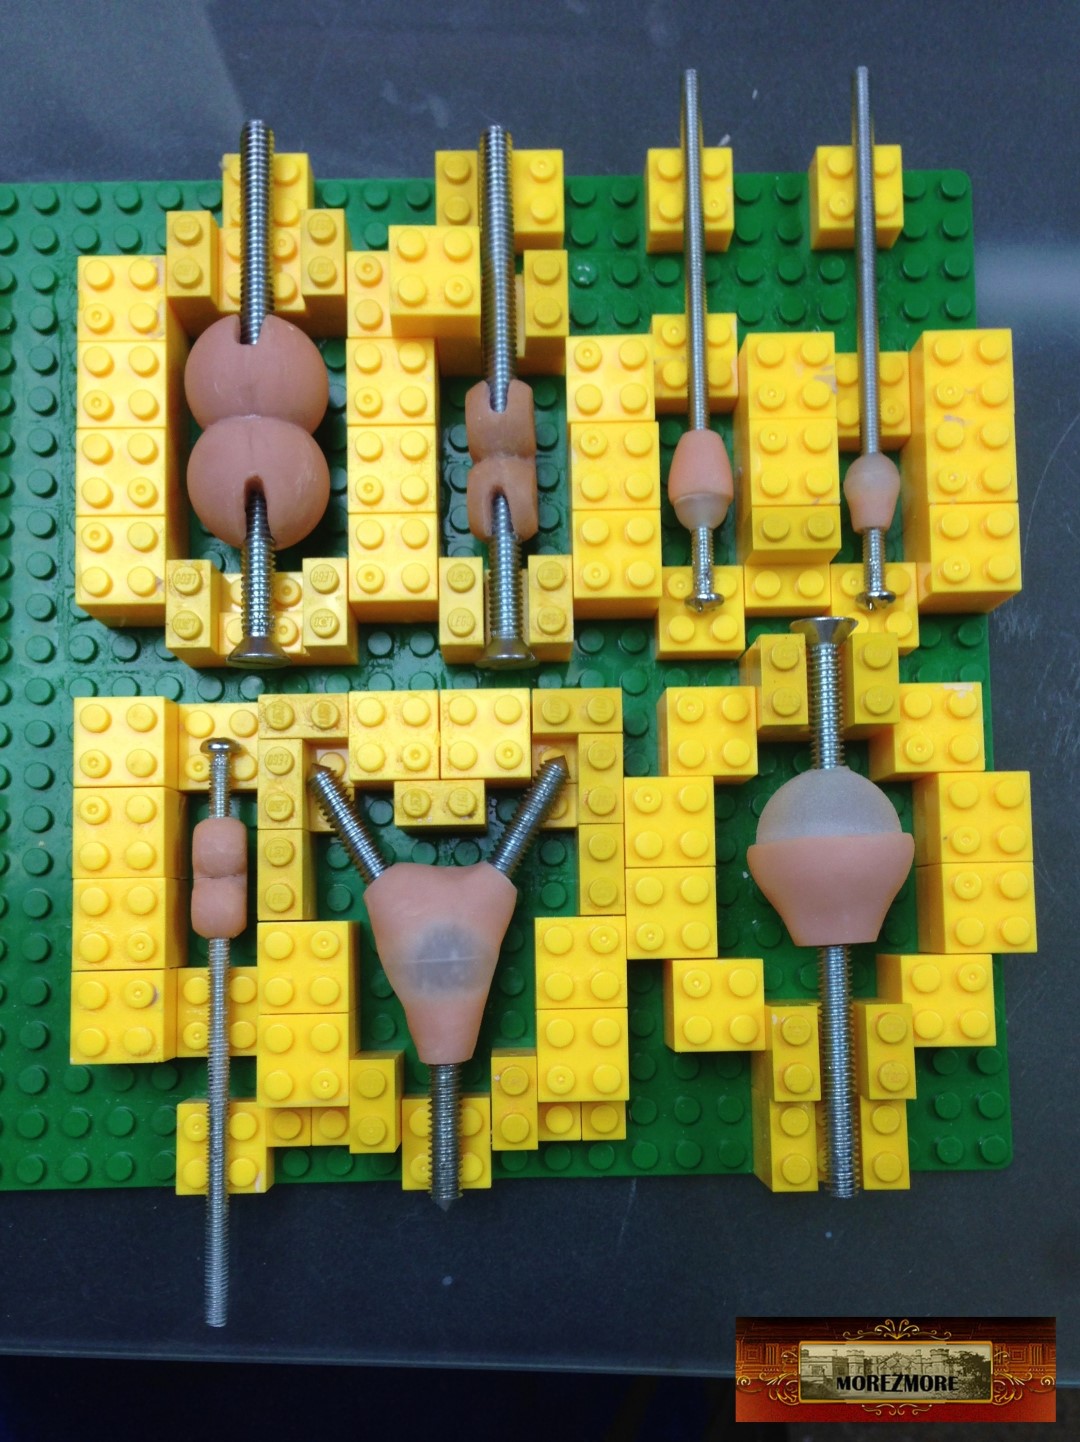
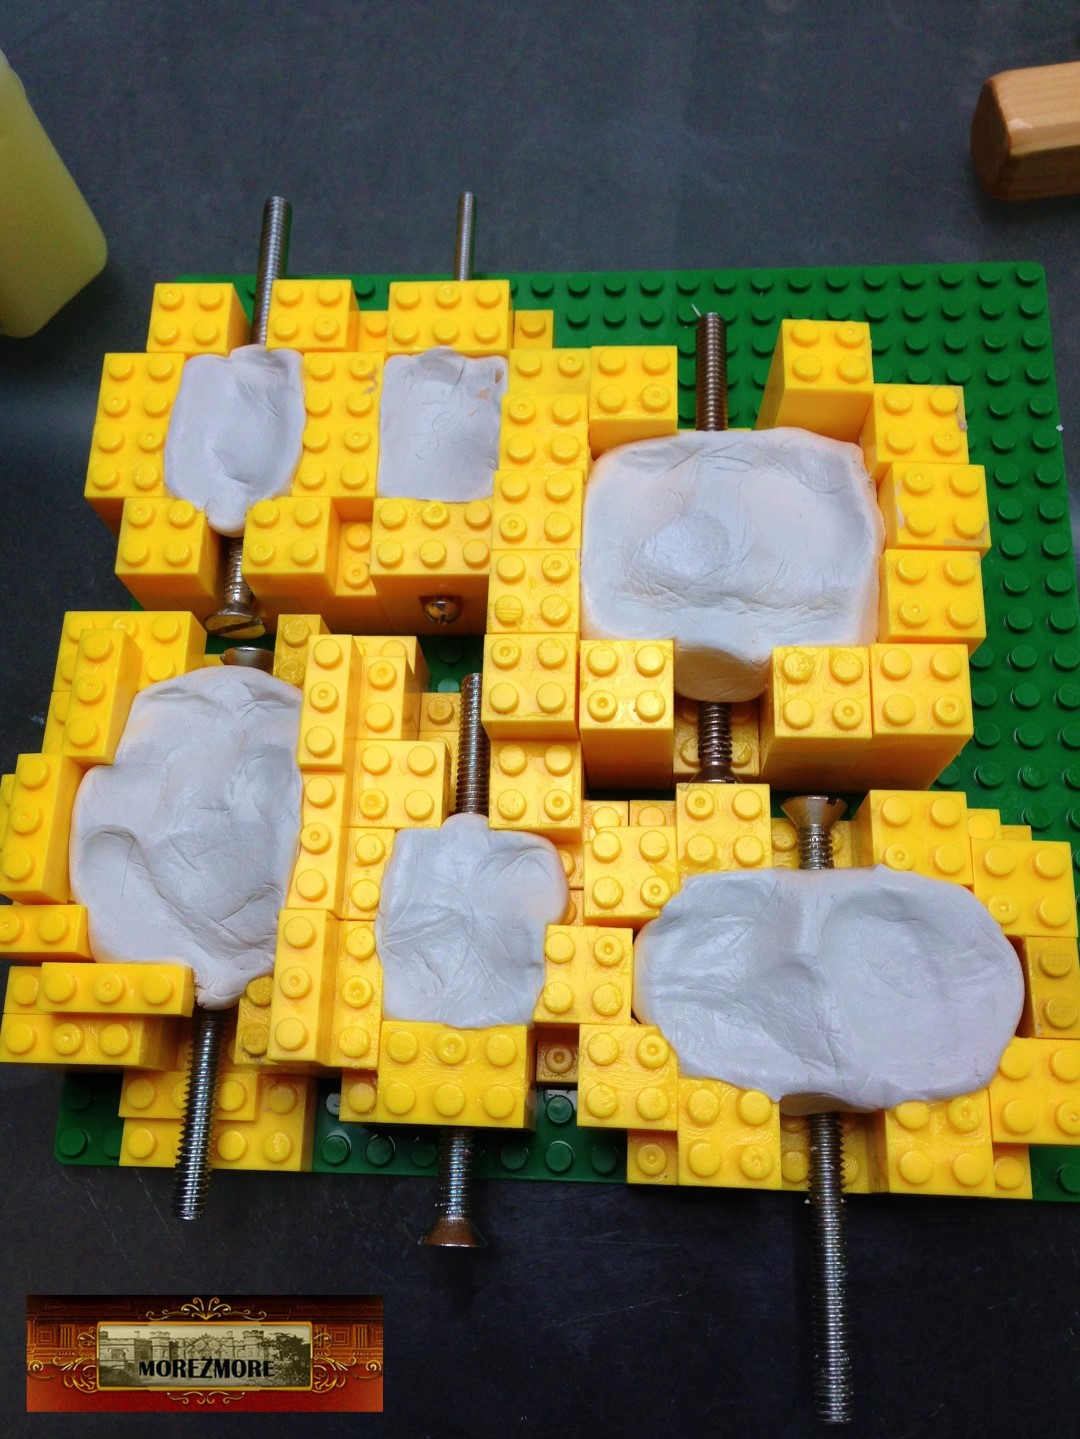
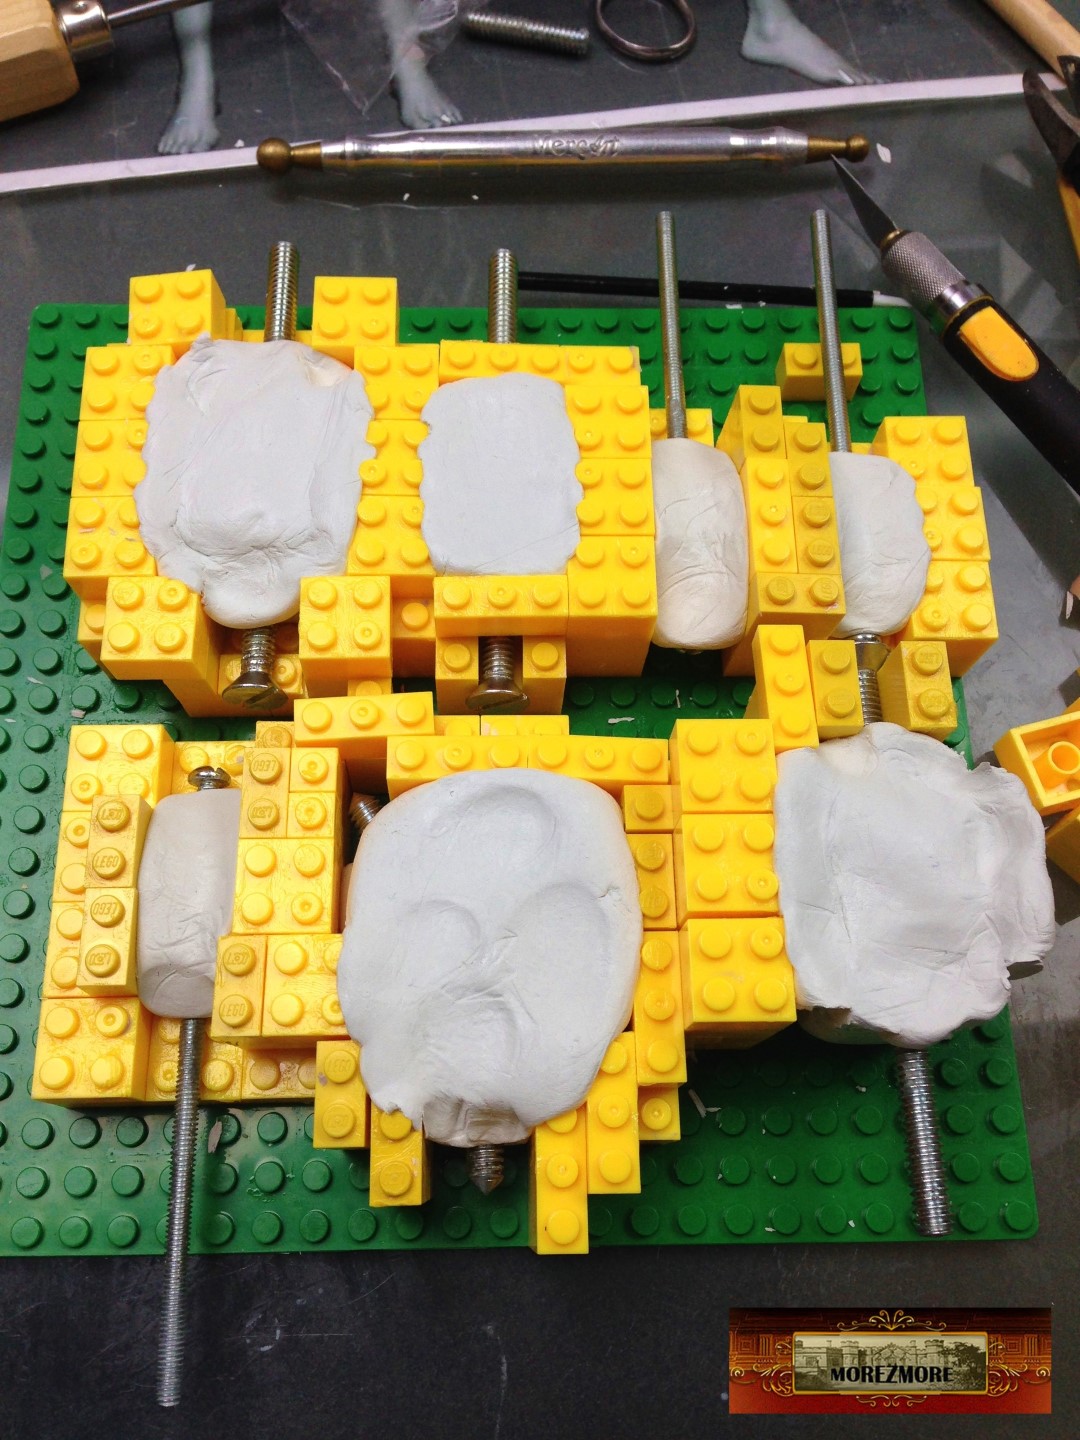
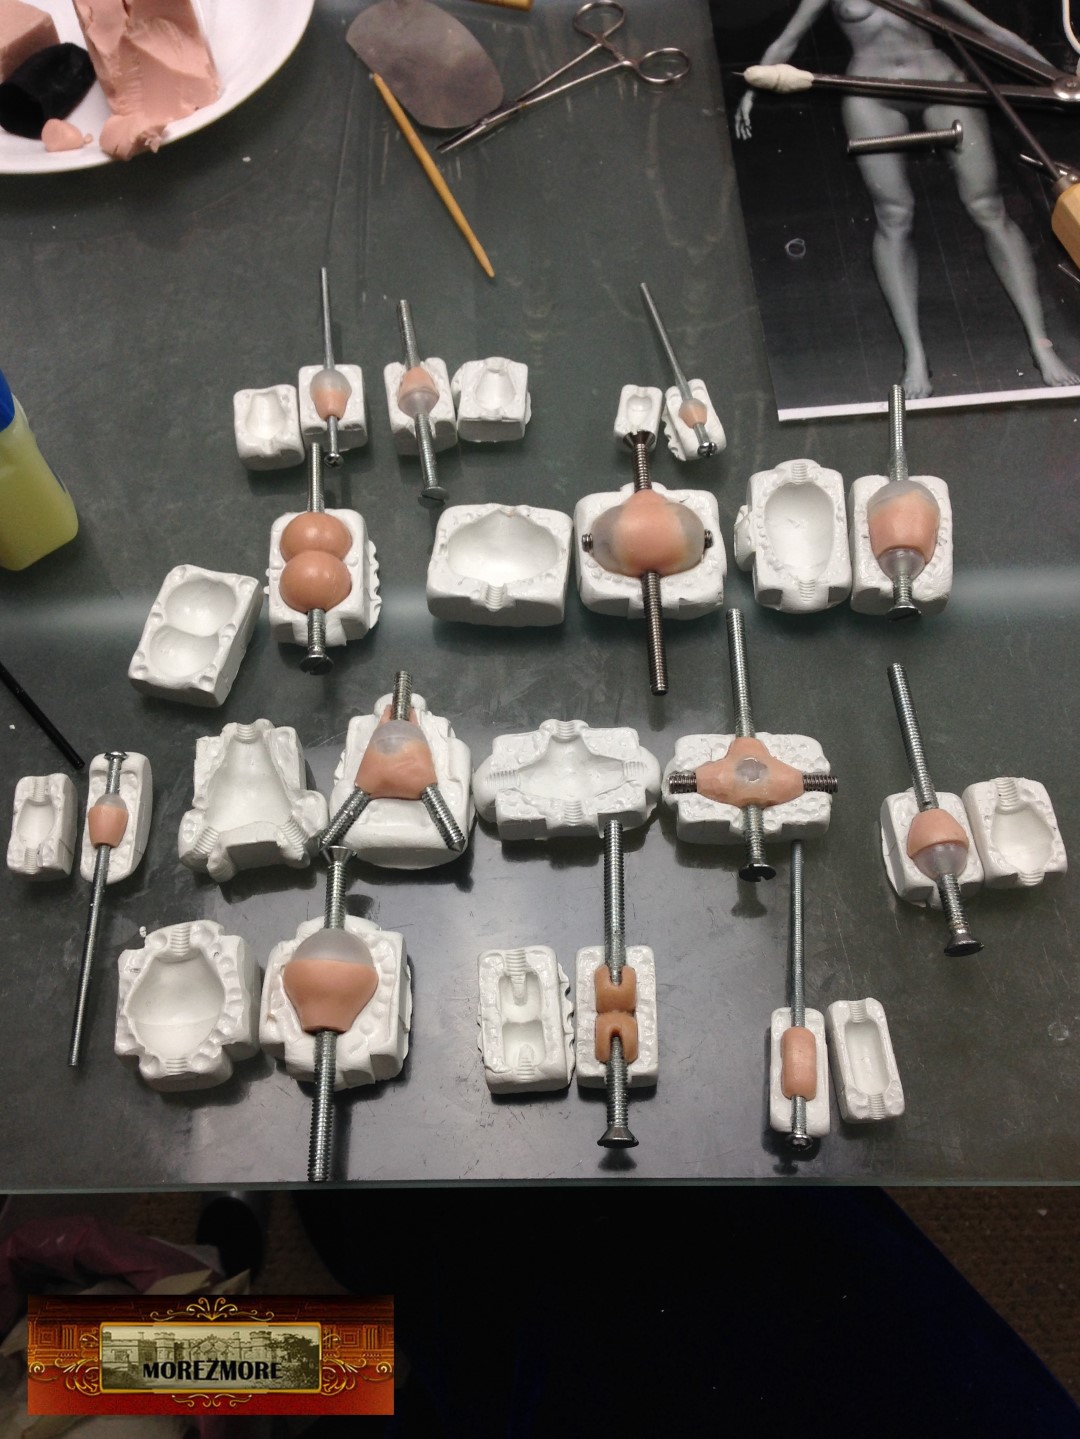
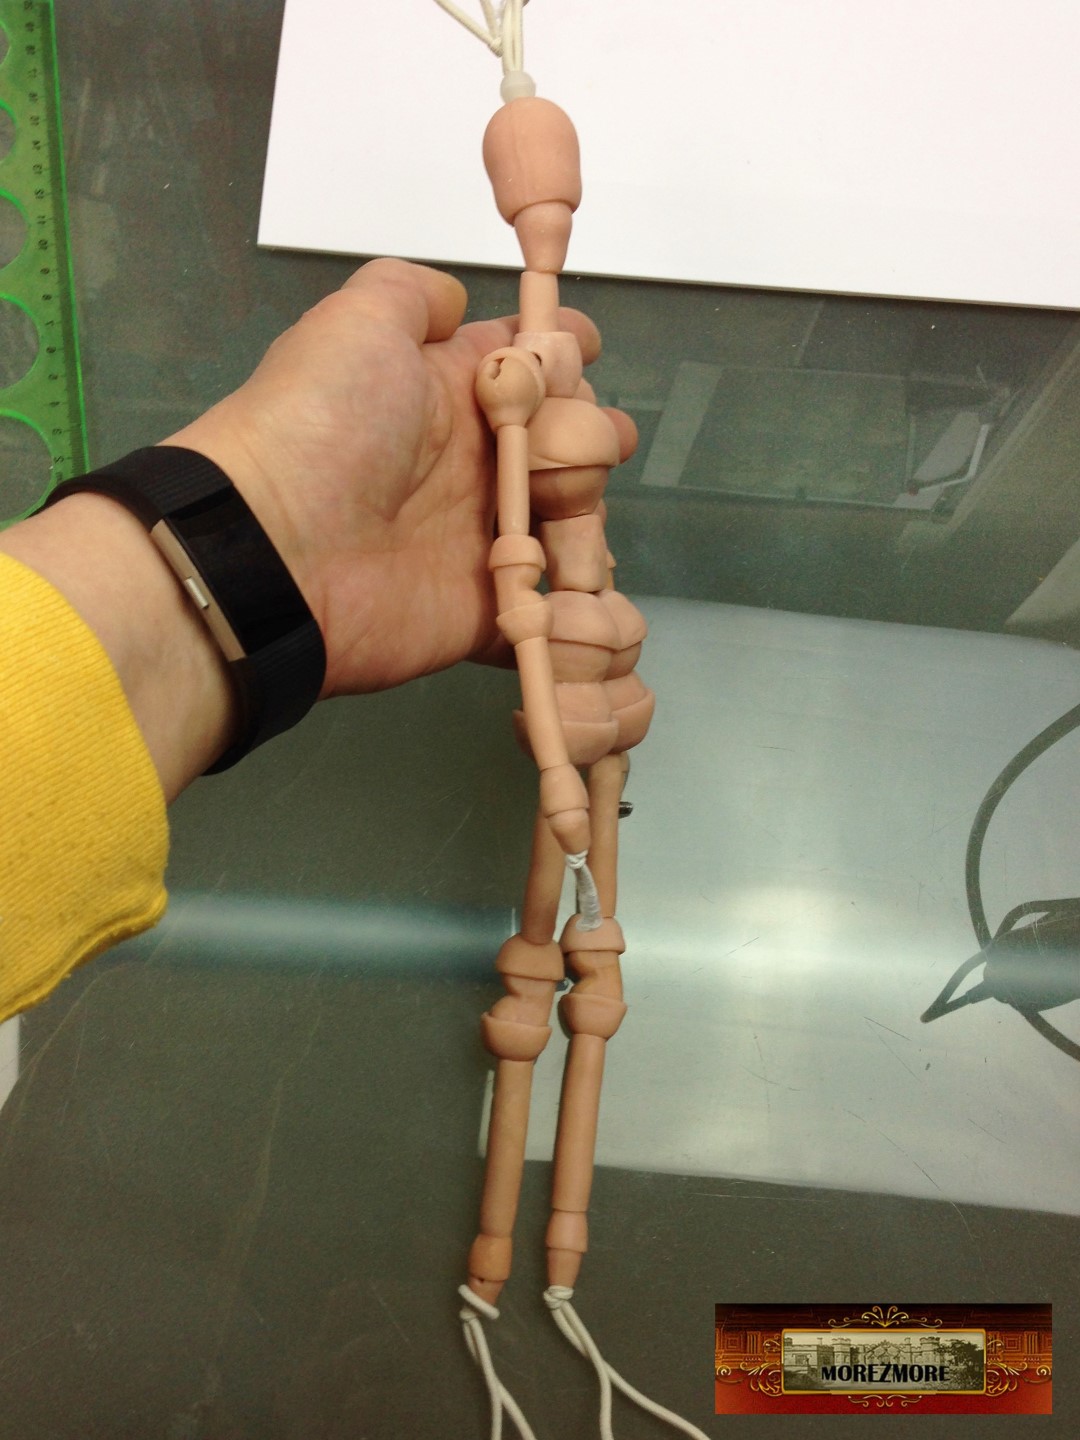
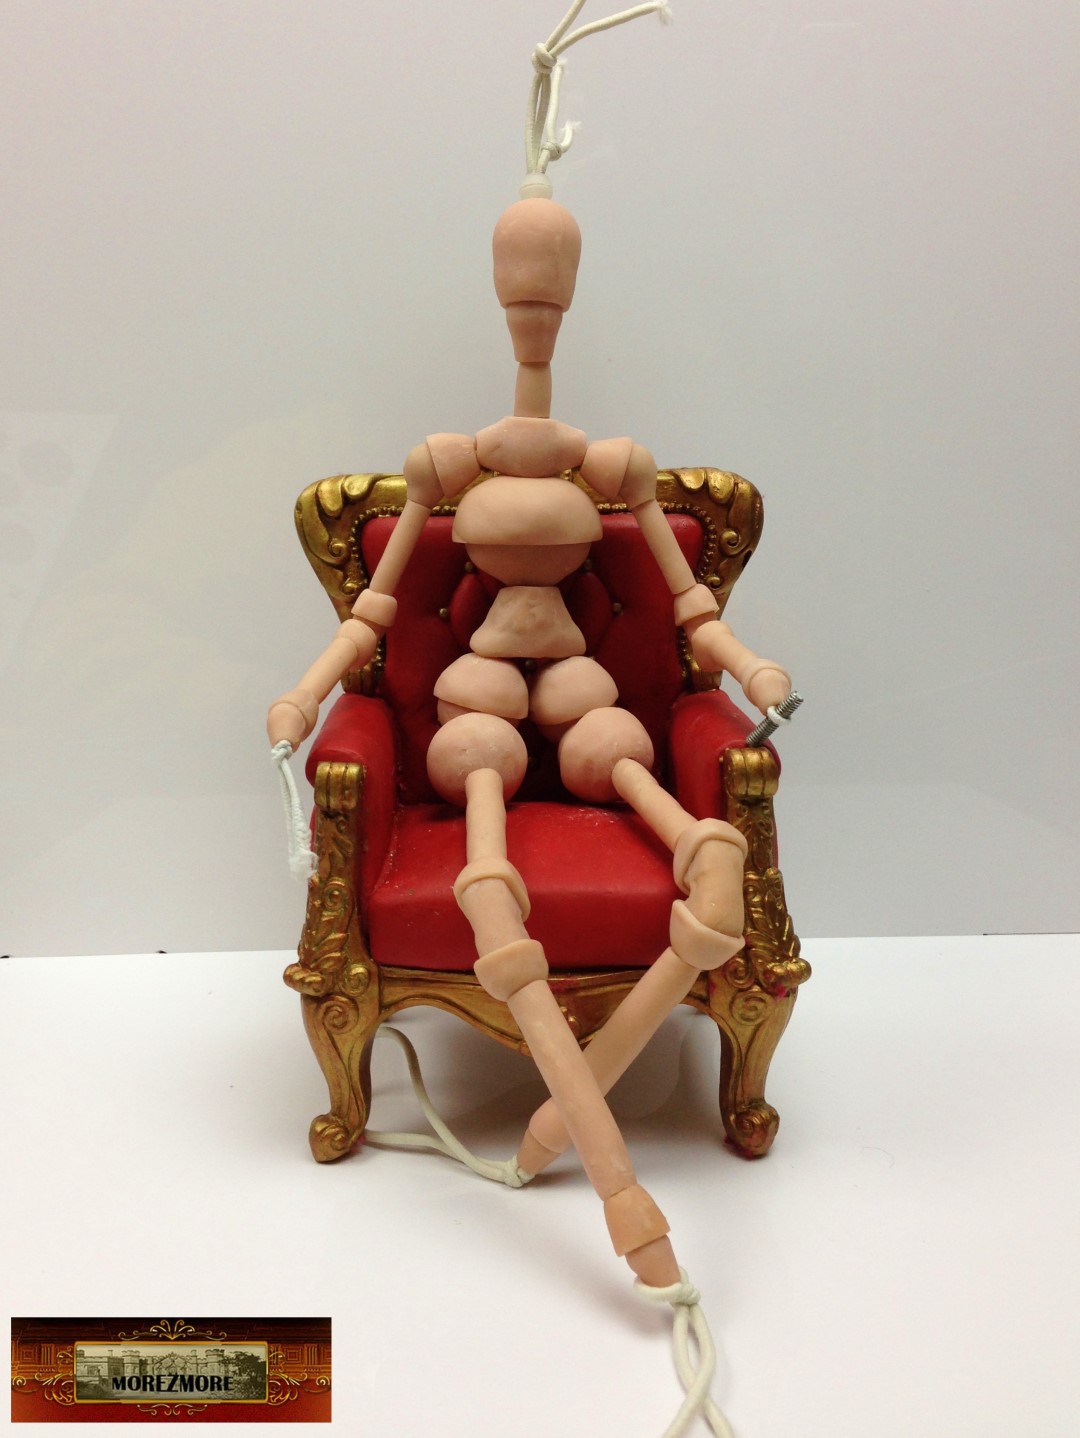
All the parts are ready, 45 pieces total.
Here is the first assemble. Good enough for now.
Next I will cast all parts in plaster and fine tune them. I expect plaster will allow finer cuts and thinner walls then clay allows. Clay is just too fragile. Then I will make the mold of those “fine-tuned” parts.
At that point I am hoping to have a reusable mold for a well-fitting working set of BJD bones which can be easily recast and used to sculpt a BJD doll. And not necessarily the same kind of doll. The joints (the hardest part) will be the same, but the doll might be shorter or taller, slender of full-bodied, young or old. Further modifications (smaller hips, wider shoulders, longer/shorter neck and limb tubes) will allow a male version. Well, that is the idea for all this, I am hopeful it will work.
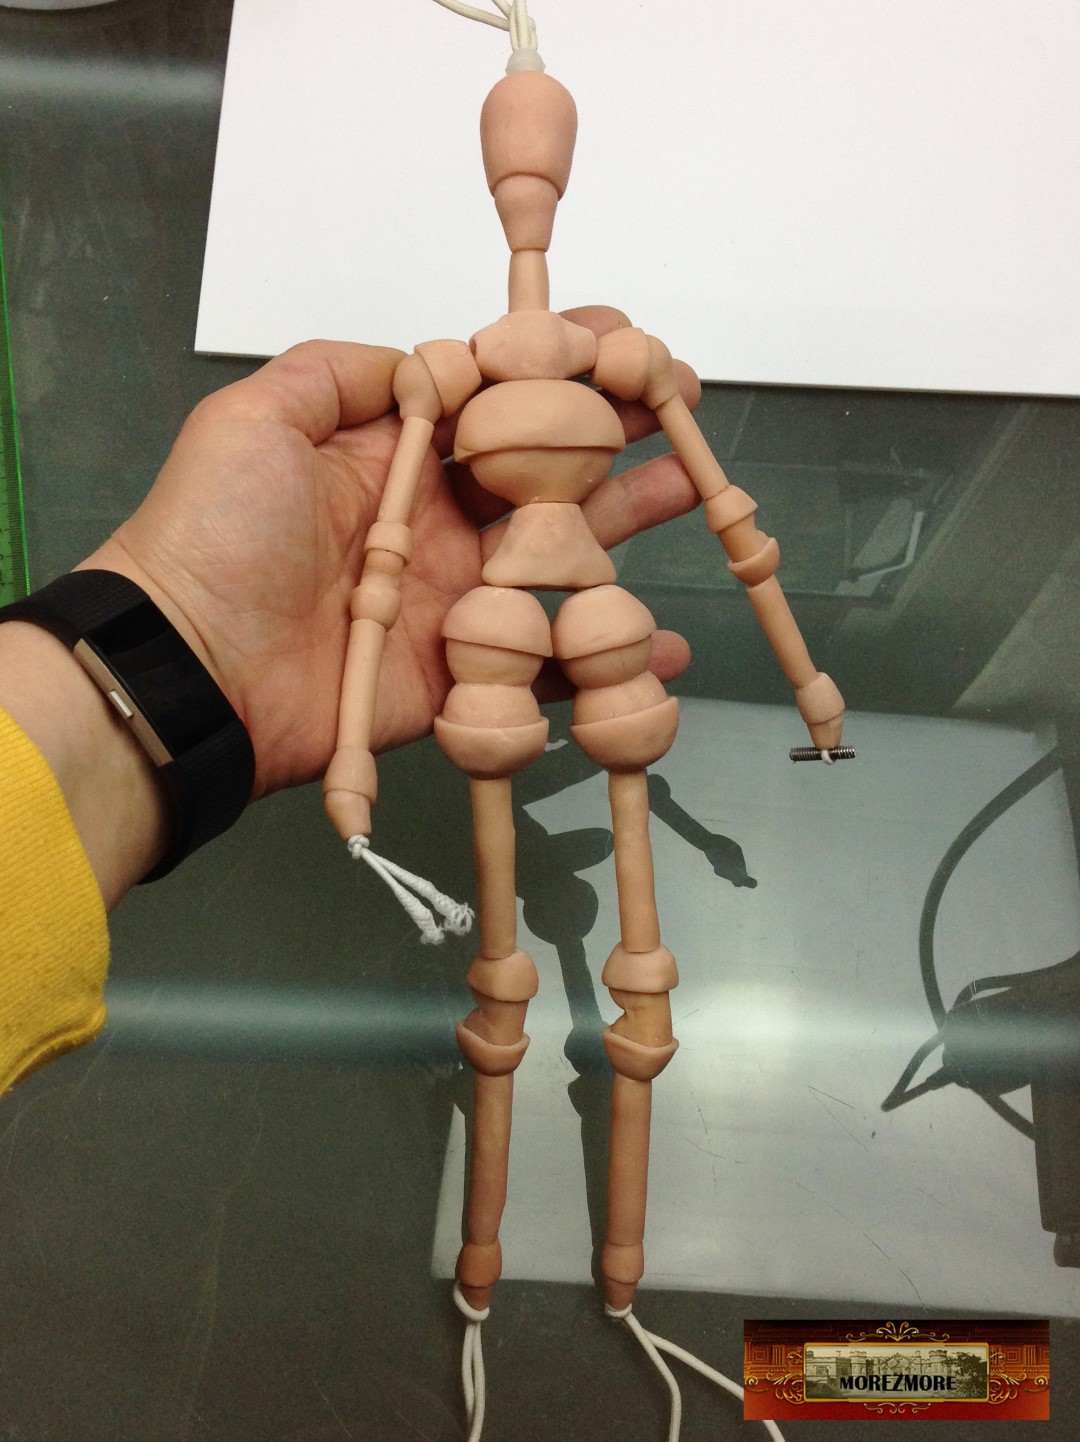
Thank you, to be continued…
[…] Return to I want to make my own BJD – Part 3 […]
Fantastic! I WILL have to try to make one similar. What a challenge!
Eres un gran artista 😍 gracias por compartir tan generosamente tus talentos. Saludos desde Colombia.
Many thanks!