Hello, friends,
I am starting my new doll and will be making her while continuing working on the BJD Bone project. This dolls will be traditional and relaxing – a doll who does not fight me every minute of the process. I will be mostly relying on “best practices”, using the doll-making techniques that I already know worked in the past. I will keep the experimentation to the minimum, at least that is the plan for now. As I promised on Facebook, I will take a lot of pictures.
Latest update photos:


ARMATURE AND BASE
Tool and Materials on the photos
The doll will be 1:6 scale. Miss Marple’s height (actually Joan Hickson’s height) is 163 cm.
The doll will be 27 cm tall.
– Galvanized steel wire thick 16″ – for armature skeleton
– Galvanized steel wire thin 24″ – for armature skeleton
– wire cutters – to cut the wire
– long nose pliers – to bend the wire into shape
– brass tubes – square 3/32″ and 1/8″ – to make the modules
– steel rod 1/16″ – to make the doll stand, 1/16″ rod fits into the tube 3/32″
– wooden base 4″ – the base
– ruler – to measure off proportions
– drafting divider – to measure off proportions
– manual hand drill and drill bits – to drill a hole in the base
– Magic Smooth epoxy gel – to set the leg rod in the wooden base
– ice pick – to straighten out tube walls after cutting
– toothpicks – to mix Magic Smooth epoxy


HEAD
Tool and Materials on the photos
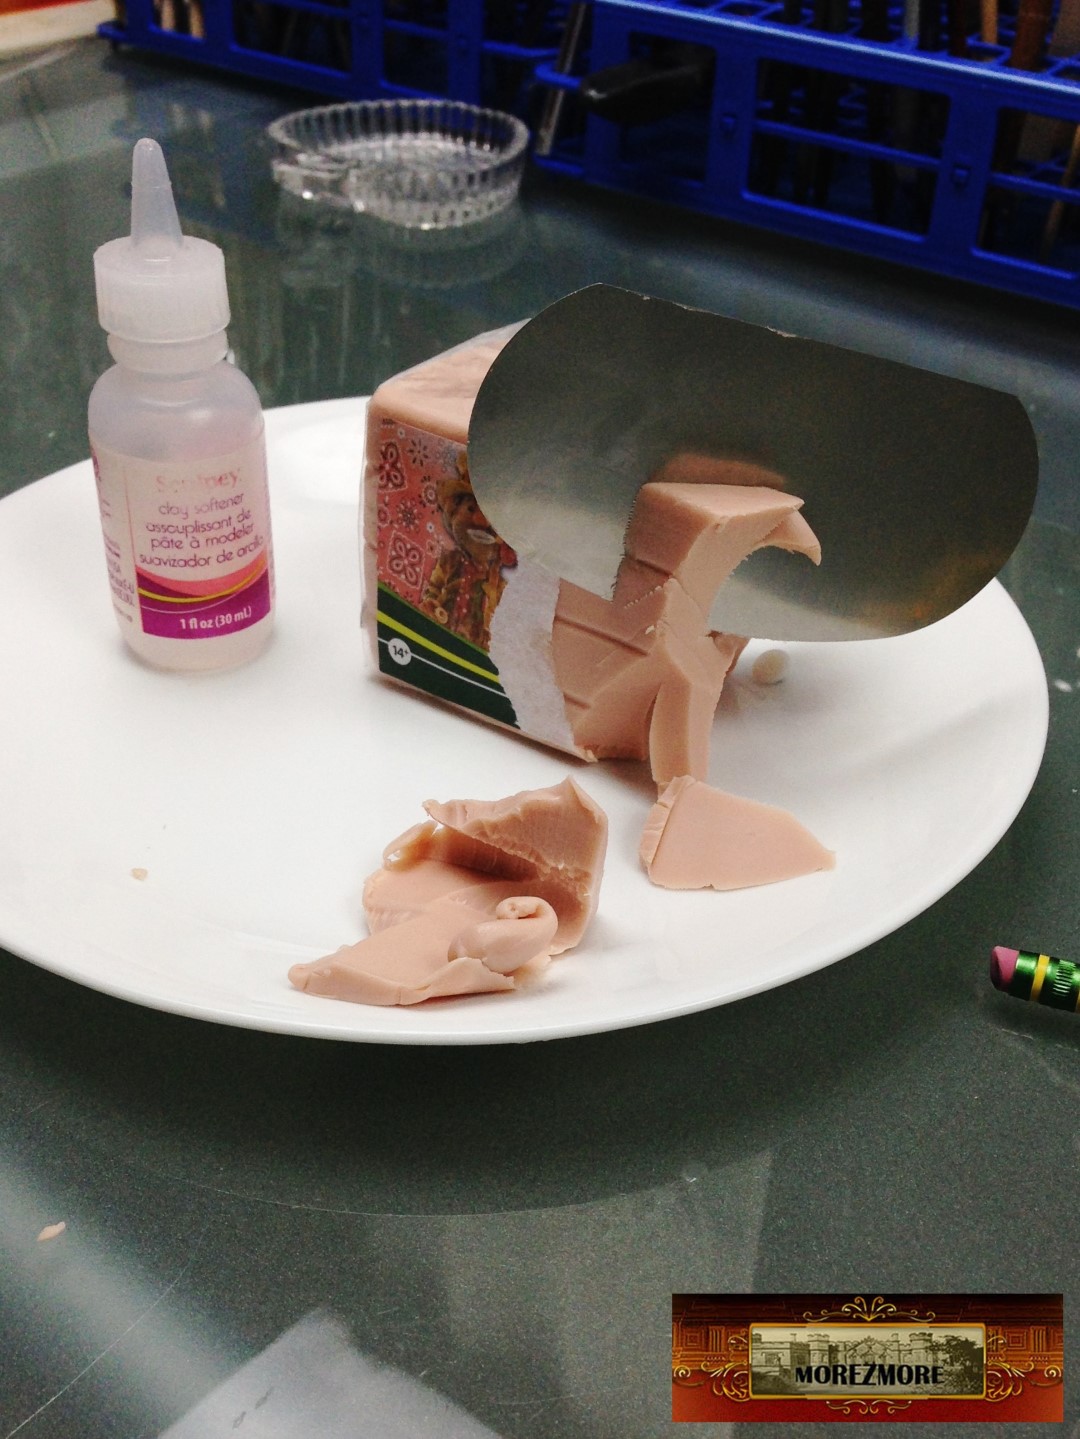
– Sculping Head Stands (small and a few mini)
– Living Doll Polymer Clay (Color: Light)
– Polymer Oil (smoothing oil) for smoothing clay
– Rib Scraper – cut the clay in thin uniform pancakes
– glass eyes – 4 mm blue

Clay “tubes”, already baked. The purpose – to stop the head from rotating. Baked clay on the threaded rods prevents the head from rotating while I sculpt. I baked 3 tubes, because I always have a lot of difficulties making a head that I like. So I am prepared. If I don’t use them this time, they will be there for the next doll.


Also, I noticed that her eye sockets need rounding and her chin should come forward a little more. Will fix it.

**********************
All right, first – fix the chin. There is a trick that I learned from the great sculptor Philippe Faraut about how to move a part of the face forward.
Here it is on the 3 photos just below:


All baked:


Last photo – overall body/head proportions check. Looks good!

HEAD MODULE
Tool and Materials on the photos
– manual hand drill and drill bits – to widen the hole slightly
– Living Doll Polymer Clay – to fill the hole
– brass tube – square 1/8″ – to make the second part of the modules


HAND MODULES
Tool and Materials on the photos
More detailed description of hand armature is HERE
– brass tube – square 1/8″ – to make the second part of the modules
– cotton-covered wire – 32 Ga
– Translucent Liquid Sculpey
– long-nose pliers
– wire cutters
– disposable brush – to brush translucent liquid sculpey
– hand widgets – hand-made gadgets which are used to bake parts vertically. I have a few of those – they are made out of wooden bead with the wire on top and a round magnet on the bottom, all fused together with magic sculpt.
By the way, it is pretty easy to calculate proportions on a doll figure if you follow a certain scale – 1:6 in my case. Just measure your hand, palm, fingers, divide by 6, here are your numbers.


**********
To make hands, I need to pose them. To pose them, I need to know the handbag handle width. To know the handbag handle width, I need to know what the handbag will look like. At least approximately.
Reference photos:


I got this 9″ x 4″ leather remnant for 3 dollars, including shipping, from ebay seller discounthides. It looks perfect. Will come in a few days. I am sure I will be able to fashion a bag out of it.

***********
Armature Again
Tool and Materials on the photos
– magic sculpt epoxy putty
– galvanized steel wire thin 24″
– plumb tool (any small pointed object, suspended with a string from the pit of the neck).
I am using a replacement tip for the Fine Point Tip Rubber tool.
Plumb Line:
When a subject stands with the weight on one foot, the inside of the ankle supporting the weight is in a direct line straight down from the pit of the neck. This holds true whether the body is viewed from the front, back, or side. This very important line is called the PLUMB LINE.


************************
Hands Again
Tool and Materials used
– Polymer Oil (smoothing oil) for smoothing clay
– Flat smoothing brush
– Translucent Liquid Sculpey
– Precision Knife (X-Acto Blade)
– Sanding mesh
– Buffing sponge
Hands covered in thin layer of clay and baked.


Trim the sausages to resemble fingers.


Cut with x-acto knife:
on the back of the palm on the palm
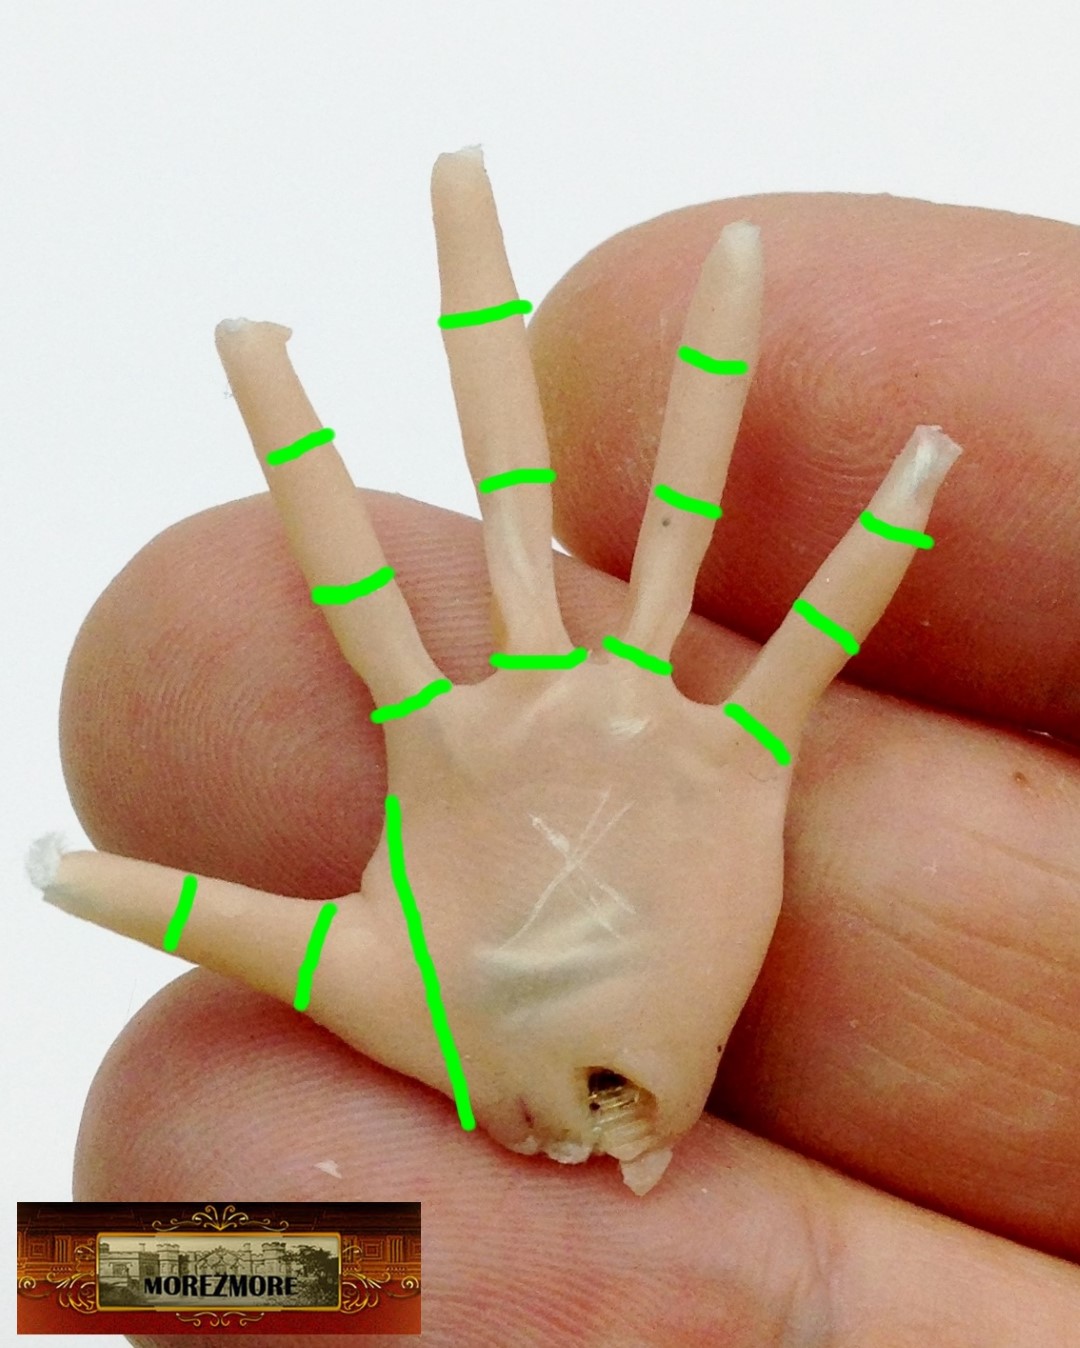
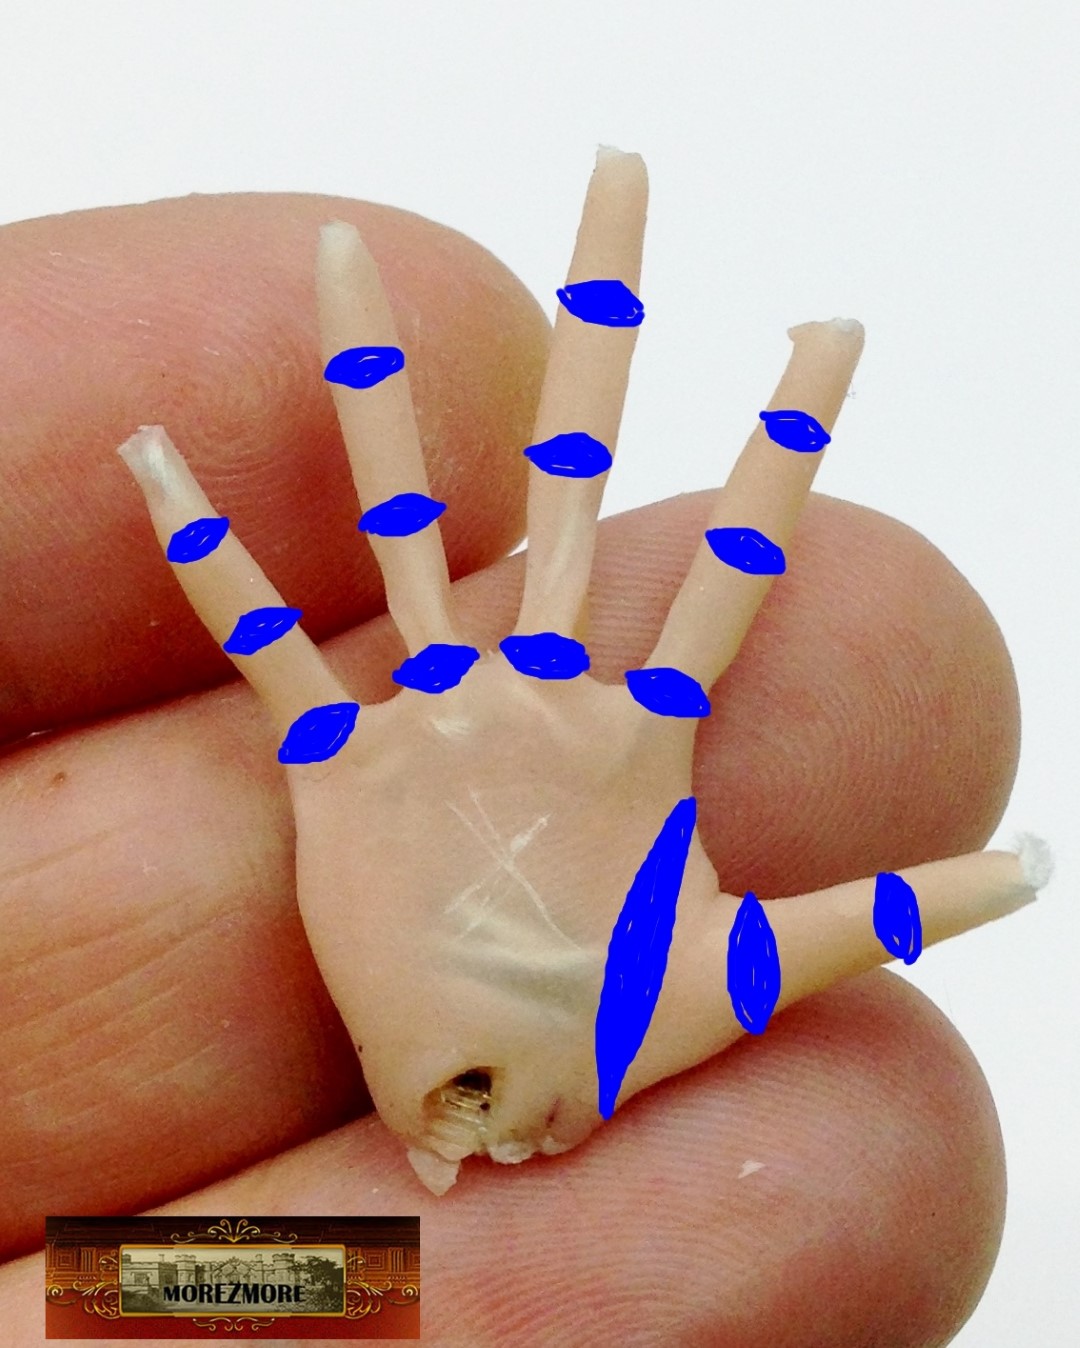
Pose the fingers


Straighten out the fingers and brush with polymer oil – to make new layer of clay to stick.
Start adding clay volumes


Do the best you can, it is not final.
Cover with translucent liquid sculpey and bake.


After baking trim and sand and polish. Cover again with translucent liquid sculpey and bake again. Or just wash with acetone and consider it done. Acetone smoothes out minor imperfections.


Thank you for your interest, see you soon.
Continues on Part 2.
Always interesting and thank you for sharing it with us. You are brilliant!
She is looking fantastic Natasha, I shall be watching your progress with much interest, I have made a Miss Marple a few years back in a larger scale. And she was fun to make
Thanks for sharing
Excellent entry. I love the trick about moving the face. One question that you might have covered before; why change from the wound wire to the square “tube”? TIA. Kev
Thank you, Kev.
There is no difference between wound wire and round tube – same effect and thin wire is always handy. Square tubes do not rotate, if it is important enough. Other than that – no difference really.
[…] Continues from Part 1. […]