Continues from Part 3.


Skirt
Tools and materials on the photos
– paper towels
– stretch fabric for the suit
– Fabritac glue
– scissors
– toothpicks
– mini spatula
Easy, non-professional, no-sew doll dressing.
Wrap the doll in a paper towel. Cut everything that is not needed.
Unwrap. Trim to make symmetrical. Fold and secure with pins.


Double-fold the fabric and cut the parts


Fold and glue the edges.


On the bottom too.


Glue the edges side to side on a thin piece of the same fabric.


Same way on all sides


Put the skirt on and glue to the doll. Carefully.
DO NOT LET THE THE GLUE TO SOAK THROUCH THE FABRIC. That will leave stains.
Small amount of glue at a time. Dilute fabritac with acetone (the kind sold in hardware stores, not nail polish remover) to make it thinner and easier to work with. Clean up occasional glue spots and strings with brush dipped in acetone.


An hour later. I am high on fabritac glue but the skirt is done.
Nice sleek pencil skirt, just like I wanted.


With a skirt on, Miss Marple was able to make an appearance at the breakfast table.

Next: JACKET
oh dear.
*****************
Jacket
Tools and materials on the photos
– paper towels
– stretch fabric
– Fabritac glue
– scissors
– toothpicks
– mini spatula
– Etch N’ Pearl tools
– premo polymer clay (color black) for buttons.


.


.


.


.


.


.


.


.


.


.

.


.


.


.


.


.


.
.


.


.


.
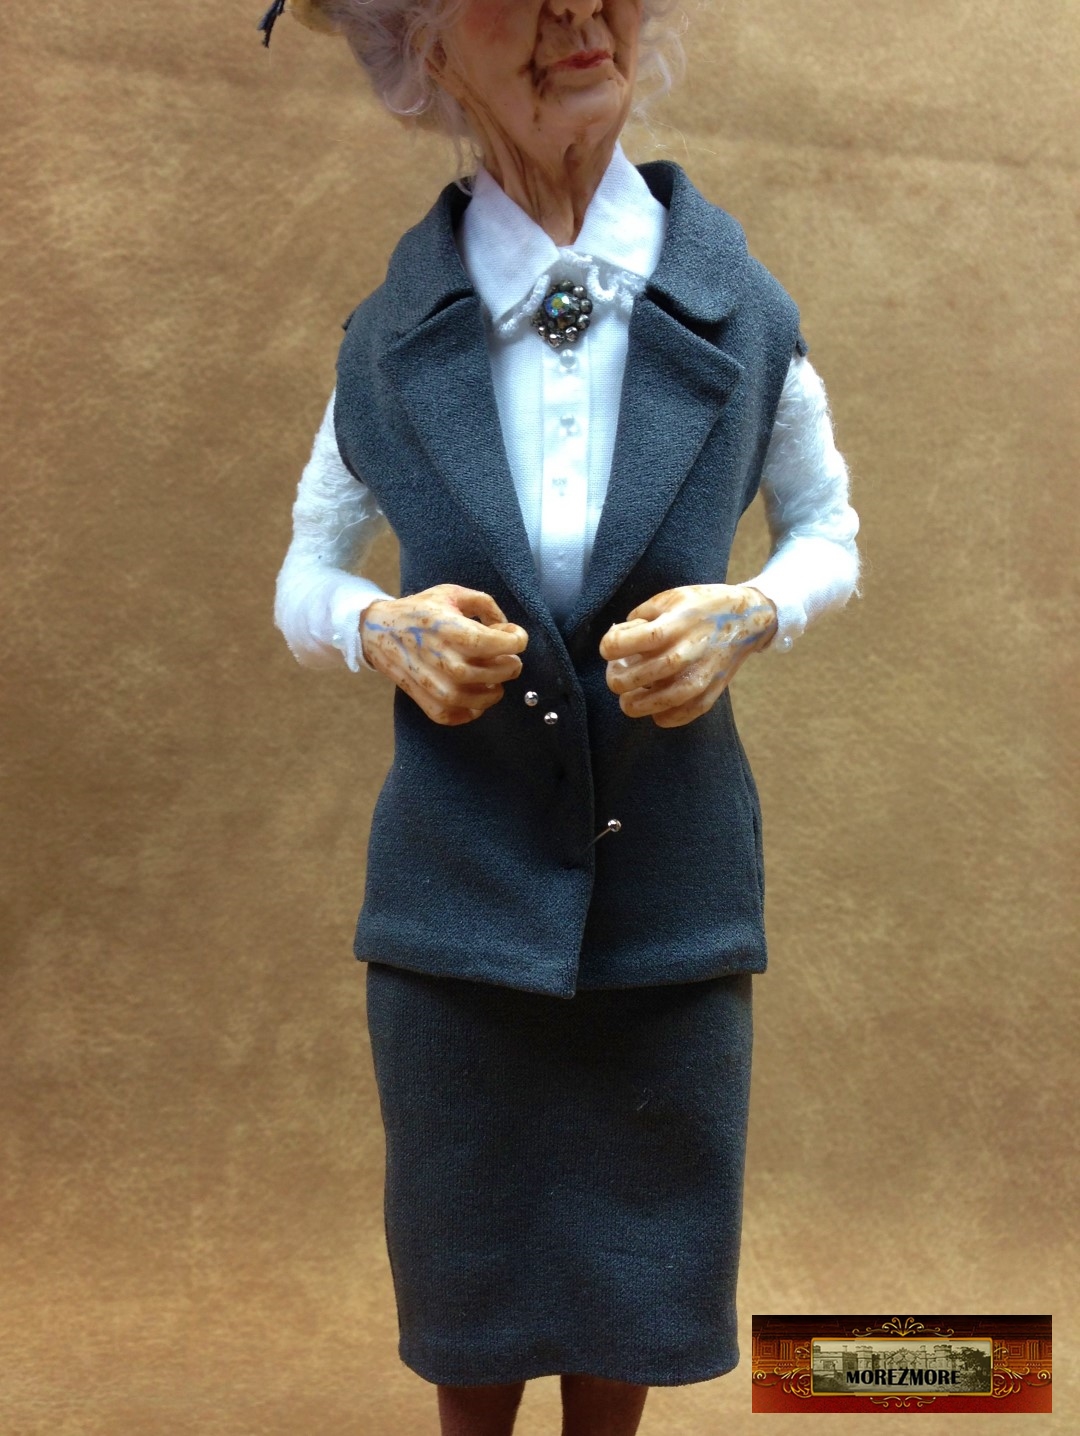
Almost done.
All is left to do – make her a fancy base, instead of the unfinished one.
Thank you for watching, see you soon.
Continued on Part 5.
woooow.. she’s amazing work :O
She is coming along brilliantly, Natasha, the jacket was hard for me too.
Fantastic!
hi//my size 48 european…Iwant her suit in my size.stunning
Amazing – wonderful looking at the stages of dressing.
Thank you 🙂
[…] Continues from Part 4. […]
I want her is she for sale? great work just perfect let me know please
She is on Auction now – the link is on the top of the page. Thank you, Mary!
Gosh she is great – well done.
[…] watch. The vest (and the pants) are made out of stretchy fine thin grey jersey, the same way as the Miss Marple […]
[…] Thank you for your interest, see you soon. Continues on Part 4. […]