Please see the LATEST UPDATED INFORMATION about Humanly Posable Armature Kits.
Continued from Part 2.
If you just arrived and landed here, you can see the detailed description of the parts and tools here.
Example 2 (17 joints):


******************************
Abbreviations above each row of the photos:
LP – Left Photo
RP – Right Photo
*******************************
Example 2 (17 joints), with more detail:
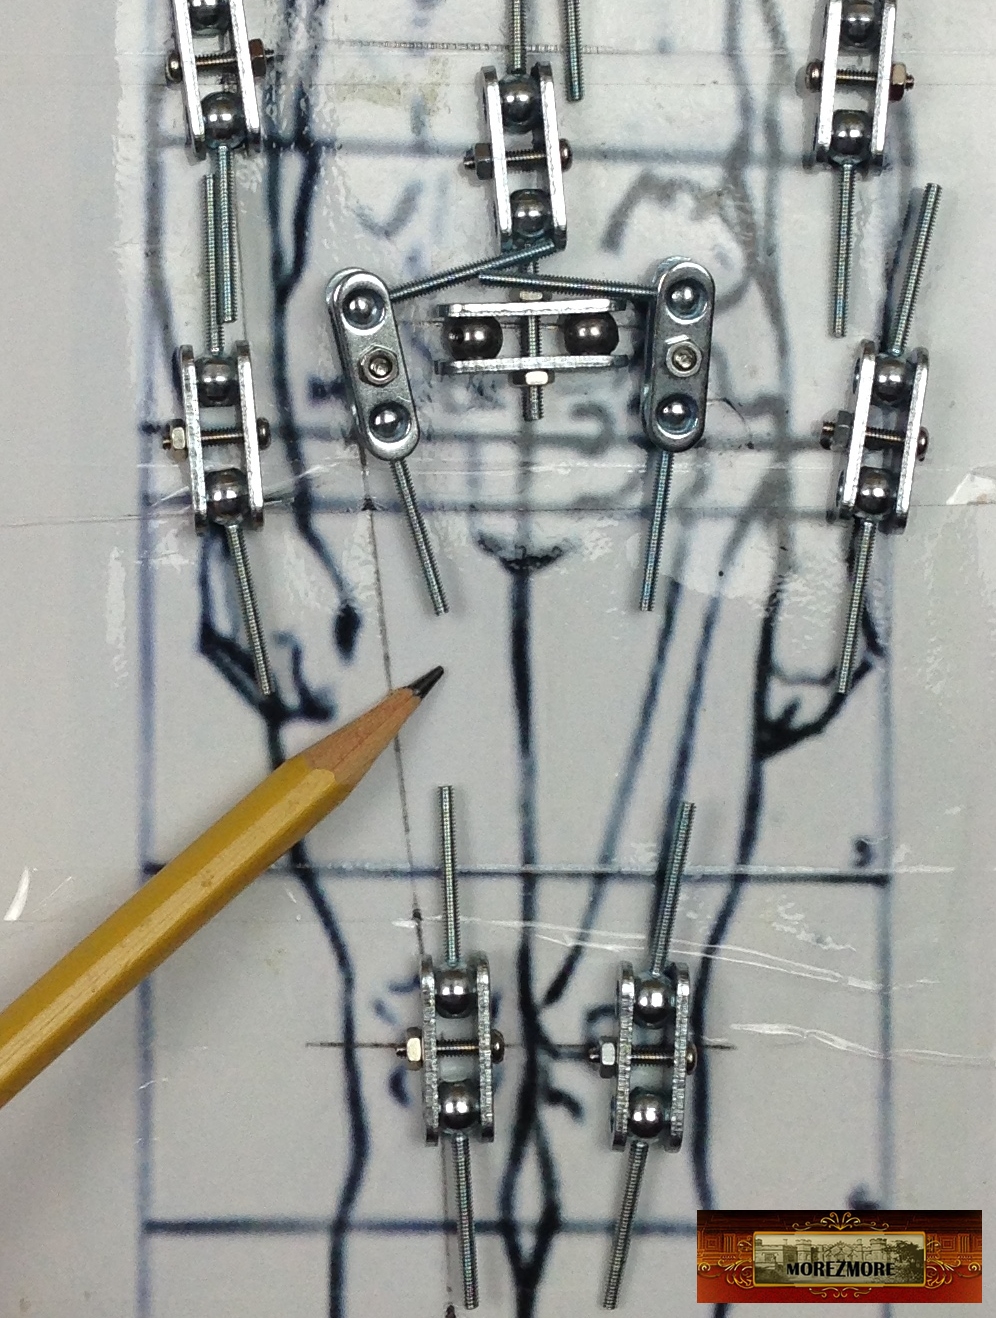
joint compression plates
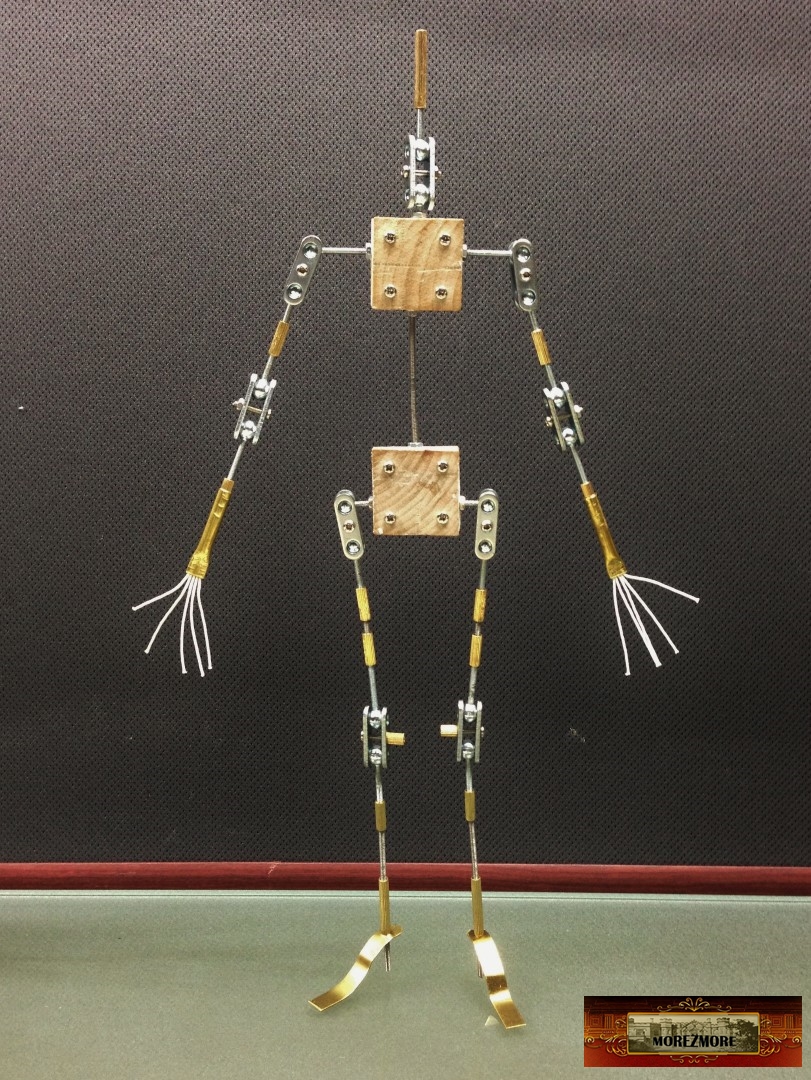
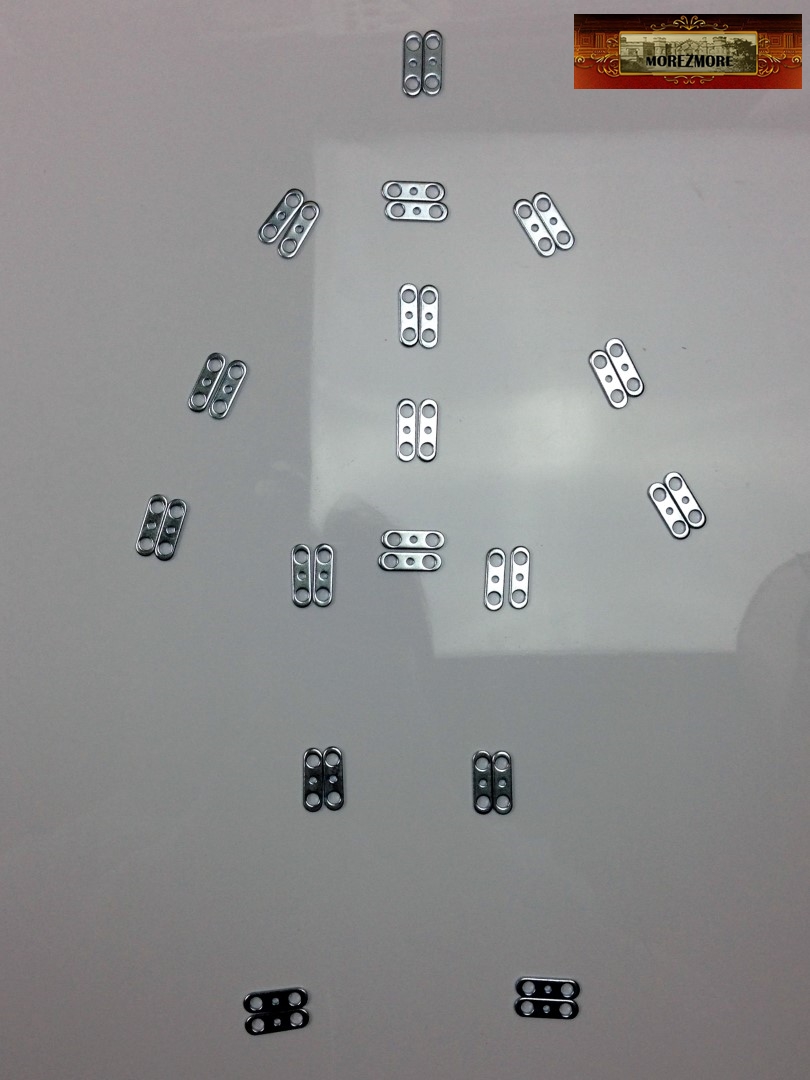


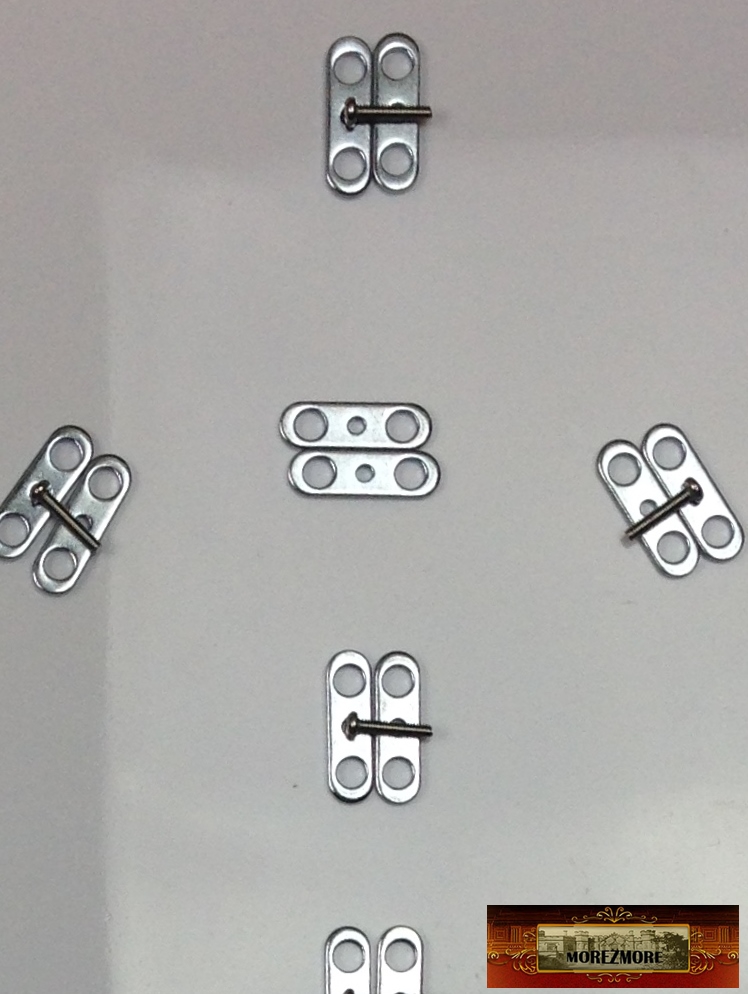
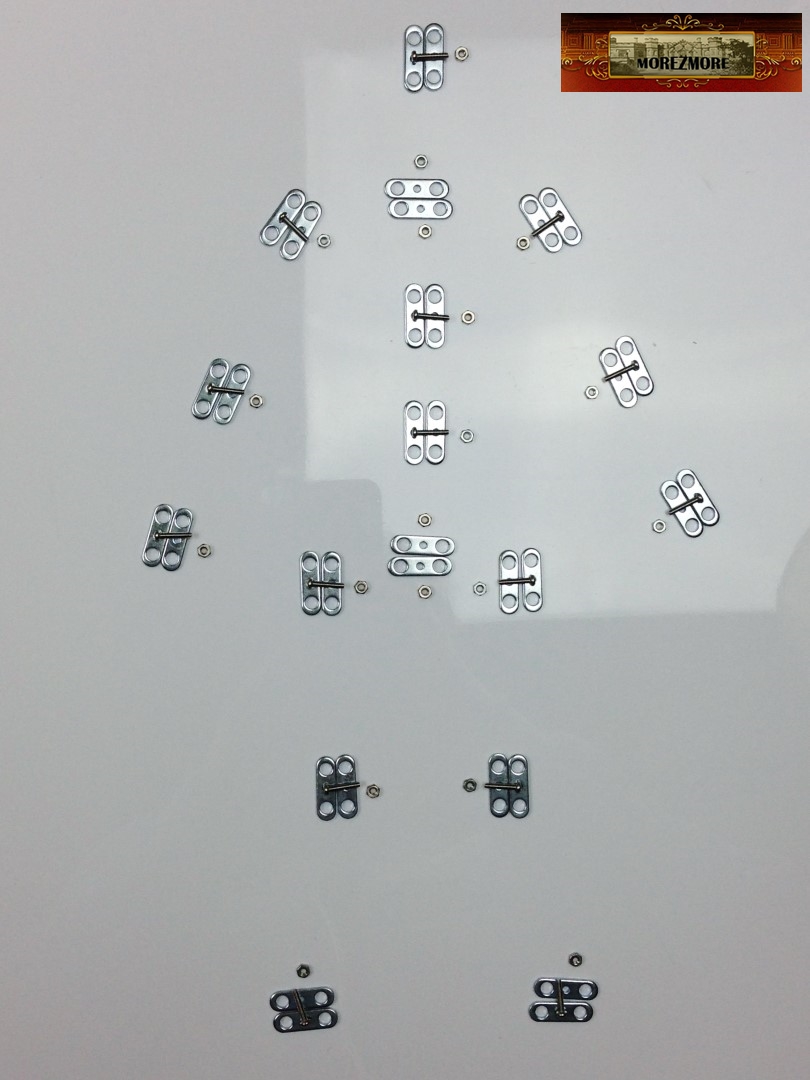


assembled joints


arranged on the proportions chart.
There is not much room in the hip joint for the ball head screws, so instead there are 2 threaded balls


Parts of the armature that too long are cut with wire cutters

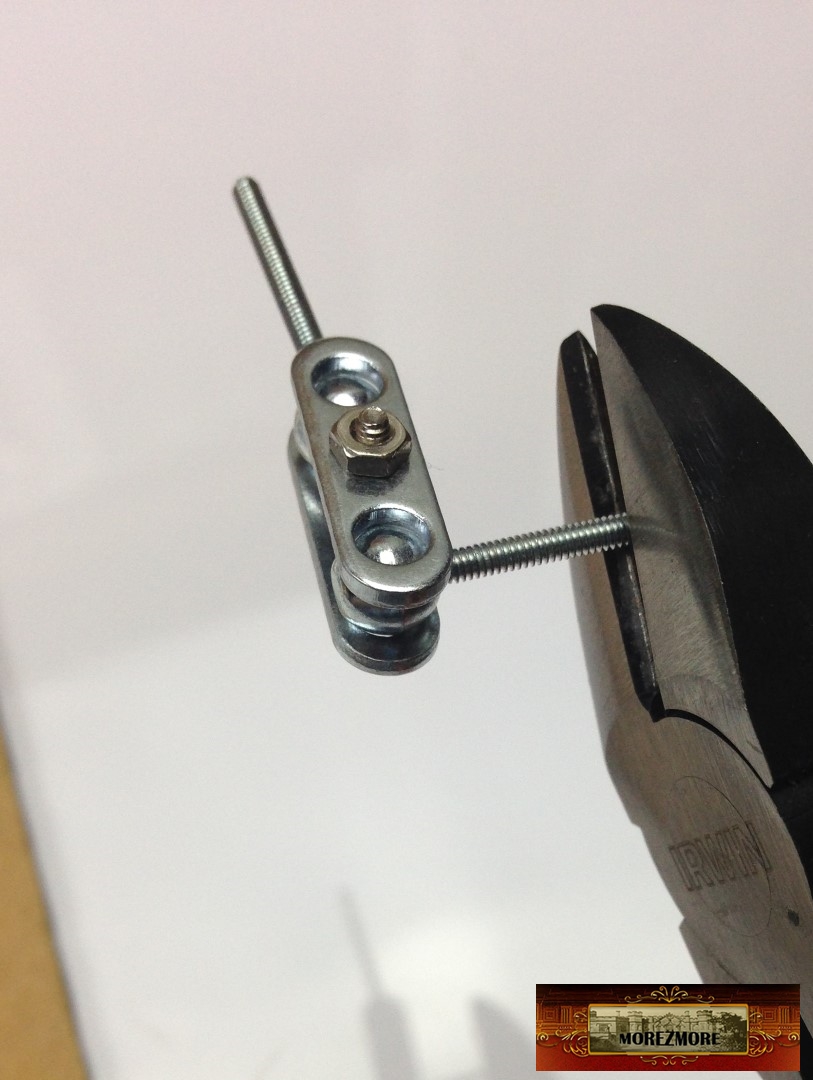
Parts of the armature that are too short get extensions, made out of M2 screws of needed length


All connected together with brass connectors M2 x 10 mm (or 20 mm, or 5 mm, as needed)


Assembling:

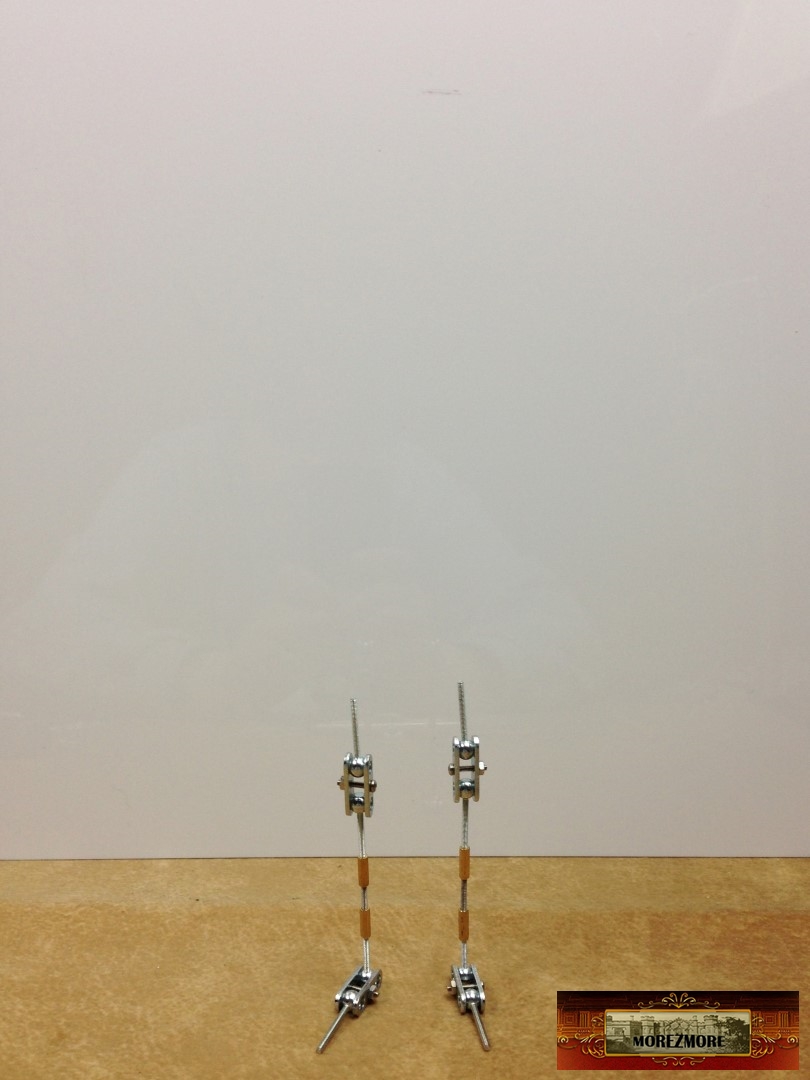
Good time to check for symmetry. Legs really need to be the same length.

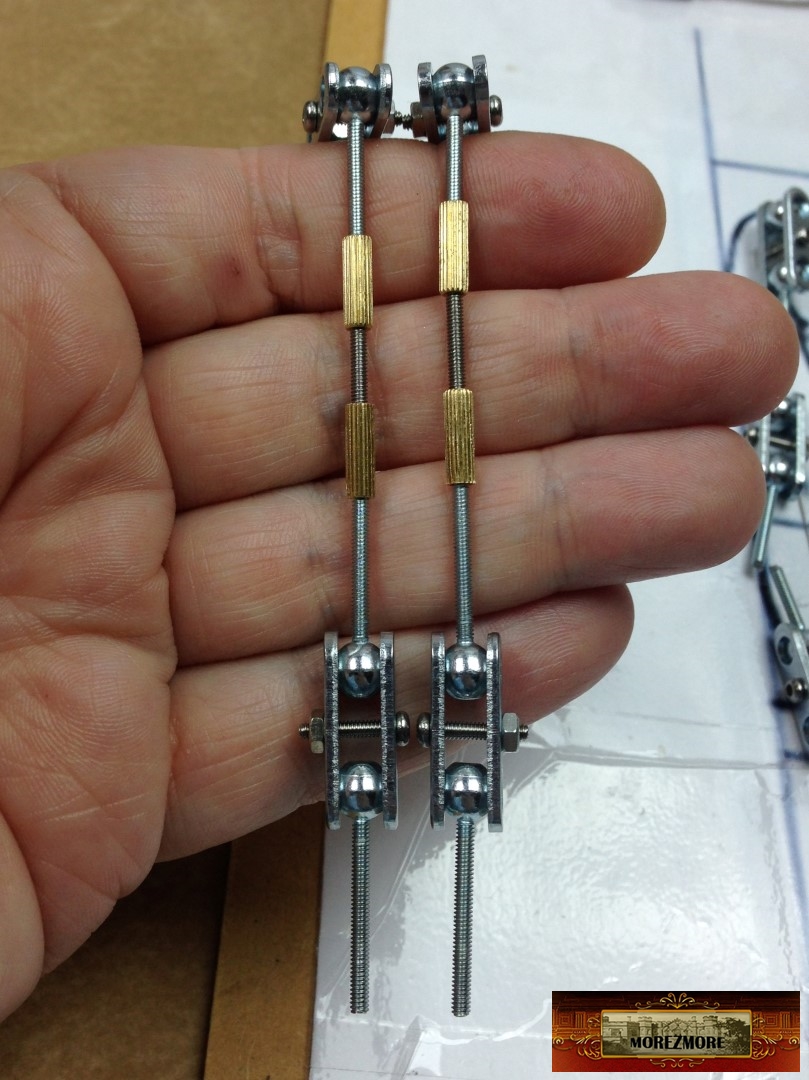


Hands
In order to get the right size of the hands (and feet) in 1:6 scale, I set the image size 3 cm (for hands) and 4 cm (for feet). Photoshop and maybe other image editing software allows that.

round brass tube 5/32″ cut with a tube cutter


The end of the tube needs straightening after cutting. It can be done with an ice pick.

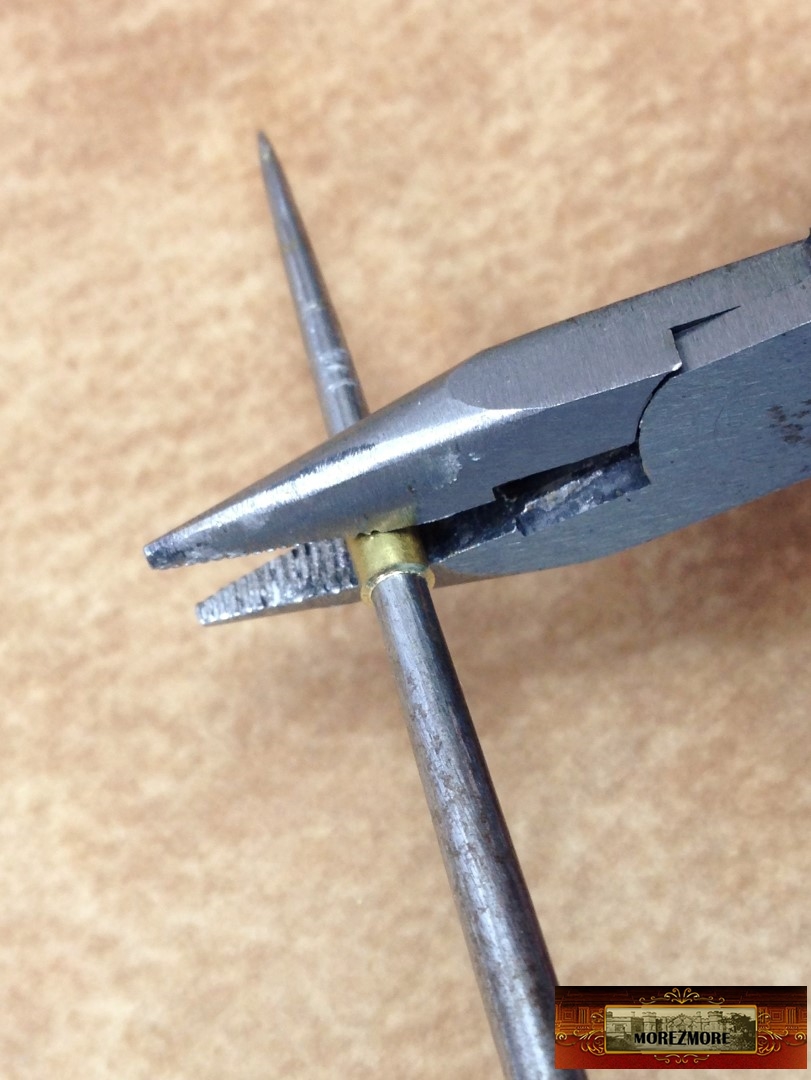
The brass connectors can be cut, if necessary.


LP: Here is the M2 brass connector inside 5/32″ tube.
RP: finger armature wire 32 ga


pinch the tube here with wire cutters so that the finger wire does not come out.


pinch the tube here with wire cutters so that the brass connector does not come out.


cut and file smooth the screw at the wrist joint where the hand will be attached:


.


Cut the fingers to length:

The feet:

With round nose pliers I made a loop out of a M2 screw
This is to create a tie-down for the feet.


Snip the heads of the loop screws with wire cutters.


Drill the holes in the wooden disk, and attach feet with M2 x 10 mm screws
and M2 hex nuts


.


All assembled and all disassembled.


Sealing the connectors on the rods with magic sculpt epoxy putty
.


.


.


.


.
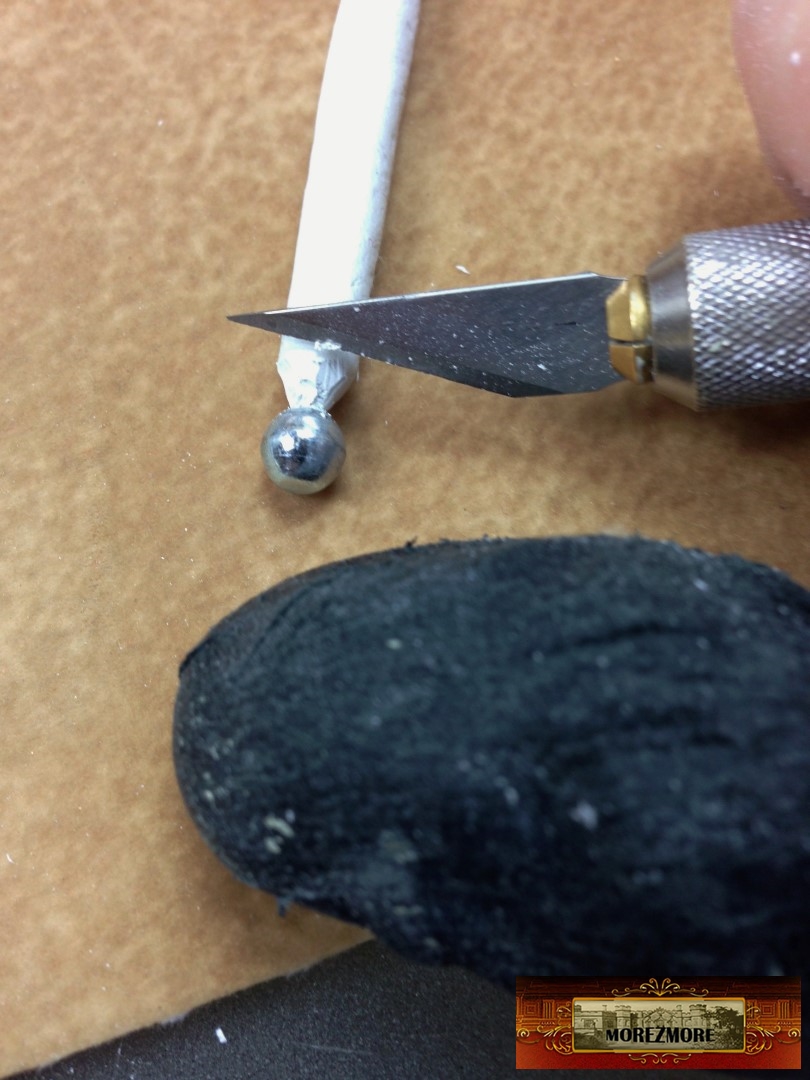
The shape of magic sculpt layer was wrong (I was making both Example 1 and Example 2 at the same time), so I had to trim the magic sculpt after it cured, with a x-acto knife and a file.
.

.
LP: before and after trimming.
RP: protect your thumb with a leather glove finger.


.

.
Sealing the joints.
thread seal tape (coming soon)
.


.


.

.
RP: The head, hands and feet modules can be removed, sculpted, screwed back when they are ready.

.
Example 2 is done, I am making Example 3 and will post it later.
To be continued
Thank you for watching 🙂
[…] Continued on Part 3 […]
Once again, thanks for your detailed working notes. I make “dolls” that do not require moving joints once the pose is finalised, so at present I don’t need the fine engineering. However, what your notes have given me are ideas for refining my methods so that getting the final pose right is so much easier. Then I can lock the joints and cover them over with the paperclay I work with. So much better than a plain wire armature.
Thank you, glad to hear it 🙂
[…] The hands – same way as described HERE […]
Hello! I’m Brazilian, I can not choose the materials in your store, can I send you the list so that you can help me?
Hi, Patricia, certainly, please contact me here:
https://morezmore.wordpress.com/about/
thank you!