Continues from Part 3
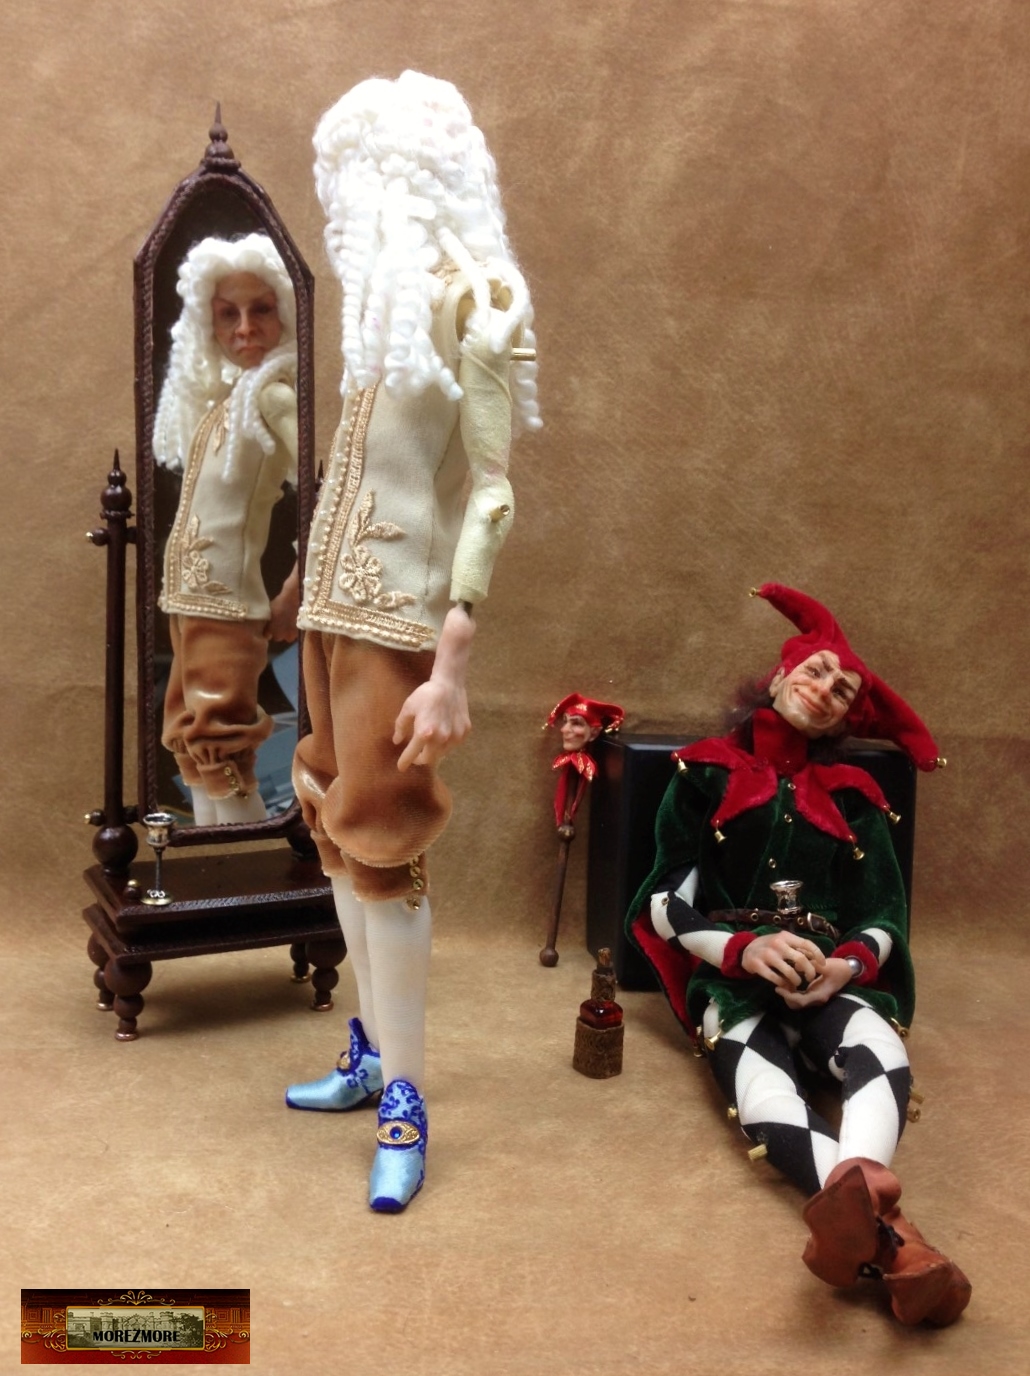
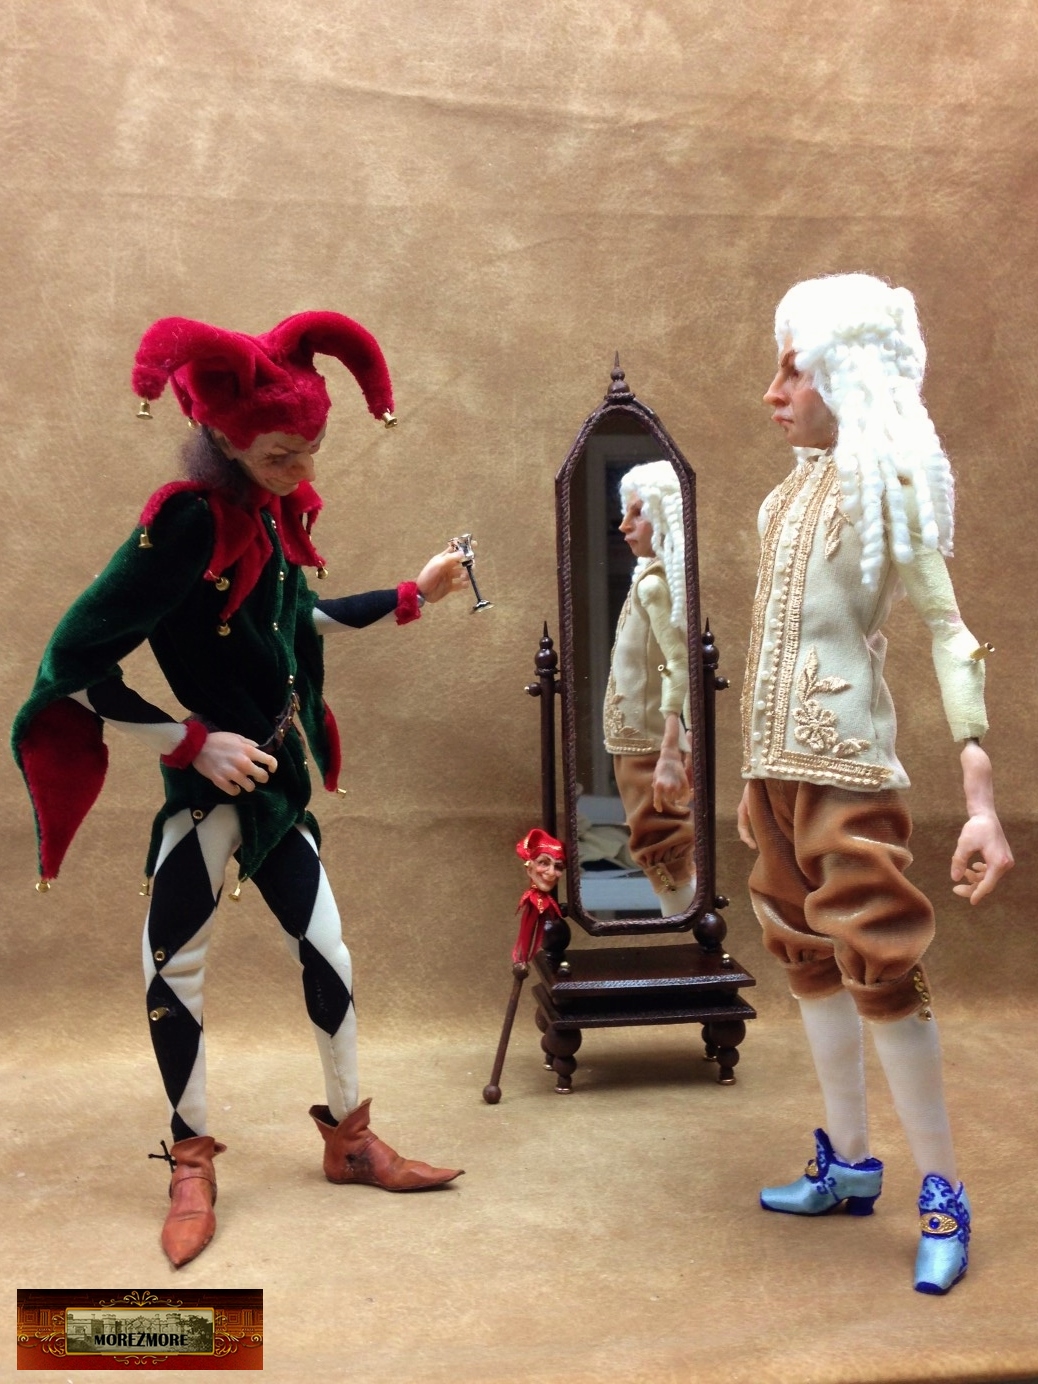
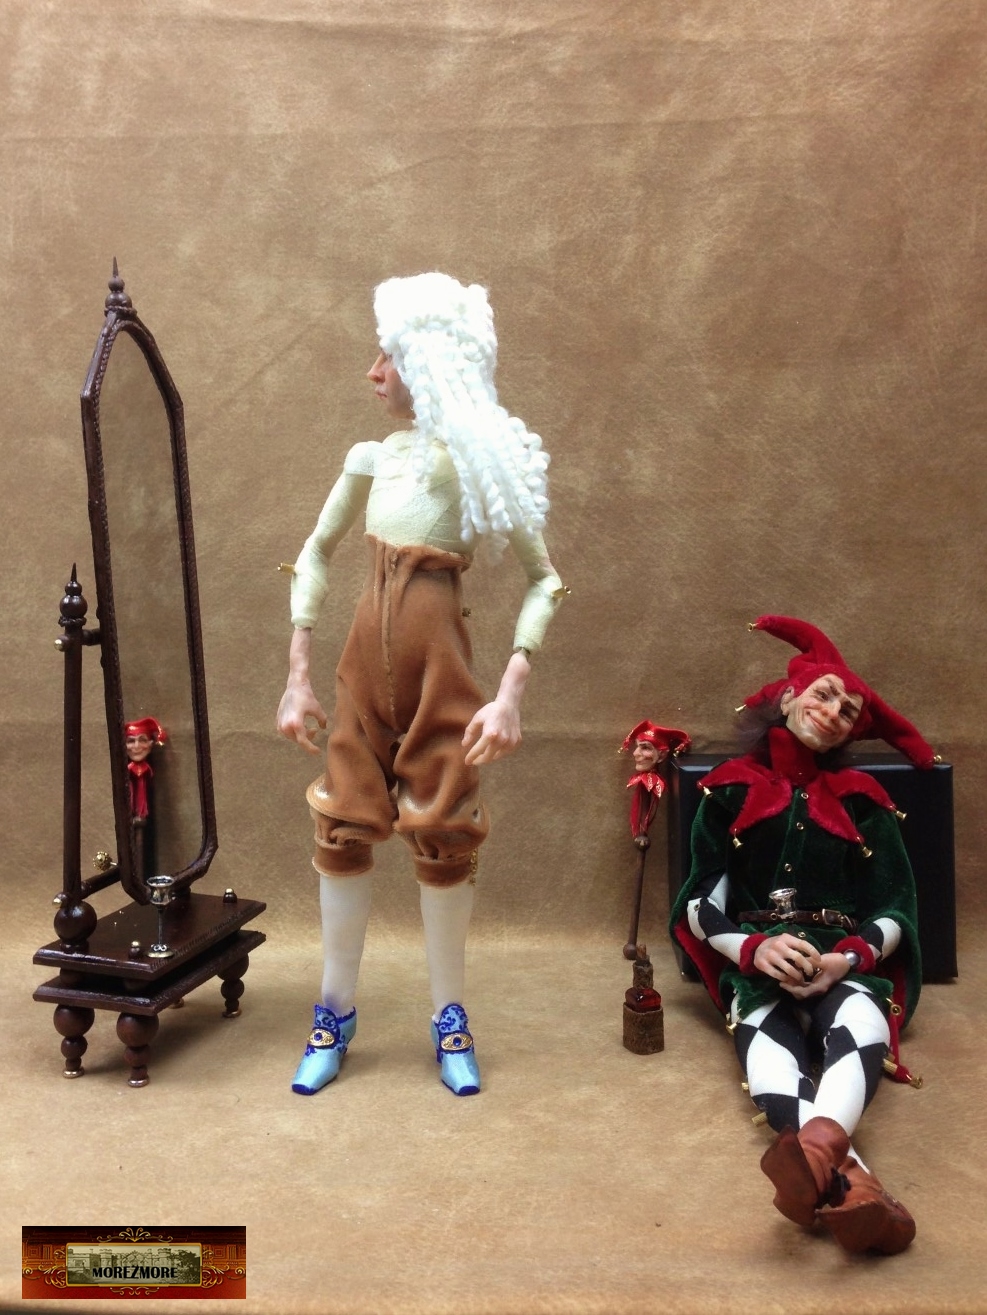
– Jester… Come over here… Listen, do you think my codpiece is too small?
.  .
 .
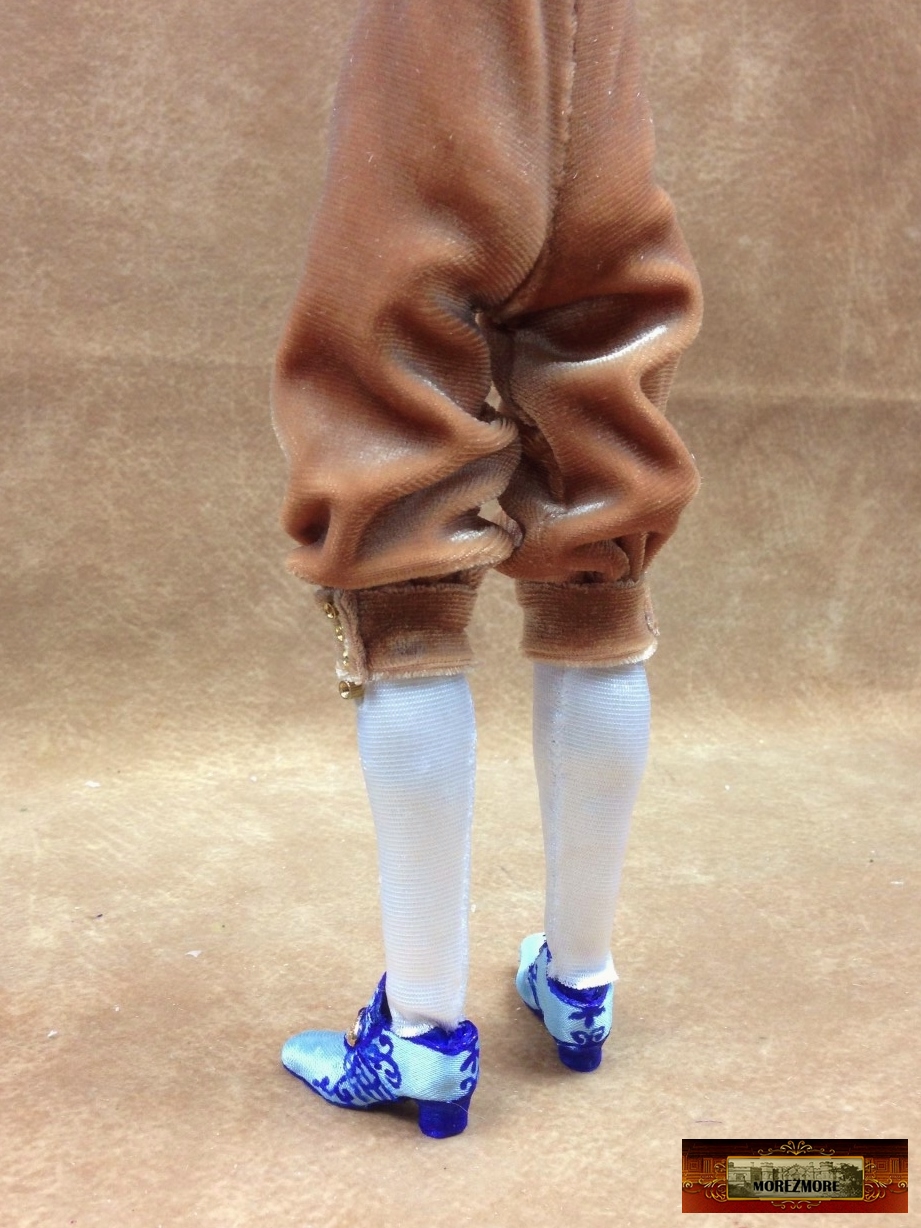
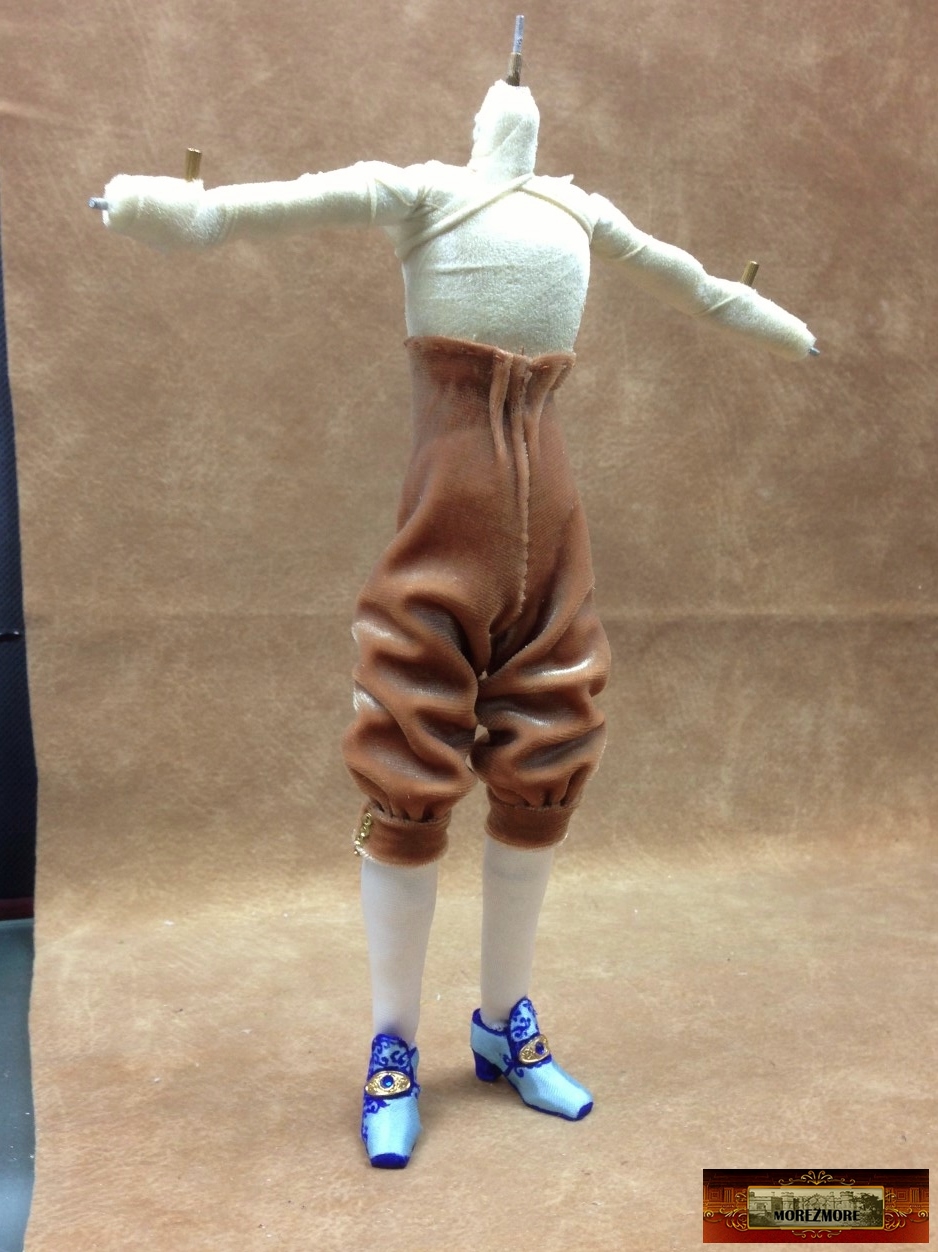
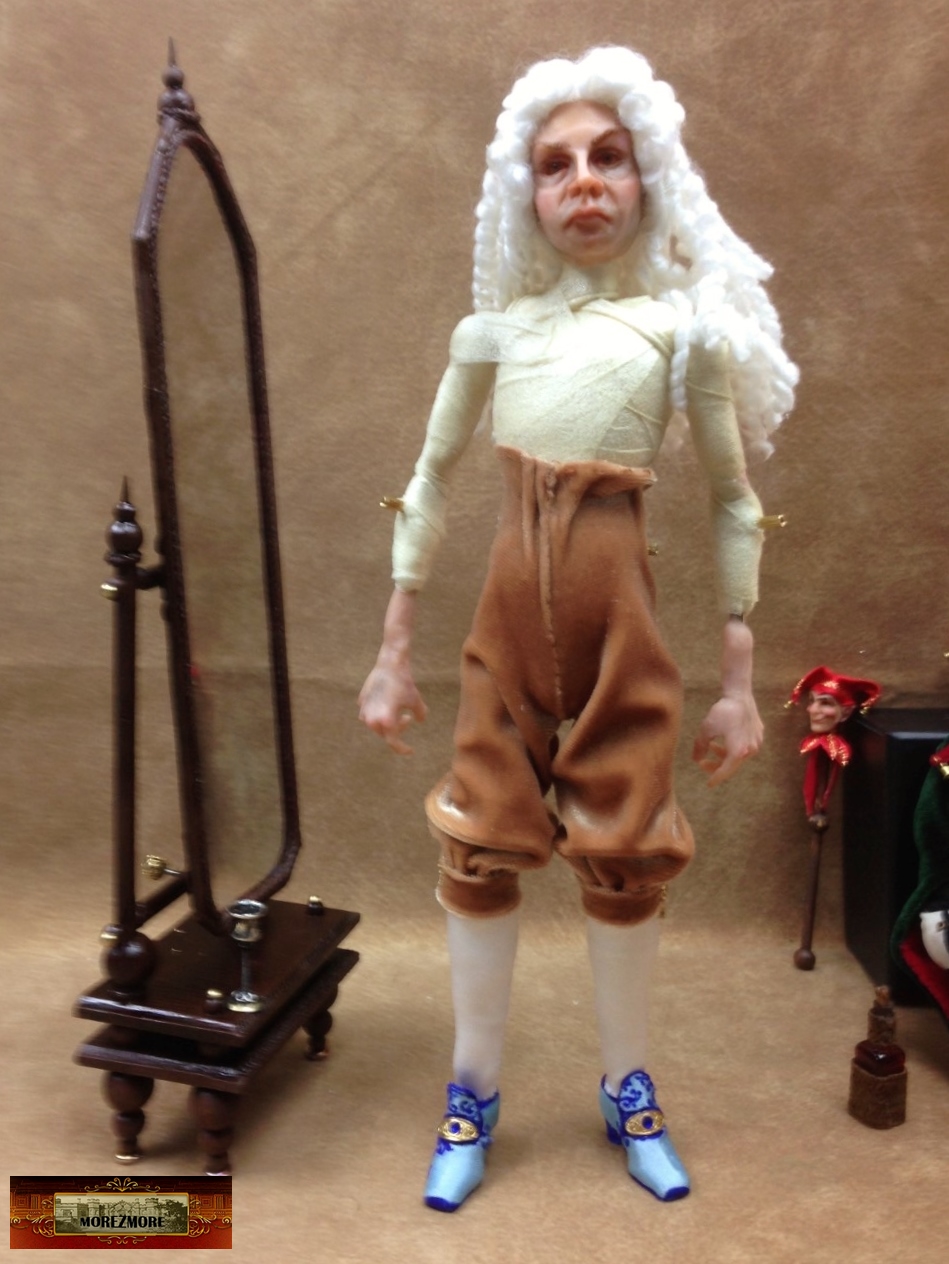
Kings Pants.
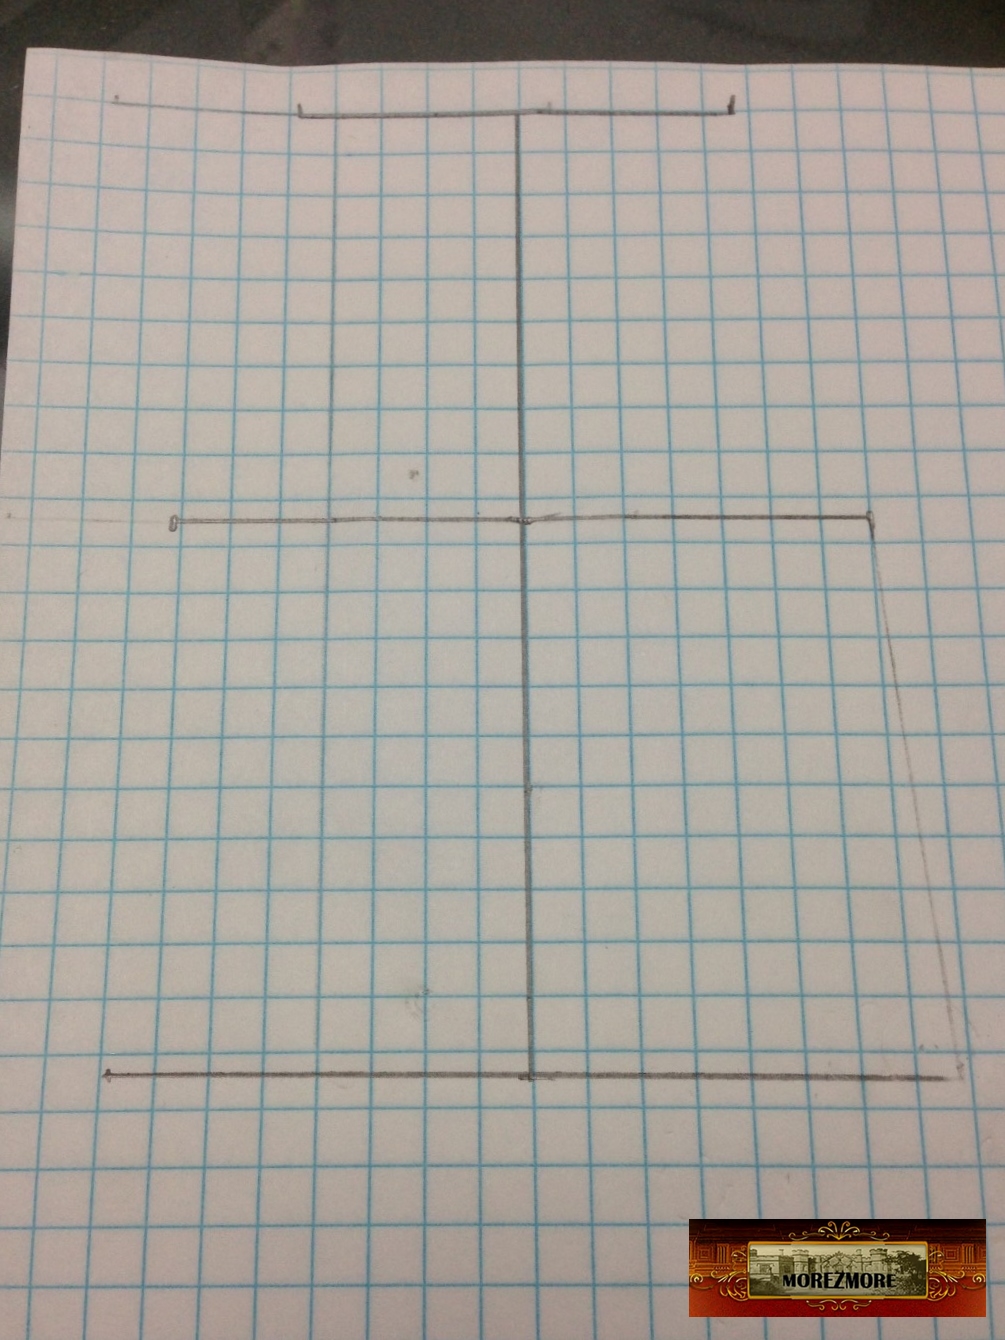
1. With a measuring tape, take the measurement from the waist to the bottom of the pants.
2. Draw a vertical line.
 .
 .
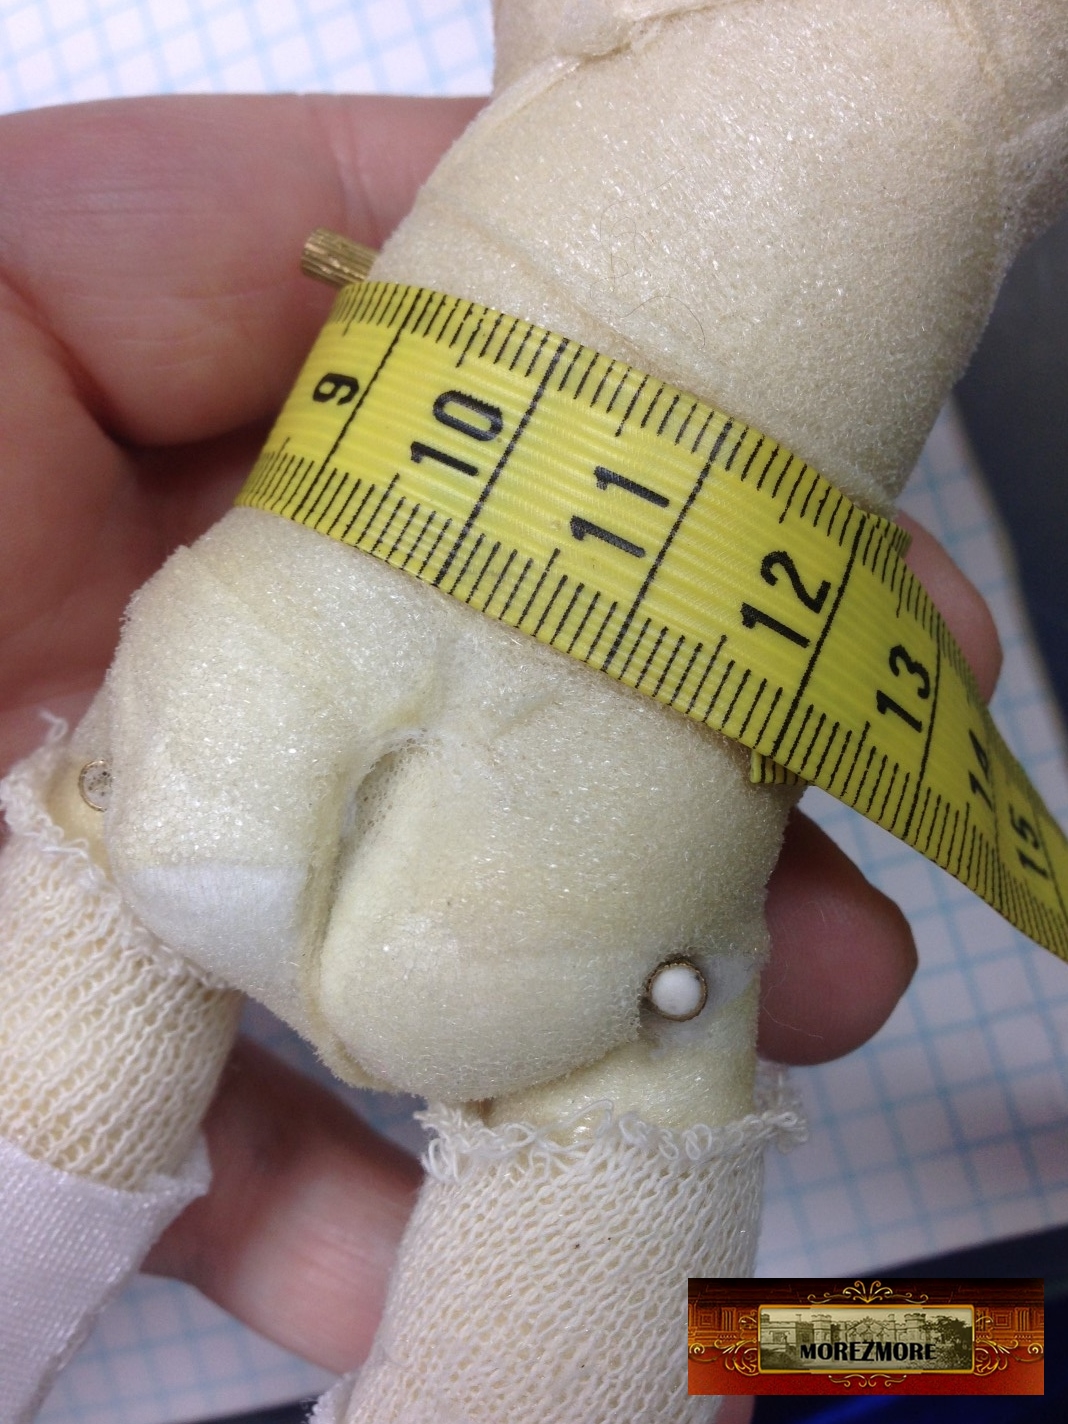
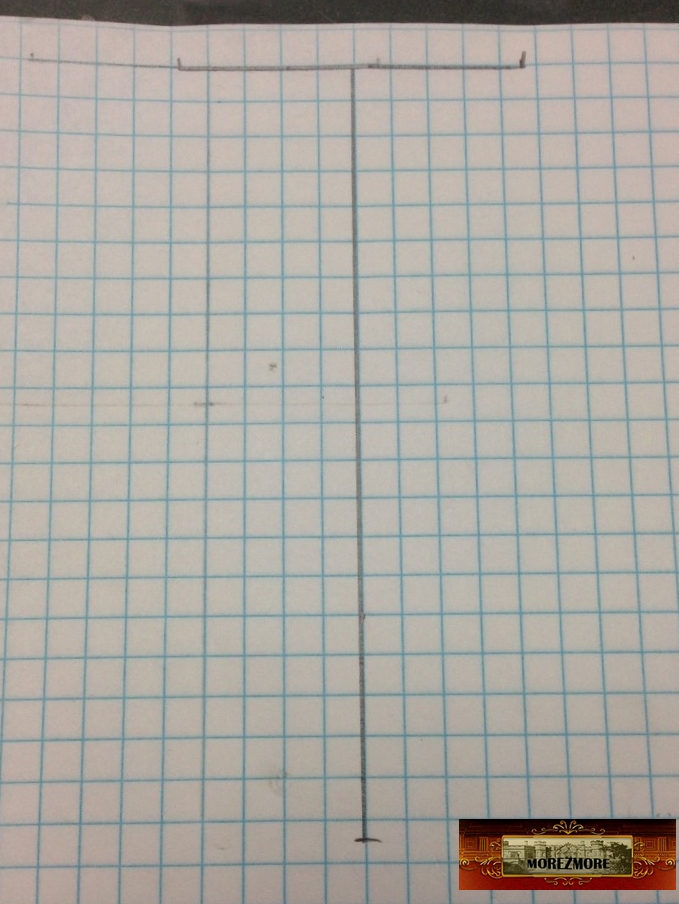
3. Measure the waist circumference.
4. Mark 1/2 of that measurement on the top of the vertical line.
 .
 .
5. Measure the depth of the seat.
6. Mark 1/2 of that measurement on the vertical line.
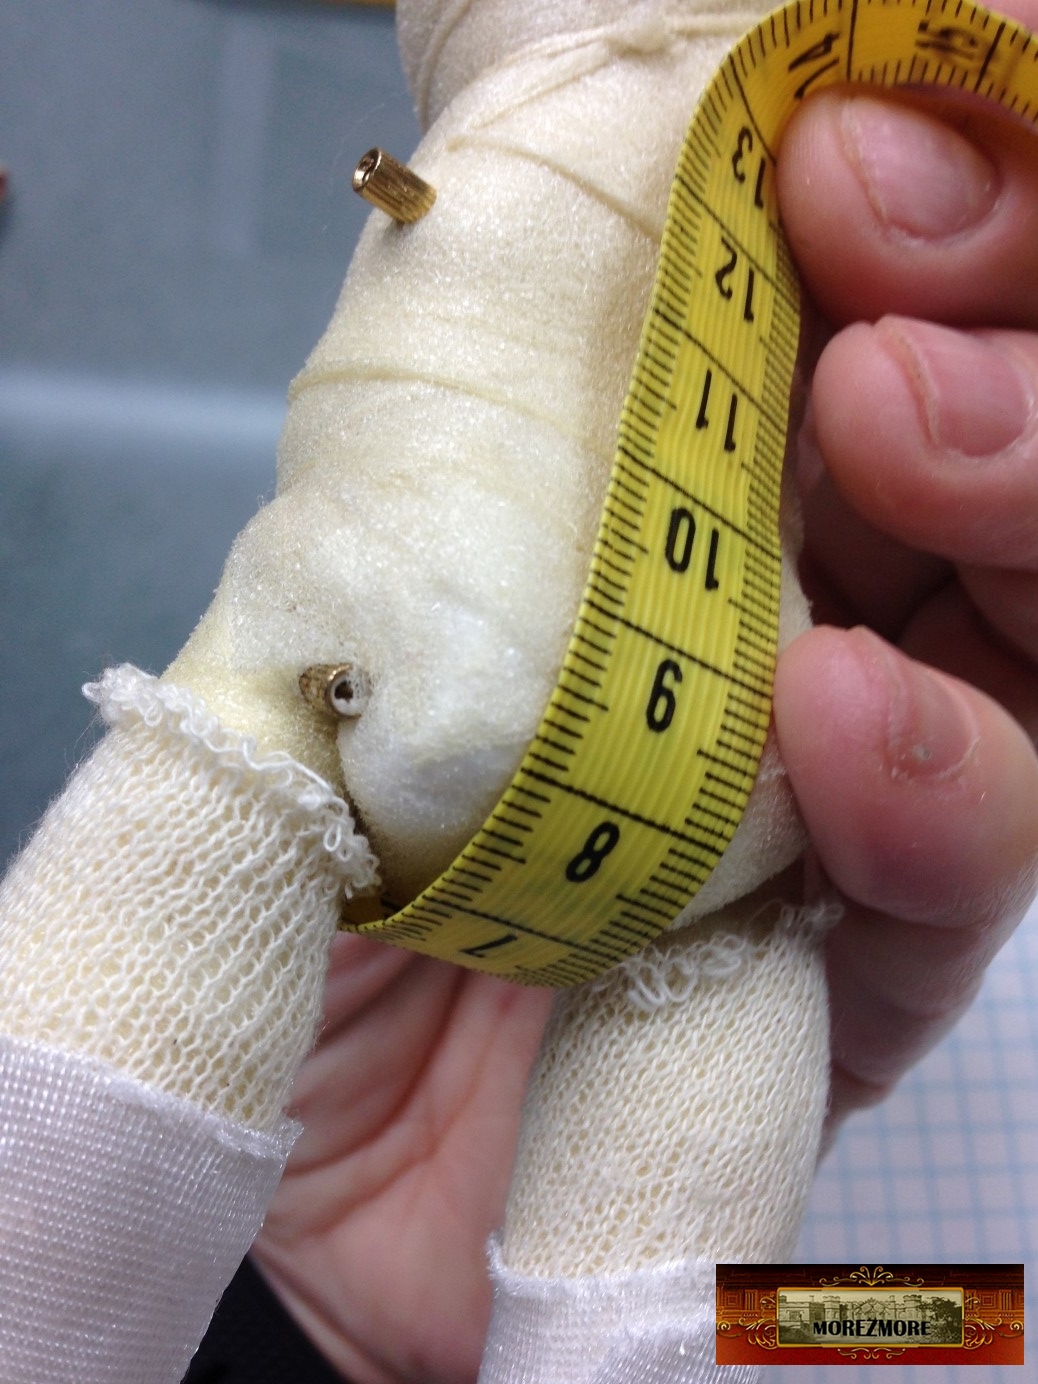 .
 .
7. Measure the circumference of the thigh.
8. Mark that measurement on the mark of the depth of the seat.
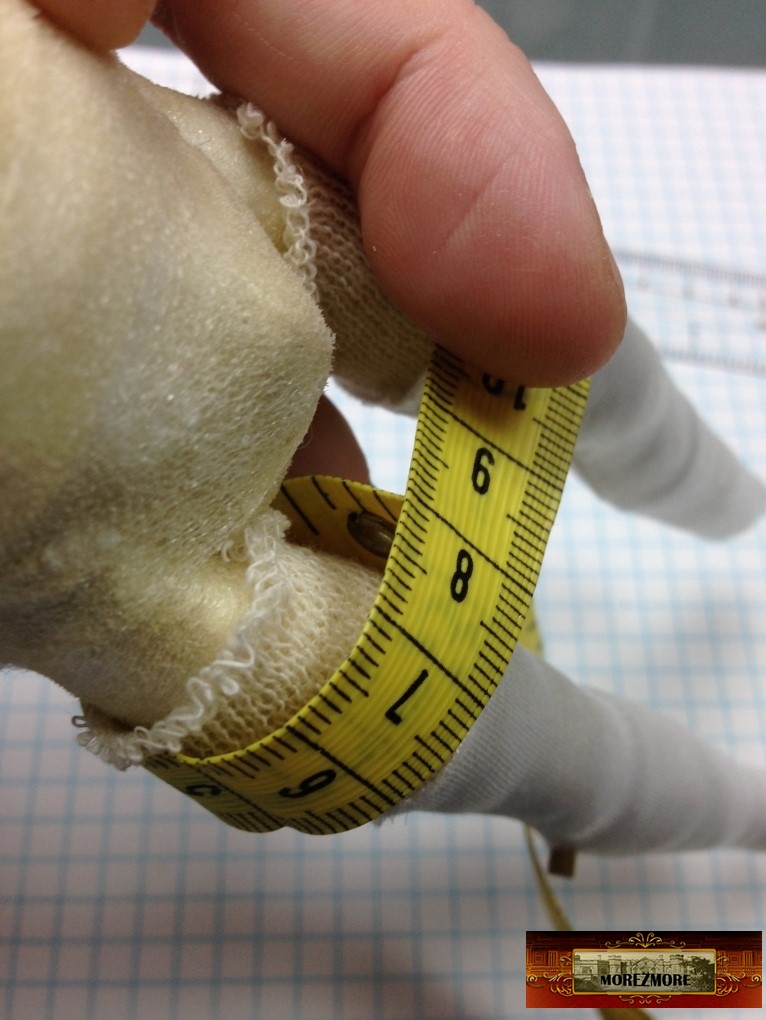 .
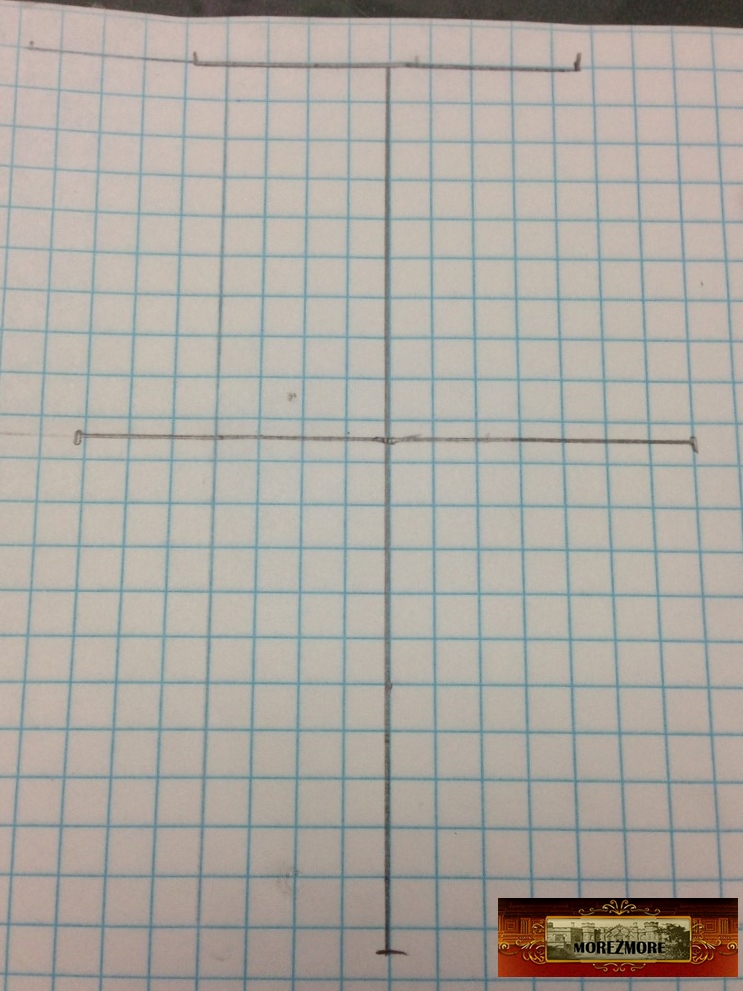 .
9. Measure the circumference of the bottom of the pants.
10. Mark it on the vertical line.
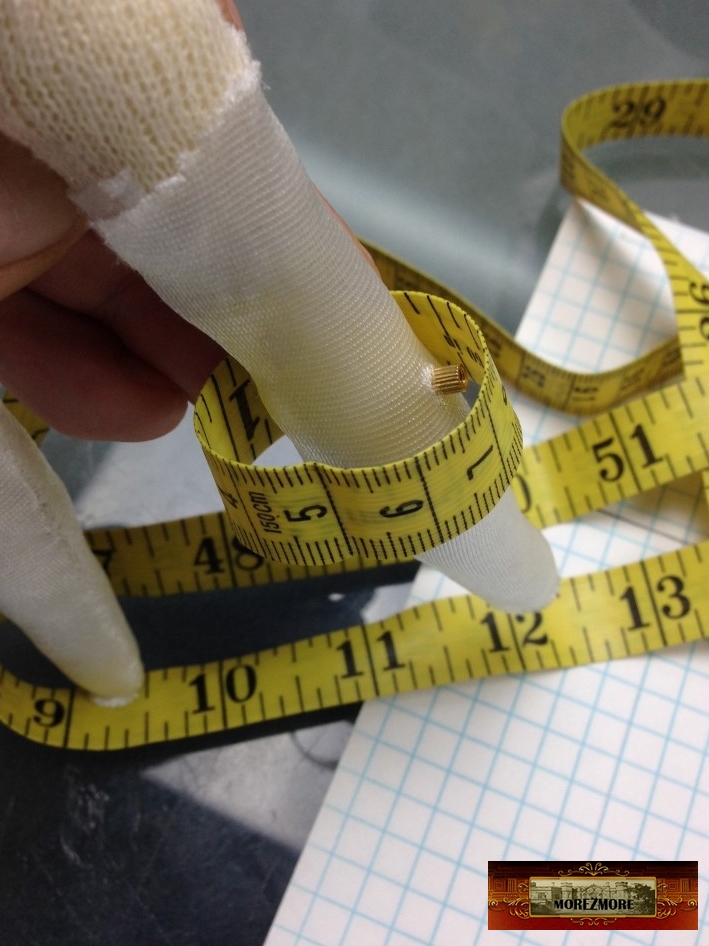 .
 .
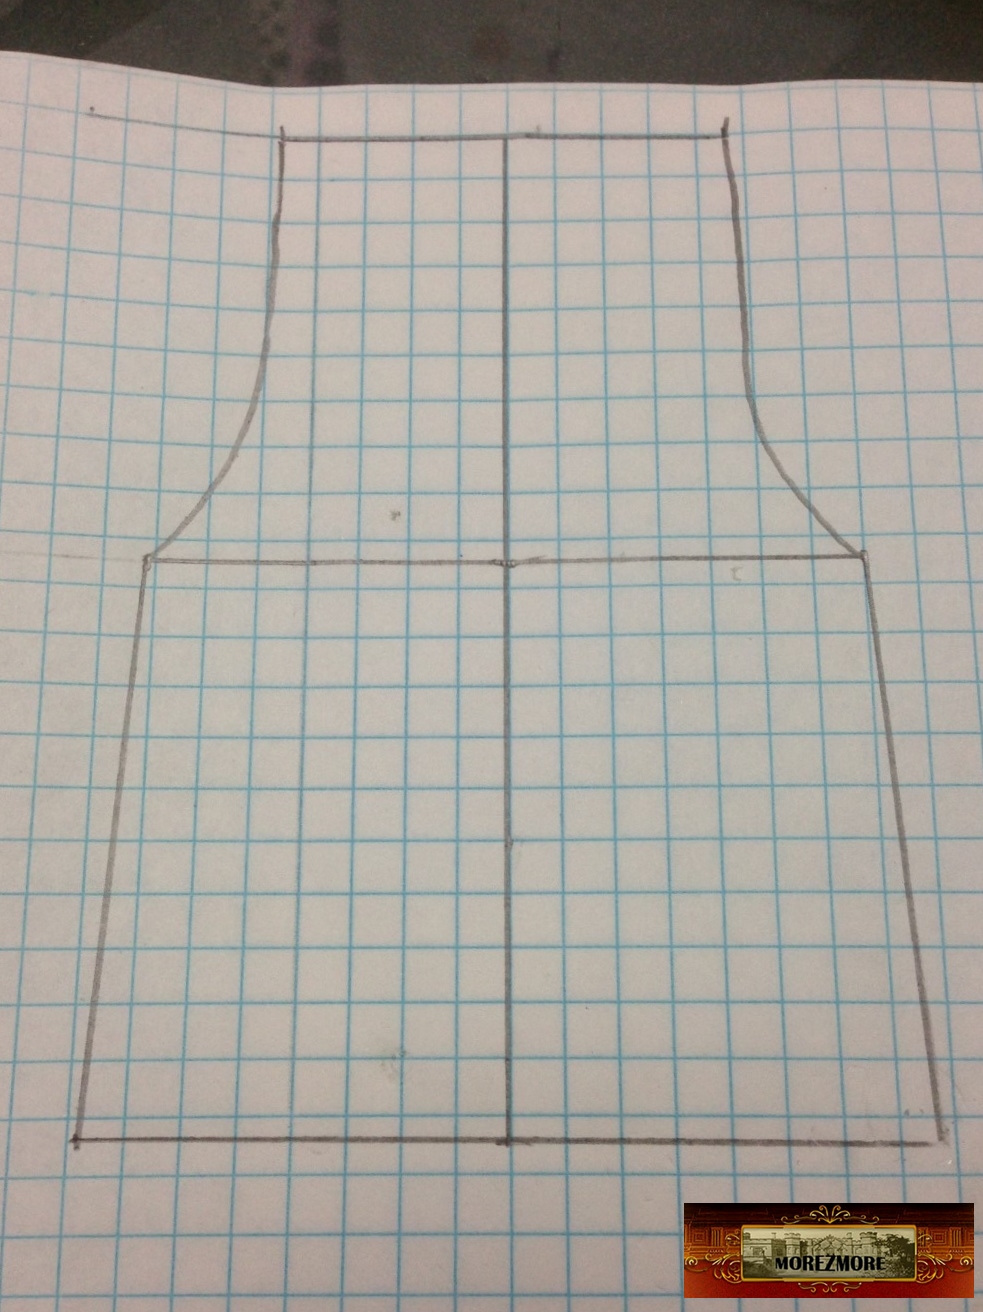
11. Connect the dots.
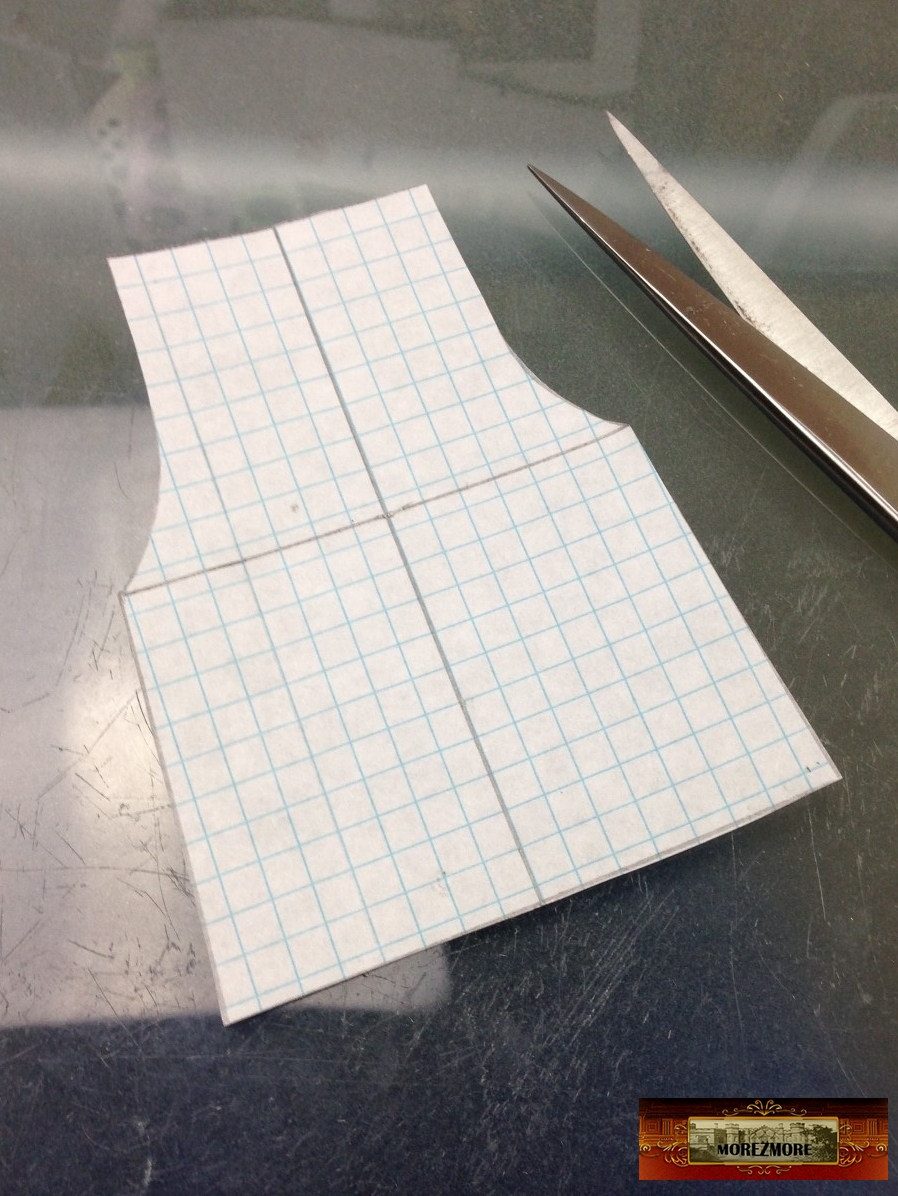
12. Cut the pattern out.
 .
 .
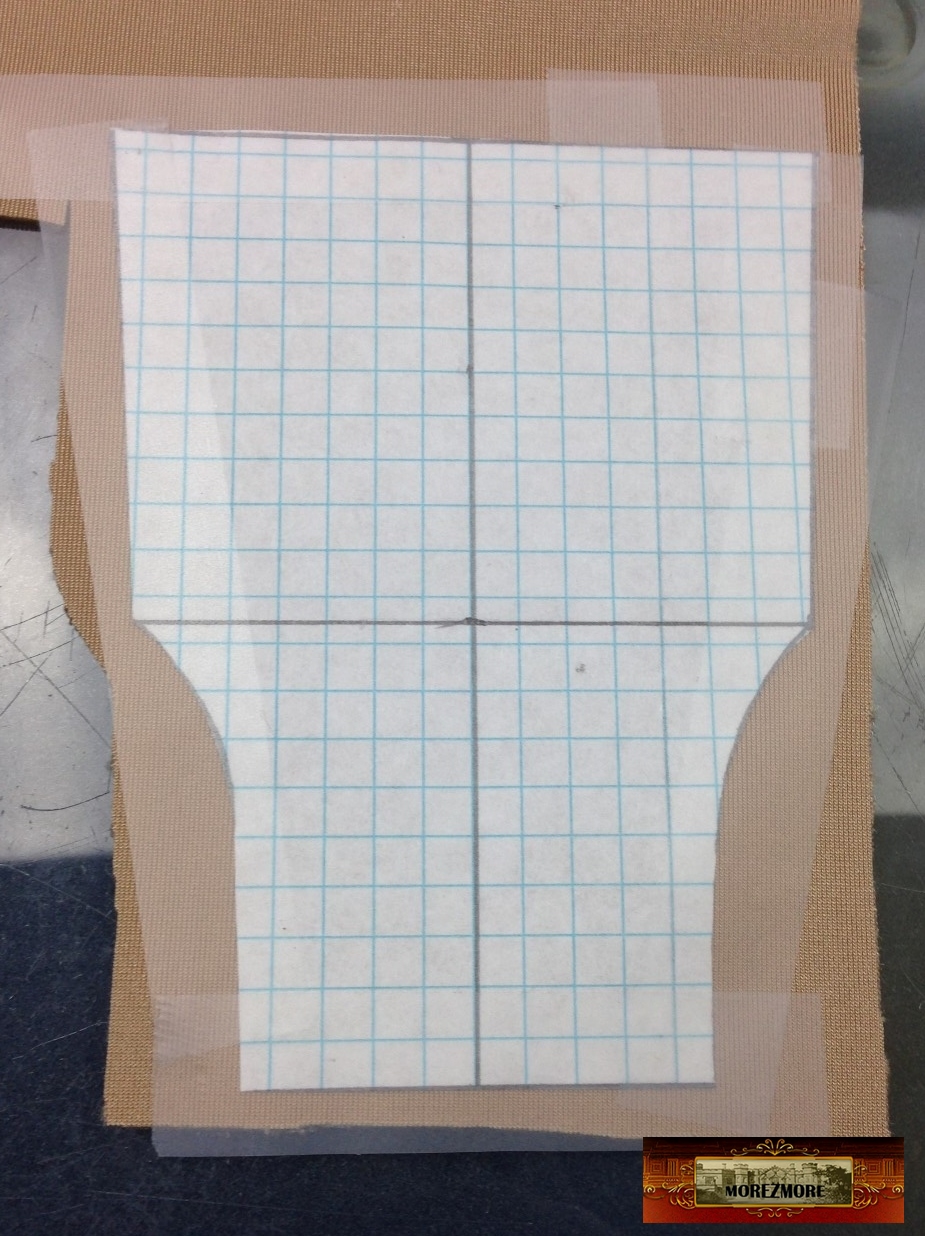
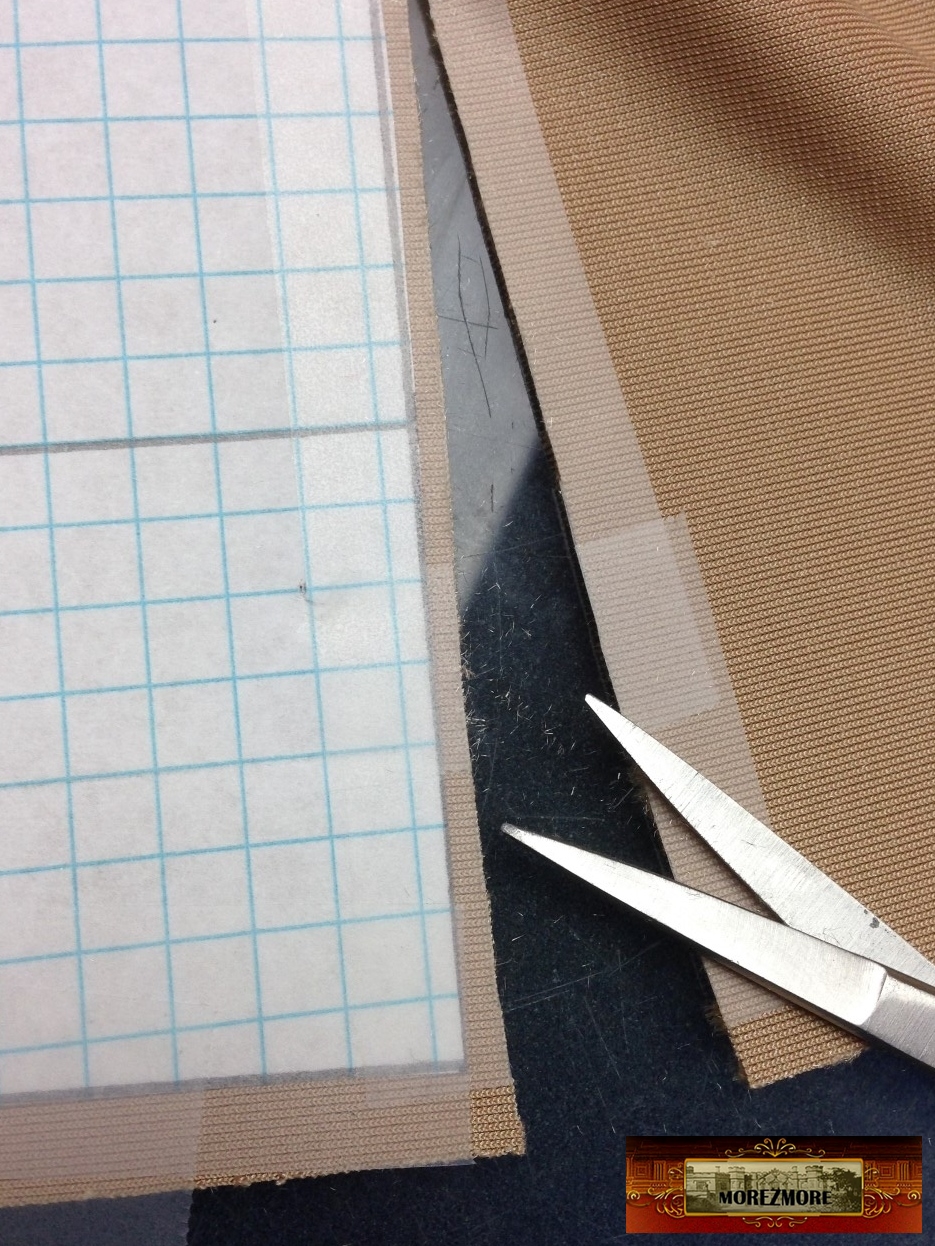
13. Tape the pattern to the fabric with removable scotch tape.
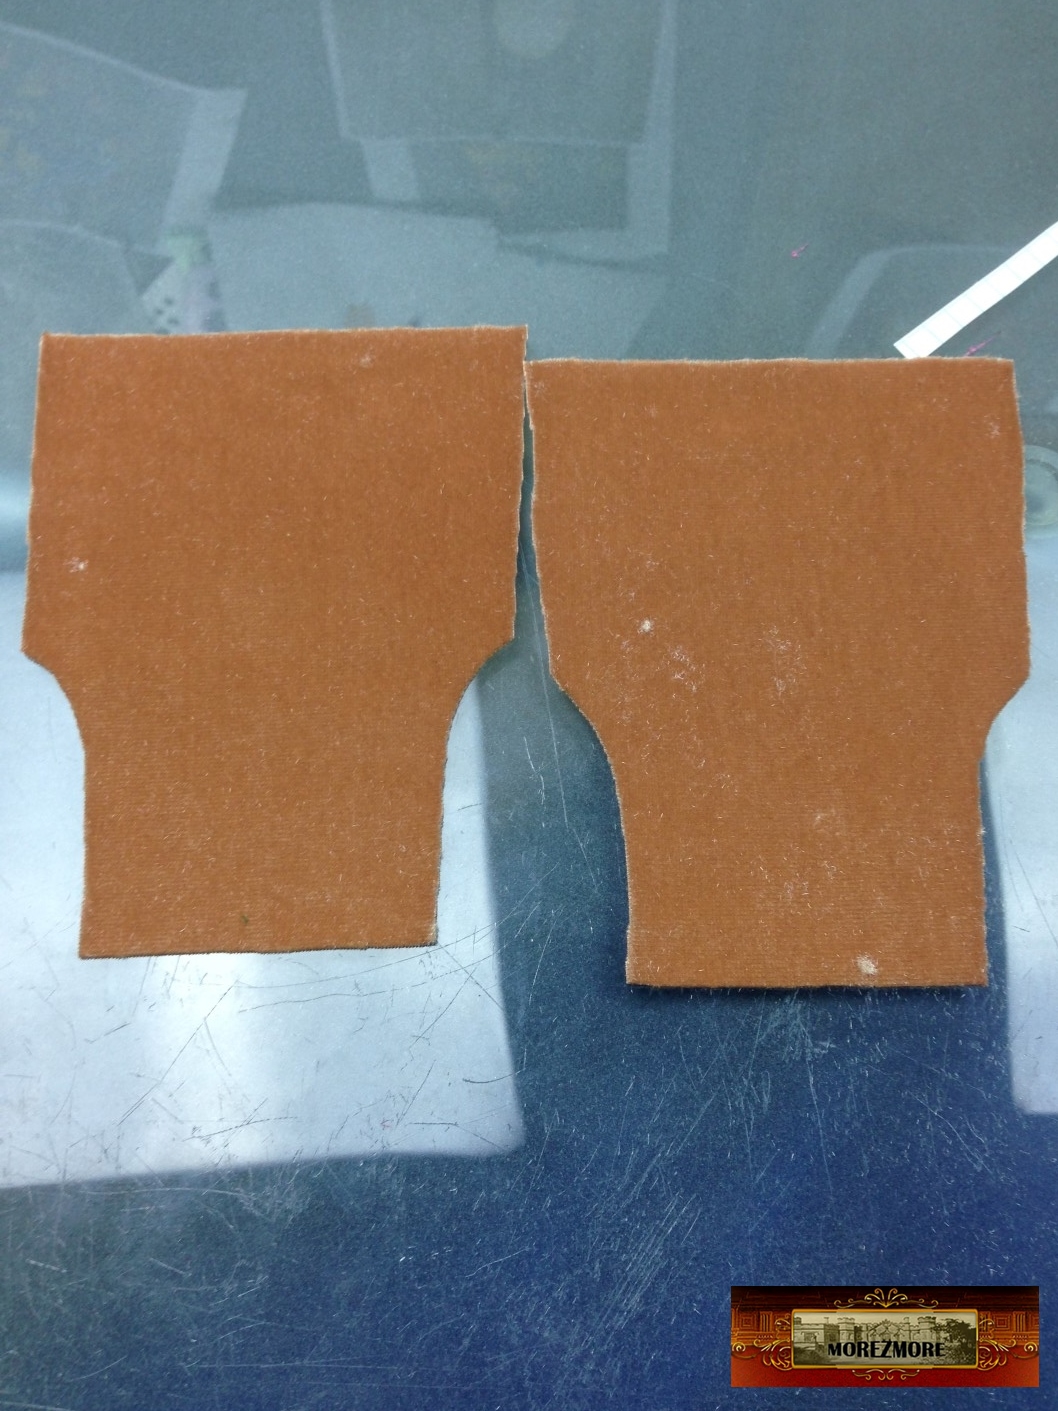
14. Cut it out, leaving 2-3 mm margin for the seams.
 .
 .
 .
 .
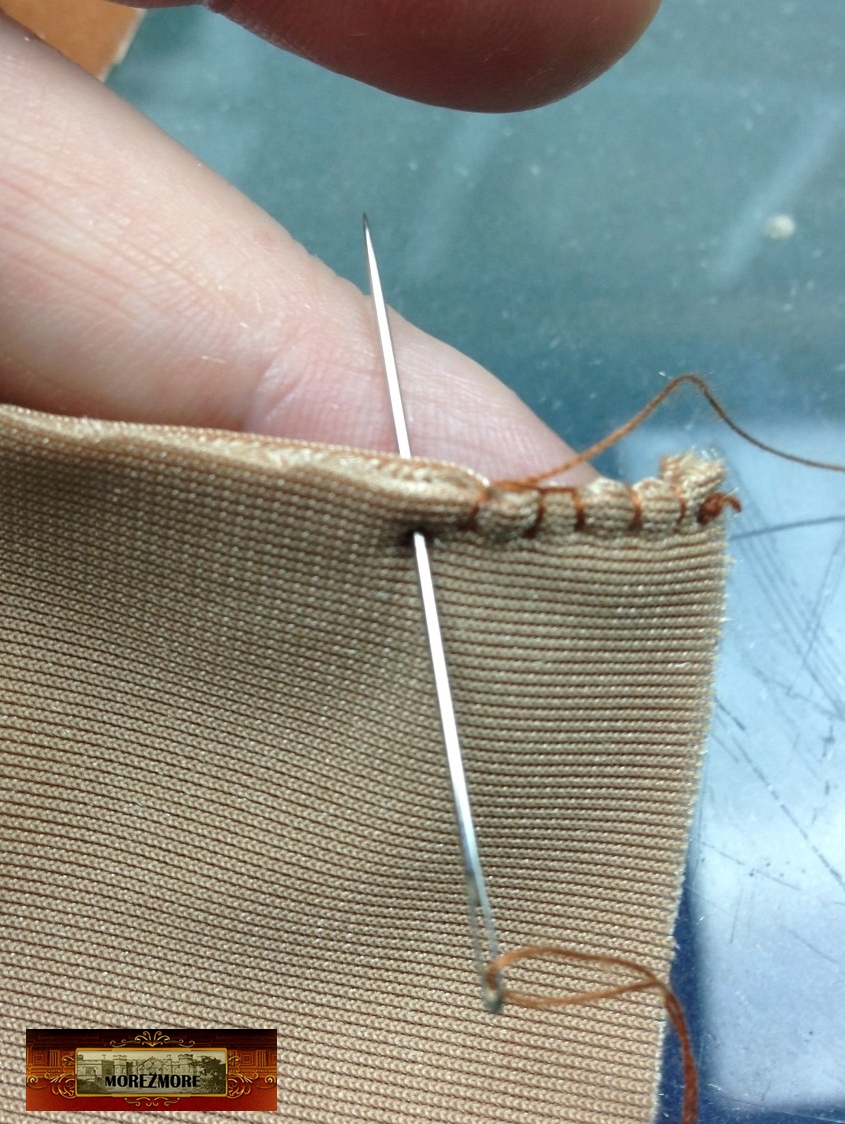
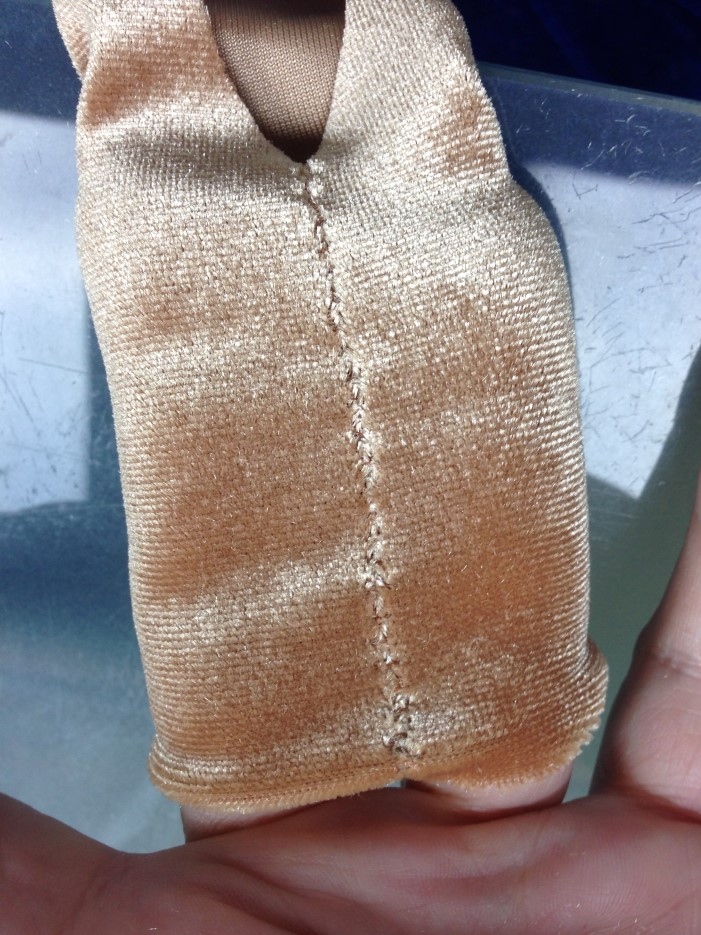
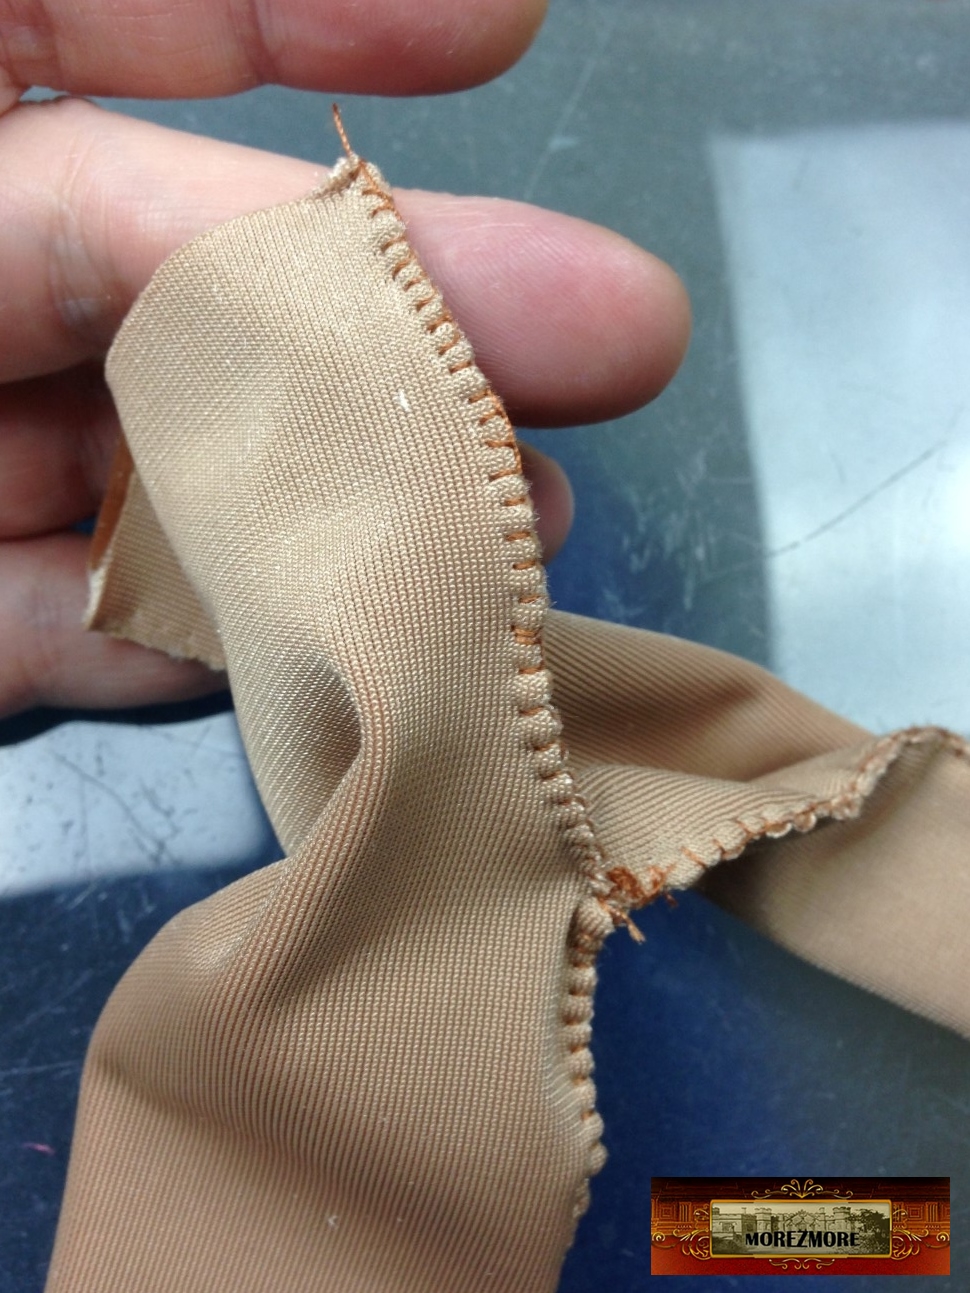
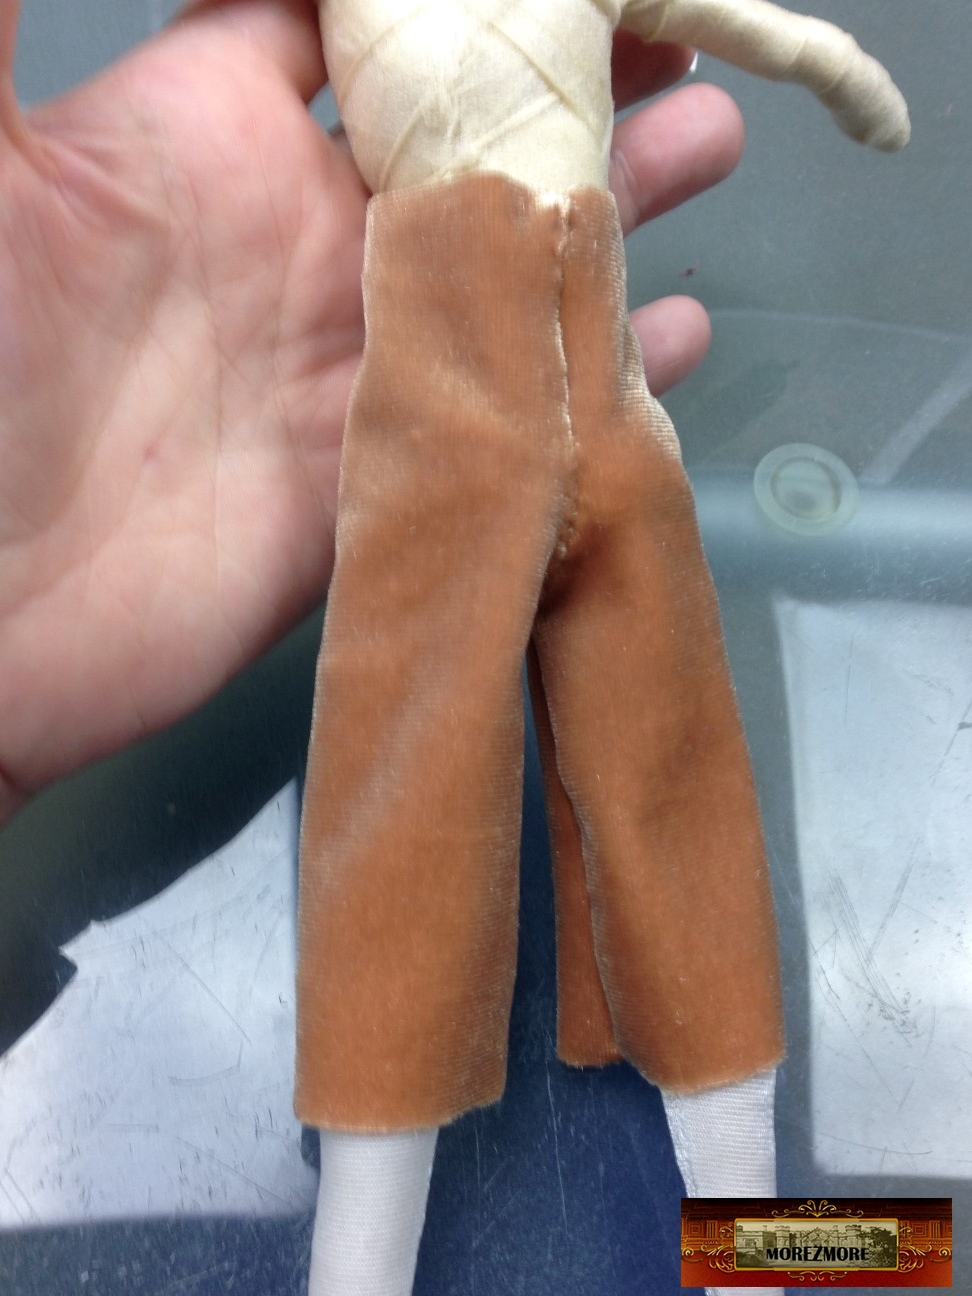
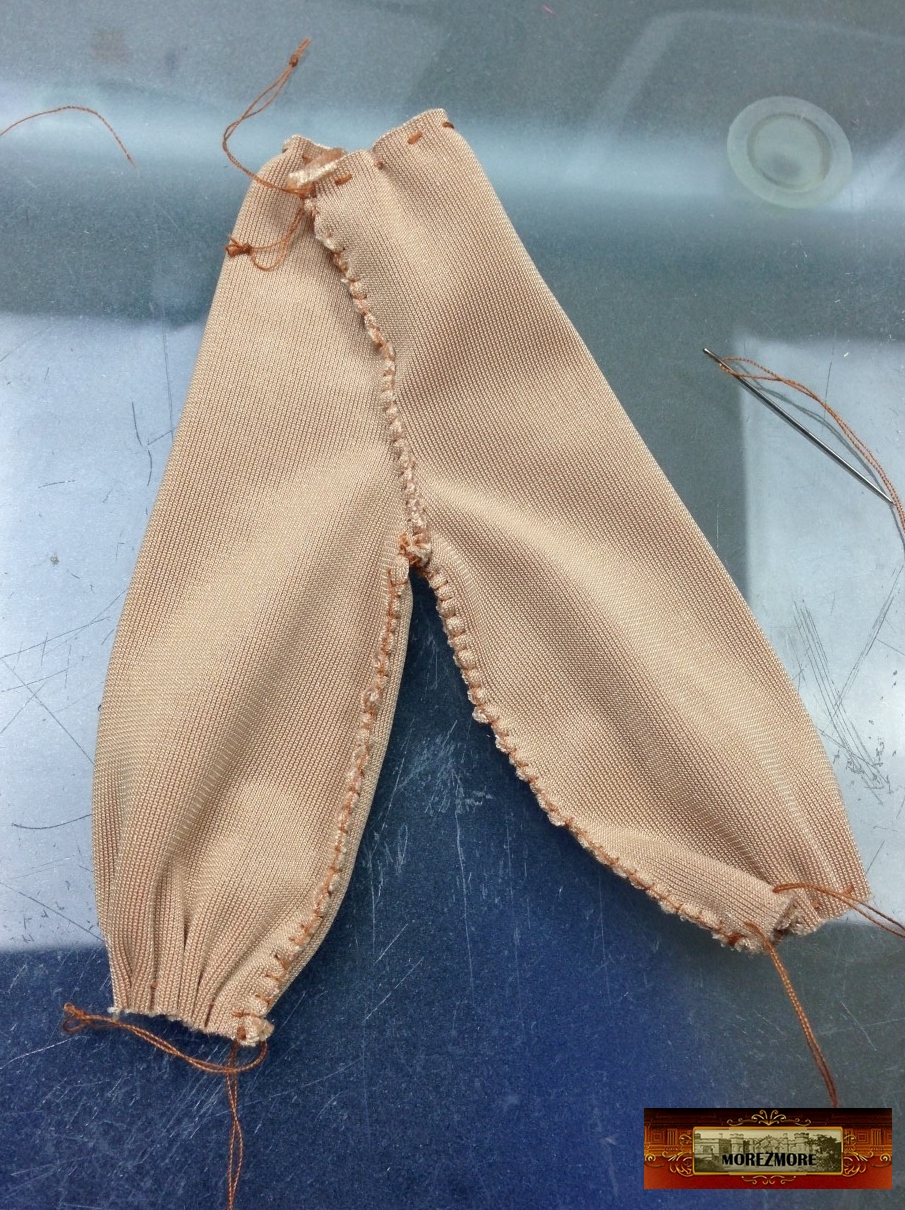
15. Start from the bottom of the pants, fold and sew.
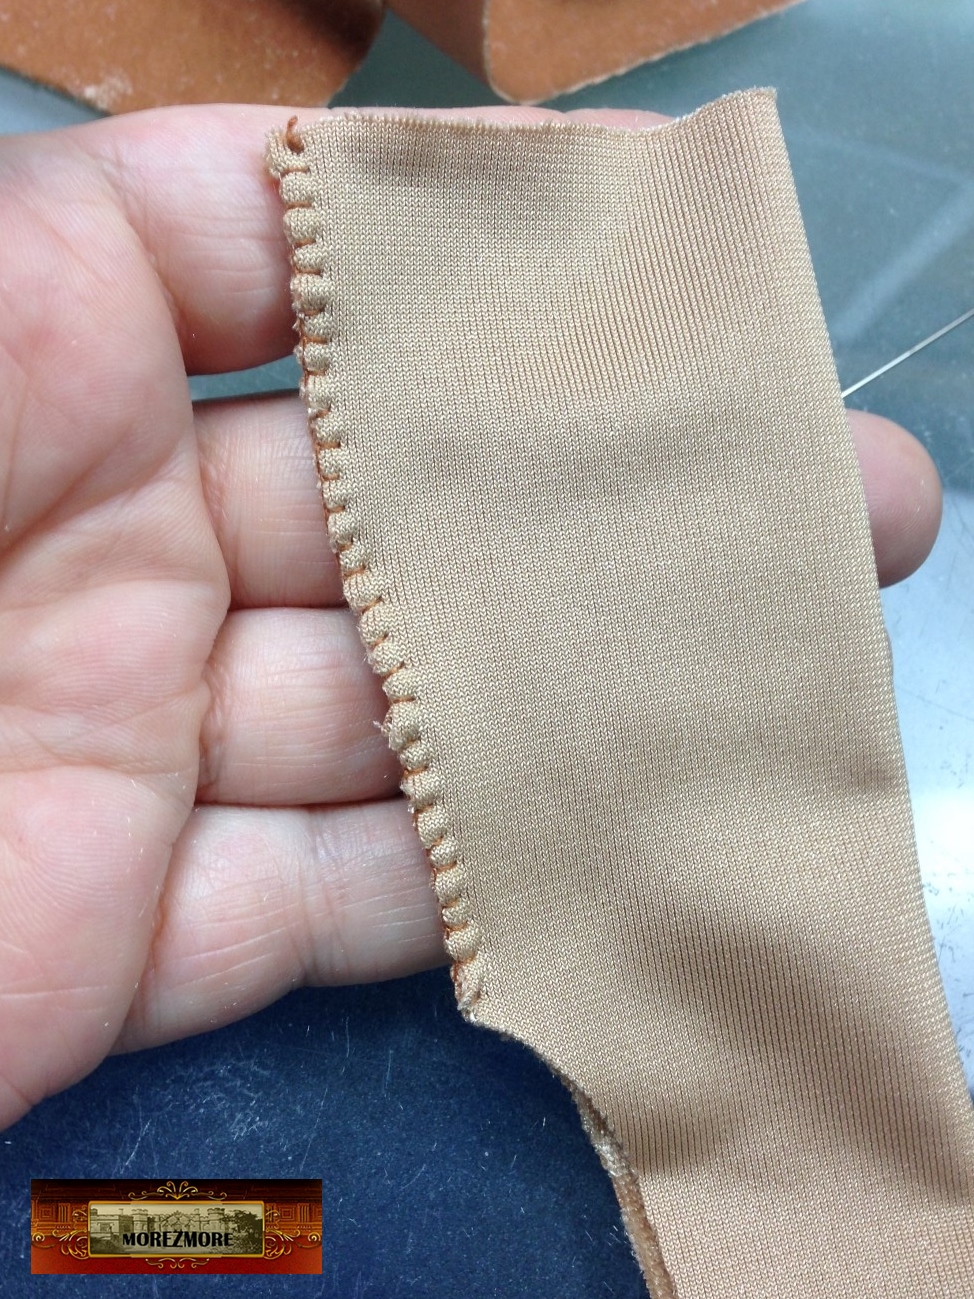
16. Here is a simple stitch which sews 2 parts and finishes the edge at the same time.
 .
 .
 .
 .
 .
 .
 .
 .
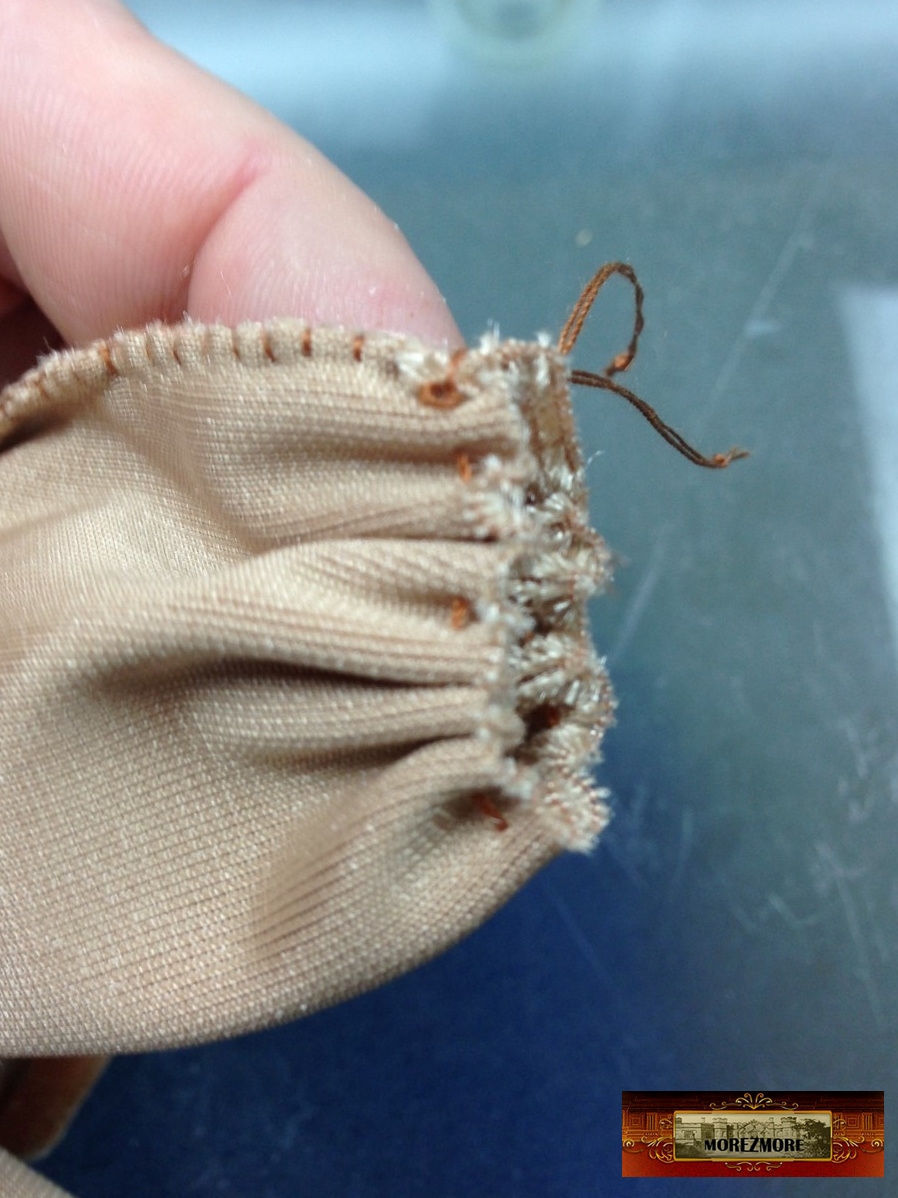
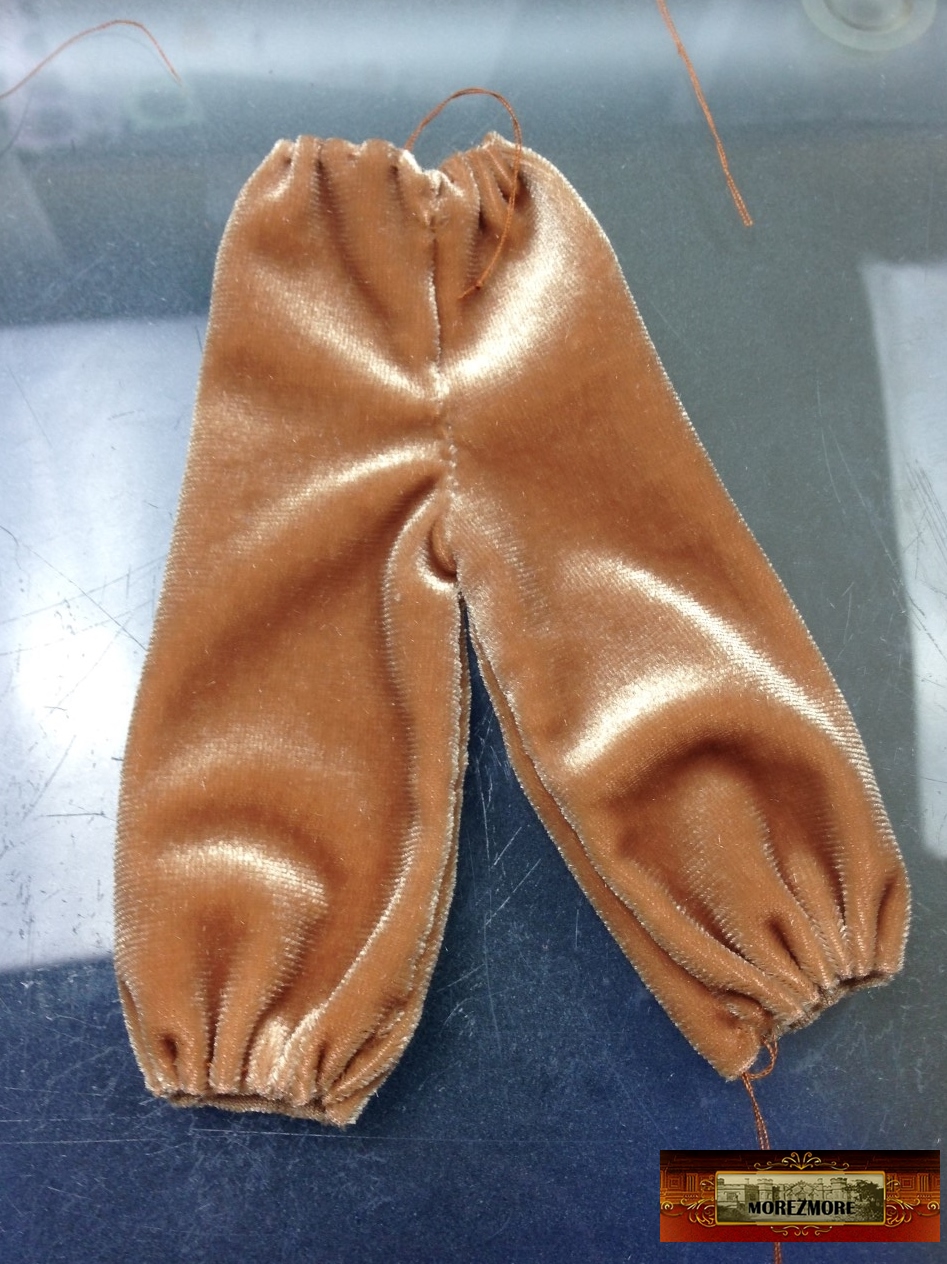
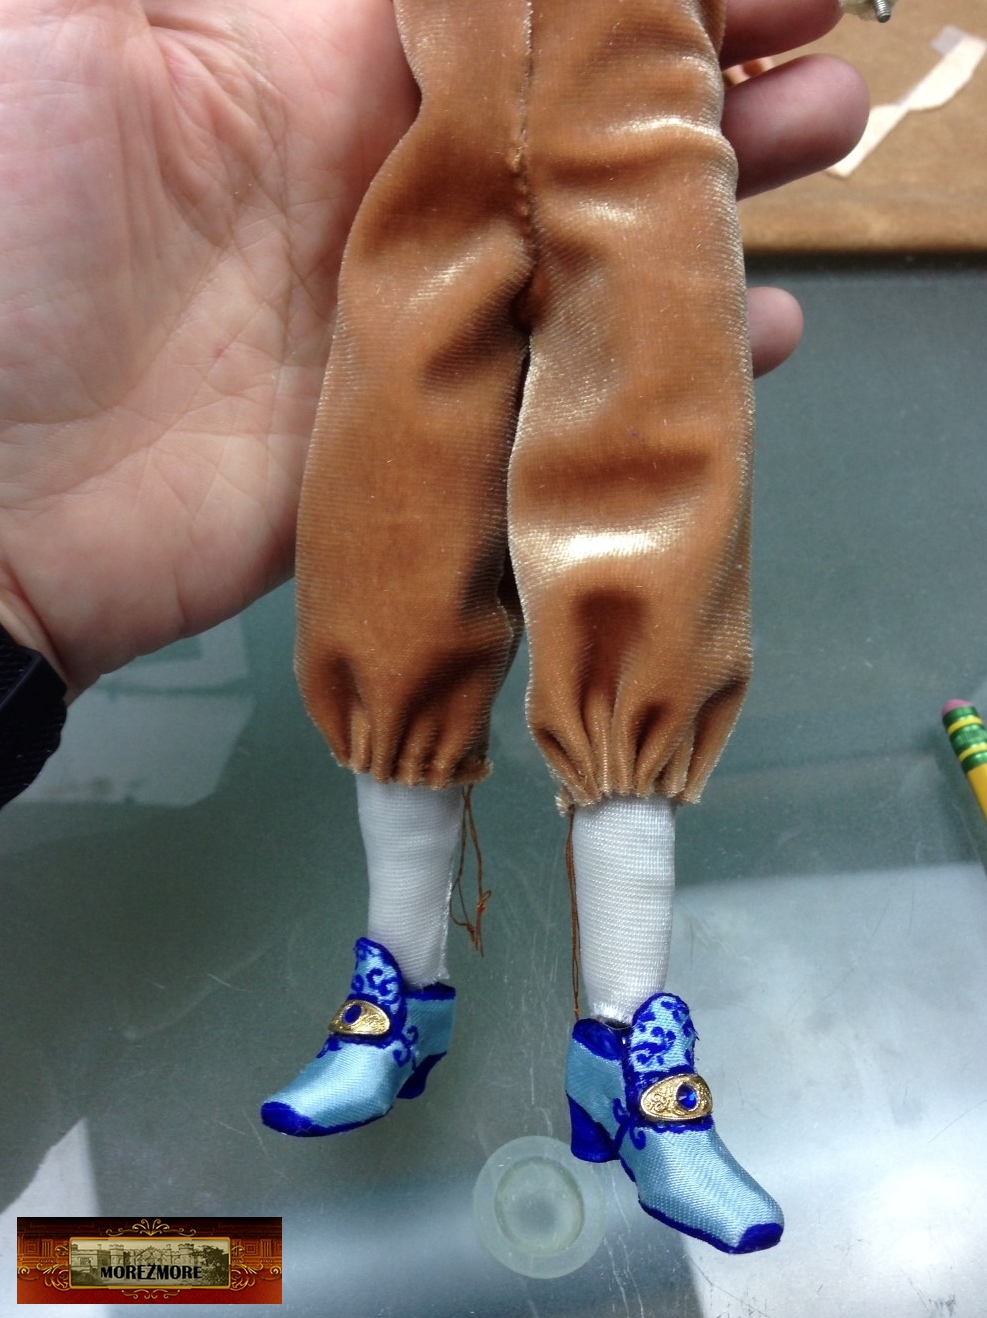
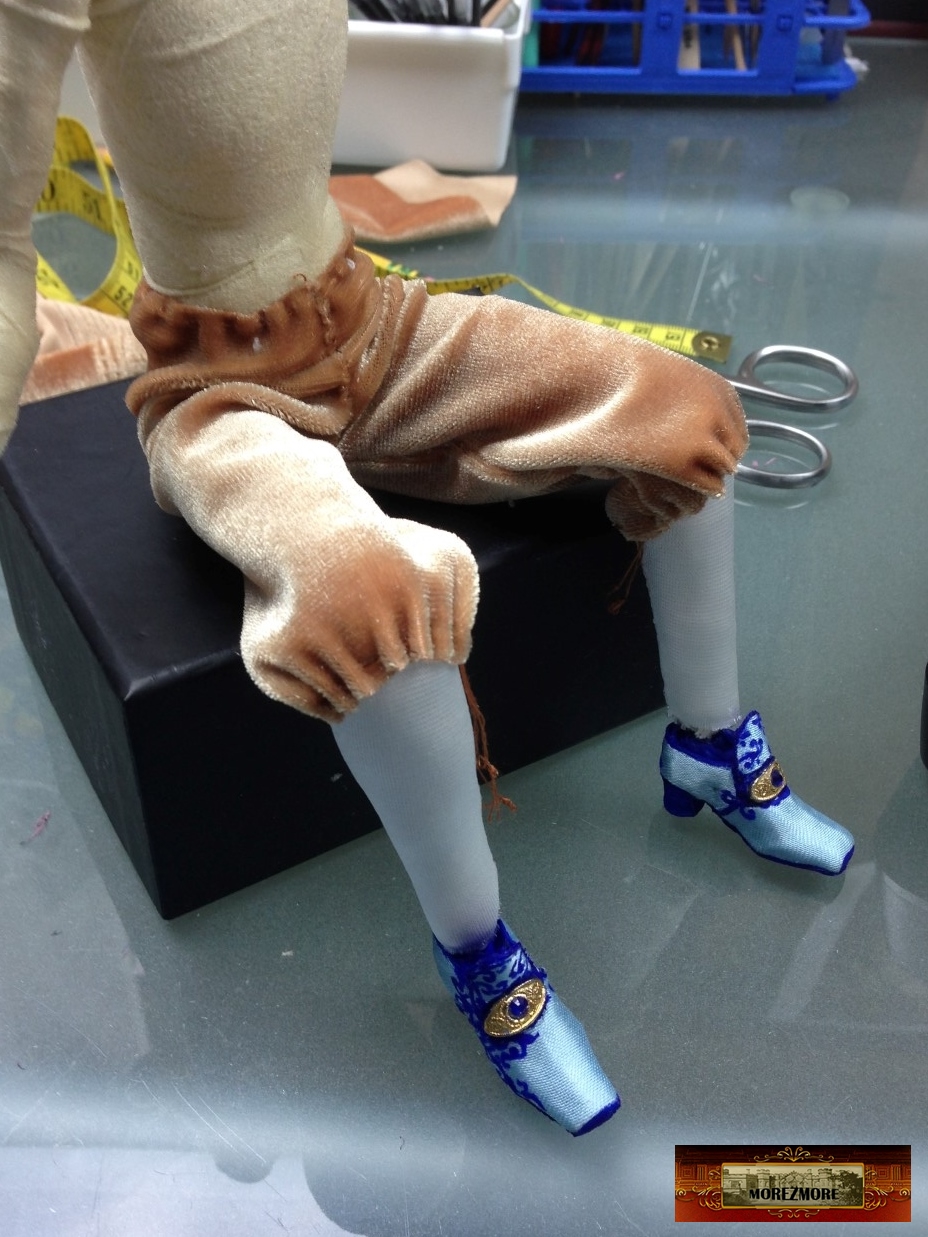
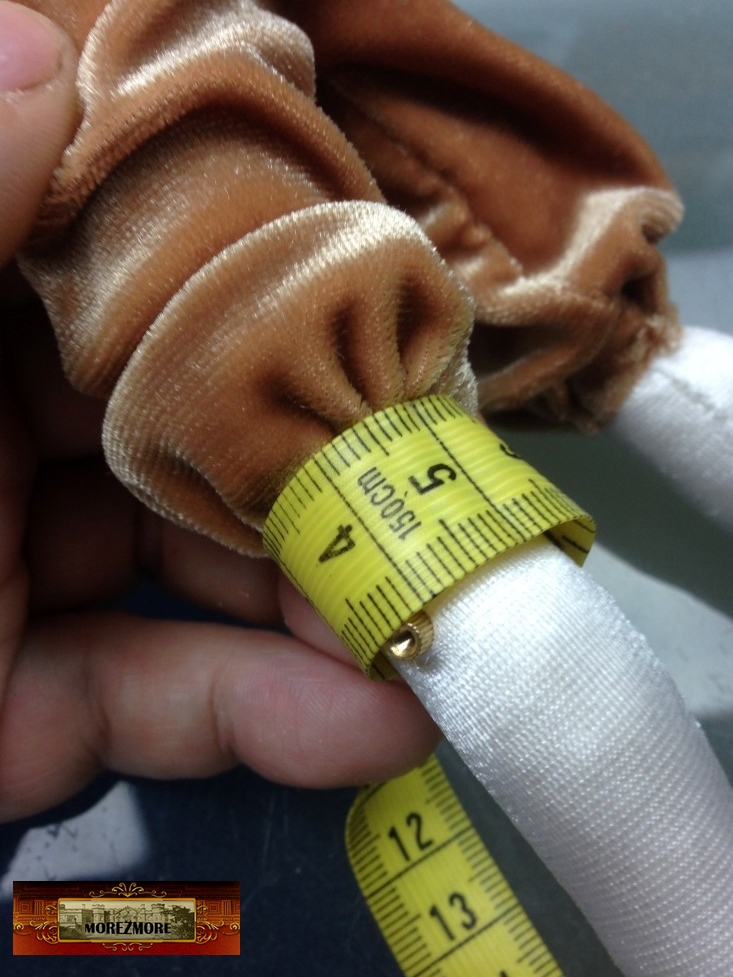
17. Here is the bottom of the pants.
18. Pull the thread, it will gather the fabric.
 .
 .
 .
 .
 .
 .
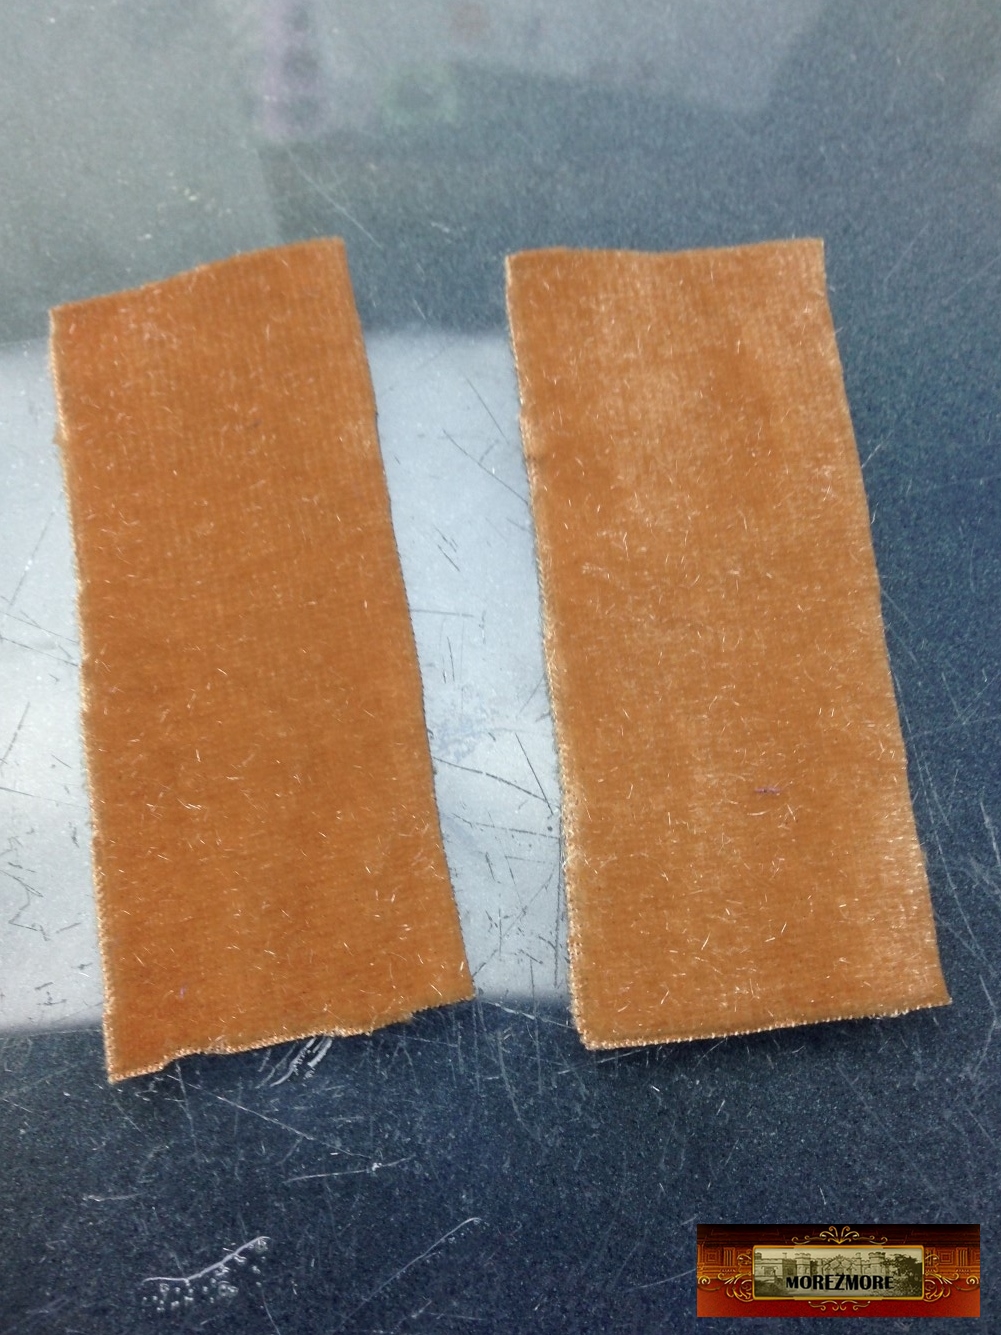
19. Cuffs.
 .
 .
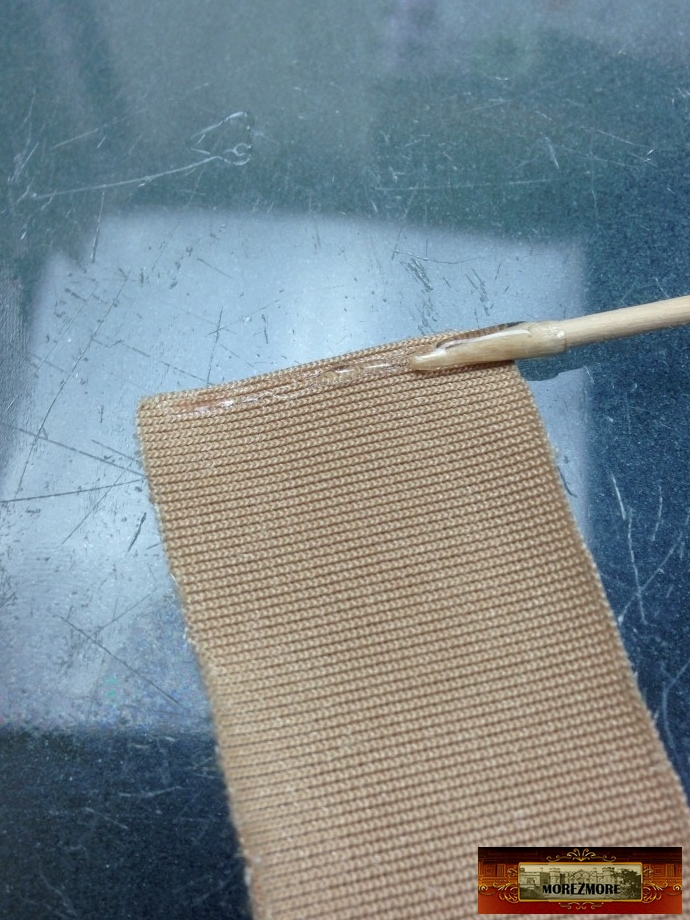
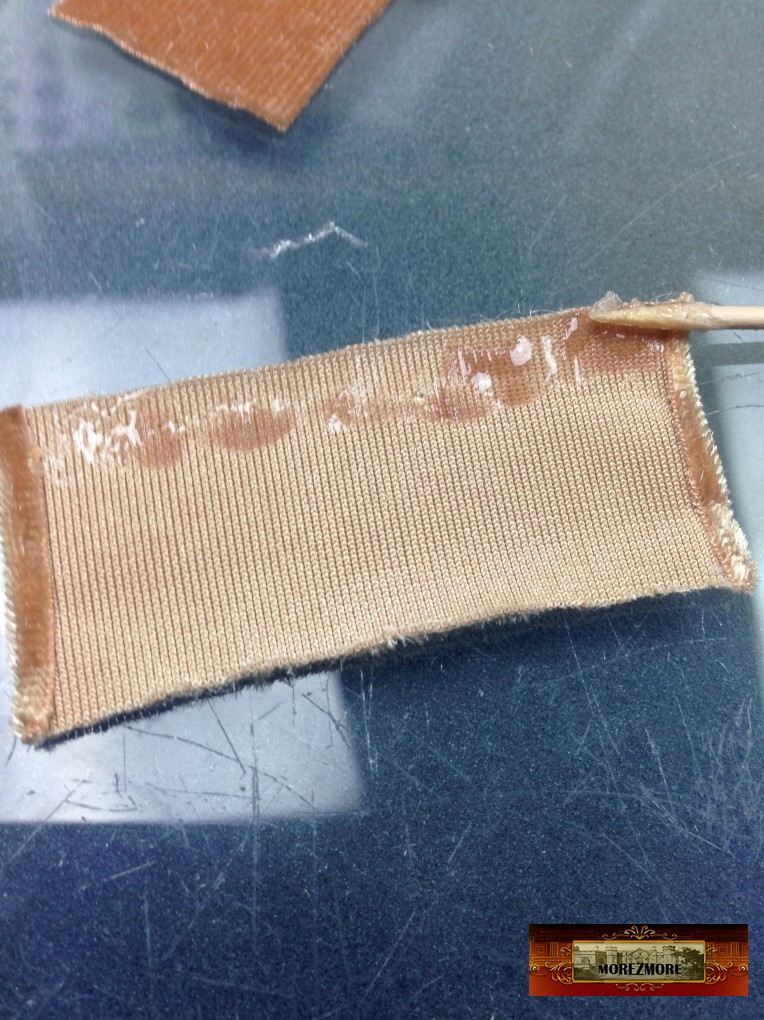
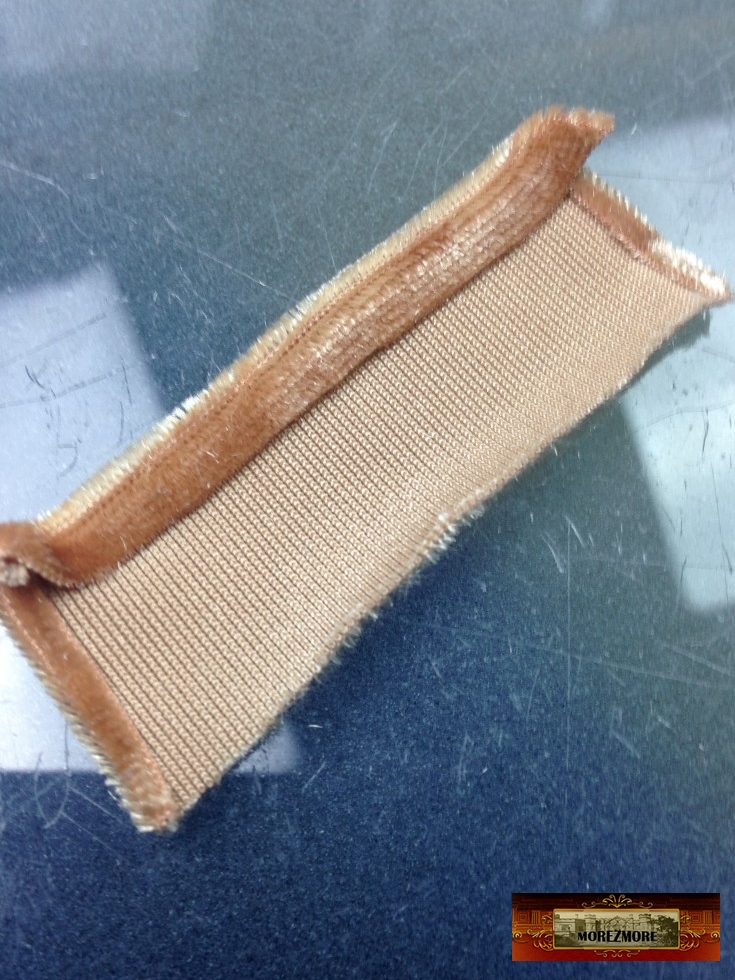
20. The parts for the cuffs are very small, not much room to sew, so I am going to finish the edge with glue.
Fabritac glue, toothpicks, tweezers.
 .
 .
 .
 .
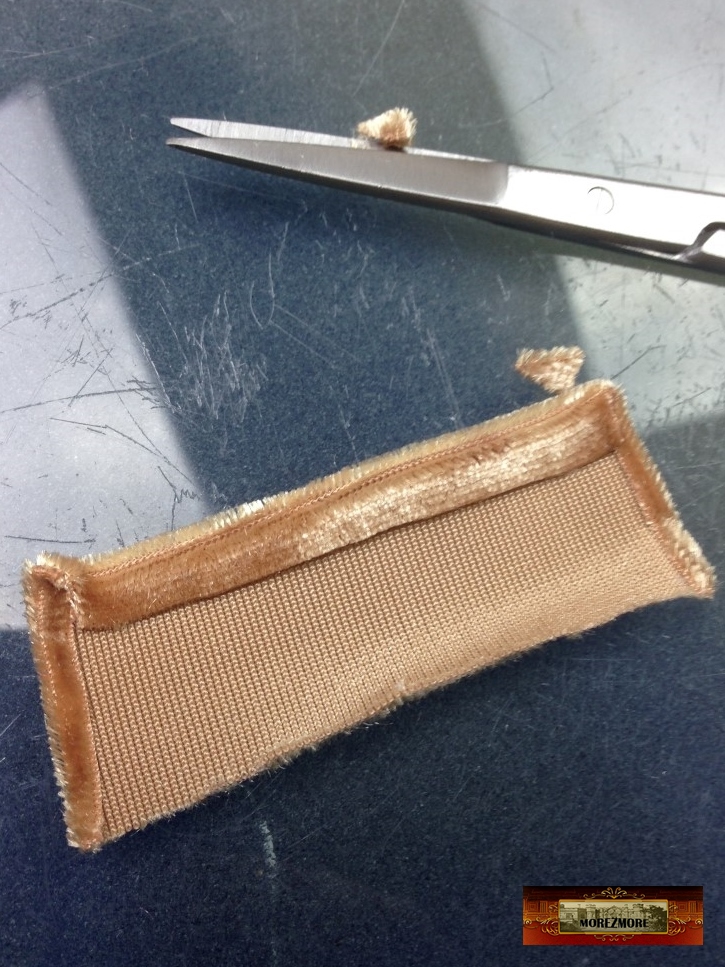
21. Snip the corners if they stick out.
 .
 .
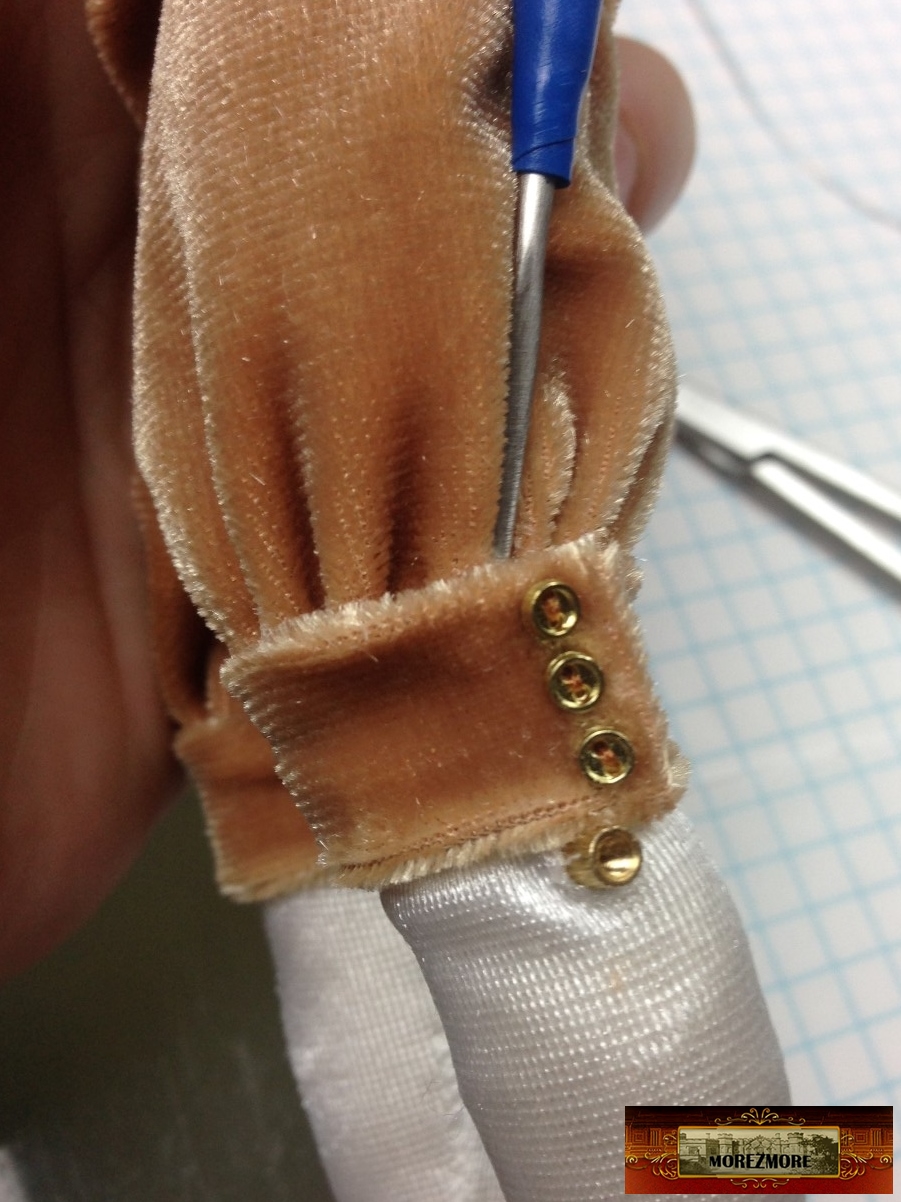
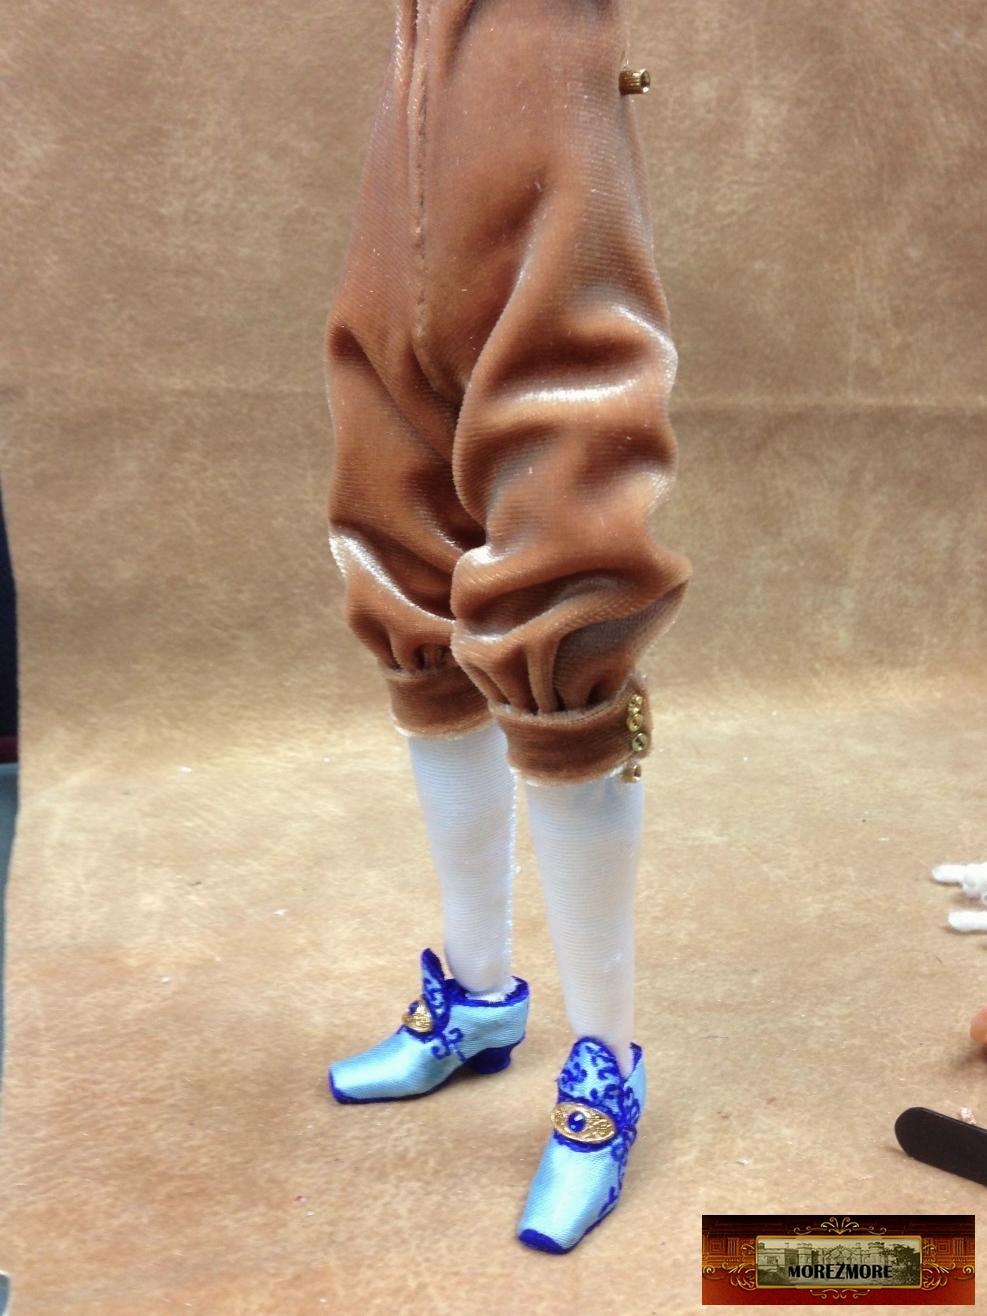
22. Decorated with miniature gold buttons.
 .
 .
23. A little bit of Fabritac glue and pull the cuff up to attach.
 .
 .
This is a very useful thin spatula to tuck the fabric and traces of glue, thread and everything that sticks out under the folds.
Clean up for Fabritac – acetone (pure, hardware-store type, not the nail-polish remover type).
 .
 .
 .
 .
 .
 .
 .
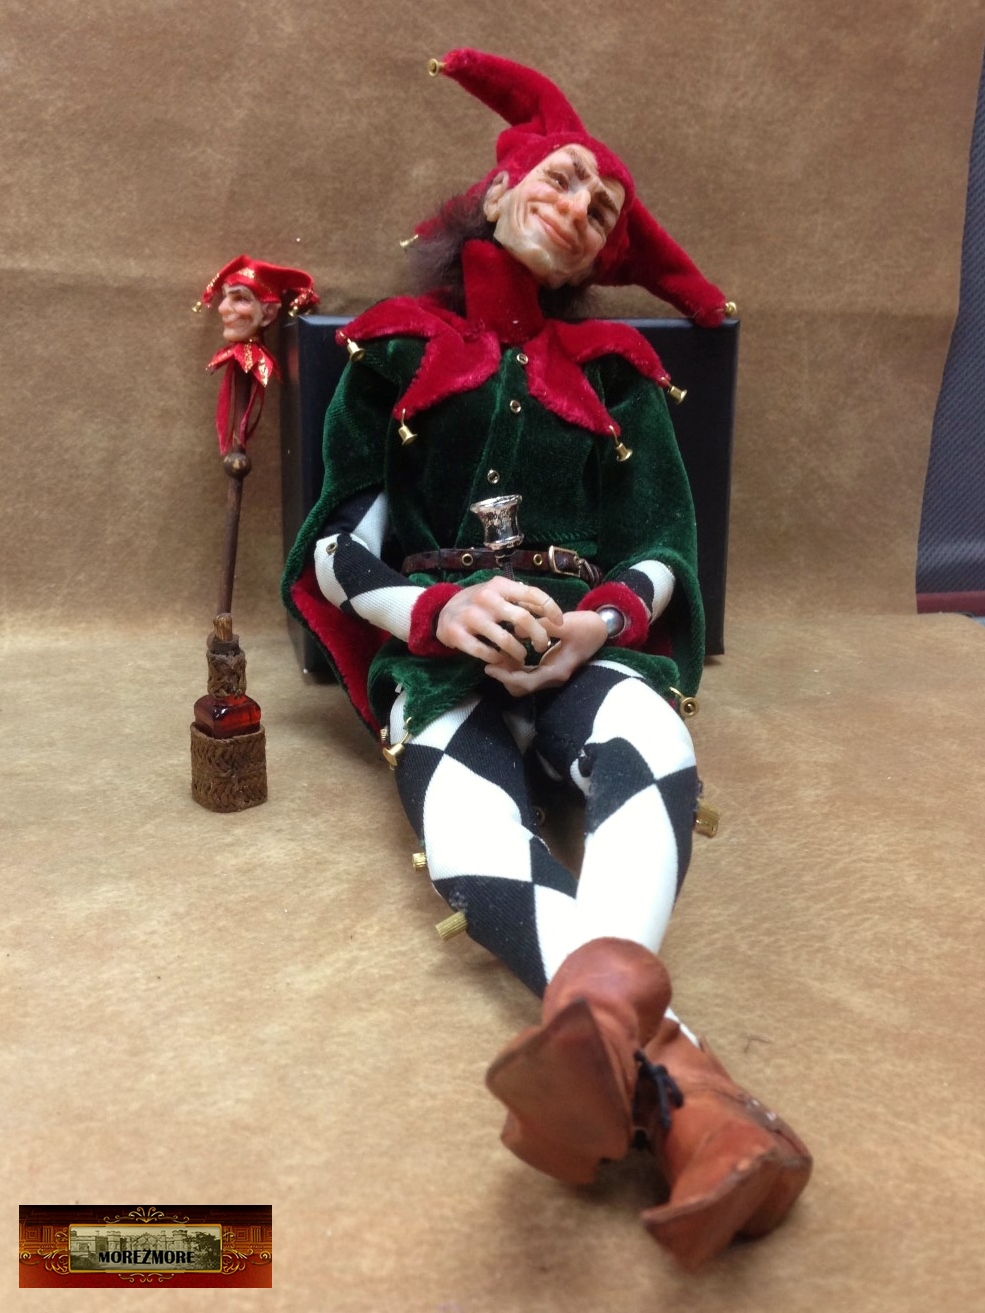 .
King’s Waistcoat.
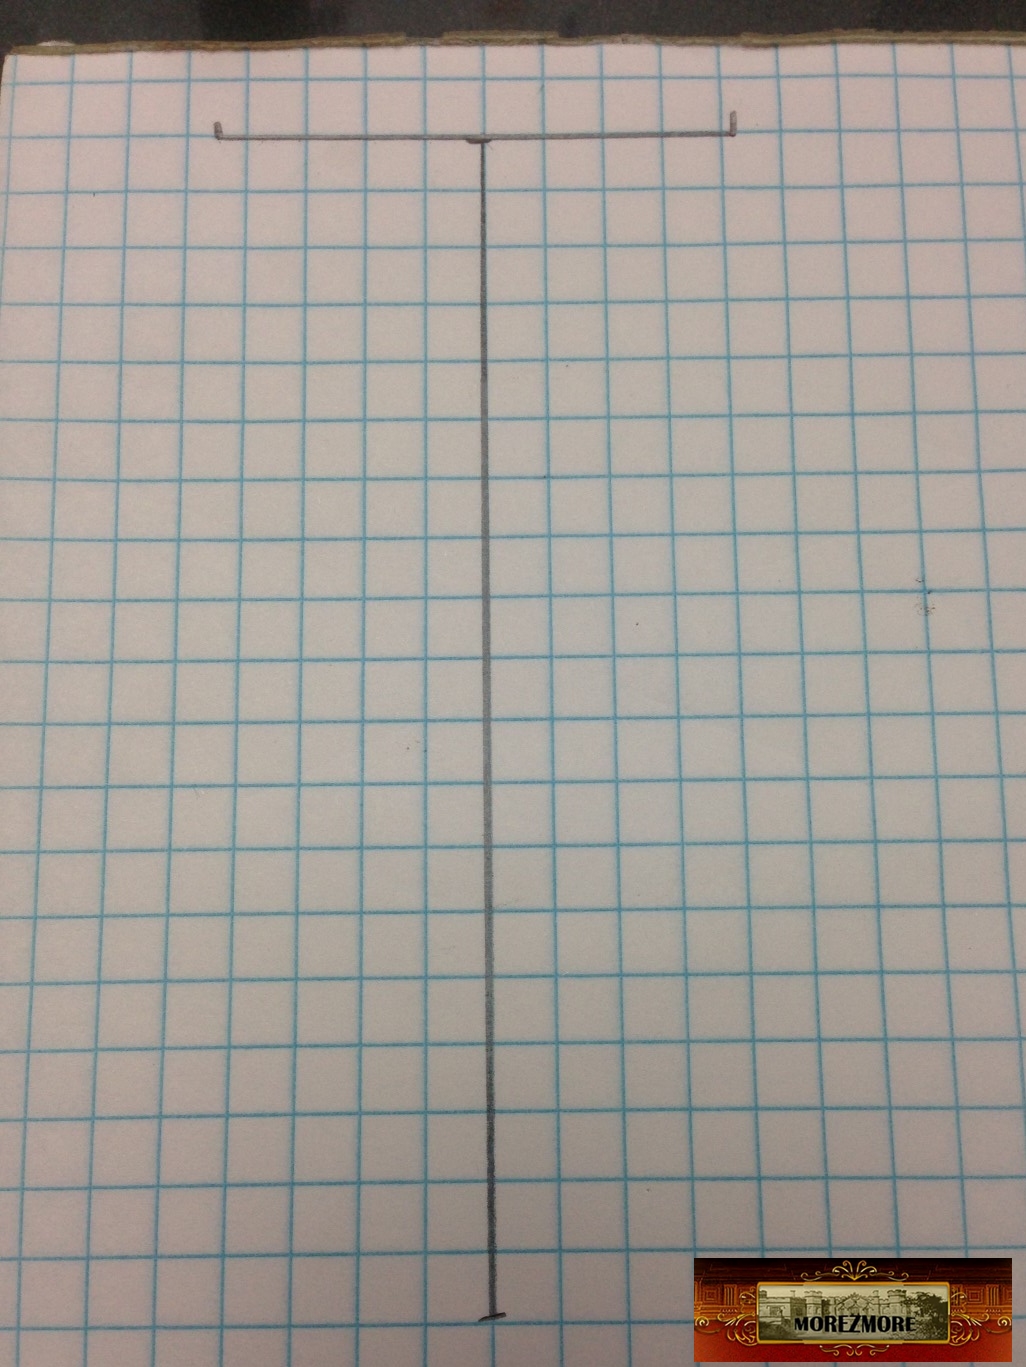
1. With a measuring tape, take the measurement from the shoulder to the bottom of the waistcoat.
2. Draw a vertical line.
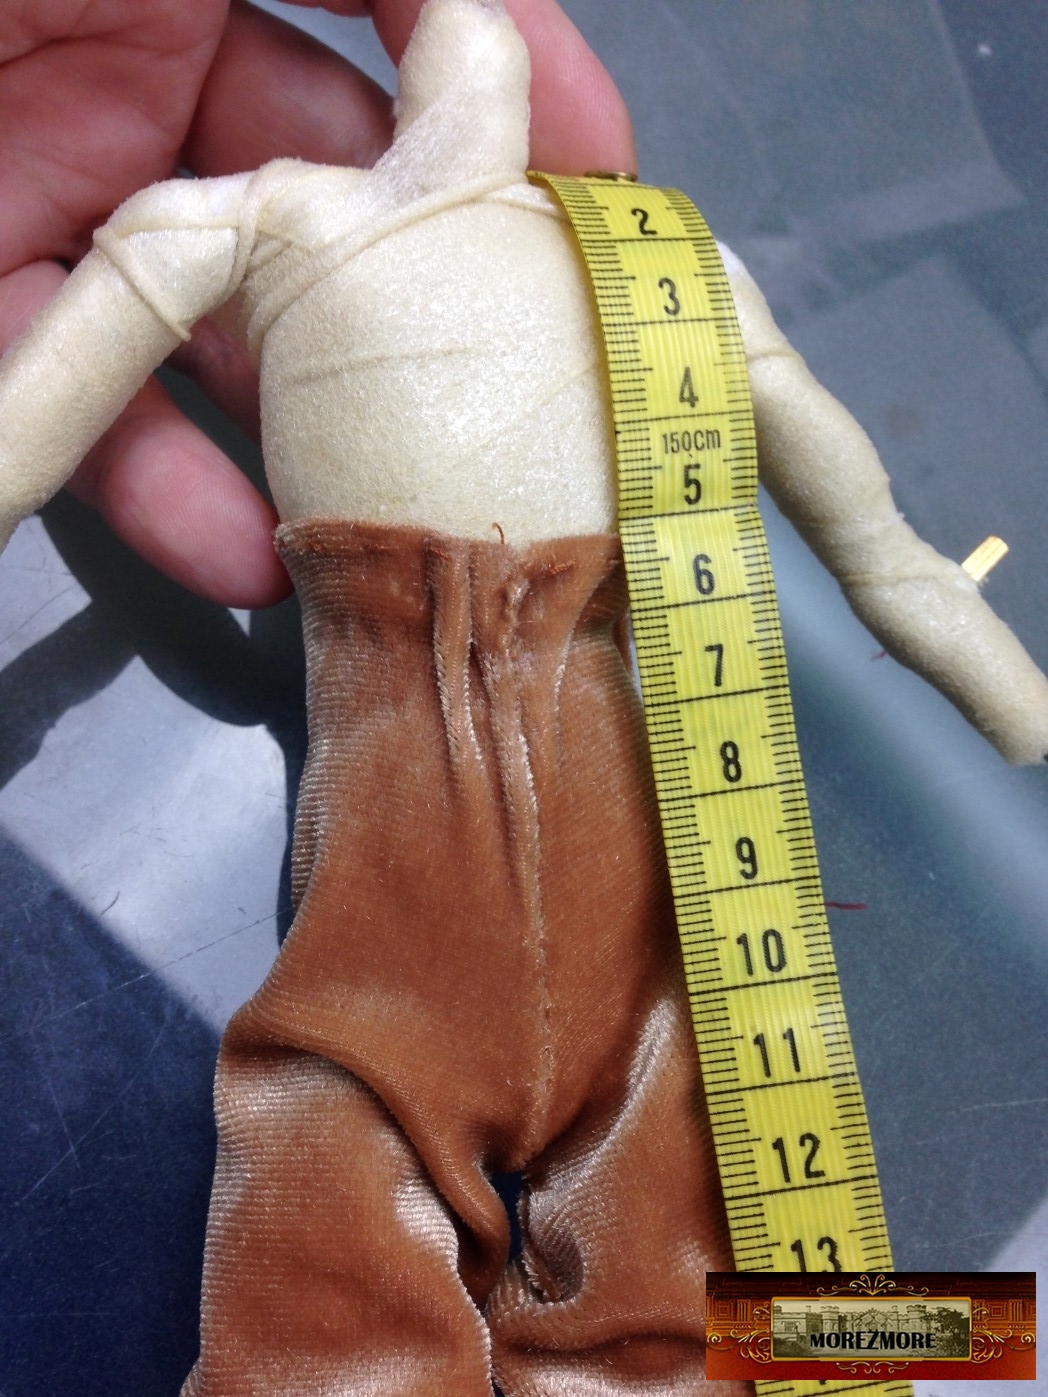 .
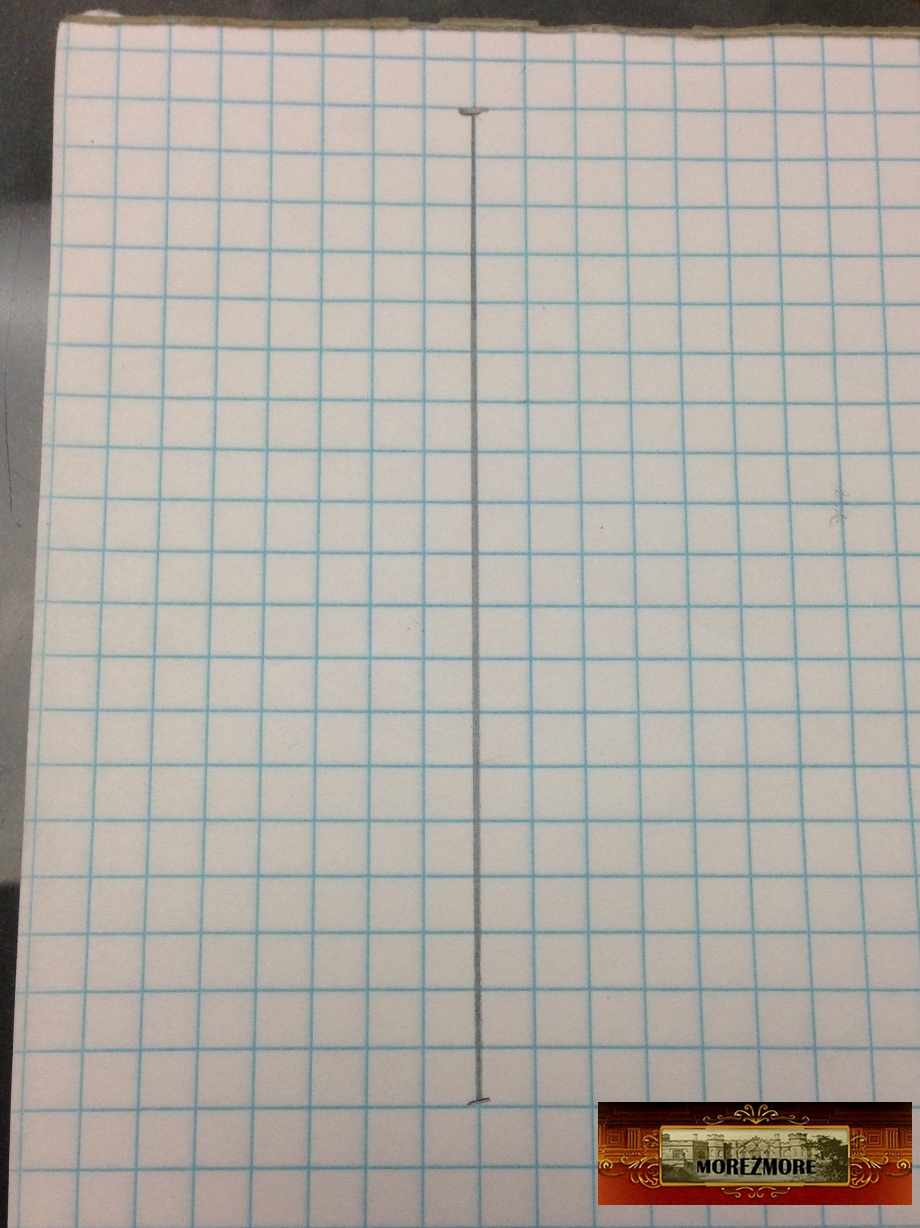 .
3. Take the measurement from one sleeve to the other.
4. Draw a horizontal line.
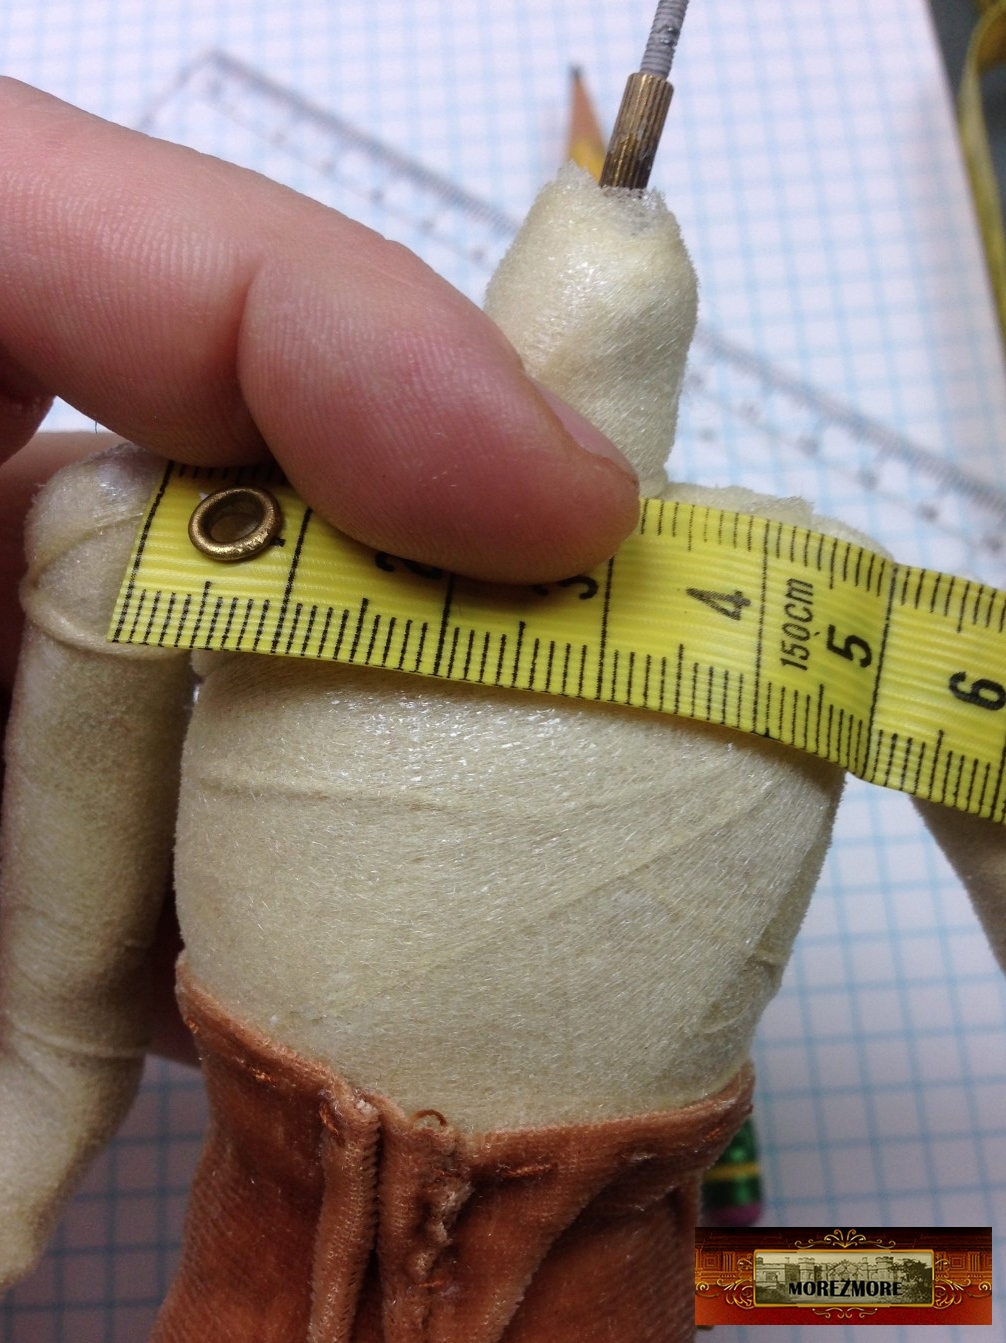 .
 .
5. Measure the depth of the sleeve (from the shoulder to the armpit).
6. Mark it on the vertical line.
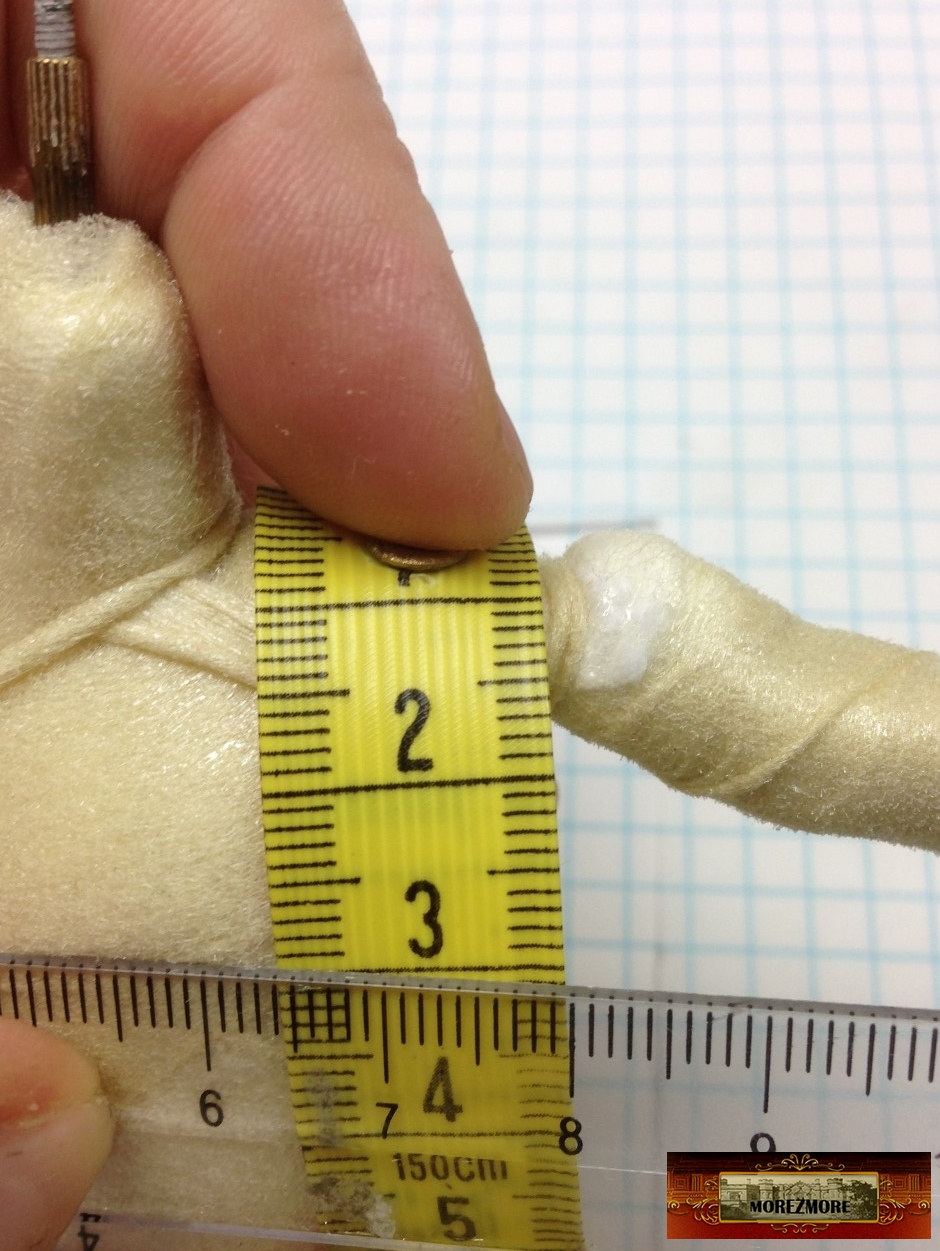
7. Measure the circumference of the chest.
 .
 .
8. Mark 1/2 of that measurement on the armpit line.
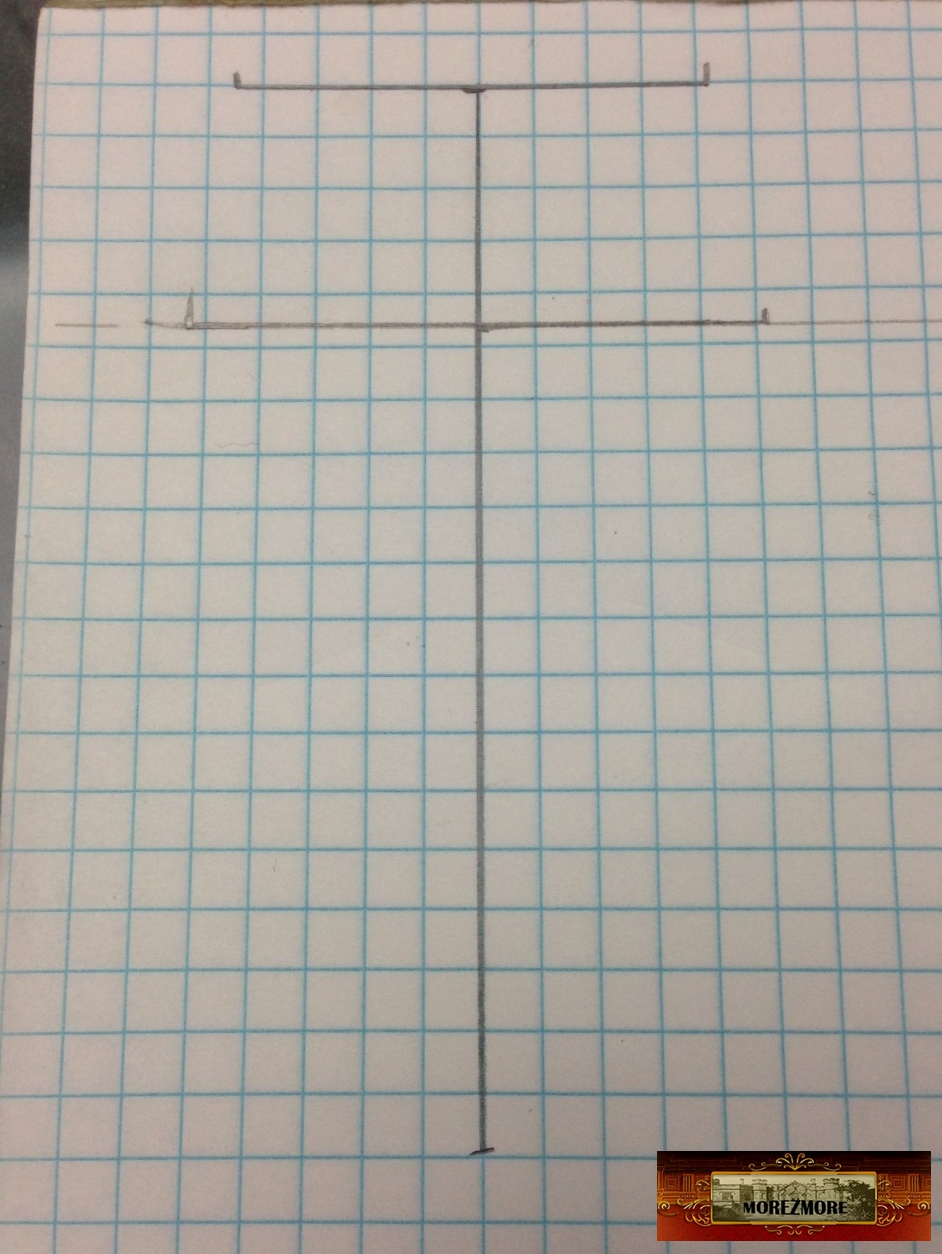
9. Measure the circumference of the hips.
 .
 .
10. Mark that measurement on the bottom of the vertical line.
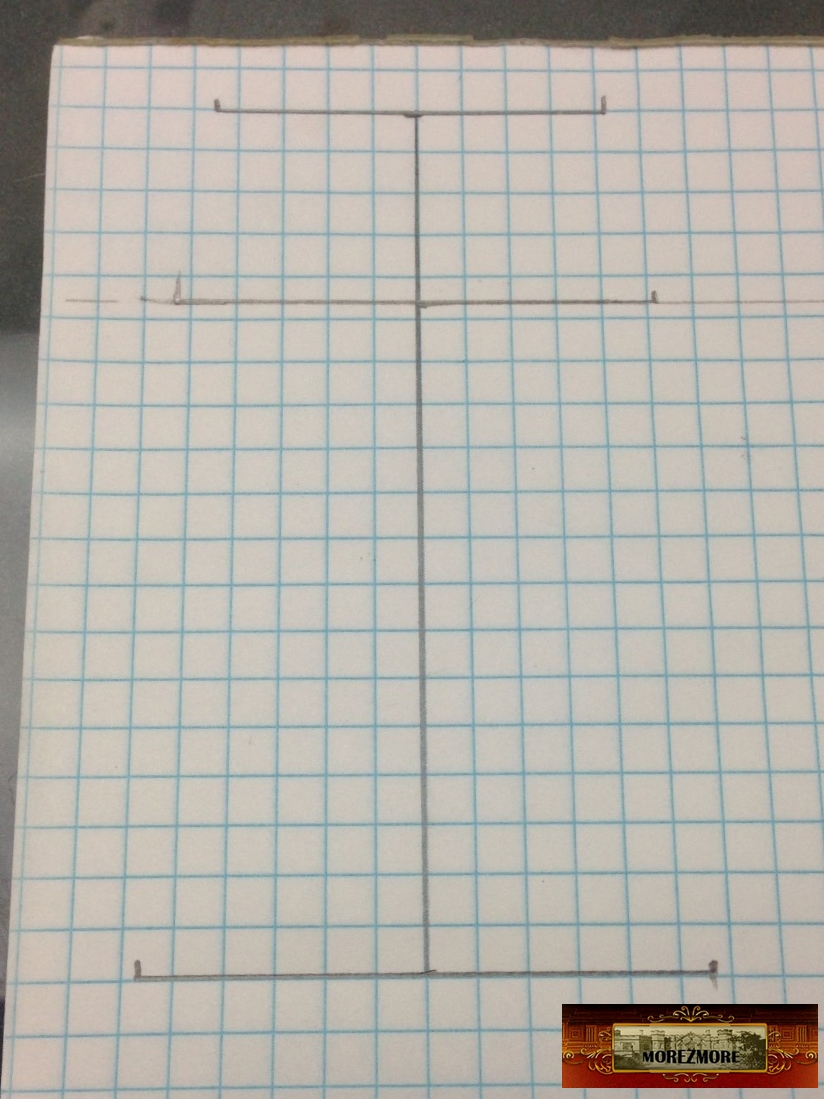
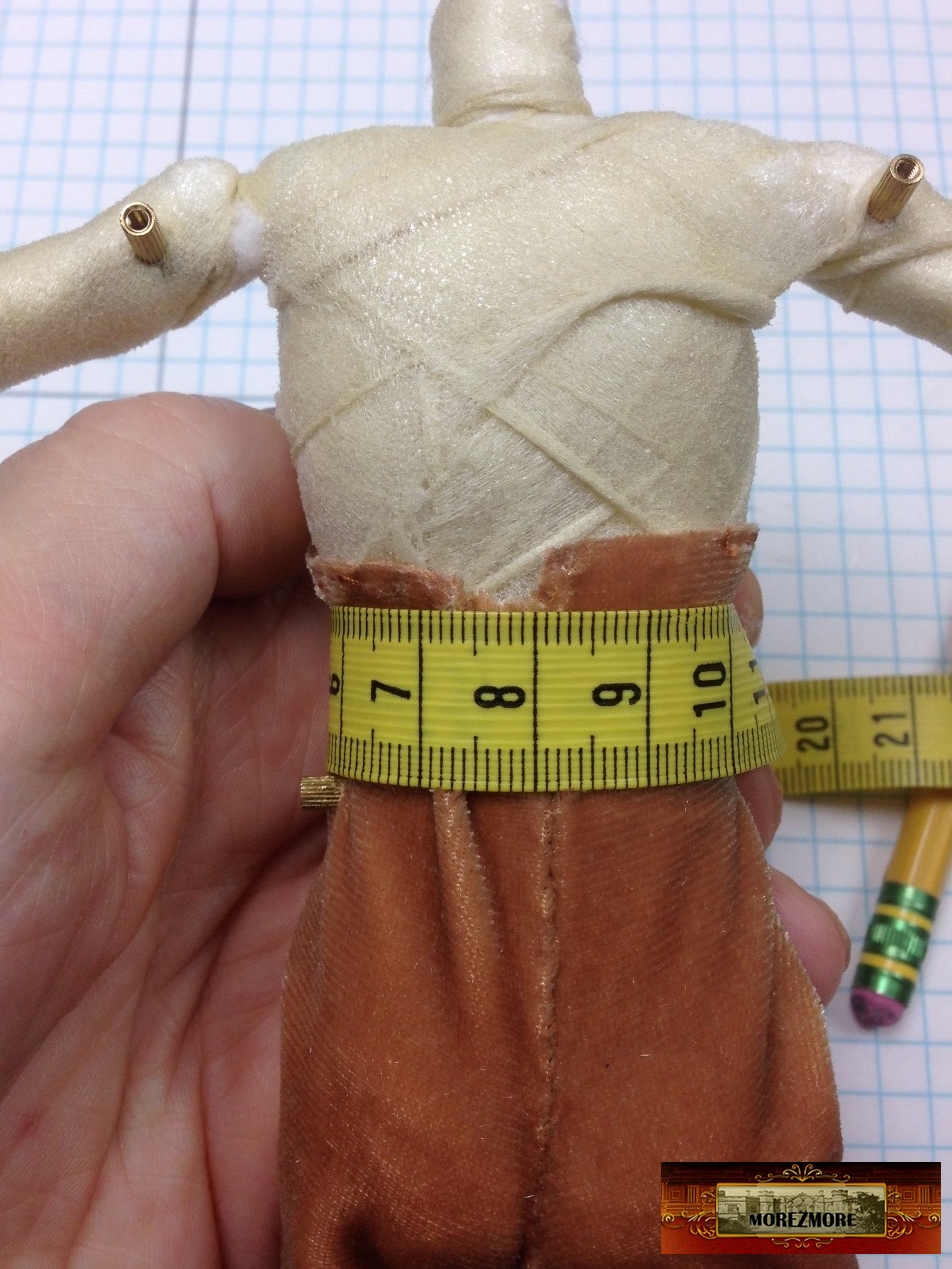
I want King’s waistcoat to have a tailored look, so I am adding one more measurement – the waist.
11. Measure the height of the waist from the shoulder.
12. Draw a horizontal waist line.
13. Measure the circumference of the waist
14. Mark 1/2 of that measurement on the wait line.
 .
 .
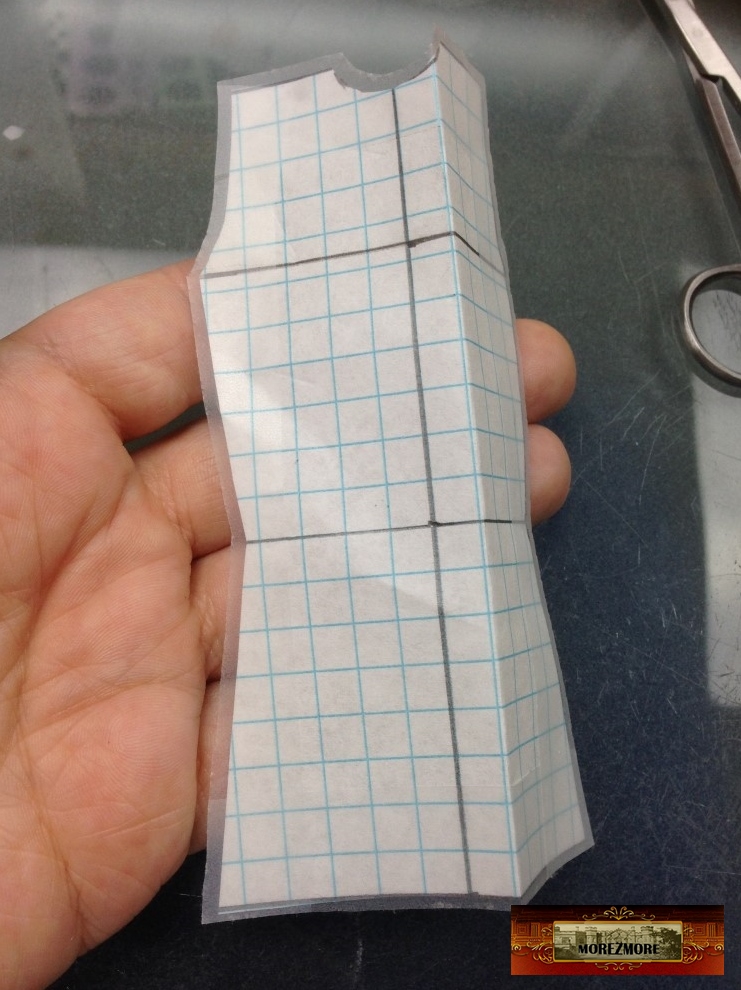
15. Connect the dots.
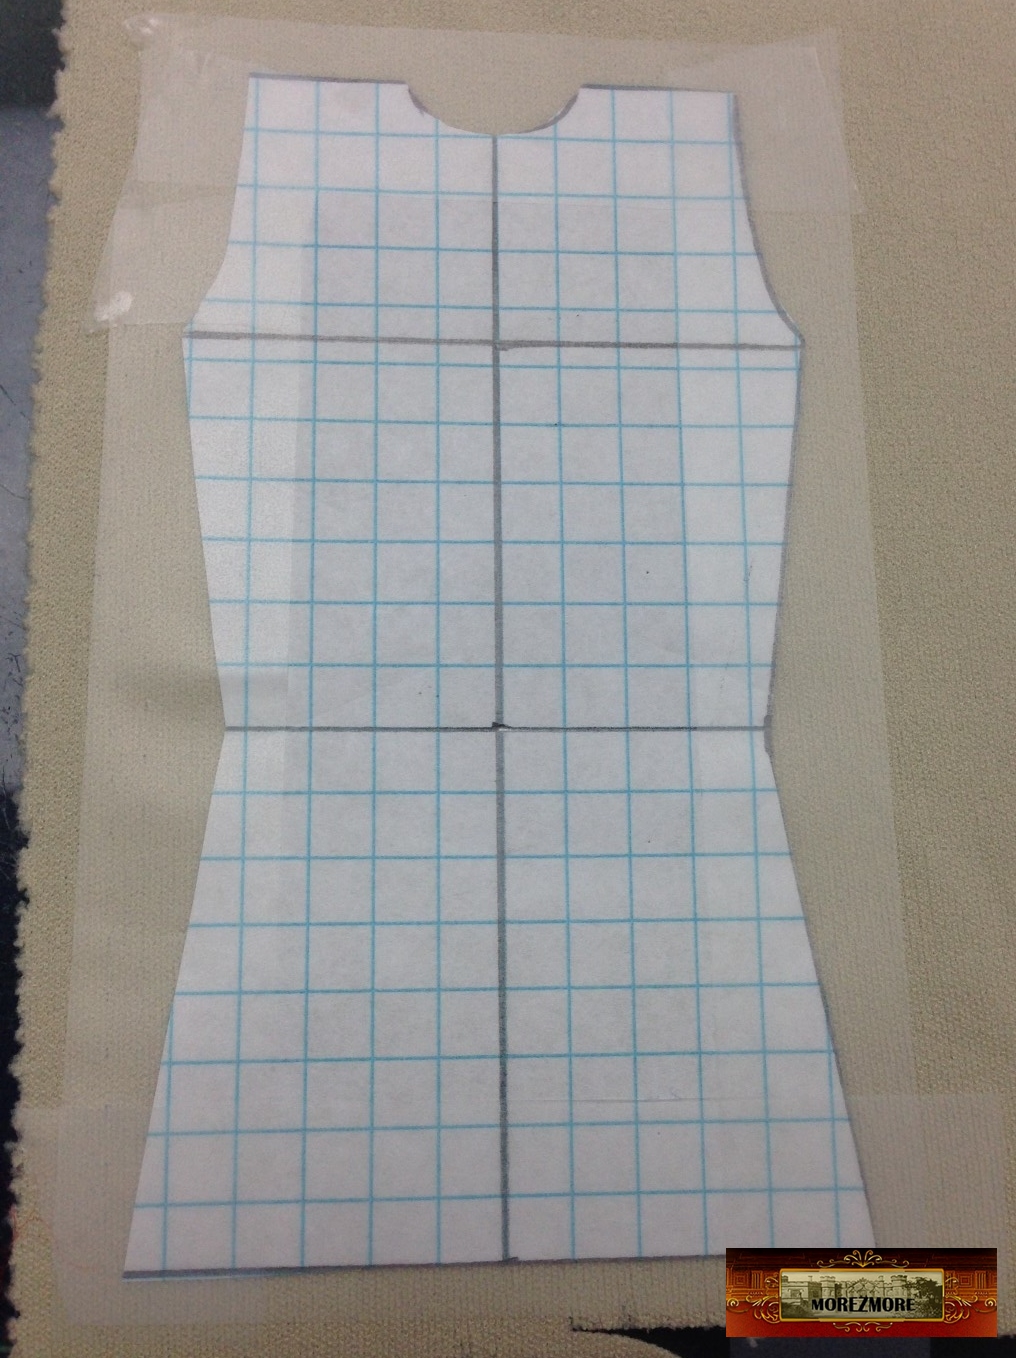
16. Cut it out. Here is the back pattern.
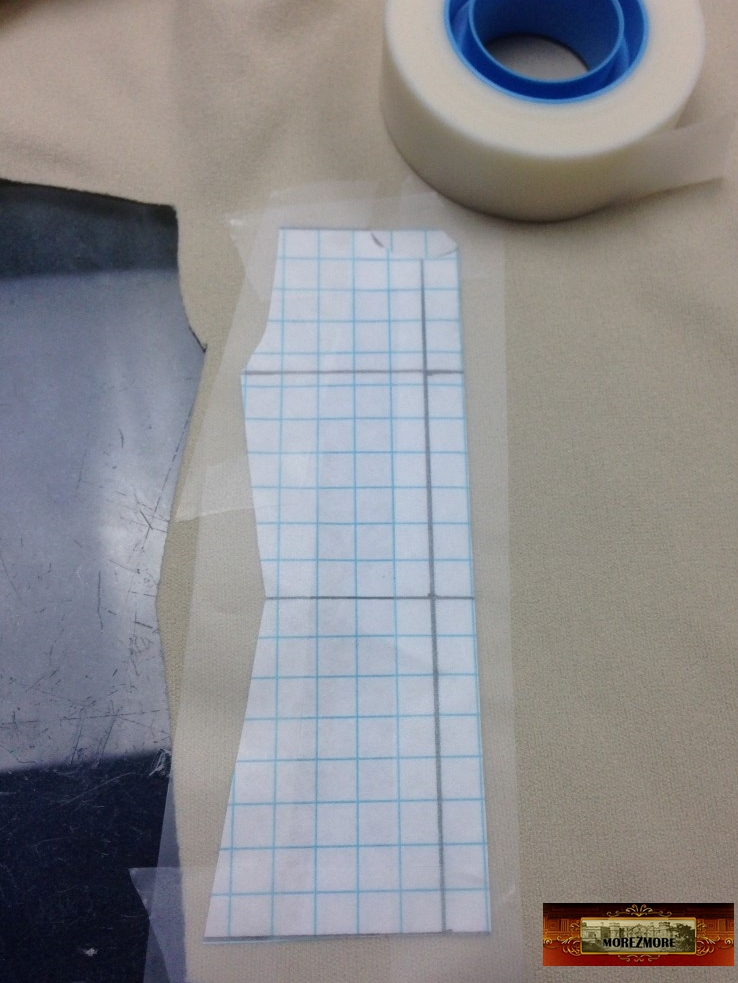
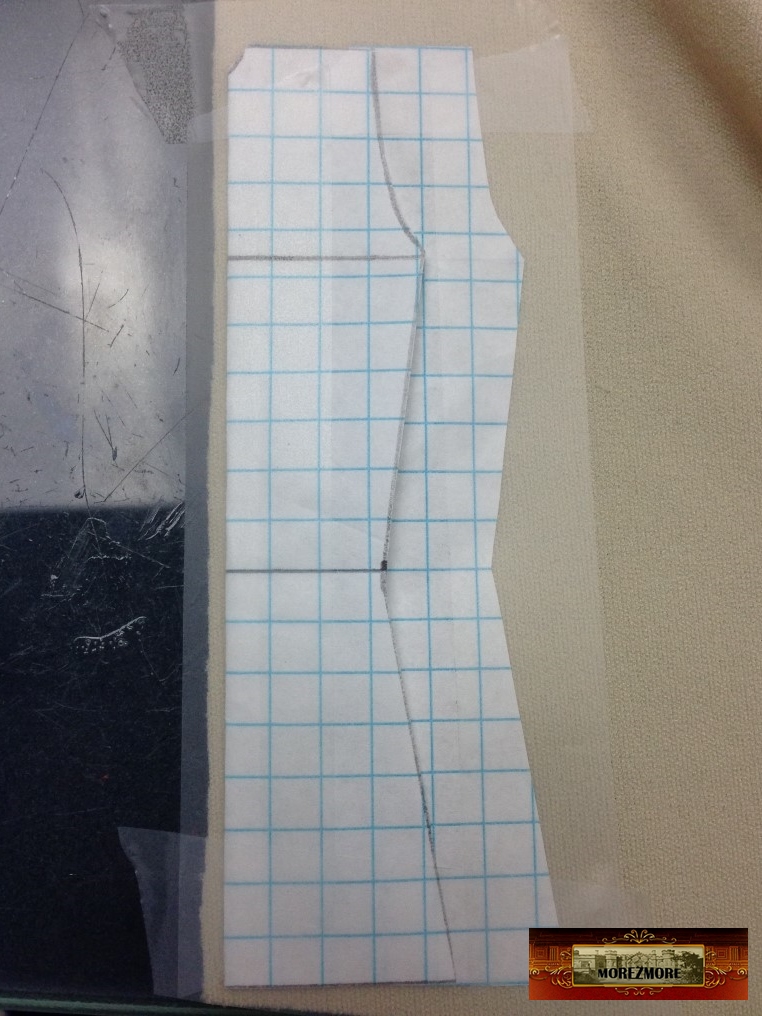
17. Tape the pattern to the fabric with removable scotch tape.
 .
 .
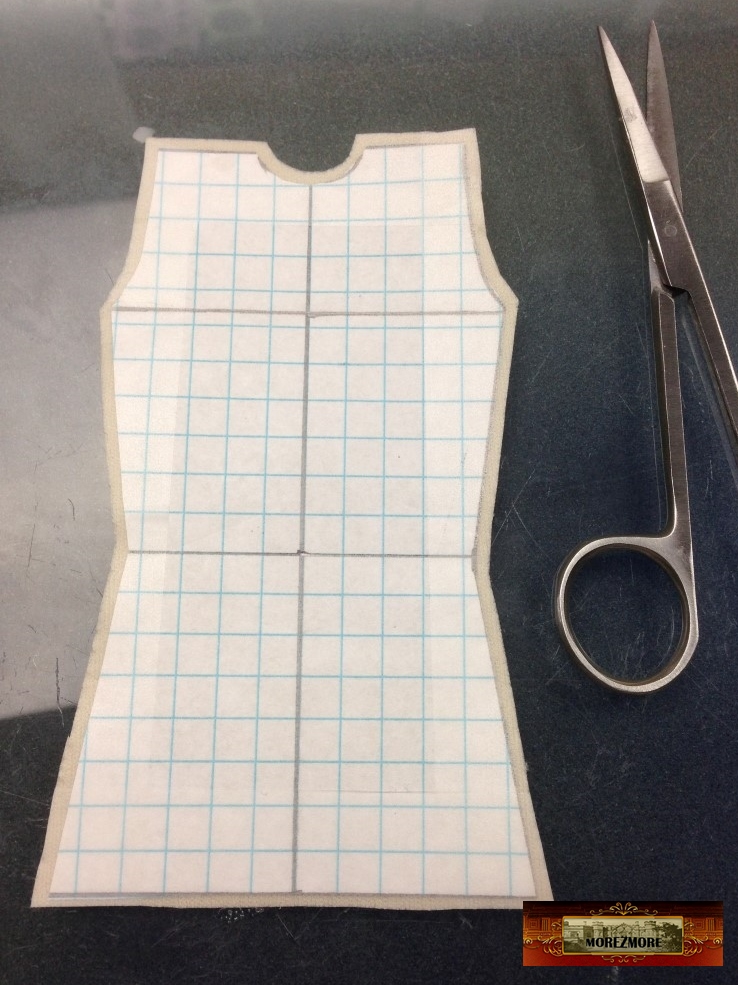
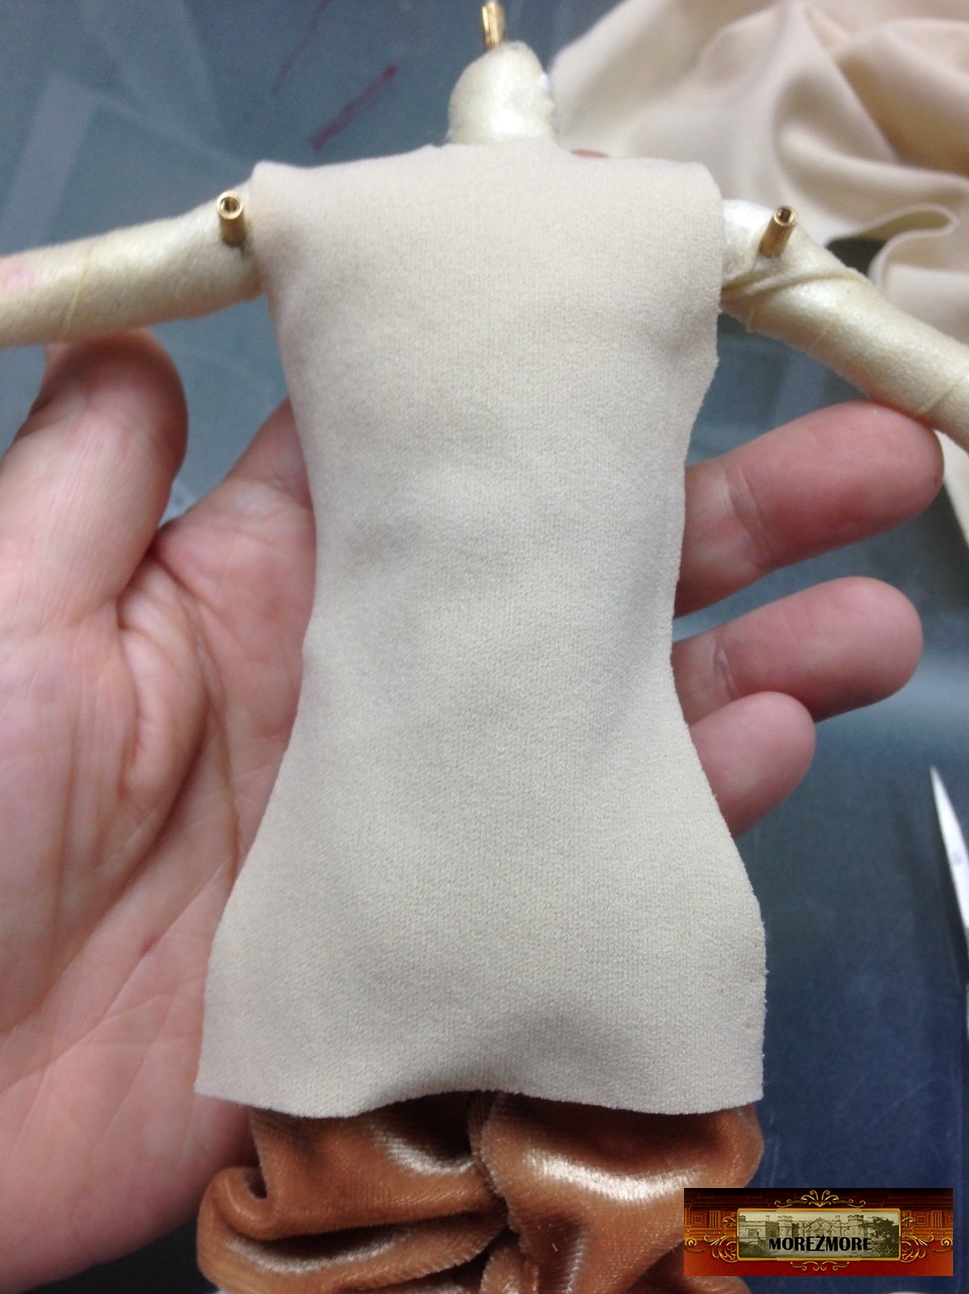
18. Cut it out.
 .
 .
19. Fold the back pattern to make front panels.
 .
 .
 .
 .
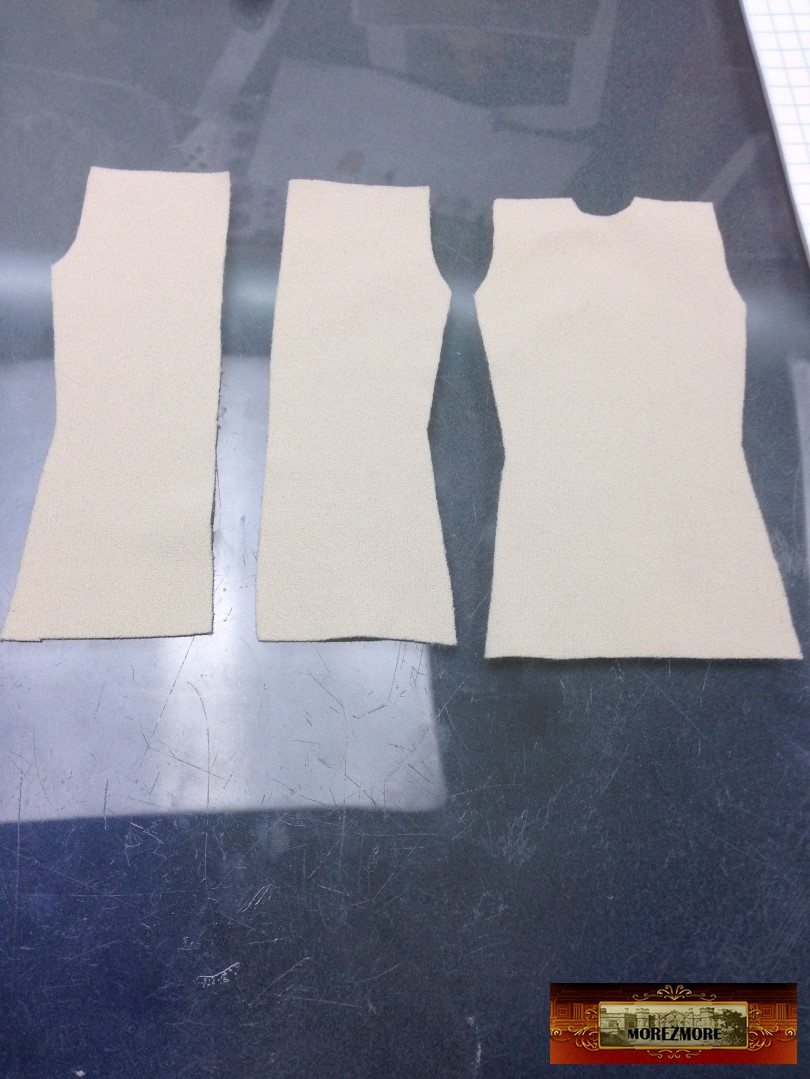
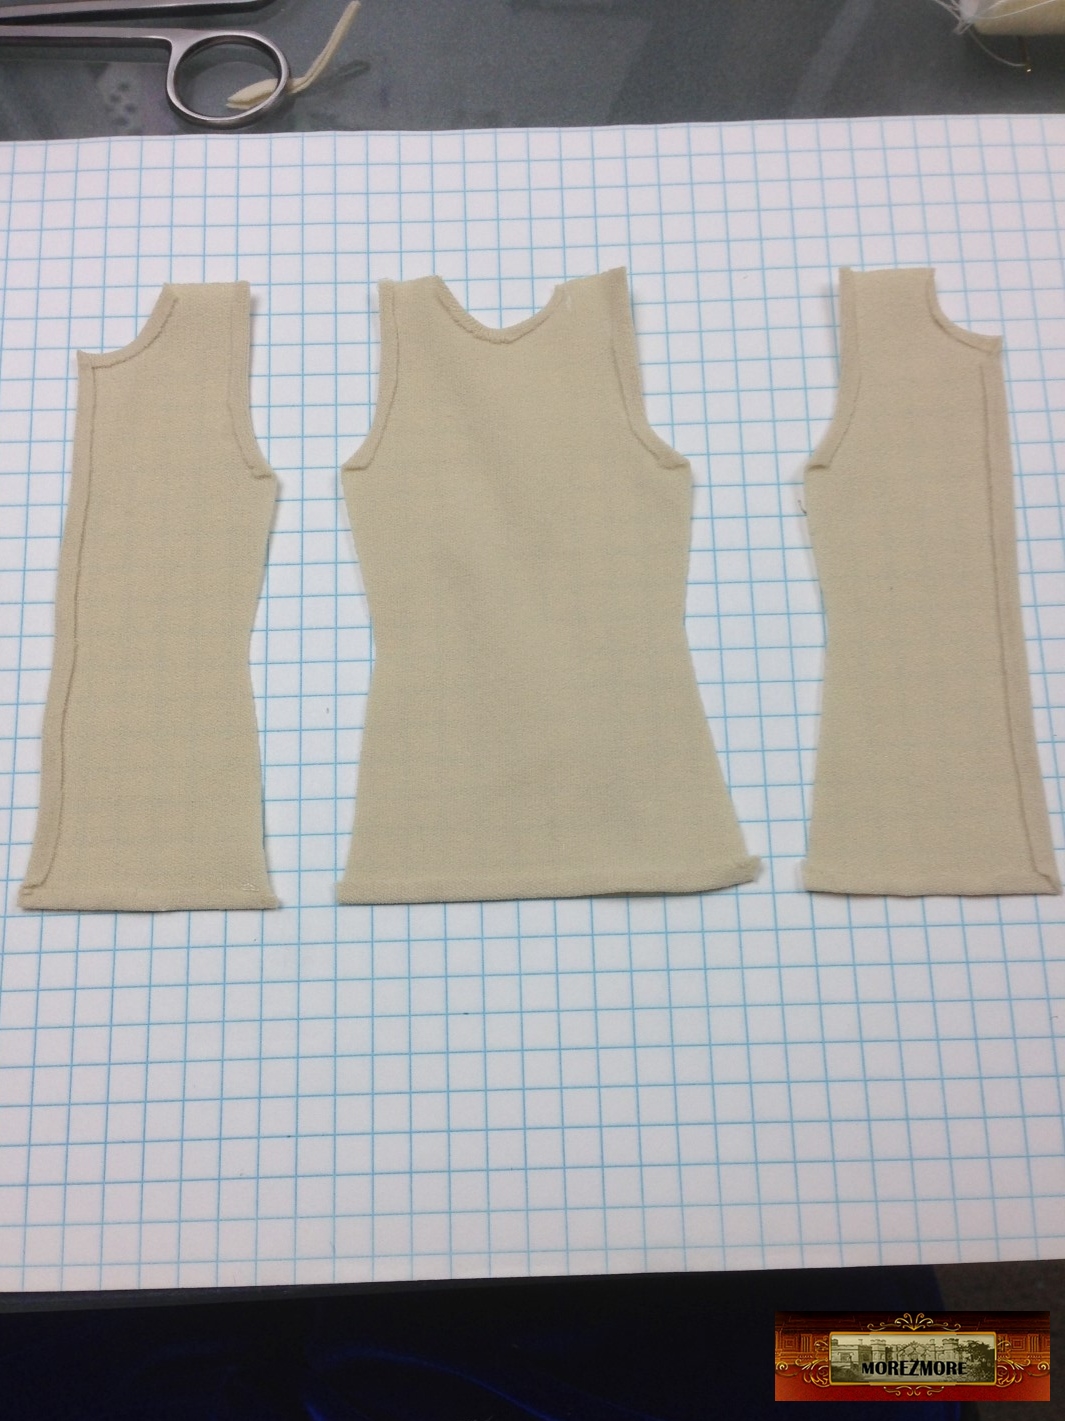
Everything is cut out.
I am making the waistcoat from pantyhose fabric (link is not active – coming soon).
It is a type of stretchy fabric pantyhoses are made of (the thicker kind).
I bought a little to try and I really like it. It is thin and stretchy, but very tight-knit, not transparent, holds its shape well, has a nice soft off-whitish-beige color. Versatile – can be used for doll body or for clothes, comes in different colors.
 .
 .
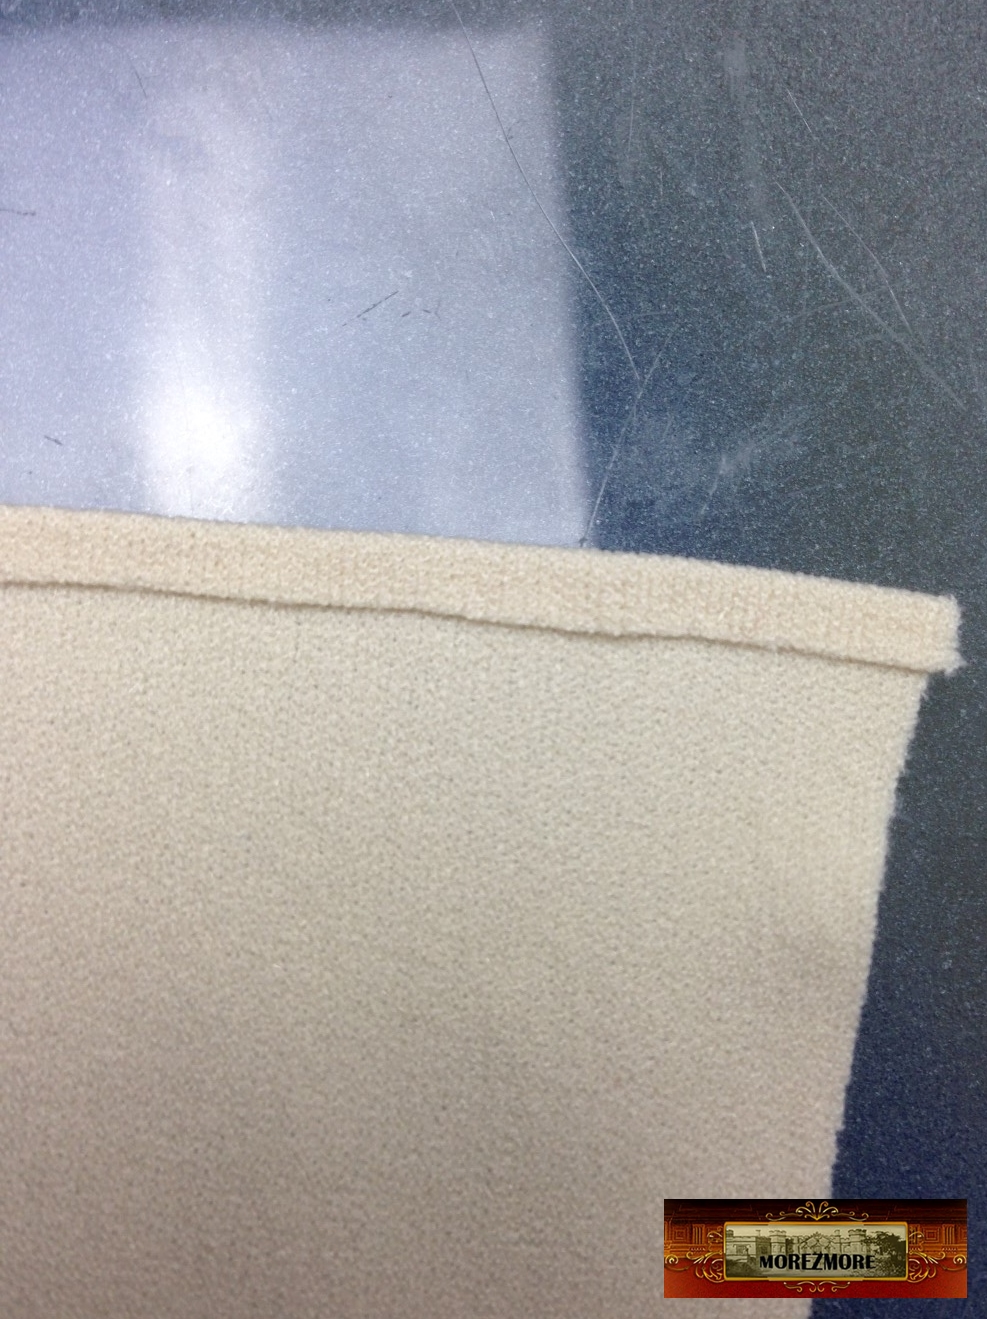
Finished the edges with Fabritac glue, toothpicks, tweezers.
 .
 .
 .
 .
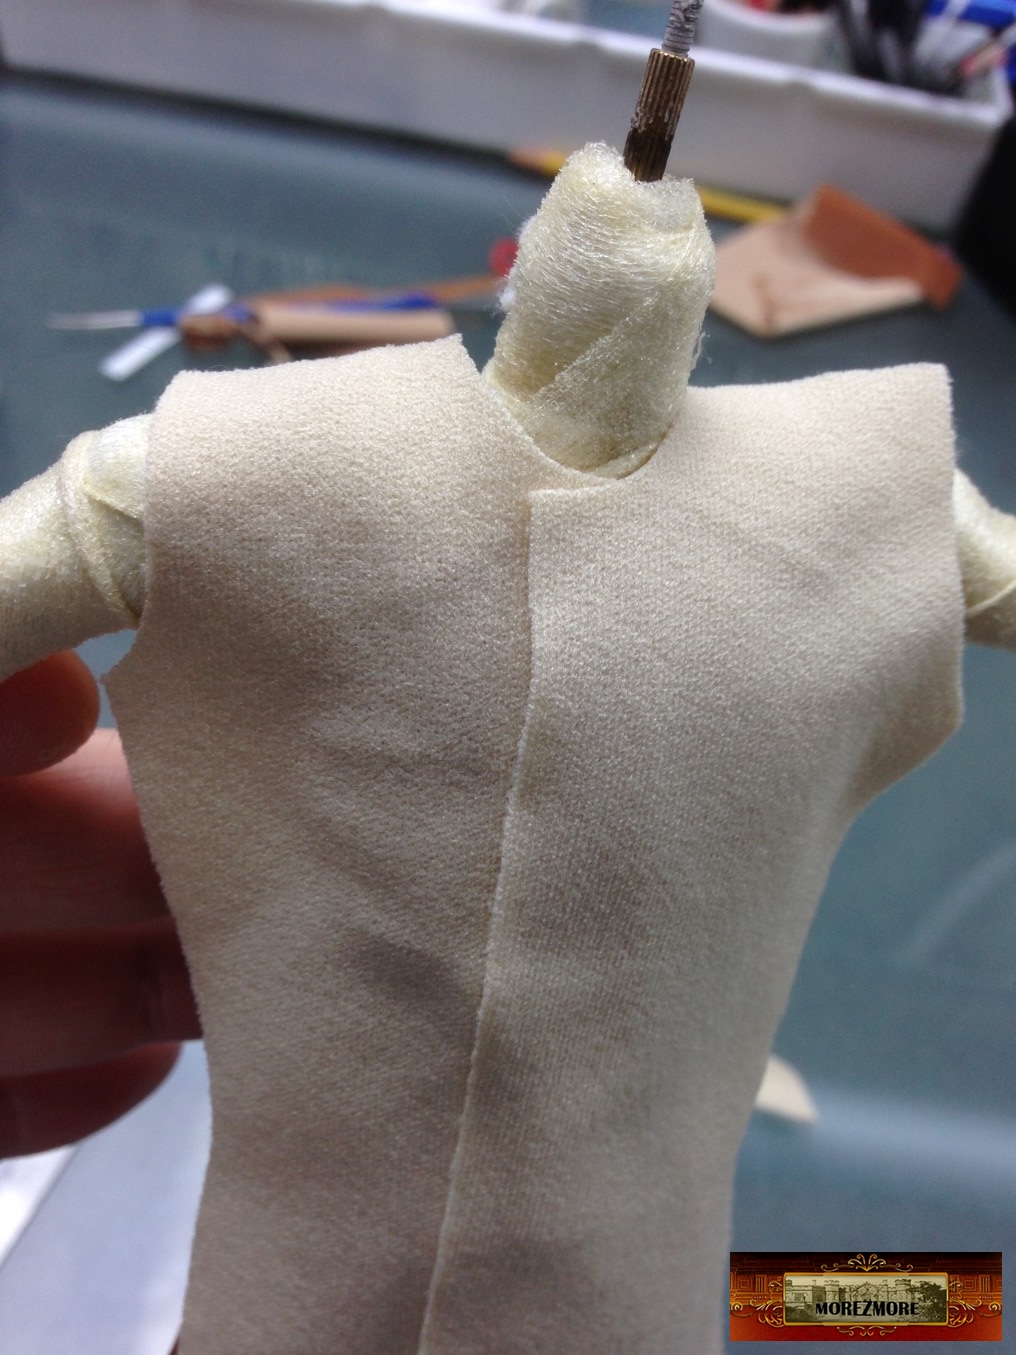
The fabric is stretchy, so I can just sew the front panels together and pull the waistcoat over King’s head, like a sweater.
 .
 .
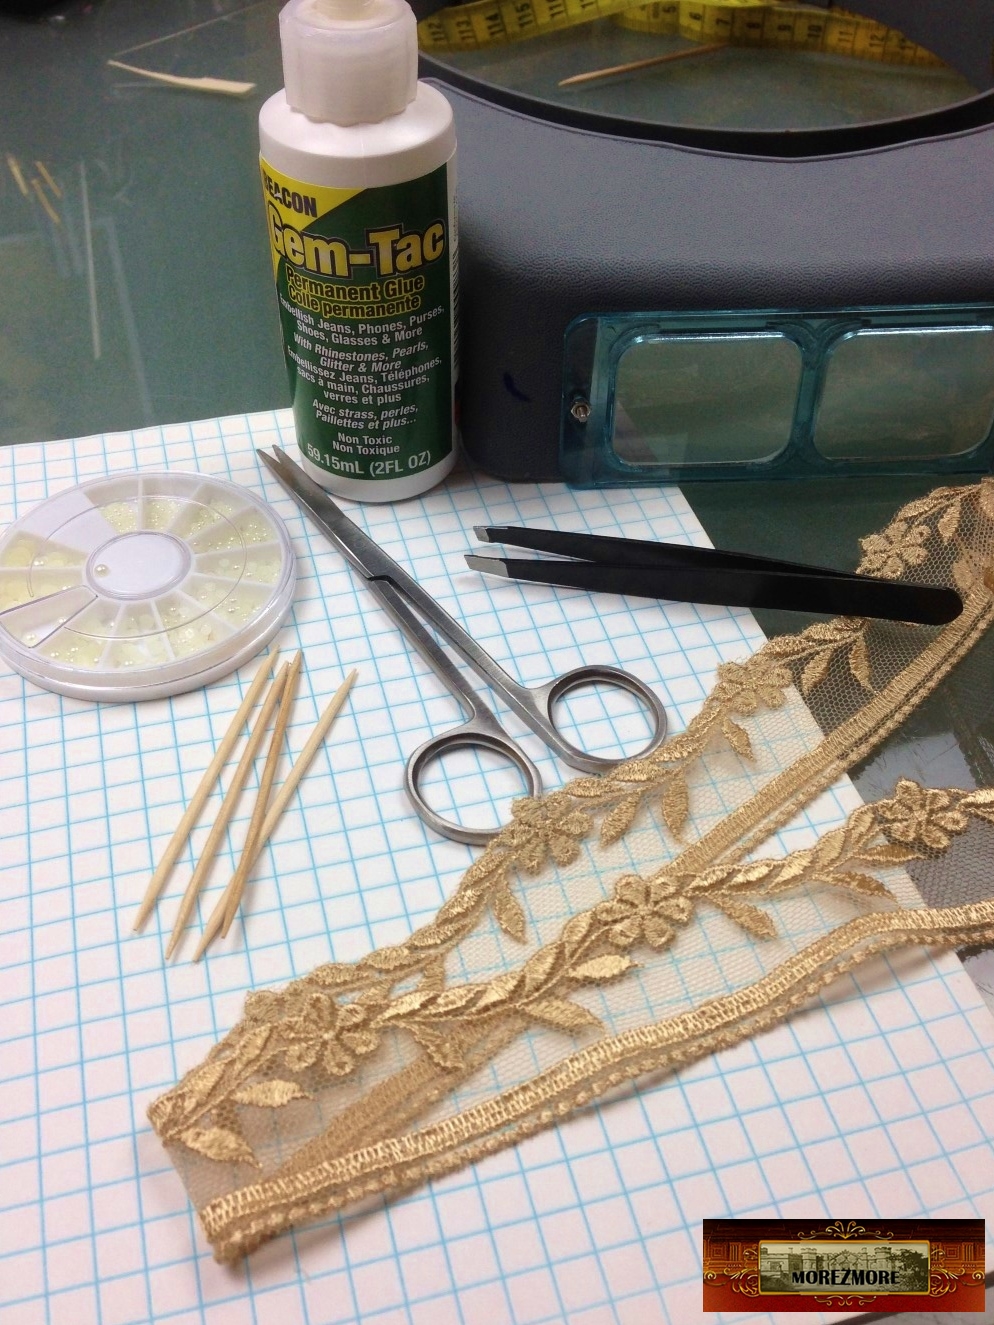
Getting ready to decorate.
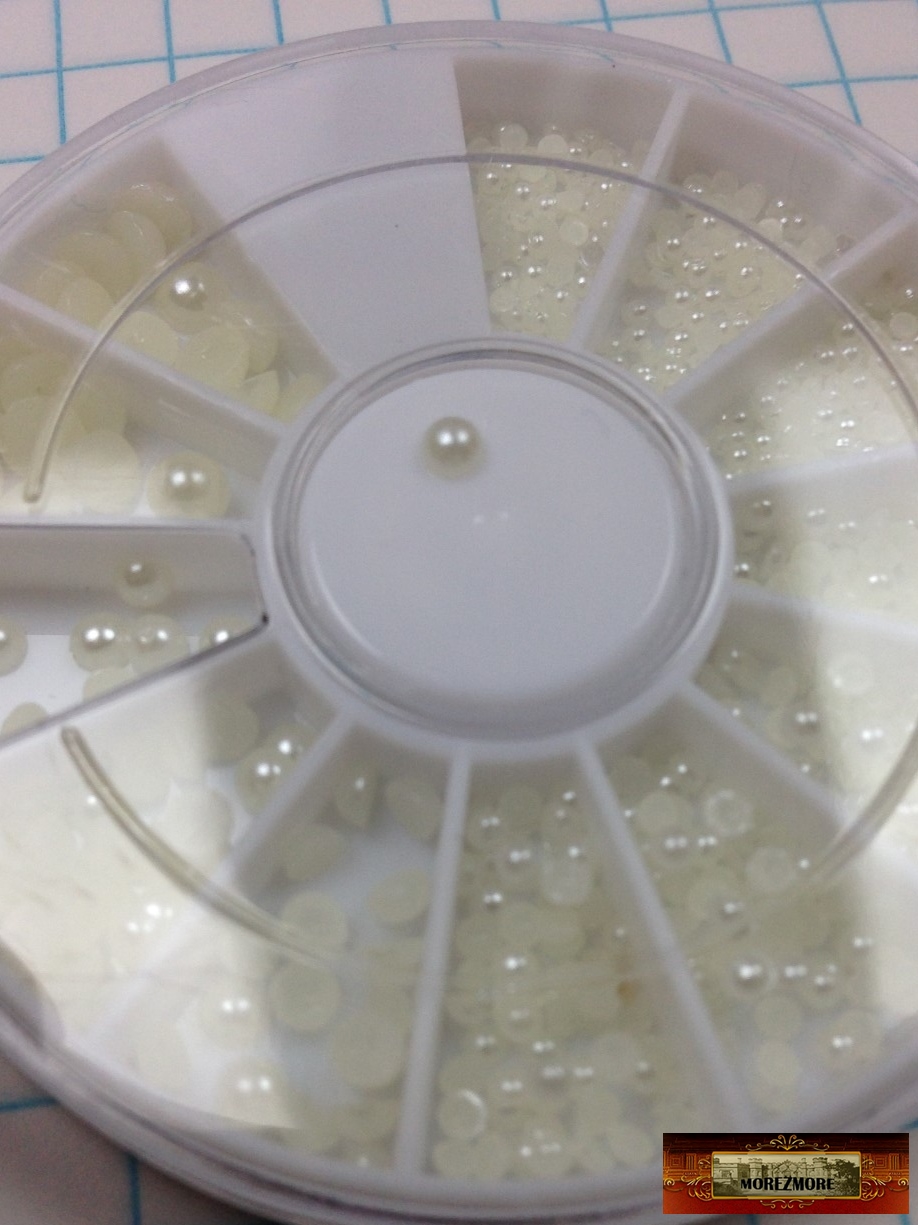
Pearls
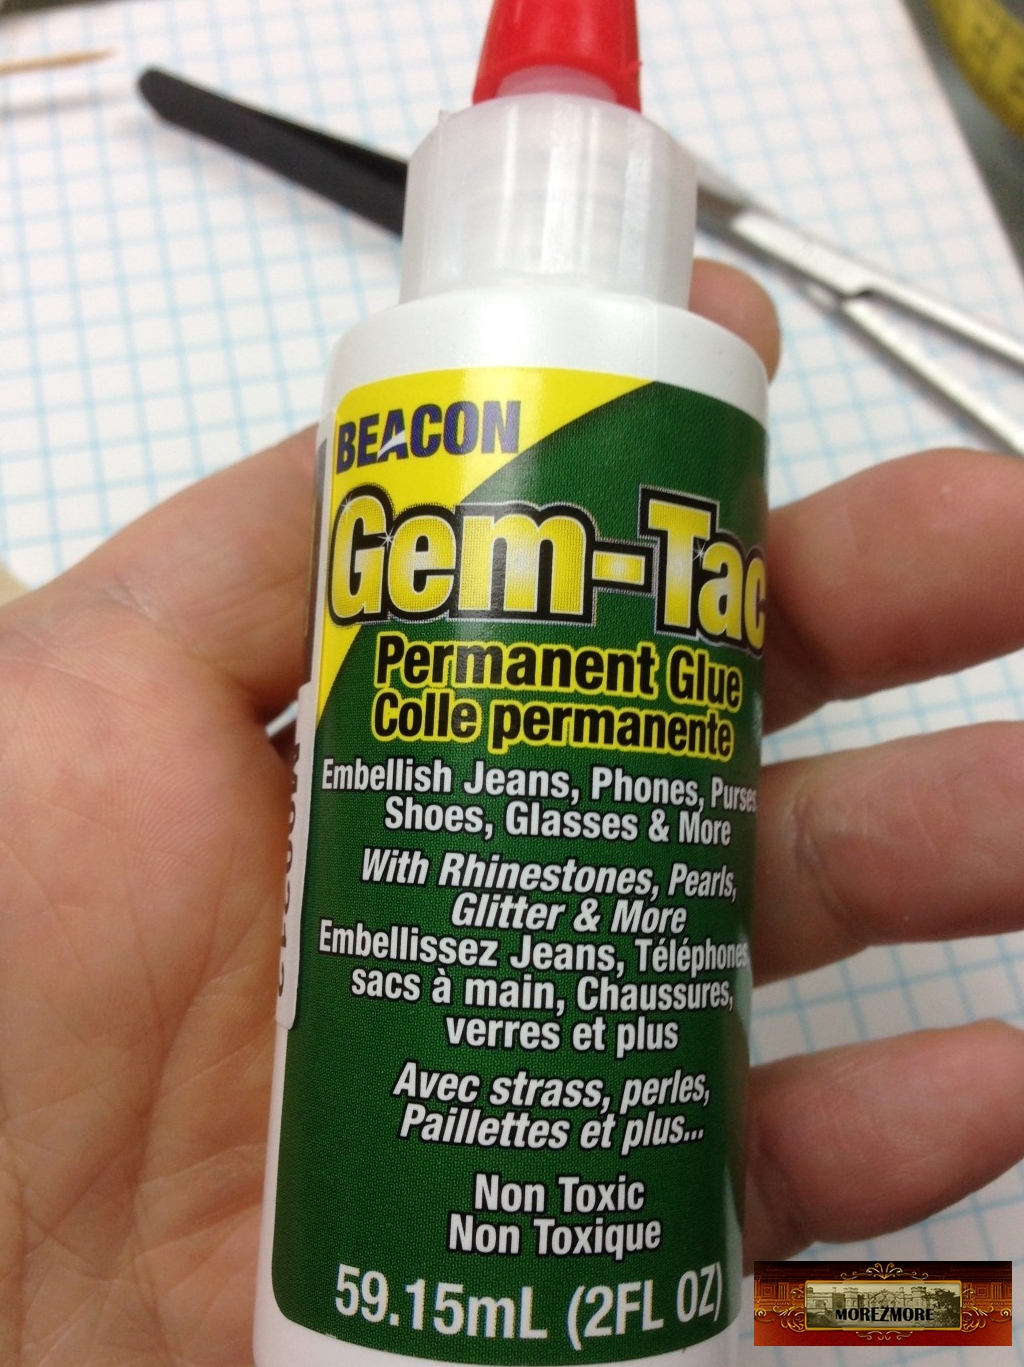
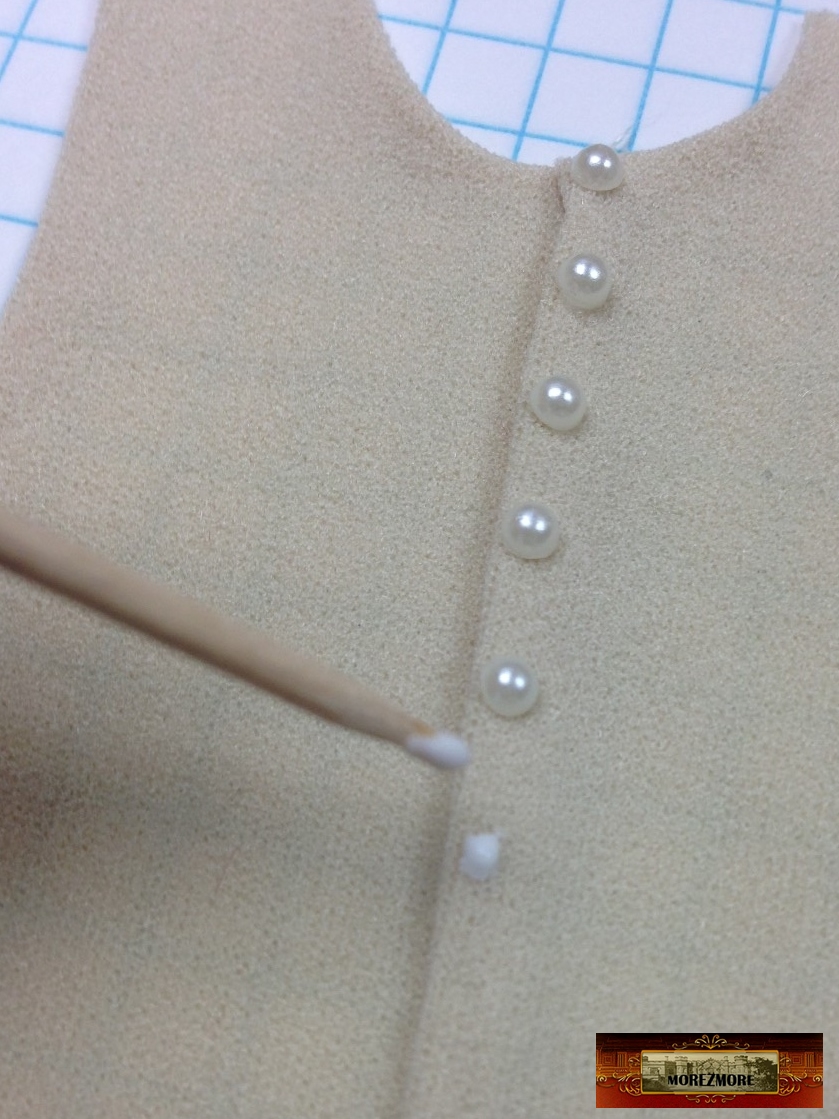
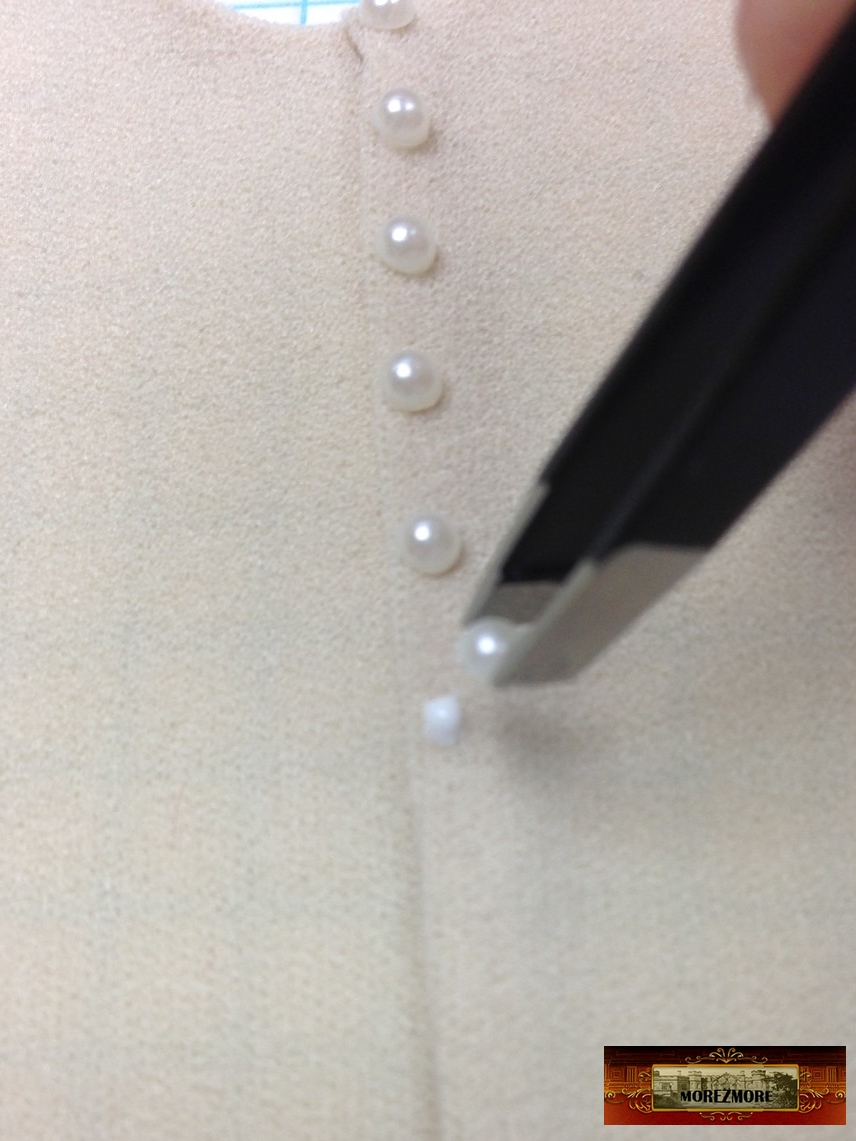
Gem-tac glue (to set the pearls as buttons).
Gold Venice Lace
toothpicks
tweezers
small sharp scissors
Magnifier Head Band – to see better what I am doing, it is a pretty small scale.
About Gem-tac. I have been selling this glue for years, but never tried it myself.
It is made by the same people who make Fabritac glue.
Here is what the manufacturer says:
– Perfect for slick to porous surface applications.
– Great for bonding lace, fabrics, trims, and decorative wire to glass, ceramics, patent leather, wood, vinyl, leather, and more.
– Excellent for attaching rhinestones, gems, mirrors, pearls and other embellishments to a wide variety of materials.
– Permanent, water-based, non-toxic and washable.
– Requires only a small amount to hold; dries clear.
– Creates wonderful wearables, gifts, home décor, and can also be used for general household repairs.
I want to attach flat back pearls to make buttons, and I want them to stay. This glue sounds like it will work.
Just out of curiosity, I went to Amazon and read the reviews about Gem-tac glue. People who bought Gemtac are generally happy and say that the rhinestones attached to fabric with Gem-tac survive washing machine. WASHING MACHINE. As my King is not going to a washing machine, sounds like Gem-tac will do just fine for his buttons.
 .
 .
 .
 .
 .
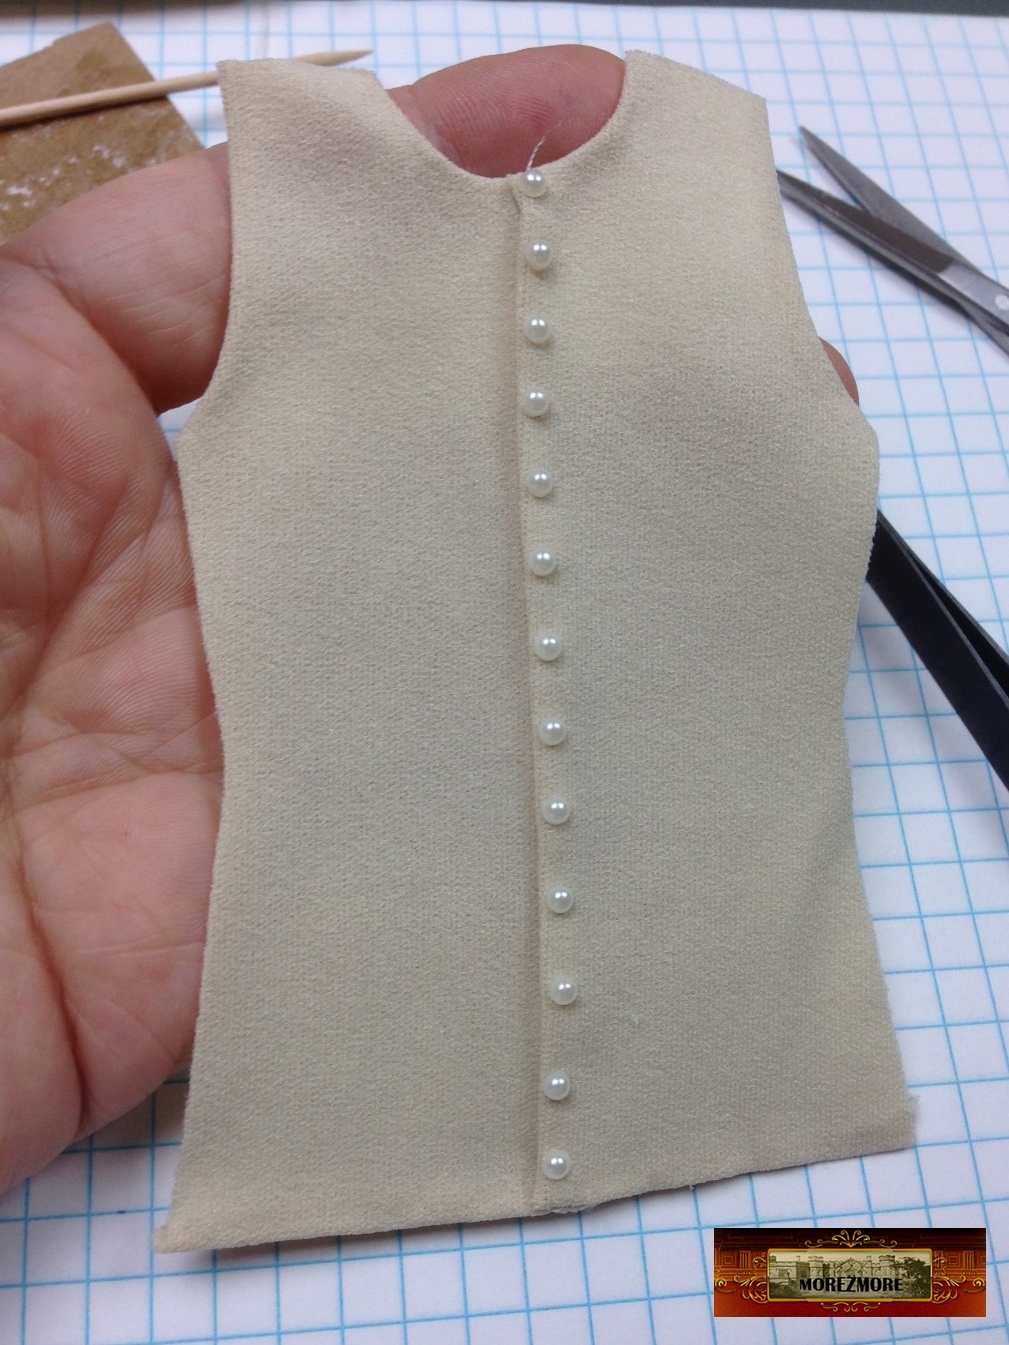 .
Gluing the cut out pieces of Venice Lace.
To navigate the lace around the corners, snip out a small triangle and bend the lace strip.
 .
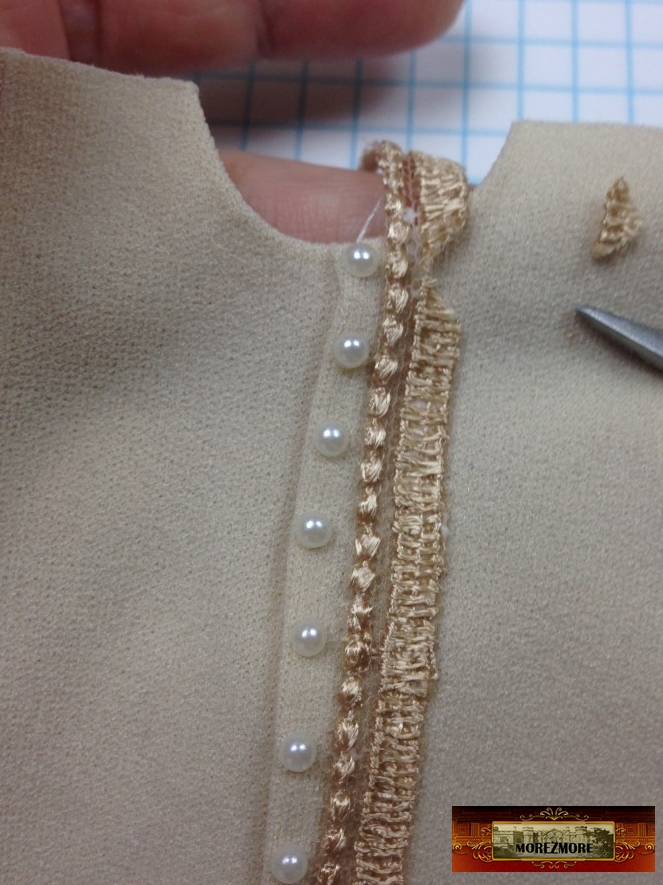 .
Front panels of the waistcoat are done, very pretty.
Sew the front and the back together.
 .
 .
Done!
Next: shirt. To be more precise, only parts of the shirt: puffy sleeves and jabot (an ornamental frill or ruffle on the front of a shirt, typically made of lace)
After that – overcoat.

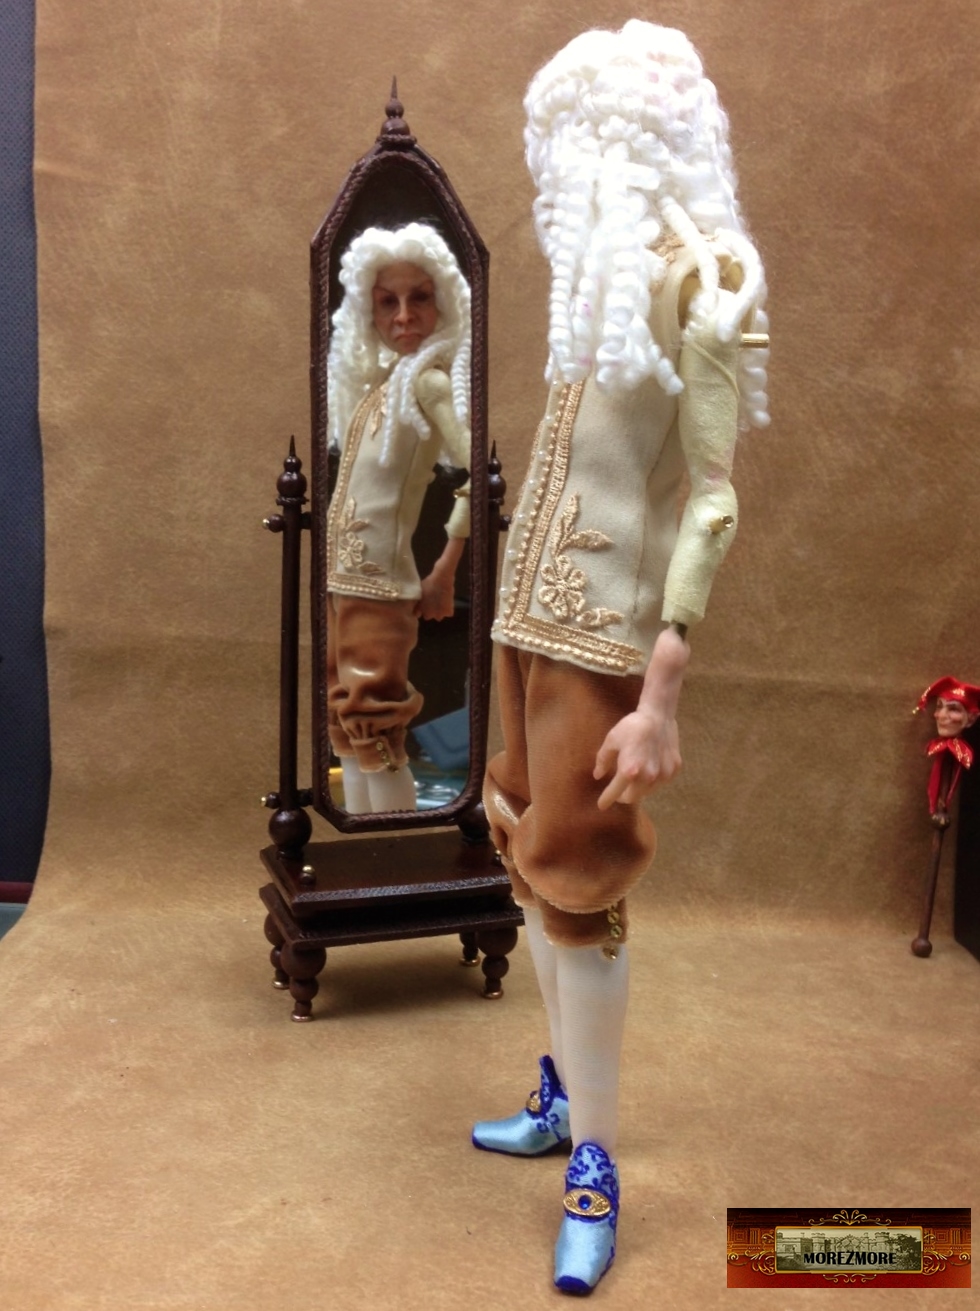
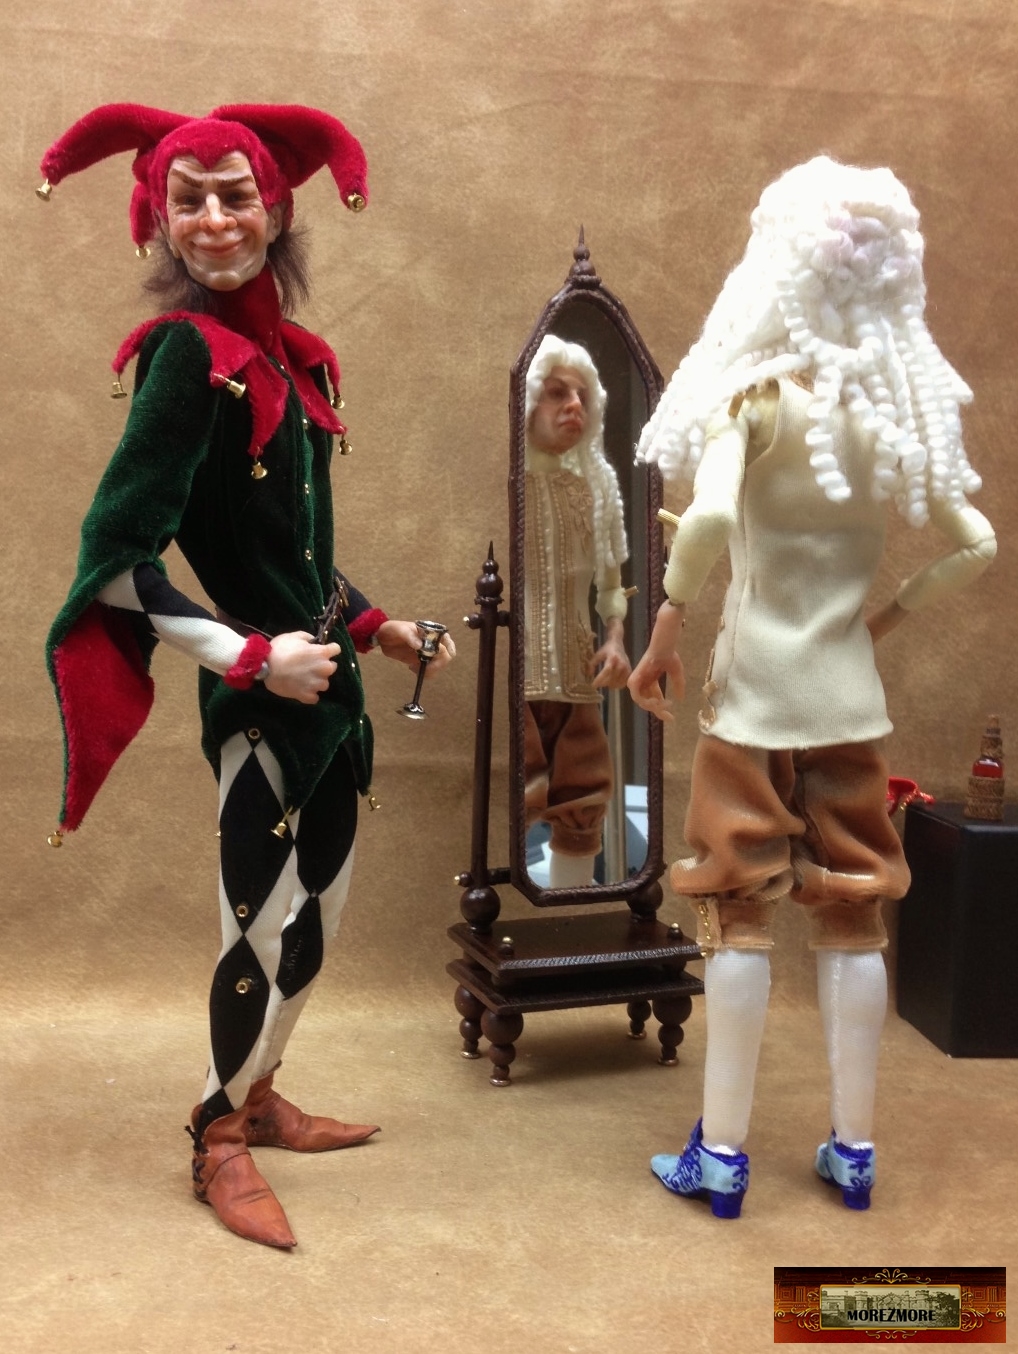
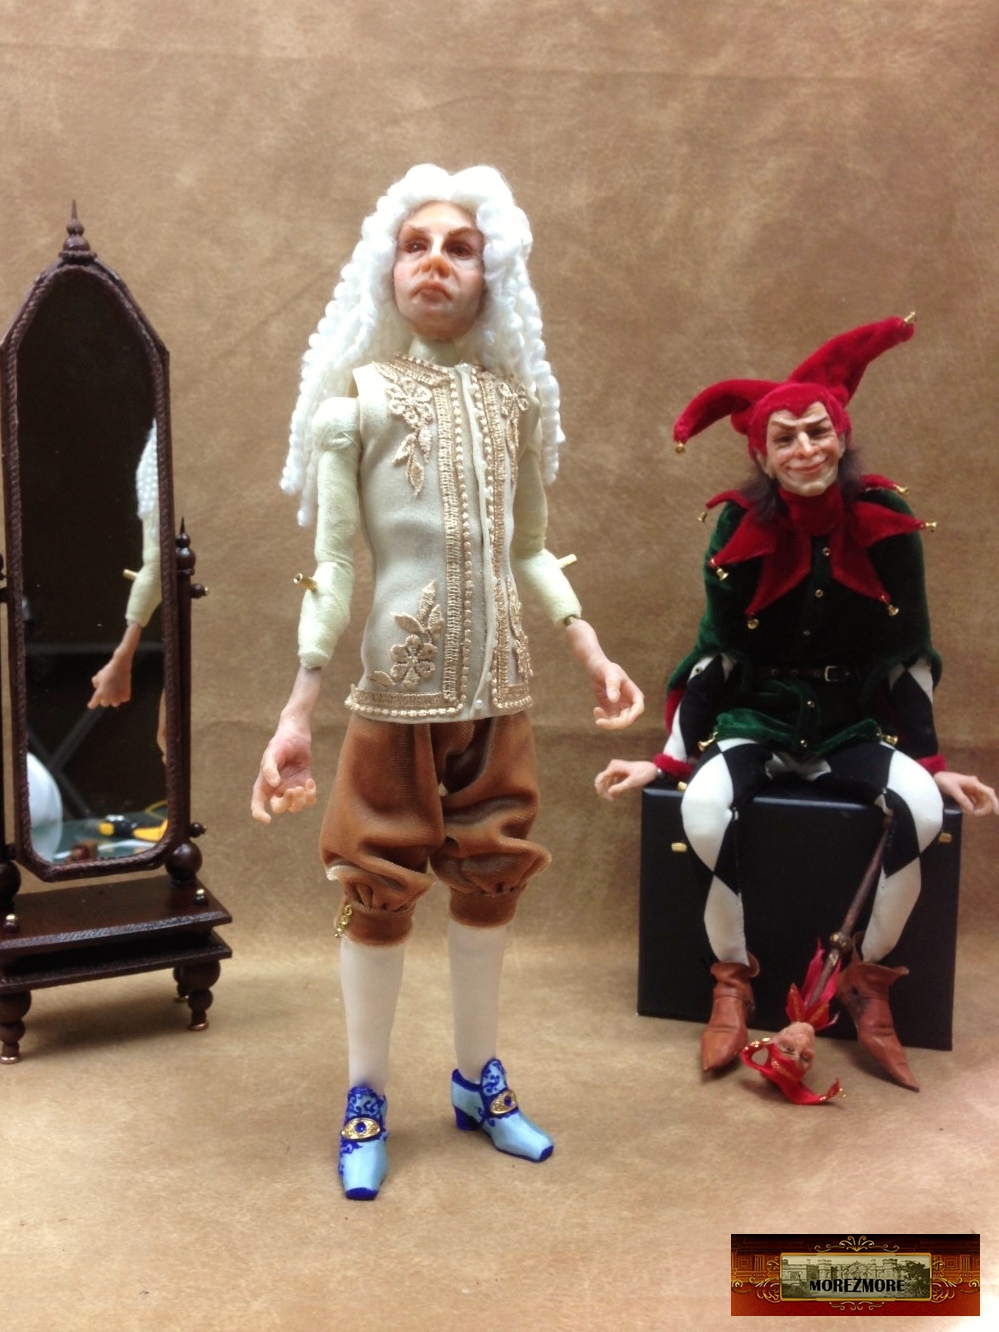
Here is what I have now:
.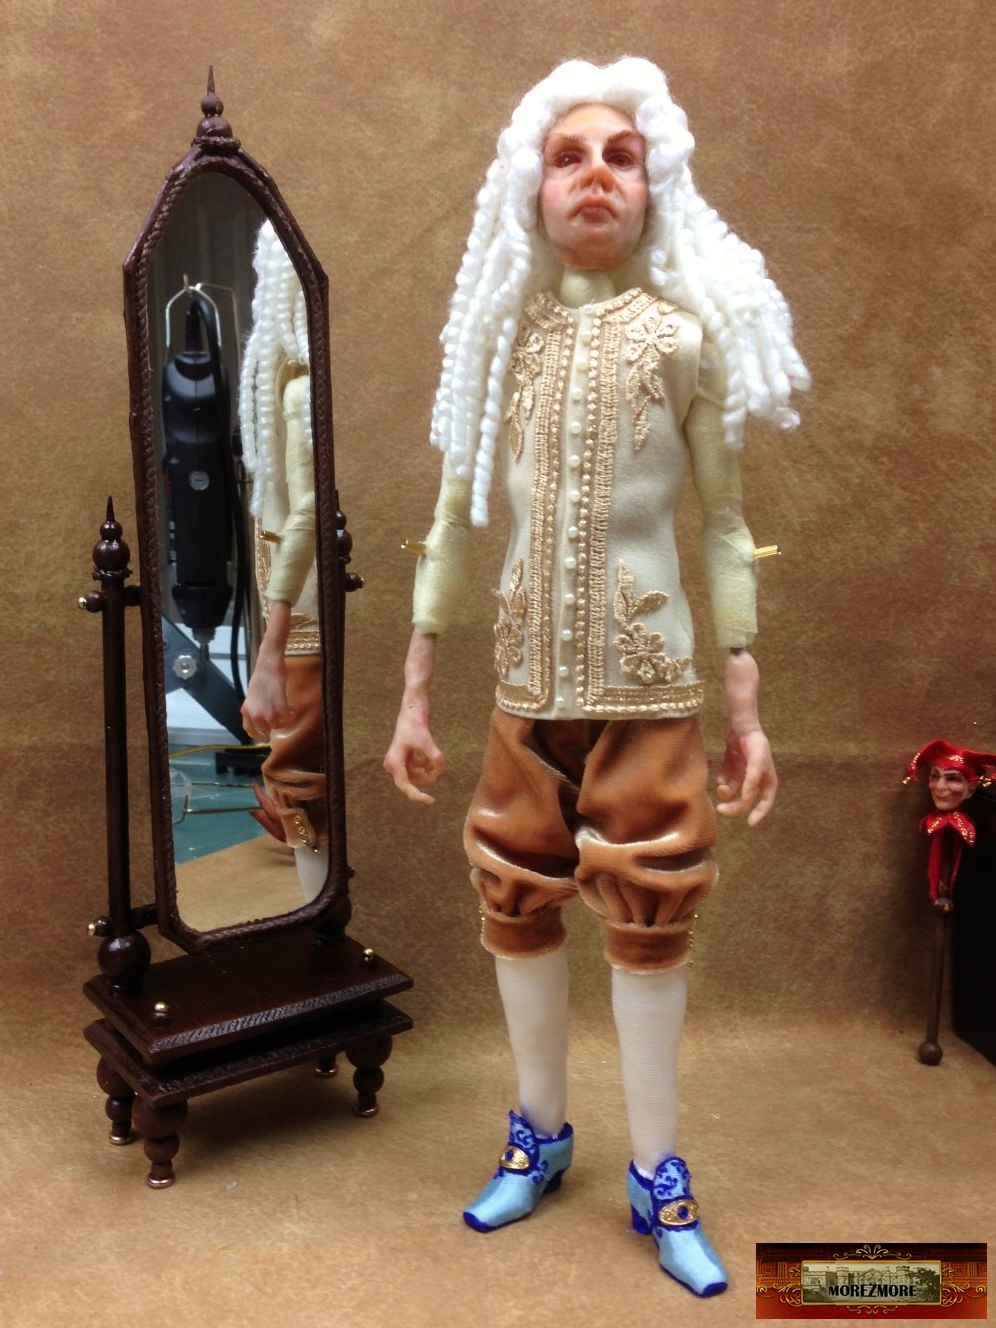 .
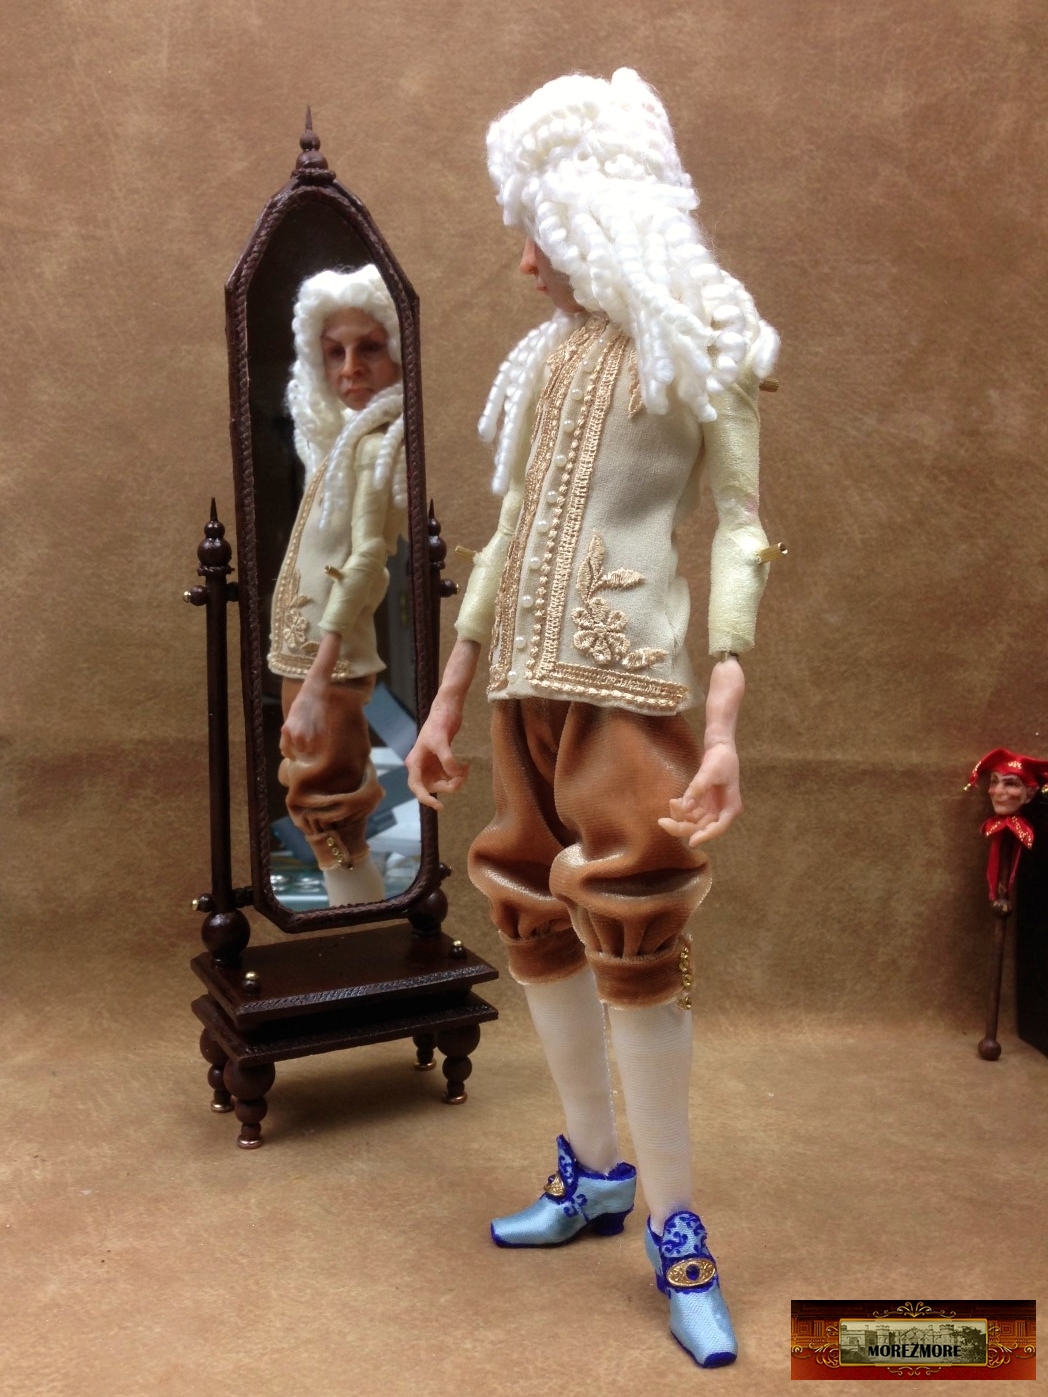
. .
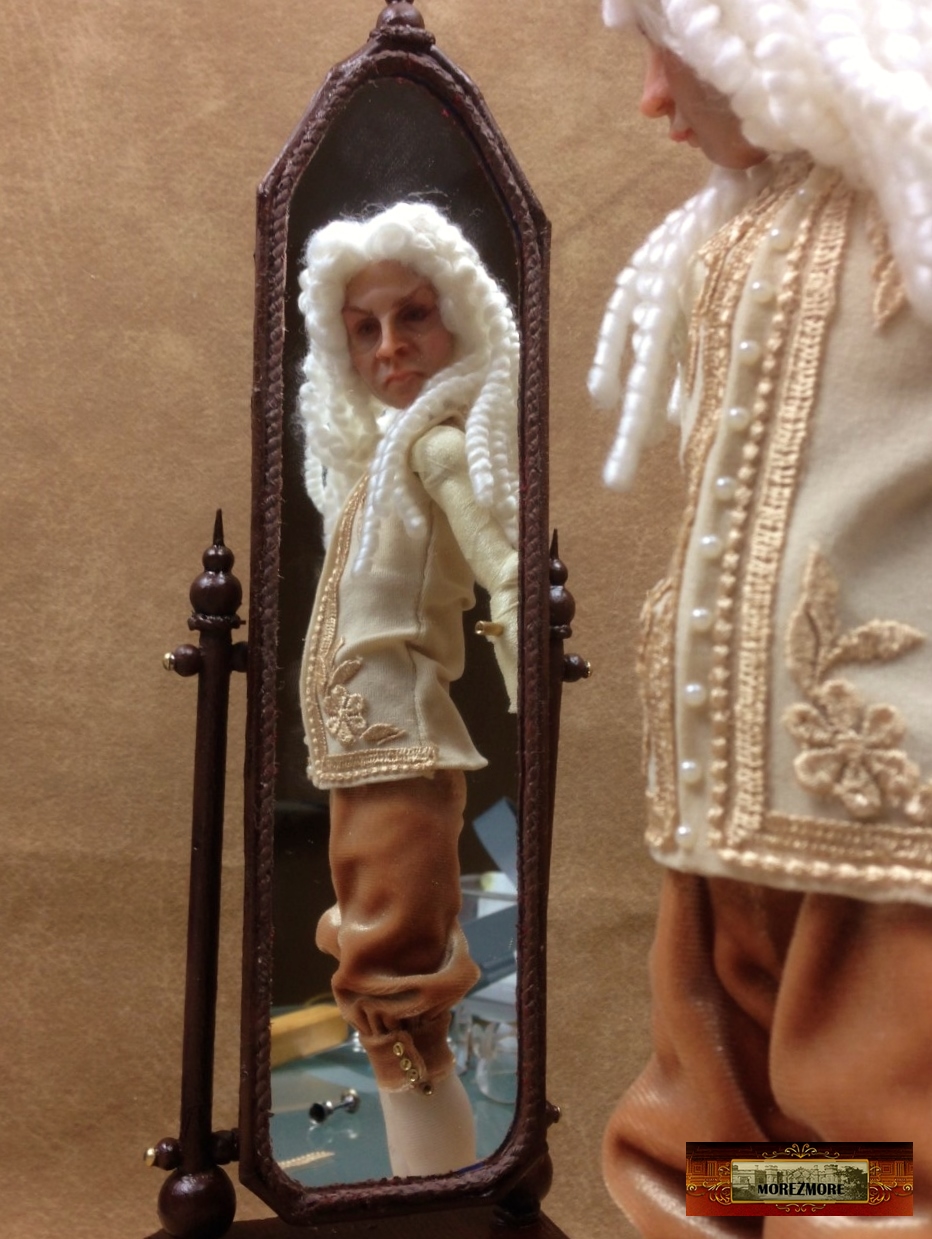 .
– Jester… Come over here… Listen, do you think my codpiece is too small?
..
 .
 .
Continues on Part 5
Thank you!
I follow your work and am full of admiration. I really enjoy seeing what you do. Thank you so much for sharing everything.
Thank you very much, Gaynor!
Messages like this keep me going 🙂 Thank you!
Hi there, can you tell me what size eyes would you use for this size sculpt ? Thank you so much.
Hi, Sharon, 4 mm (1:6 scale). If you are shopping at Morezmore, here is the link to those eyes:
http://stores.ebay.com/The-Morezmore-Estate/_i.html?_nkw=1%3A6+eyes&submit=Search&_sid=58601371
[…] Continues from Part 4 […]
[…] Continued on Part 4 To be continued… Thank […]